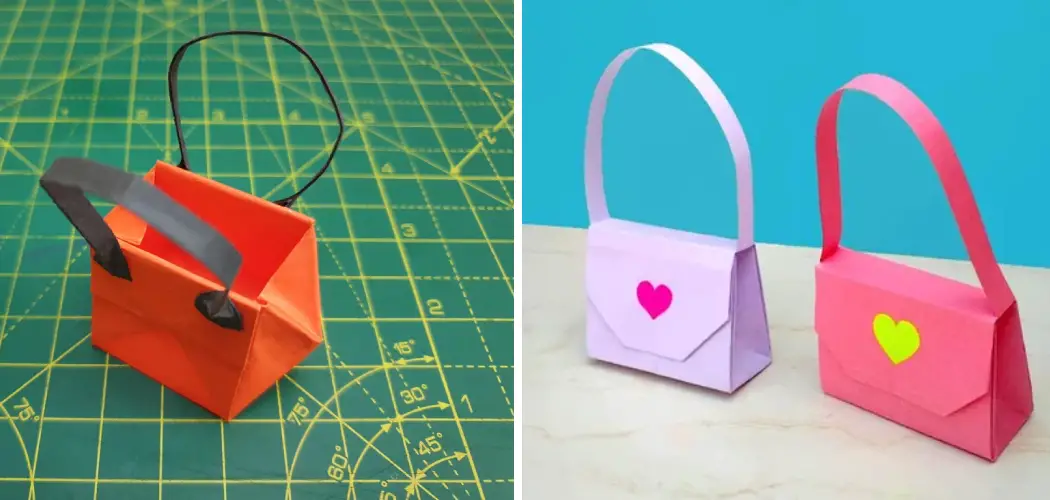
Are you looking for a fun and creative way to make a unique bag? Origami is an age-old paper folding technique used in Japan for centuries. It’s not only an enjoyable craft to learn, but it can also lead to spectacular results – with the right practices and steps. This blog post will teach you how to make your origami bag, giving your wardrobe something new and exciting while letting you indulge in your creative side!
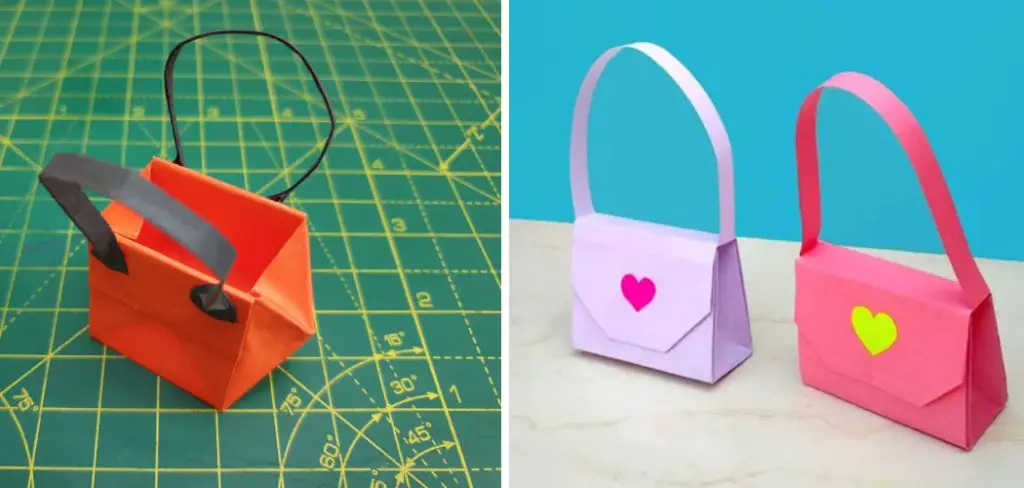
If you’ve never made any origami before, don’t worry – it’s not as difficult as it sounds. All you need is a few basic supplies and some patience.
Step-by-step instructions are provided, so no matter what level of expertise or confidence you have when it comes to paper folding, this process can be made easy by following our advice on how to make an origami bag.
What Will You Need?
Before you start, make sure that you have the following items nearby:
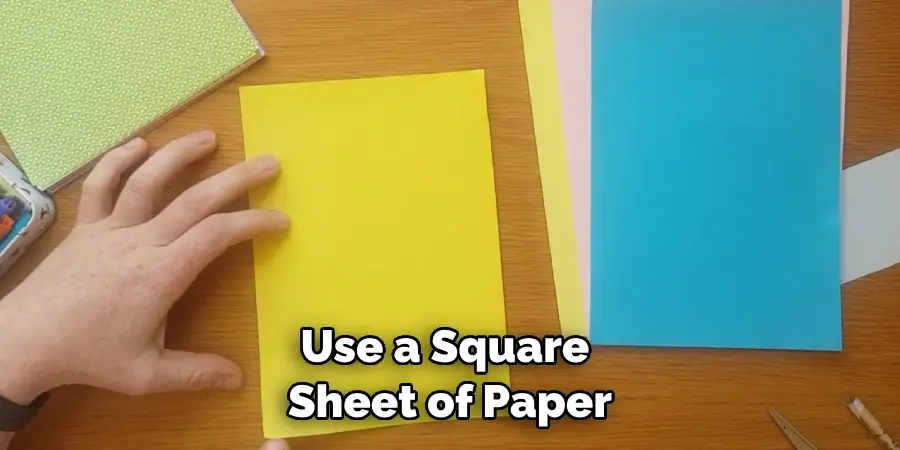
- A square piece of paper
- Ruler
- Pencil
- Scissors
Once you’ve gathered your supplies, it’s time to get started!
10 Easy Steps on How to Make an Origami Bag
Step 1: Folding the Paper
Start by taking your square piece of paper and folding it in half horizontally. Then, fold the paper again vertically. This will create four even sections on your paper. Next, unfold both folds so that you have a single square piece of paper in front of you.
Step 2: Marking and Cutting
Grab your ruler and pencil, and draw a line down the middle of the paper. It should create two equal-sized rectangles with four squares on each side. Then, take your scissors and cut along those lines so that each rectangle is now in two separate pieces.
Step 3: Make the Bottom of the Bag
Take one of the smaller rectangles and fold it in half, with the two long sides meeting each other. Then, open up the paper and fold the top corners so that they meet at the center line. Make sure you’re folding both corners inwards towards each other to create the bottom of your bag.
Step 4: Making the Sides of the Bag
Take one of the remaining small rectangles and fold it in half, with the two long sides meeting each other. This time, tuck one corner into the opposite side to have a pocket shape. Repeat this process for all four corners, creating four pockets in total.
Step 5: Attaching the Bottom of the Bag
Now that you’ve created your pocket shape, it’s time to attach it to the bottom of your bag. Take one of the corners and tuck it into the center line on the bottom piece that you made in step three. Make sure that you’re tucking the corner inwards towards the center line.
Repeat this process for each corner, making sure that all four corners are tucked in securely.
Step 6: Folding the Sides of the Bag
Take one of the side pockets and fold it up to meet the opposite side. Repeat this process for the other three sides, ensuring all four sides are tightly folded together. Be careful not to tear the paper.
Step 7: Creating the Handles
To create the handles for your bag, take the remaining rectangle piece from step two. Fold it in half lengthwise, then again horizontally, to create a thinner, smaller rectangle. Repeat this process for the second handle.
Step 8: Attaching the Handles
Now, it’s time to attach your handles to the bag. Position one handle at the top of one side of your bag, aligning it with the open edge of the bag. Secure the handle by tucking the ends into the corners of the bag’s opening. Remember, the handles should be secure and sturdy. You can use a small piece of tape for added support if necessary.

Step 9: Finalizing the Bag
To finalize your origami bag, fold the top edge down to the inside, sealing in the handle ends. This will give your bag a neat finish. Ensure that the edges are folded in securely.
Step 10: Enjoying Your Creation
Congratulations! You’ve now completed your origami bag. Now it’s time to enjoy your creation and show it off! Use your bag for whatever you like – carrying books, groceries, or other items. Have fun with it – and don’t forget to take pictures!
There you have it – 10 easy steps on how to make an origami bag. Now that you know the basics, why not challenge yourself and see what other designs you can develop? The sky’s the limit – get creative and have fun! Happy folding!
5 Additional Tips and Tricks
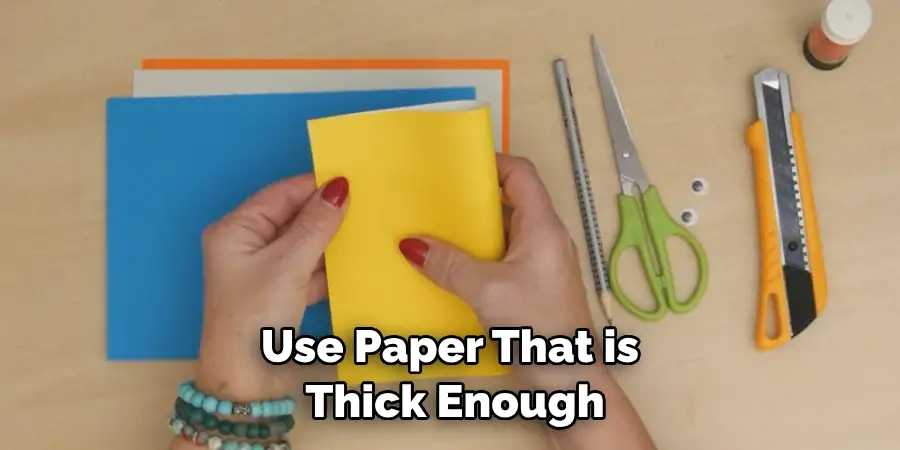
- When making your origami bag, use paper that is thick enough to hold its shape when the bag is finished.
- Use a ruler or straight edge to help you keep your folds crisp and clean.
- If you are having difficulty making a particular fold, try tracing it with a pencil first to get an idea of where the folds should be.
- Make sure to use a pencil instead of scissors when folding the paper, as this will help prevent tearing or ripping the paper and give you cleaner lines.
- Have patience when making your origami bag – take your time to ensure each fold is done accurately and that the final product looks nice. It may take some practice before you get it right, but the end result is worth it!
With these tips and tricks, you will be able to create an amazing origami bag that is sure to stand out! Now, go ahead and give it a try – you may be surprised at how easy it is. Have fun creating your own unique bags that can be used for everyday occasions or special events.
5 Things You Should Avoid
- Only use paper that is thick enough, as it may not hold its shape when you are finished.
- Avoid using scissors, as they can easily tear the paper or make jagged edges.
- When folding your origami bag, don’t rush through the process – take your time to ensure each fold is crisp and clean.
- Don’t forget to crease each folds well so that the bag holds its shape.
- Avoid using too many different colors, as this can make the finished product look messy and distract from its overall beauty.
By following these tips and tricks, you will surely create an amazing origami bag that looks stunning! Have fun creating your own unique pieces, and enjoy the satisfaction of a job well done.
5 Different Design Ideas
- Classic Patterned Bag: The classic patterned bag is created by using origami paper with traditional Japanese patterns. These designs add a unique touch to your bag, making it perfect for gifting or to match your traditional wear.
- Solid Color Bag: A solid color bag focuses on the structure of the bag itself. Choose a vibrant color like red, blue, or yellow to make it stand out.
- Animal Themed Bag: An animal-themed bag can be really fun and imaginative. For instance, use a paper pattern that resembles a cat’s face for a playful twist.
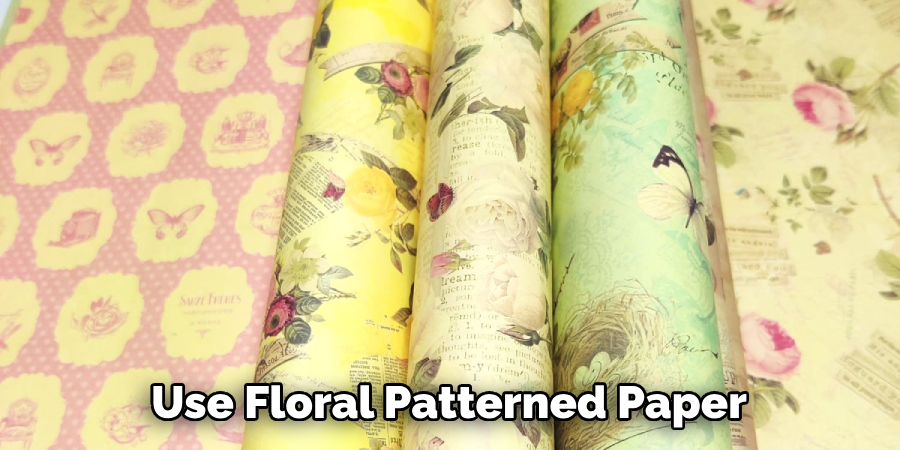
- Floral Bag: Floral designs always stay in style. Use floral patterned paper to create a bag that’s not only useful but also beautiful to look at.
- Geometric Bag: For a more modern aesthetic, consider using paper with geometric patterns. The bag’s sharp edges and clean lines of the bag will complement the geometric patterns.
Remember, the design you choose should not only look good but also reflect your personal style.
What Kind of Paper Works Best?
When making an origami bag, it’s important to make sure that you use the right kind of paper. Paper that is too thin may not hold its shape when finished, while paper that is too thick may be difficult to fold and make crisp creases. The best kinds of paper are those with some weight, such as cardstock or poster board. Colored paper can also create a unique bag that stands out from the rest.
By using the right kind of paper and following these tips and tricks, you can make an origami bag that will look stunning! Have fun creating your unique pieces, and enjoy the satisfaction of a job well done. Happy folding!
Conclusion
Hopefully, this article gave you the knowledge and confidence to make an origami bag for yourself or a loved one. It may thoroughly seem complicated, but, in reality, it isn’t all too hard once you get the hang of it. Even if you make a mistake, don’t be disheartened; that makes the bag one-of-a-kind and unique. What’s important is that you enjoyed the process and were mindful of every step taken.
By learning how to make an origami bag yourself, you’ll possess a special skill and have made something from scratch. Also, it is a fun activity to bond with friends or even pass some time on your own.
So try origami bags – as Robert Louis Stevenson said: “To travel hopefully is better than any arrival.”

