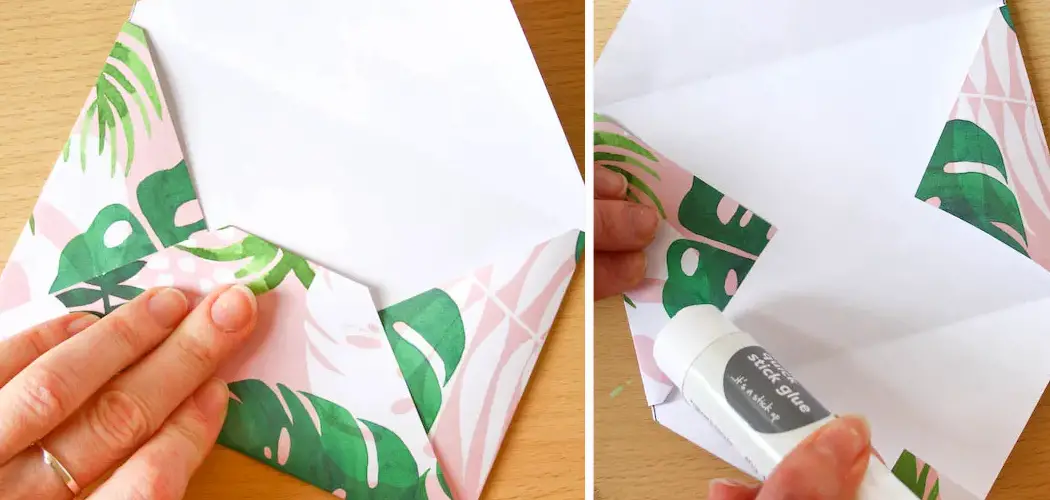
Are you looking for an easy way to spruce up your presents this year? Look no further – envelope art is here! Making an envelope out of wrapping paper is a great and creative way to give your gifts some extra flair.
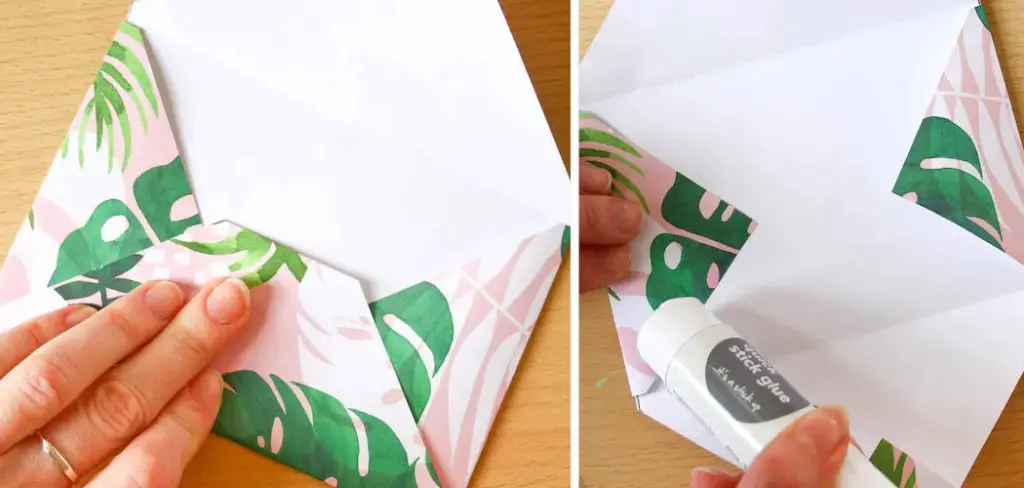
Not only will it look fantastic, but it also doesn’t require any fancy supplies, so practically anyone can make their own artwork in no time. We’ve put together this guide with step-by-step instructions so that you’ll know exactly how to make an envelope out of wrapping paper – enjoy!
11 Step-by-step Guidelines on How to Make an Envelope Out of Wrapping Paper
Step 1: Choose Your Wrapping Paper
Select your desired wrapping paper. It can be any size, pattern, or design you want – get creative! Just make sure that it’s big enough to fit the contents of your envelope. It’s always better to have a little extra wrapping paper than not enough. It’s also a good idea to choose sturdy paper, so your envelope will hold its shape. A thicker wrapping paper is recommended but not necessary.
Step 2: Fold the Paper in Half
Take one side of your wrapping paper and fold it over the other, making sure that both sides are aligned perfectly. Smooth out any wrinkles or creases with your hands. But don’t worry too much about it being perfect – a bit of imperfection adds to the charm! It’s essential to get a straight fold at this step, as it will be the foundation of your envelope.
Step 3: Cut the Paper
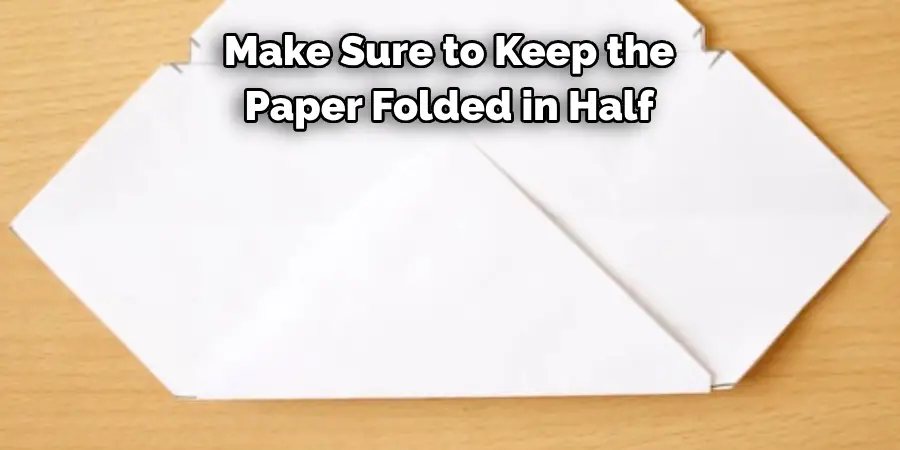
If there are any excess parts hanging from the sides, cut them off to make sure your envelope is the same size on all sides. Make sure to keep the paper folded in half while doing so. Otherwise, you might end up with an uneven envelope. You can also use a ruler to measure out the dimensions you want for your envelope. This step is optional but recommended for those who prefer precise measurements.
Step 4: Unfold and Re-Fold
Unfold the paper, so it’s flat again. Now fold the left and right sides into the center crease that you made earlier when folding the paper in half. Use your fingers to ensure that the edges are smooth and aligned. This step will create two new folds on either side of the center crease. It will also form a diamond shape in the center of the paper.
Step 5: Fold Down the Top Edge
Next, take the top edge of the paper and fold it down to meet the bottom edge. Make sure that the edges are aligned and smooth. This fold will create the top flap of your envelope. You can adjust the size of the flap by folding more or less of the paper down. But remember that the bottom flap needs to be big enough to cover the contents of your envelope.
Step 6: Make a Fold at the Bottom
Create a fold at the bottom edge, making sure it lines up with the top flap. This fold will form the bottom of your envelope and should be slightly smaller than the top flap. Remember not to crease down too hard, especially near the open end. You want to keep that part as flat as possible so that your envelope can close smoothly.
Step 7: Unfold and Cut Along the Folded Lines
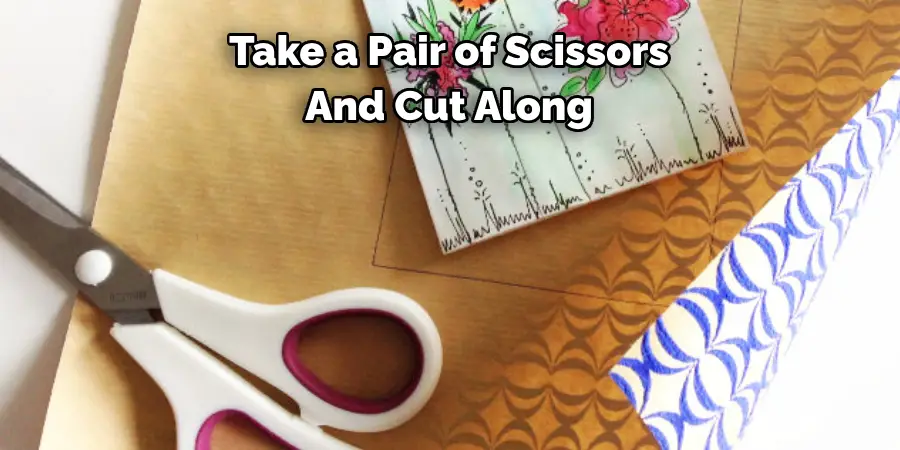
Unfold your paper once again. You will see four different creases on your paper – two vertical and two horizontal. Take a pair of scissors and cut along these lines, but make sure not to cut along the top and bottom edges. You will end up with four flaps of paper – one larger and three smaller ones. It’s best to cut just inside the fold lines, so you don’t accidentally create any holes in your envelope.
Step 8: Fold and Tuck the Side Flaps
Fold in one of the side flaps, and tuck it under the middle flap. Make sure that the edge of this side flap is touching the bottom edge of your envelope. Crease along the edge of the middle flap to hold it in place. Repeat this step with the other side flap. This maneuver will create pockets on either side of your envelope, providing a secure closure for your envelope’s contents.
Step 9: Seal Your Envelope
To close your envelope, insert one of the bottom flaps into the top flap’s pocket. You might need to adjust the size of this flap so that it fits comfortably inside the pocket. Repeat this step with the other bottom flap. And there you have it – your very own envelope made out of wrapping paper! You can seal your envelope by using tape, glue, or stickers.
Step 10: Decorate Your Envelope (Optional)
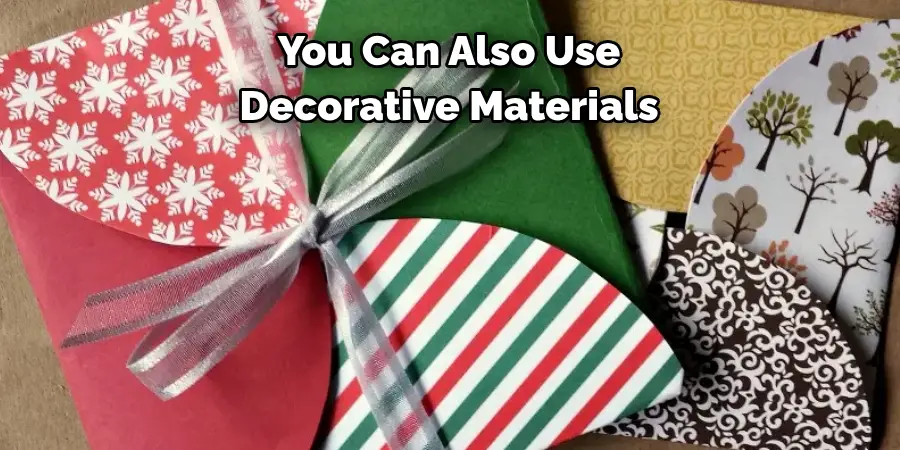
This step is where you get to show off your creativity! You can leave your envelope as it is, or you can make it unique by adding some decorations. Use markers, stickers, stamps, glitter – anything you want – to add a personal touch to your envelope. You can even use different wrapping paper or colored paper to create a layered effect.
Step 11: Insert Your Gift and Seal the Envelope
Once your envelope is decorated and sealed, you can insert your gift inside. Use some tape to secure the flap if needed, and voila! You have successfully made an envelope out of wrapping paper. Your recipient will be delighted by the effort put into creating such a beautiful and personalized gift. And who knows – envelope art may become your new favorite holiday tradition!
Following these 11 simple steps on how to make an envelope out of wrapping paper, you can now easily make an envelope out of wrapping paper. So next time you have a gift to give, don’t settle for a plain and boring envelope – get creative and make one yourself! You’ll not only save money by using materials you already have, but you’ll also add a special touch that will make your gift stand out. Happy crafting!
Do You Need to Hire Professionals?
Making an envelope out of wrapping paper is a fun and easy DIY project that anyone can do. However, if you need to make several envelopes or want a more polished look, you may consider hiring professionals. Many printing companies offer custom envelope-making services at an affordable price. They have the necessary tools and expertise to create high-quality envelopes quickly and efficiently.
So if you’re planning to make a large number of envelopes or want a professional finish, it may be worth considering hiring professionals for the job. But for those looking to add a personal touch to their gift-giving, making an envelope out of wrapping paper is a fantastic option that allows you to express your creativity and save money at the same time. Ultimately, the choice is yours – but either way, your recipient will surely appreciate the thought and effort put into their gift.
Frequently Asked Questions
Q: Can I Use Any Wrapping Paper for This Craft?
A: Yes, you can use any wrapping paper you have on hand. Just make sure it’s big enough to fit the contents of your envelope. It’s also recommended to use thicker or sturdier paper for a more durable envelope.
Q: Can I Use This Method to Make Different-Sized Envelopes?
A: Yes, you can adjust the dimensions of your envelope by cutting and folding the paper accordingly. Just make sure to keep the folds aligned and smooth for a neat finish. You can also use a ruler to measure out the dimensions if you prefer precise measurements.
Q: What Can I Use This Envelope For Besides Gifts?
A: You can use these envelopes for sending letters, cards, or invitations. They make a great DIY touch for any occasion and are perfect for personalizing your correspondence.
Q: Do I Need Any Special Tools or Materials?
A: No, you only need basic crafting tools such as scissors, tape, and glue. You can also use decorative materials like markers or stickers if you want to add a personal touch to your envelope.
Conclusion
With a few simple supplies and creative flair, anyone can turn their favorite wrapping paper into an envelope to keep a special gift inside. Whether you are sending a handwritten letter to a friend or you want to give someone a unique surprise, this project is the perfect way to ensure your gift stands out from the rest. So why not grab some colorful wrapping paper and get started crafting the perfect envelope? It’s fun, easy and sure to be enjoyed by your loved ones.
And don’t forget – have fun with it! Let yourself experiment with color combinations and patterns for your next homemade envelope. You never know what inspiring works of art you might create! Thanks for reading this article on how to make an envelope out of wrapping paper

