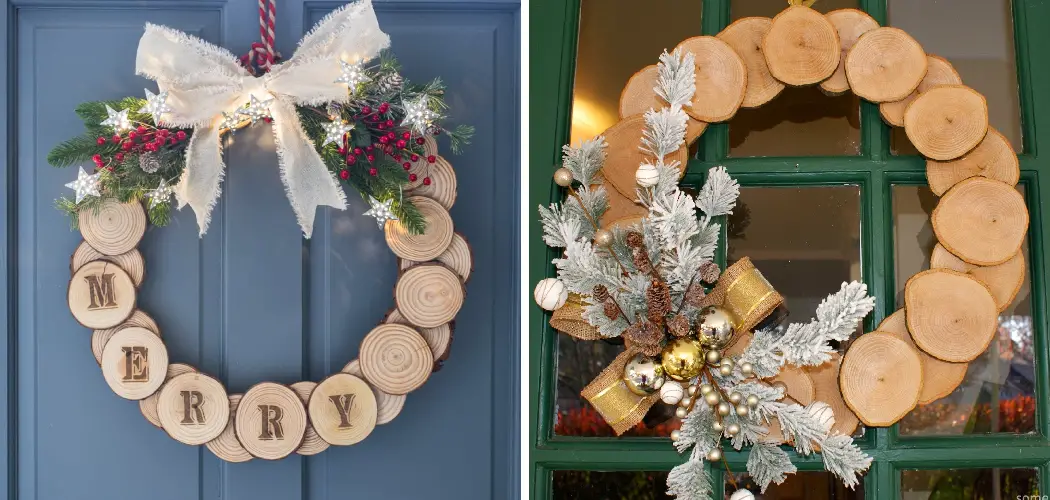
Do you love the timeless rustic charm of a wood wreath? If so, it is easier than you might think to make one! With just a few supplies and some basic carpentry skills, you can create an elegant customizable wreath that will last for years. In this blog post, we will provide step-by-step instructions on how to make a wood wreath from start to finish.
From selecting the right wood and finding the perfect design, to final touches like adding embellishments or staining, when you’re finished crafting your custom piece, your entryway will be ready for friends and family during any season!
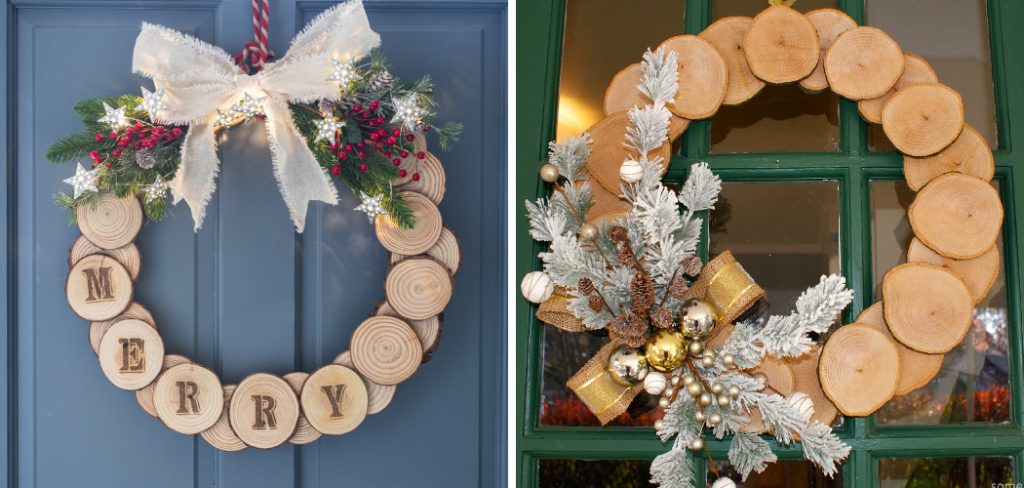
Whether you’re looking to spruce up your home with some seasonal decorations or give a handmade gift for a special occasion, making a wood wreath is an easy project that can provide you with wonderful results.
With just a few simple supplies and tools, even beginner craftsmen will be able to create an attractive wooden wreath that looks beautiful and lasts longer than one made of organic materials such as pine needles. Here, we will walk through the steps it takes to assemble the pieces together so you can build your very own personalized take on a classic decoration!
Why May You Want to Make a Wood Wreath?
1. To Add a Natural, Rustic Touch to Your Home Décor
One of the best things about making a wood wreath is that it adds a unique, rustic touch to your home décor. A handcrafted wood wreath will give your walls and doorways an eye-catching look that can be enjoyed all year long.
2. To Create a Cost-Effective DIY Project
Making a wood wreath yourself is also a great way to save money. All you need are some basic supplies like wood, paint, and a few tools such as a saw, drill bit, and hot glue gun to make an attractive wreath for your home.
3. To Make a Lasting Impression on Your Guests
Wood wreaths aren’t just beautiful – they’re also very durable. Once completed, your wood wreath will likely last for years, making a lasting impression on all your guests. Plus, you can customize the wreath to reflect your personal style and preferences.

How to Make a Wood Wreath in 6 Easy Steps
Step 1: Gather All The Tools
The very first step is to gather all the tools and materials you will need to make your wooden wreath. You will need a saw, drill, wood glue, sandpaper, a ruler, measuring tape, and some sort of thin board or plywood for the frame.
Step 2: Measure & Cut The Frame
Once you have all the supplies ready it is time to measure and cut your frame. Use a measuring tape to measure the desired size of your wreath and then cut the thin board or plywood accordingly.
Step 3: Drill Holes For The Nails
Once you have your frame ready, use a drill to make holes for the nails in each corner of the frame. This will help keep them in place when you are attaching other materials later.
Step 4: Sand & Glue The Frame
Once all your holes are drilled, use sandpaper to smooth out any rough edges and then glue the frame together. This will help ensure that it is secure and won’t come apart later. You have to make sure the glue is completely dry before you move on to the next step.
Step 5: Attach Decorative Details
Now it’s time to get creative and attach some decorative details. You can use any type of material such as ribbon, fabric, twine, or even burlap to give your wreath a unique look. Glue them onto the frame and wait for the glue to dry.
Step 6: Hang The Wreath
The last step is to hang your finished wreath! You can use nails, command strips, or simply a wreath hanger depending on what type of surface you are hanging it from. And that’s it- now you have a beautiful wooden wreath ready to be hung in your home. Enjoy!
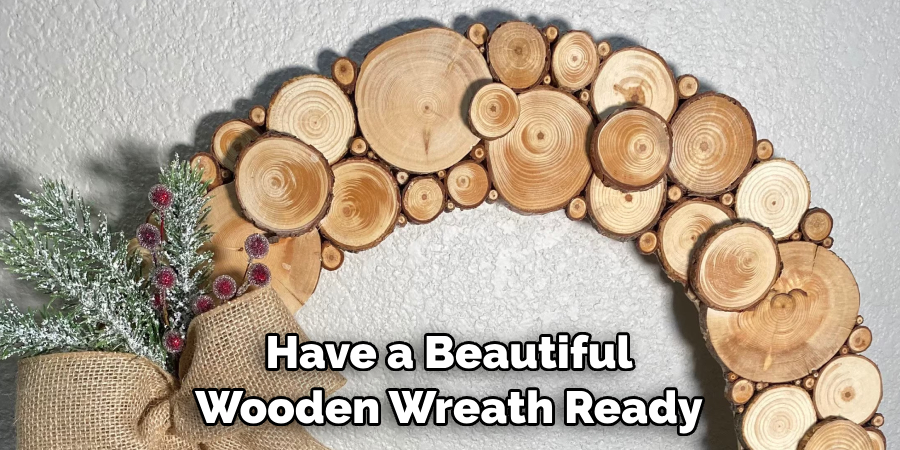
The best part of making a wooden wreath is that it is easy to customize it to fit your style and needs. Whether you want to make a simple or intricate design, you can do so with just a few materials and some creativity. It’s an inexpensive project that will add warmth and charm to any room in your home.
Some Extra Tips to Make a Wood Wreath
1. Do Not Over-Attach Decorations
When adding decorations to the wreath, it is important not to attach too many items. Too much decoration can be visually overwhelming and detract from the overall design. Also, make sure to avoid putting too many decorations in one particular area of the wreath. Instead, create a balanced and visually pleasing design by distributing the decorations evenly around the wreath.
2. Add Interest with Dimension
As mentioned previously, wood pieces can be used to add dimension to the wreath by creating different levels and depths on each side of the ring. Other items such as ribbons, fabric leaves, and other small decorations can also be added to create a three-dimensional effect.
3. Finish with a Protective Sealant
To protect the wood wreath from any weather damage or fading, it is important to use a protective sealant. This will ensure that your beautiful wreath will last for many years to come.
Also, if you are using wooden beads or other small decorations that are not already sealed, make sure to seal them with a clear sealant as well. This will help prevent the wood from cracking, fading, or warping over time.
Creating a unique and beautiful wood wreath is a great way to add some rustic charm to your home décor. With these tips, you can make a stunning wood wreath that will be sure to impress. Have fun and get creative with your design! Happy crafting.
Frequently Asked Questions
What Precautions Should I Take When Making a Wood Wreath?
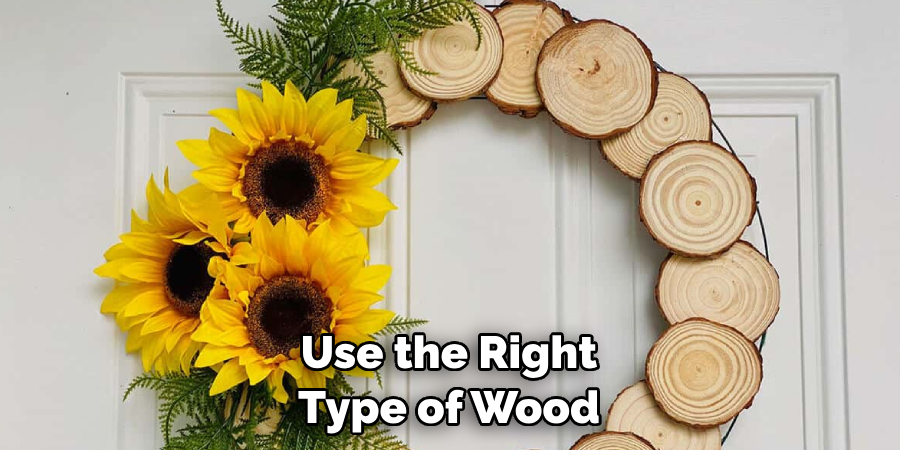
When making a wood wreath, it is important to wear protective gear such as safety glasses and gloves. Additionally, make sure the area you are working in is well-ventilated and free from distractions. Make sure your tools are sharp and clean; dull or rusty tools can be dangerous. Finally, use the right type of wood for the wreath and choose the correct adhesive.
What Tools Do I Need to Make a Wood Wreath?
You will need a saw, sandpaper, jigsaw, drill bit, and screwdriver. You should also have clamps, a glue gun, a utility knife, and measuring tape on hand. Additionally, a miter saw is helpful when cutting thinner pieces of wood. To add a decorative touch, consider using paint or stain to finish the wreath.
How Long Does It Take to Make a Wood Wreath?
The amount of time it takes to make a wood wreath will depend on the complexity of the design and how detailed you want your wreath to be. Generally speaking, simple designs can take an hour or two to complete, while more intricate designs may take up to a day or more. However, with practice and patience, you will be able to create beautiful wood wreaths in no time!
What Are the Benefits of Making Your Own Wood Wreath?
Making your own wood wreath is a great way to personalize your home decor. It also allows you to be creative and express your own individual style. Additionally, making a wood wreath is a fun and rewarding project that can be tailored to your exact specifications. Lastly, the cost savings associated with making your own wreath can be quite substantial compared to buying one from a store.
What Are the Different Types of Wood Suitable for Making a Wreath?
The best types of wood to use when making a wood wreath are softwoods, such as pine or cedar. Hardwoods, such as oak or maple, can also be used but require more sanding and finishing to achieve a smooth surface. Balsa wood is often used for intricate designs since it is lightweight and easy to work with.
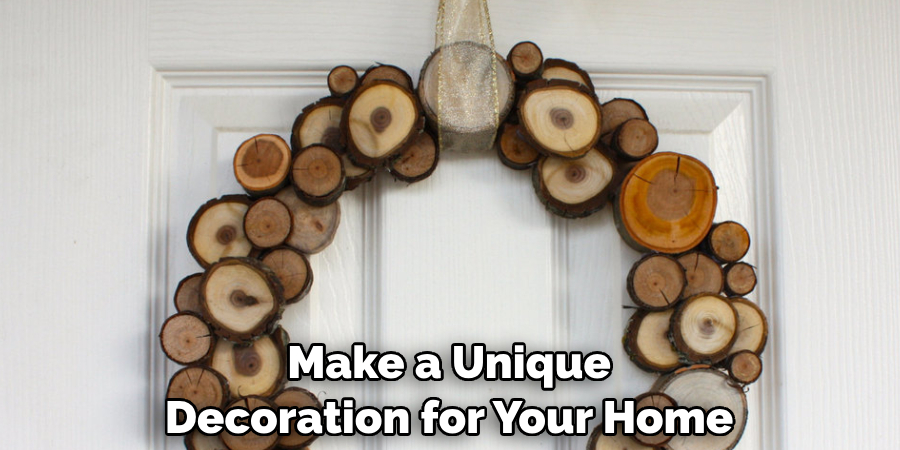
Making a wood wreath is not only enjoyable, but it also helps you save money, express your creativity, and make a unique decoration for your home. With the right tools, materials, and instructions, you can create a stunning wood wreath that will be sure to draw attention!
Conclusion
To summarize, making a wood wreath is an easy and enjoyable project that can be completed with minimal supplies. It’s a great way to add some rustic charm to any room. You can customize your wreath with any accents you desire and it’s truly a joy to make it your own. Plus, the further you explore materials and finishes, the more unique offerings you’ll see.
Now you know how to make a wood wreath! Before you give it away as holiday decor or enjoy it on your own walls, be sure the stain and sealant will hold up in whatever environment you decide to hang the piece– whether indoors or outside! This is an easy craft for beginners through experienced diyers who can produce a one-of-a-kind decoration that will wow everyone who sees it!

