
Using transfer paper with a Cricut opens up a world of creative possibilities for crafters and DIY enthusiasts. Whether you’re crafting personalized t-shirts, custom decals, or intricate designs on various surfaces, transfer paper is a valuable tool that helps you transfer your Cricut-cut designs accurately and seamlessly.
This guide will take you through the steps and techniques on how to use transfer paper with a Cricut, ensuring that your projects turn out precisely as you envision.

Whether you’re a novice looking to explore the wonders of Cricut crafting or a seasoned pro seeking to refine your skills, understanding the ins and outs of transfer paper usage will unlock new horizons for your crafting endeavors. So, let’s delve into the world of Cricut and transfer paper to bring your creative visions to life with precision and ease.
The Significance of Transfer Paper in Crafting with a Cricut
Transfer paper is a special type of paper that allows you to transfer images, letters, and other designs from the paper onto fabric or other material. This makes it possible for crafters to create personalized designs without having to draw them by hand.
When used with a Cricut machine, transfer paper is even easier to use than when applied by hand. Using a Cricut machine with transfer paper requires a few simple steps, which can be done quickly and easily.
First, prepare the design by selecting an image or lettering from your Cricut library. You will then need to reverse the design before printing it onto the transfer paper. This is important because when you place the paper on fabric or other material, you want to make sure that the design will be facing the right way.
Once your design is ready, print it onto your transfer paper and set it aside. Now you are ready to start crafting! Place the transfer paper with artwork face down on to whatever material or fabric you are using for your project. Make sure that all edges are lined up properly.
Selecting the Right Transfer Paper for Your Project
When selecting transfer paper for use with a Cricut, it’s important to choose the right type for your project. There are two main types of transfer paper available: vinyl and heat transfer vinyl (HTV). Vinyl is great for creating decals on walls or windows, while HTV is ideal for transferring designs to fabric. The type you select will depend on the materials you plan to use.

Once you have selected the right transfer paper, it’s time to prepare your Cricut. Depending on which type of transfer paper you are using, there may be specific settings that you need to adjust in order for it to work correctly. Be sure to check the manufacturer’s instructions before beginning your project.
The next step is to create your design, either using the Cricut software or a compatible design program. Once the design is complete, it’s time to print it onto the transfer paper. Be sure to use a high-quality printer with a steady ink flow in order to get the best results.
Once printed, carefully remove any excess material from around the edges of the design before ironing it onto your material. Heat transfer vinyls should be placed face down on the fabric, while vinyl designs should be placed face up.
10 Steps How to Use Transfer Paper with a Cricut
Gather Materials
Before you get started, make sure you have all the materials you need to use transfer paper with a Cricut. You will need a Cricut machine, transfer paper, and an image or design. You can find transfer paper in a variety of colors and finishes at craft stores or online.
Prepare Your Design
Once you have your materials ready, it’s time to prepare your design for cutting with the Cricut. Open up the design software that came with your Cricut machine and create or upload an image or design that you want to cut out on the transfer paper. Make sure to adjust any settings such as size and color before moving forward.

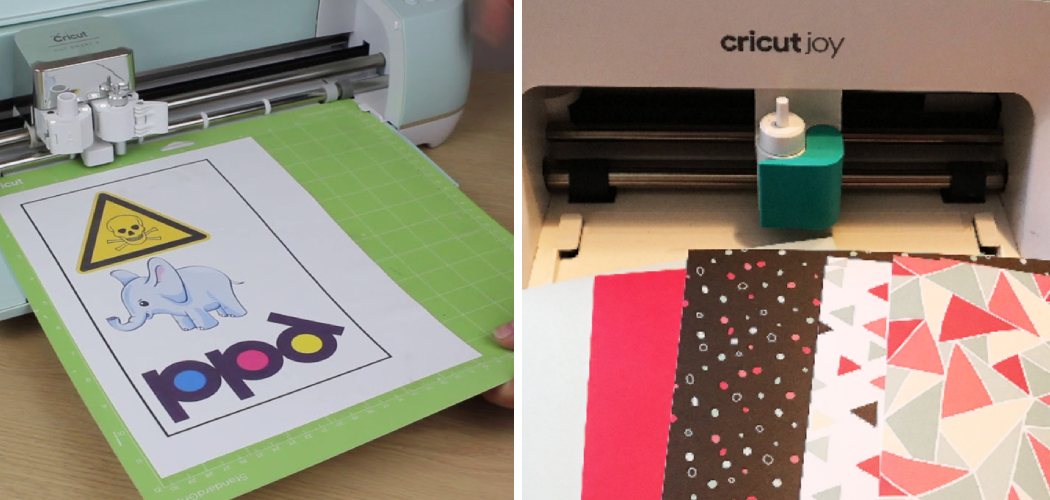
Load The Transfer Paper
Now, it’s time to load the transfer paper into your Cricut machine. Place the transfer paper onto the cutting mat so that it is facing up and then insert it into the machine. Make sure that the cutting mat is properly aligned with the rollers on the Cricut so that it doesn’t get stuck during cutting.
Select Settings
Once you have loaded your transfer paper into your Cricut machine, select the appropriate settings for cutting out your design from within the software. Choose “Transfer Paper” from among the list of material types and then adjust any other settings such as speed and pressure, if necessary.
Cut Out The Design
Once you have selected all of your settings, click “Cut” in order to begin cutting out your design on the transfer paper using your Cricut machine. Depending on how complex your design is, this step may take several minutes or more to complete. Be patient and wait for it to finish before moving on to the next step!
Weed Out Excess Material
Now that your design has been cut out, it’s time to weed out any excess material from around it using tweezers or a weeding tool (if available). This will help ensure that only your desired image remains on the transfer paper when you go to apply it later on!

Prepare The Surface
Before applying your transferred image onto its intended surface, make sure to clean off any dust or debris from its surface first using a soft cloth dampened with rubbing alcohol or water (depending on what type of surface you are working with). This will help ensure that there are no bumps or lumps when transferring, which could cause air bubbles later on!
Apply Transfer Paper To the Surface
Once you have prepared both surfaces (the transferred image and its intended surface), slowly peel away one corner of backing from behind the transferred image while holding down another corner firmly against its intended surface so that they don’t move apart during the application process.
Continue peeling away until the entire backing has been removed from behind the transferred image before pressing down firmly across the entire surface area in order to adhere the transferred image properly onto its intended surface.
Burnish The Image
After applying the transferred image onto its intended surface, burnish the entire area by running a hard tool (such as a spoon ) over the entire area in order for adhesive properties within the transferred image itself to become activated. This will help ensure that the transferred image adheres firmly to its intended surface without any air bubbles forming underneath!
Peel Away Transfer Sheet
Once burnishing has been completed, carefully peel away the transfer sheet from the top portion of the applied area first before slowly pulling away the remainder of the sheet while holding down the applied area firmly against its intended surface. If done correctly, this should leave behind only the desired transferred image without any air bubbles present!
For best results, make sure to adjust the pressure setting on your Cricut machine accordingly so that you do not over-burnish the application. Additionally, if needed, use a scraper or squeegee to help ensure all edges of the transferred image are securely adhered to its intended surface.

Things to Consider When Using Transfer Paper with a Cricut
When using transfer paper with a Cricut, there are a few things to keep in mind. First, be sure you have the correct size of transfer paper for your project. Transfer paper comes in multiple sizes and is specifically designed for different types of projects, so make sure you get the right one.
Next, select an appropriate setting on your Cricut machine. Transfer paper usually requires a slower speed and a light-pressure setting to ensure that the design is transferred correctly. It’s also important to make sure that your material is compatible with transfer paper before you start – some materials may not be suitable, such as fabric or plastic.
Finally, make sure to use a piece of cardstock or poster board as a base when transferring your design. This will help to ensure that the paper adheres correctly and doesn’t move or tear when you’re cutting it out.
Once you’ve taken these steps, it’s time to get started with your project! After you have cut out your design, use an iron-on low-heat setting (without steam) to transfer the image onto the material of your choice.
Make sure to apply pressure evenly and for a few seconds, depending on the type of material you’re using. Wait until it cools down before removing the transfer paper from the fabric or surface.
Conclusion
To recap, this blog post discussed how to use transfer paper with a Cricut. We covered the types of transfer paper available, how to create images using the transfer paper, the various steps for making a design, and lastly tips for maximizing your results.
With the information from this post, you should have all you need to get started on an exciting project with your Cricut and transfer paper! Whether you’re creating a fun design on a t-shirt or making portraits of your favorite people, now you can create vivid designs that won’t wash away.
Give it a try – you never know what amazing things you could come up with when you combine transfer paper and a Cricut! Make sure to sign up for our newsletter so that we can keep sending helpful posts like this one in your inbox! Thanks again for reading and happy crafting!