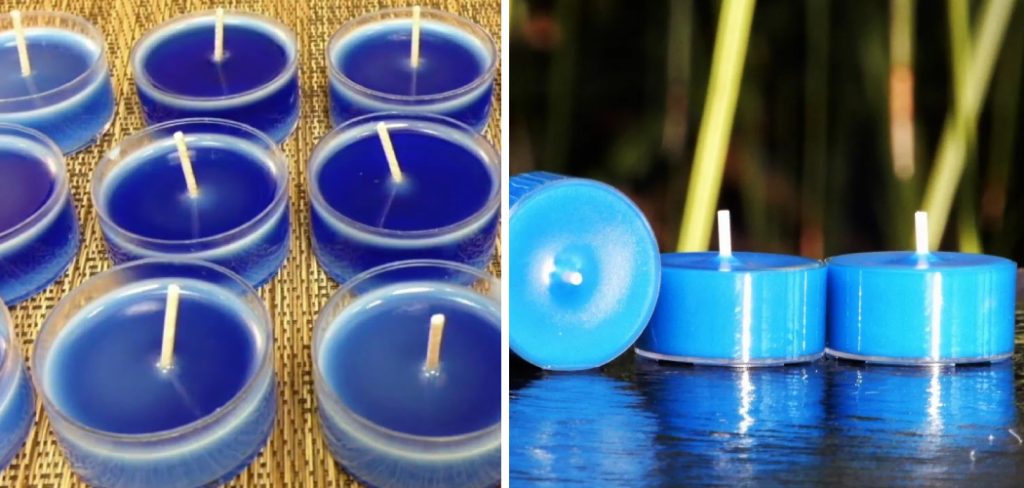
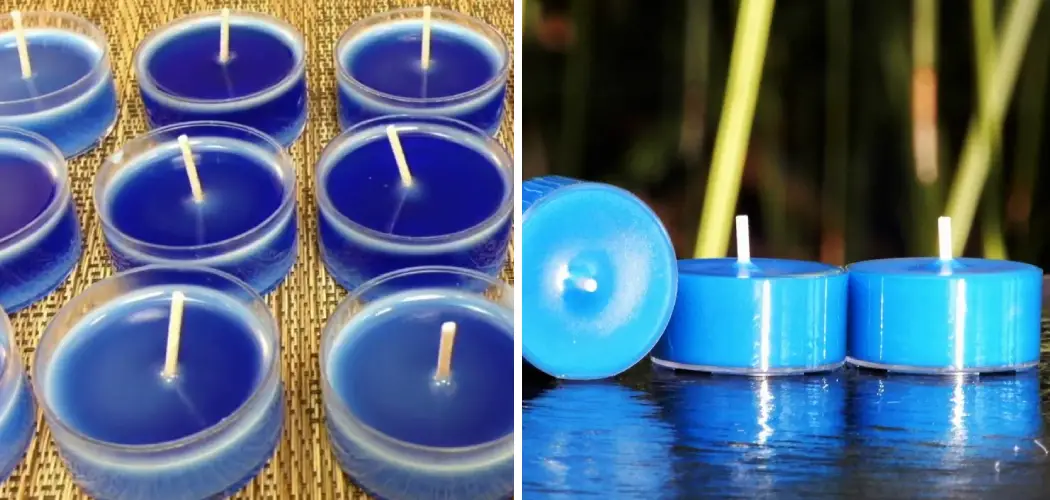
Ready to add a unique, glowing touch to any room in your home? Tea light candles are a great way to make any space feel cozy and inviting and are also straightforward to make.
Whether you’re looking for an inexpensive craft or just want simple DIY decor ideas, tea light candles will give you the perfect results! Tea light candles are also popular for special occasions, such as weddings or parties.

With this blog post, we’ll take you through everything you need to know about how to make a tea light candle – from picking the right type of wax and melting it correctly to pouring it into the containers and adding wicks. So grab your materials, and let’s get started!
What Will You Need?
Before we dive into the step-by-step guide, let’s look at all the materials you’ll need to make a tea light candle. These are easily available in any craft or candle making store:
- Wax (paraffin wax is commonly used for tea lights)
- Wicks
- Tea light containers (you can use metal or plastic ones)
- Double boiler or a heatproof bowl
- Spoon for stirring
- Scissors
- Essential oils (optional)
- Dye color (optional)
Once you have gathered all of these materials, let’s move on to the steps to make a tea light candle!
10 Easy Steps on How to Make a Tea Light Candle
Step 1: Prepare Your Workstation
Making candles can get messy, so preparing your workstation before starting is important. Lay down some old newspapers or a plastic sheet to protect your surface from spills or wax drippings. Keep all your materials within reach for easy access.
Step 2: Melt the Wax
Start by melting the wax in a double boiler or heatproof bowl over boiling water. If using paraffin wax, melt it to a temperature of around 160-170°F (71-77°C). Be sure to stir occasionally to ensure even melting.

Step 3: Add Dye and Essential Oils
Once the wax has completely melted and reached the desired temperature, it’s time to add any color or scent. If you’re using dye, add a small amount and stir thoroughly until the color is evenly distributed.
For essential oils, aim for about ten drops per pound of wax. Be careful not to add too much, as it can affect the candle’s burning process. Mix well to ensure the dye and scent are evenly distributed throughout the wax.
Step 4: Place the Wick
While your wax is still liquid, prepare the wick in your tea light container. Place the metal or cardboard base of the wick in the center of the tea light cup. If it doesn’t stick on its own, you can use a dab of hot wax to secure it in place. Make sure the wick stands straight up; if needed, you can use a clothespin or pencil to keep it in position.
Step 5: Pour the Wax
Now comes the exciting part – pouring the wax into the tea light containers. Carefully pour the melted wax into each container until it’s about 3/4 full. Make sure not to fill it to the brim as you need to leave some space for the wax to expand and solidify. Remember to keep the wick straight during this process. Let the wax cool and solidify for a few hours or overnight if possible.
Step 6: Trim the Wick
After the wax has completely solidified, it’s time to trim the wick. Using a pair of sharp scissors, cut the wick down to about 1/4 inch above the surface of the wax. This optimal length helps to ensure that your candle burns cleanly and effectively.

Step 7: Let the Candle Cure
Now, it’s time to let your newly made tea light candle cure. Leave it undisturbed for a full 24 hours to let the wax completely harden and the scent embed fully. This step is crucial for a well-performing and long-lasting candle.
Step 8: Test Your Candle
After the curing period, your tea light candle is now ready for a test burn. Light the wick and let the candle burn for a few hours, observing its performance. If it burns evenly and produces a pleasant aroma (if scented), you’ve done great!
If not, take note of the issues – such as the wick not staying lit or the candle burning unevenly – to improve your next batch of tea-light candles. Always remember, practice makes perfect.
Step 9: Decorate Your Tea Light Candle (Optional)
Once you’ve mastered the basic steps, you can get creative and decorate your tea light candle to your heart’s content. You can add dried flowers, herbs, or glitter to the top of the wax before it hardens for a beautiful touch. Just make sure that any decorations are fire-resistant and won’t interfere with the burning of the candle.
Step 10: Enjoy Your Tea Light Candle
Congratulations, you have successfully made your very own tea light candle! Now it’s time to sit back, relax, and enjoy your homemade creation’s soothing glow and scent. Plus, you can proudly say that you made it all by yourself!
By following these simple steps, you can easily create your own tea light candles for any occasion or just add a cozy touch to your home. Get creative with different colors and scents; soon enough, you’ll make batches of tea lights like a pro!
5 Additional Tips and Tricks
- Use Quality Wax: The quality of wax you choose will significantly impact the performance of your candle. Be it soy, beeswax, or paraffin, ensure it’s high-grade to get the best results.
- Melt Wax Safely: Always melt your wax in a double boiler to avoid overheating. Overheated wax can cause fires, ruin the fragrance oils, and create a poor quality candle.
- Proper Wicking: Make sure the wick is centered and straight. An off-center wick can cause the candle to burn unevenly, potentially damaging the container.
- Curing Time: Allow your candles to cure for at least 24 to 48 hours before burning. This will help the fragrance oils to fully bind with the wax, resulting in a longer-lasting, more evenly burning candle.
- Clean Tools Immediately: Clean any tools used immediately after candle making. Wax residue can be hard to remove once it’s cooled and hardened. Warm, soapy water should do the trick.

Once you’ve mastered the basic steps of making a tea light candle, here are a few additional tips and tricks to elevate your candle-making game. These practices will not only help you create better candles but also ensure safety and efficiency in the process.
5 Things You Should Avoid
- Avoid Cheap Fragrance Oils: Low-quality fragrance oils may not blend well with the wax and could affect the longevity of your tea light candle’s scent. Always opt for high-quality, pure fragrance oils.
- Don’t Skip Preheating Containers: Remembering to preheat your containers can lead to the wax pulling away from the sides as it cools, resulting in an attractive finish. Keep containers warm before pouring the wax.
- Overfilling Molds: Overfilling the molds can cause the wax to overflow, which can be messy and waste wax. Always measure accurately to avoid this.
- Ignoring Safety Measures: Making candles involves working with heat and flammable materials. Never ignore safety measures such as using heat-resistant gloves and working in a well-ventilated area.
- Rushing the Cooling Process: Speeding up the cooling process can lead to cracks in your candle. Allow the candle to cool naturally and slowly for the best results.
By avoiding these common mistakes and following these additional tips, you can create beautiful, high-quality tea light candles every time. Remember to experiment and have fun with different fragrances, colors, and designs to make your candles unique.
What Kind of Wax is Used for Tea Lights?
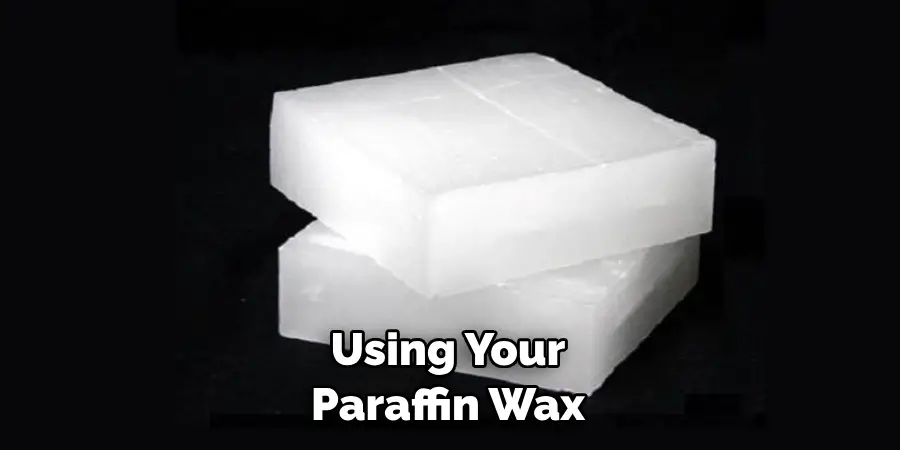
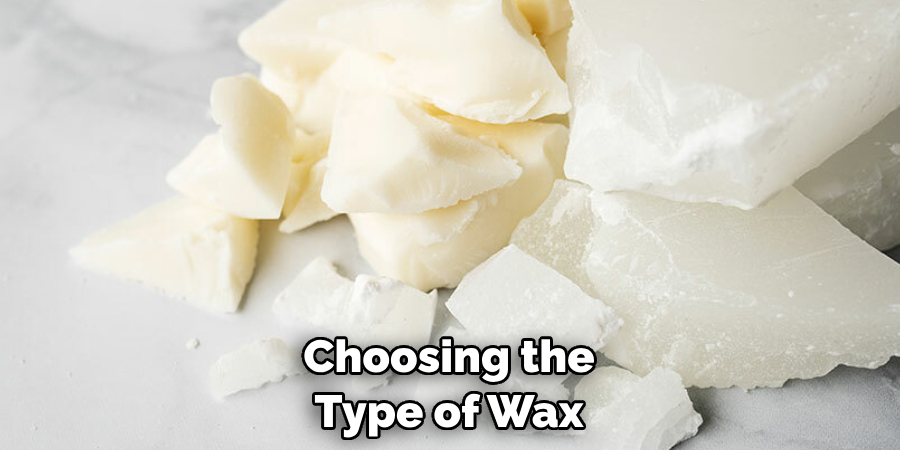
Tea light candles are typically made with paraffin wax, soy wax, or beeswax. Paraffin wax is the most commonly used type of wax due to its low cost and easy availability. Soy wax and beeswax are natural alternatives that offer a cleaner burn and can be appealing to those looking for more eco-friendly options.
Another important factor to consider when choosing the type of wax for your tea light candle is its melting point. Soy and beeswax have lower melting points than paraffin wax, meaning they may melt faster and have a shorter burn time. Paraffin wax has a higher melting point, making it more suitable for longer burning candles.

Ultimately, the type of wax used will depend on personal preference and the desired qualities of the candle. Some may prefer the clean burn of soy wax, while others may prioritize a longer burning time with paraffin wax. Experiment with different types of wax to find what works best for you.
Conclusion
Crafting your tea light candles allows you to create something beautiful and practical. Not only are they easy to make, but they can also serve as decorations for any occasion.
That said, making a tea light candle requires attention to detail and safety practices like keeping a fire extinguisher nearby in an emergency. Furthermore, it is important to ensure that all ingredients are measured accurately.
All in all, making tea light candles can be a fun and rewarding experience if done properly. If you enjoy creating homemade items like these or just want something unique as part of your décor, why not try them?
You may find yourself joining the ranks of many experienced craftspeople and discovering what makes this easy yet intricate endeavor so enjoyable! Make sure to check out our guide on how to make a tea light candle for recipes, tips, tricks, and advice from real-life crafters so you can get started today.
You Can Check It Out to Make Halloween Candles

