Are you a hobbyist metalworker? Do you have an arsenal of swords and other weapons that need to be put on display in your home, or are you at the start of your journey as a blacksmith looking for a way to store and transport your tools? If so, making a stylish sword holder is the perfect project for achieving aesthetically pleasing practicality. Crafting projects can be a fun, rewarding activity. With some time and patience, you can build yourself something both unique and useful.

In this blog post, we will look at how to make both wall-mounted and free-standing holders from simple materials like wood, leather, rope, paint or varnish – whatever best suits your needs! Follow along as we walk through the step-by-step process of how to make a sword holder— all you need are basic tools and materials to get started! Let’s get started!
The Benefits of Making a Sword Holder
1. Give Protection
A sword holder is a great way to store, transport and display your swords. It can help protect them from scratches, chips, or other damage. Also, having a custom-made holder will add an aesthetic touch to any room in your home.
2. Easy Accessibility
A sword holder makes it easier to access all your swords while also making them a part of the décor. When you want to take out or put away a weapon, you can simply reach for it without having to move everything else out of the way.
3. Safety
Having a sword holder ensures that the blades are safely stored and out of the way. This helps keep children and pets safe from sharp edges.
Materials Needed to Make a Sword Holder
- Hammer
- Nails
- Wooden Dowel Rods
- Measuring Tape
- Sandpaper
- Wood Glue
- Leather Cordage or Rope
- Paint or Varnish
- Wood screws (optional)
10 Instructions on How to Make a Sword Holder
1. Measurement

Measure and mark the area you want to mount the holder. Make sure it is at least two inches away from any other furniture or wall décor. The right measurement depends on the size of your swords and other weapons.
2. Drill
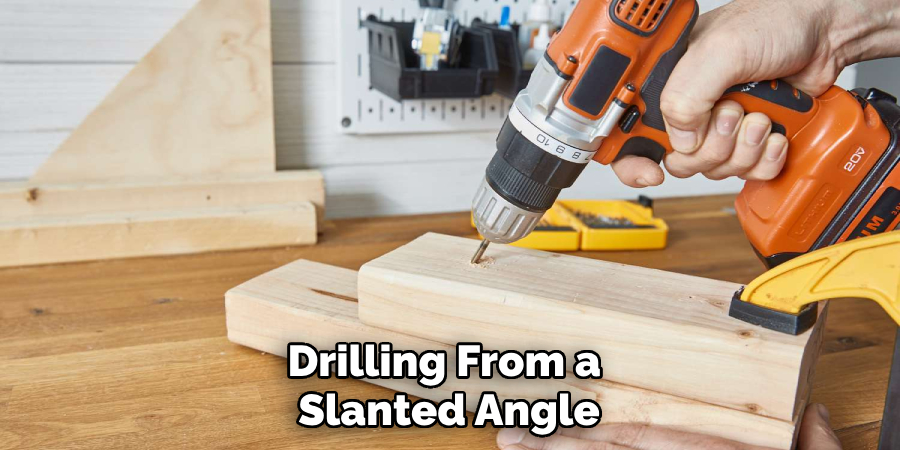
Drill two holes in the wall, spaced at least 6 inches apart from each other. Make sure they are deep enough to fit a screw or nail into them later on. Drilling from a slanted angle is recommended for better stability.
3. Dowel Rods
Cut wooden dowel rods to the desired length using a saw or jigsaw. Make sure they are slightly longer than your swords so that they don’t slide out of the holder. You can also use sandpaper to smooth and round off any rough edges on the dowel rods.
4. Wood Glue
Apply wood glue to the ends of each rod and let them dry for a few hours. This will help ensure that the rods are firmly attached to the holder and won’t wobble or fall off. Wood glue is also a good choice for attaching the rods to each other.
5. Attach to Wall
Attach the holder to the wall with screws or nails. Make sure that they are securely in place and not loose. You may need a leveler to make sure that the holder is straight before attaching it to the wall.
6. Leather Cordage/Rope
Cut the leather cordage or rope into strips. This material will be used to tie the swords in place and keep them from slipping out of the holder. The size of your cordage/rope should depend on the length of your swords.
7. Attach Cordage/Rope
Attach one end of each strip onto the top of the holder, and then wrap it around each sword. Tie a knot at the end to secure them in place. You can also attach cordage/rope onto both sides of each wooden dowel rod if desired.
8. Paint or Varnish

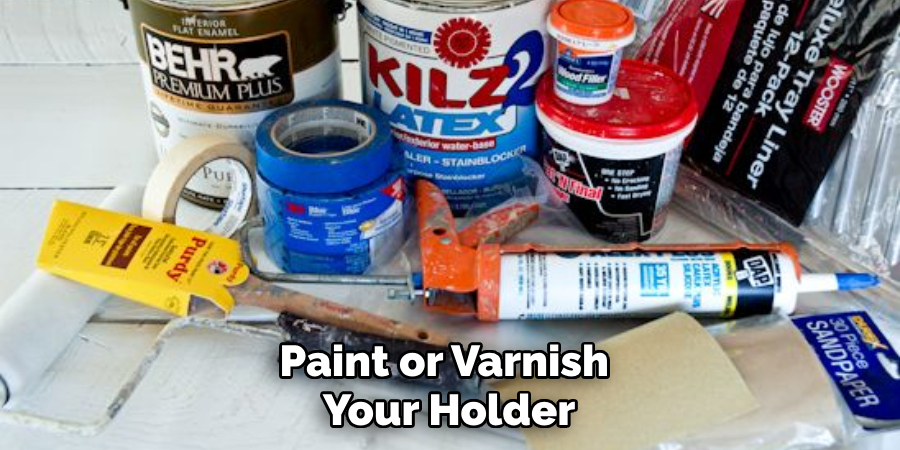
Paint or varnish your holder for a finished look that is resistant to moisture and wear. This will also help protect the wood from cracking and fading over time. Painting or varnishing the cordage/rope will help it last longer as well.
9. Add Decorations
You can also add decorations to your holder. This could include engravings, painting, leatherwork, and more. Get creative and design something that reflects your personality! Adding decorations will add a unique touch to your sword holder.
10. Hang Swords
Finally, hang your swords from the holder with the leather cordage/rope or other material you used. Make sure they are securely fastened and won’t slip off. You can also use a piece of wood on either side of the holder for additional stability if desired.
These are the steps for making a sword holder. With some patience and creativity, you can make something that is both practical and visually appealing. Have fun with your project!
8 Safety Precautions to Follow
Making a sword holder requires precision and attention to detail. Before beginning, it is important to take the necessary safety precautions in order to avoid injury or damage. Here are 8 safety precautions you should take when making a sword holder:

1. Wear protective gloves and eyewear when sawing or sanding wood. This will protect your hands and eyes from splinters and sawdust. Always double-check to make sure you have the right type of gloves and eyewear for your project.
2. Make sure that all power tools are unplugged when not in use. This is especially important if there are children or pets in the area, as an accident can easily occur with an unattended tool. Making sure that everything is turned off and unplugged will reduce the chances of an accident.
3. Keep your workspace free of debris and clutter. A cluttered workstation can be a tripping hazard or introduce extra materials into the project, which could ruin it. Clear away any unnecessary objects to ensure that you have full visibility while working on the sword holder.
4. Use a saw horse when sawing large pieces of wood. This will help keep the wood stable and reduce the chances of the saw blade slipping. It is also important that you use a vise to secure small pieces before cutting them.
5. Make sure drills are set to the correct speed for drilling. If they are too fast, it can cause the drill bit to overheat and break or create a dangerous situation.
6. Be aware of your surroundings when you’re sanding wood. Sawdust and wood particles can get into your eyes and mouth, so it is important that you wear a dust mask or respirator for added protection.
7. Make sure all pieces are securely fastened together. This will help ensure that the sword holder is structurally sound and won’t come apart easily when it is finished.
8. Read the instructions for any power tools before you use them. This will help prevent accidents from occurring and teach you how to properly use each tool for your projects. Reading instructions can also help you avoid costly damage to the material or the tool itself.
By following these 8 safety precautions, you can ensure that your sword holder project is a safe and successful one. Always use common sense and take time to double-check everything before beginning any project. With a bit of patience and careful planning, you will be able to make a unique sword holder that you can be proud of.
3 Maintenance Tips
When you have finished making your sword holder, there are a few maintenance tips to keep it in top condition.
- Firstly, it’s important that you regularly wipe down the wood with a damp cloth or sponge to remove any dust or other debris that may have accumulated over time. Regular cleaning will also help to prevent the wood from warping or cracking due to excessive moisture.
- Secondly, it’s important that you use a soft cloth when handling your sword holder. This is to protect the wood and ensure that any oils or dirt doesn’t get transferred onto it. It’s also important to avoid using any abrasive cleaning products on the wood as these can cause damage.
- Finally, check the secureness of the holder periodically by testing if the sword is firmly attached and can’t be easily moved or shaken off. You may need to re-tighten any screws over time, and it’s important that you use a screwdriver with the right head size to avoid stripping the threads.

Conclusion
To recap, an important part of crafting a sword holder is knowing what pieces and tools to use. Be sure to gather enough pieces for the structural frame as well as decorative accents. It is helpful to go to hardware stores or similar shops for your materials. Securing the ends with screws or nails will make the holder more reliable and stable.
If you are feeling particularly creative, then feel free to unleash a little bit of your imagination in this project, such as painting it in bold colors or adding decorations like scrap wood carvings. The possibilities are endless! With these essential tips about how to make a sword holder, we hope that you now have an idea of what it takes to build one. So, now that you know how it’s done, don’t wait – get started on making your own sword holder today!


