

Winter is a magical time of the year, and what better way to embrace it than by building your own snowman. It’s an age-old tradition that has been passed down for generations, and there’s nothing quite like the feeling of satisfaction when you see your creation come to life. While making a full-size snowman may be a bit daunting, starting with just the head can be a great way to get started and hone your skills.
Making a snowman head is a fun winter tradition that many people enjoy. Not only does it bring joy and laughter, but it also promotes creativity and imagination. In this section, we will discuss the advantages of making a snowman head and how it can benefit you. In this blog post, You will learn in detail how to make a snowman head.
Materials You Will Need
- 2 large Styrofoam balls
- 1 medium Styrofoam ball
- 3 wooden dowels
- A hot glue gun with glue sticks
- Black felt or construction paper
- Orange felt or construction paper
- Small black buttons for the eyes and mouth of the snowman head
- A black top hat or a piece of black fabric
- A scarf or a piece of fabric for the snowman’s neck
- Optional: Small twigs for the snowman’s arms
To create a festive winter decoration, making a snowman head is an easy and fun project. It can be used as part of your holiday decor or as a prop in a Christmas play. This tutorial will guide you through the steps on making a snowman head using simple materials.
Step by Step Processes for How to Make a Snowman Head
Step 1: Inspect and Prepare Your Materials
Before you begin, make sure you have all the necessary materials listed above for making a snowman head. You can purchase these items at any craft store or online. Once you have all your materials gathered, inspect them to ensure they are in good condition and ready to use.
Step 2: Assemble Your Tools
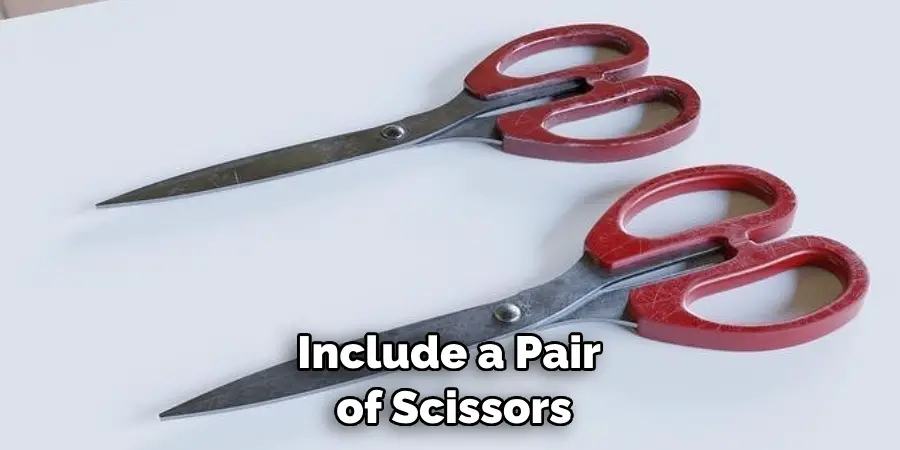
In addition to the materials, you will also need some basic tools to help you create your snowman head. These include a pair of scissors, a ruler, and a pencil. Take one wooden dowel and use the ruler and pencil to measure and mark three equal sections on it. Then, use the scissors to carefully cut along these markings to create three dowel pieces of equal length. These will be used as the snowman’s arms.
Step 3: Glue the Dowels to the Medium Styrofoam Ball
Take one of the wooden dowel pieces and use the hot glue gun to attach it vertically in the center of the medium Styrofoam ball. This will serve as the neck of your snowman head. Using the hot glue gun, attach the two large Styrofoam balls on either side of the medium ball. These will be the snowman’s head and body.
Step 4: Cut Out Shapes from Felt or Construction Paper
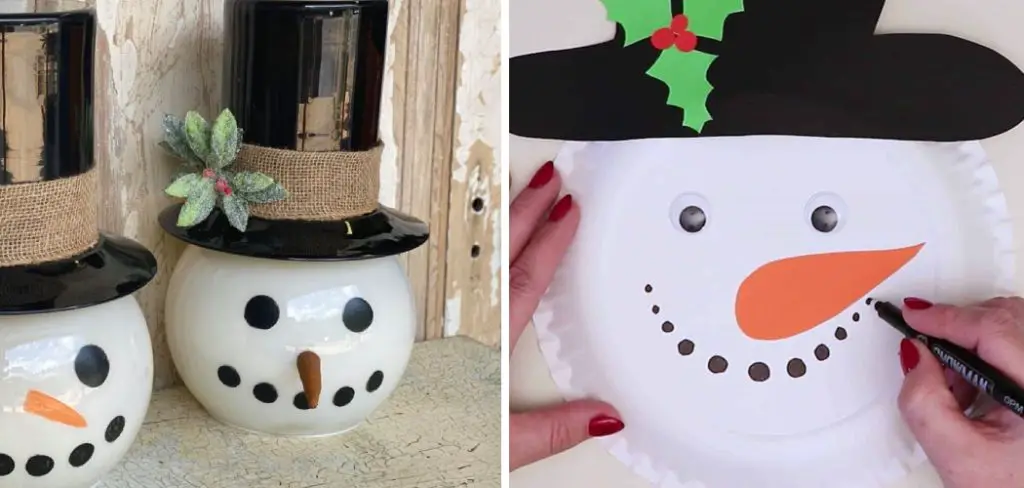
Using black felt or construction paper, cut out small circles for the snowman’s eyes and mouth. Then, use orange felt or construction paper to create a small triangle for the carrot nose. Using the hot glue gun, carefully attach the black circles for eyes and mouth onto one of the large Styrofoam balls. Then, attach the orange triangle for the nose just below the eyes.
Step 5: Add Buttons and a Top Hat
Using small black buttons, create three buttons down the front of the snowman’s body. Then, either use a black top hat or a piece of black fabric to create a hat for your snowman. Take your scarf or fabric and wrap it around the snowman’s neck, covering where the wooden dowel is attached.
If desired, you can attach small twigs to the sides of the snowman’s body to serve as arms. Use the hot glue gun to carefully attach them in place. By following these simple steps, you now have a completed snowman head ready to be displayed or used in any winter-themed project.
You can also get creative and add your own personal touches, such as adding a scarf with different patterns or using different colored buttons for the snowman’s body.
Tips for How to Make a Snowman Head
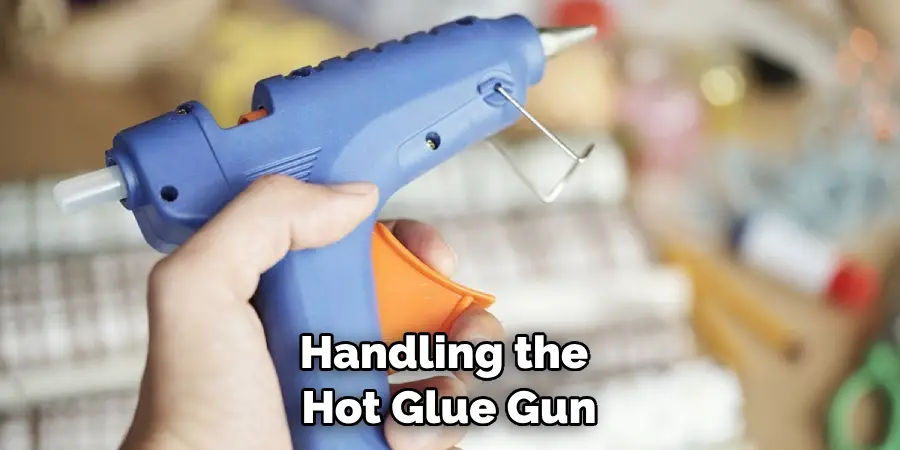
- Use caution when handling the hot glue gun to avoid burns.
- Be careful when using scissors to avoid any accidental cuts.
- Keep small buttons and other small materials away from young children to prevent choking hazards.
- Make sure all materials are securely attached to the snowman head to prevent pieces from falling off and potentially causing harm.
- If using twigs for arms, make sure they are not sharp or have any splinters that could cause injury.
- Always supervise children when making a snowman head to ensure their safety.
- Make sure to properly dispose of any leftover materials and clean up your workspace after completing the project to avoid any accidents or injuries.
By following these tips provided, you can easily create a snowman head to add some winter cheer to your home. Get creative with different facial expressions and accessories to make each snowman unique.
Do You Need to Use Any Specific Techniques for Shaping the Head?
When it comes to making a snowman head, there are no specific techniques that you need to use. However, there are some tips and tricks that can help you achieve the perfect round shape for your snowman’s head.
Firstly, make sure that the snow you are using is of good quality. Wet and heavy snow will be much easier to mold into a ball, while dry and powdery snow will fall apart easily. Next, try to pack the snow tightly as you shape it into a ball.
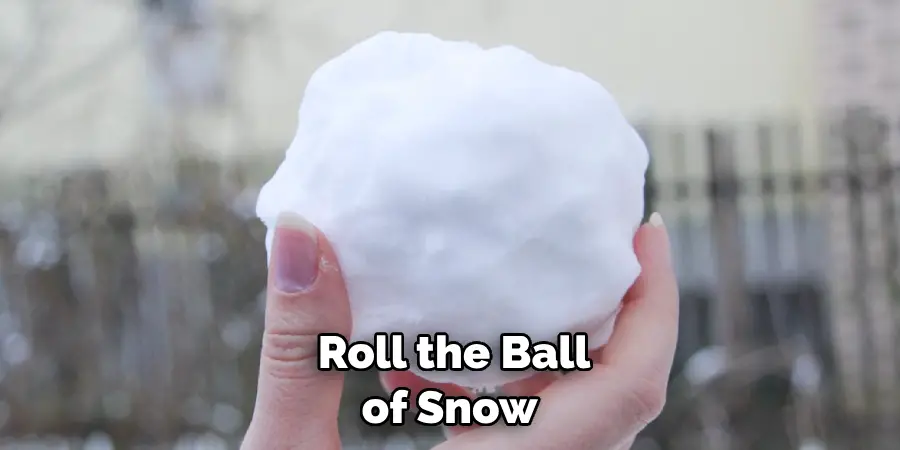
This will help keep the head intact and prevent it from falling apart later on. Another tip is to roll the ball of snow on a flat surface, using your hands to guide it into a round shape. You can also use a large plastic mold or bucket to help you achieve a perfectly round shape.
If you want to add some character to your snowman’s head, you can try shaping it into an oval instead of a perfect circle. This will give the head a more unique and playful look. Finally, don’t be afraid to experiment with different techniques and shapes when making your snowman’s head.
How Can You Prevent the Snowman’s Head From Melting or Falling Apart?
One of the biggest challenges when making a snowman is keeping its head intact. Snowmen are often prone to melting or falling apart due to changes in weather, insufficient packing, or weak structures. To prevent your snowman’s head from melting or falling apart, here are some tips and tricks:
1. Use Compacted Snow
When building the base of your snowman, make sure to use tightly packed snow. This will create a strong foundation and help prevent the head from sinking into the body.
2. Choose a Cool Day
If possible, choose a day with low temperatures to build your snowman. This will slow down the melting process and give you more time to work on the details of your snowman’s head.
3. Use a Sturdy Support
To keep your snowman’s head secure, use a long and sturdy stick as its core. This will provide extra stability and prevent the head from toppling over.
4. Avoid Direct Sunlight
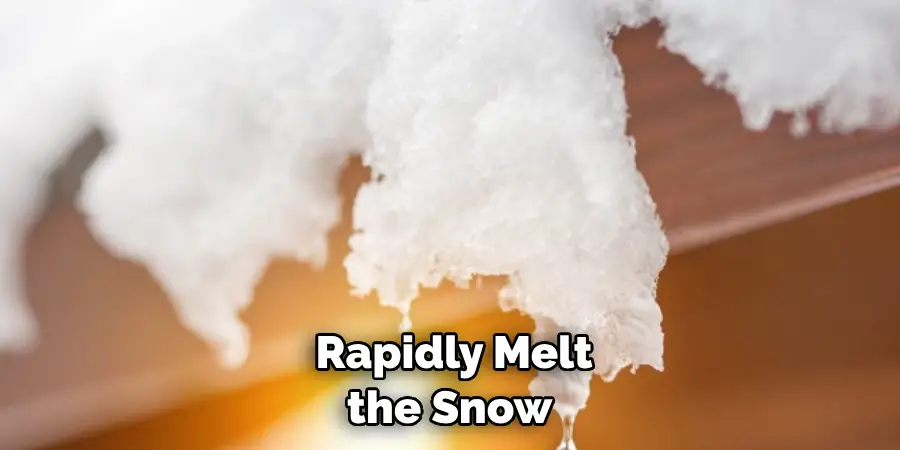
If you want your snowman to last longer, avoid placing it in direct sunlight. Sun rays can rapidly melt the snow and cause the head to detach or deform.
5. Use Accessories Instead of Facial Features
Instead of using traditional items like carrots for the nose or coal for the eyes, consider using accessories such as hats, scarves, or twigs to decorate your snowman’s head. This will not only add a unique touch but also reduce the risk of losing facial features due to melting.
6. Sprinkle Water on the Snow
A helpful tip to keep your snowman’s head from falling apart is to lightly sprinkle water on the snowy surfaces. This will create a thin layer of ice that acts as glue and keeps all parts of the snowman together.
By following these tips, you can ensure that your snowman’s head stays put and lasts longer without melting or falling apart.
Are There Any Creative Ways to Decorate the Snowman’s Head?
There are countless ways to decorate a snowman’s head, depending on your personal style and preferences. While the traditional carrot nose and coal eyes may be the go-to for many, there are plenty of creative options to make your snowman stand out. Here are some ideas on how you can decorate a snowman’s head:

- Use different fruits or vegetables for the nose: Instead of the usual carrot, you can opt for a red pepper, cucumber, or even a banana for a quirky and unexpected touch.
- Make the eyes out of buttons or other small objects: Instead of using coal, you can use colorful buttons, marbles, or other small objects to create unique and personalized eyes for your snowman. You can also experiment with different sizes and colors to give your snowman a playful look.
- Add accessories: Just like humans, snowmen can also wear hats, scarves, and other accessories to add personality. Have fun with it by using different fabrics or even making your own accessories out of paper or felt.
- Use food coloring for details: If you want to add more color to your snowman, you can use food coloring to create details like rosy cheeks or a smile. Just mix a few drops of food coloring with some water and use a small paintbrush to apply it.
- Get creative with the mouth: Instead of using sticks for the mouth, you can cut out different shapes from paper or felt and glue them on to create a smiling or laughing snowman.
- Make a unique hat: Instead of using a regular top hat or beanie, you can get creative and make a hat out of different materials like cardboard, fabric, or even ice. This will add an extra element of creativity to your snowman’s head.
These are just some ideas to get you started, but don’t be afraid to think outside the box and come up with your own unique ways to decorate a snowman’s head. The possibilities are endless, so let your imagination run wild.
Conclusion
In conclusion, making a snowman head is a fun and easy activity that can be enjoyed by people of all ages. It allows for creativity and personalization, making each snowman unique and special.
By following the steps outlined in this blog post, you can create your own snowman head and add it to your winter decorations. Not only is it a great outdoor activity to do with family and friends, but it also promotes physical activity and provides a sense of accomplishment once completed.
Furthermore, creating a snowman head is a great way to embrace the winter season and add some festive cheer to your surroundings. I hope reading this post has helped you learn how to make a snowman head. Make sure the safety precautions are carried out in the order listed.