

Making a pinwheel with a straw is not only a fun and creative activity, but it also has many benefits. Learning how to make a pinwheel can help develop fine motor skills, hand-eye coordination, and concentration in young children. It can also be used as an educational tool to teach about wind energy and the science behind how a pinwheel works.
The main advantage of learning to make a pinwheel with a straw is that it can be done with simple and easily available materials. This makes it an affordable activity for children of all ages. Additionally, making a pinwheel with a straw does not require any special skills or tools, making it accessible to everyone. In this blog post, You will learn in detail how to make a pinwheel with a straw.
Materials You Will Need
- 2 straws
- A square piece of paper
- Scissors
- Ruler
- Pencil
- Push pin or thumbtack
- Stapler (optional)
- Decorative items such as stickers, markers, glitter etc. (optional)
- Glue stick (optional but recommended)
Step-by-step Instructions for How to Make a Pinwheel With a Straw
Step 1: Inspect the Materials
Before beginning this project, gather all the necessary materials. Check to make sure you have everything you need: a straw, a square piece of paper, scissors, a pencil with an eraser and some tape.
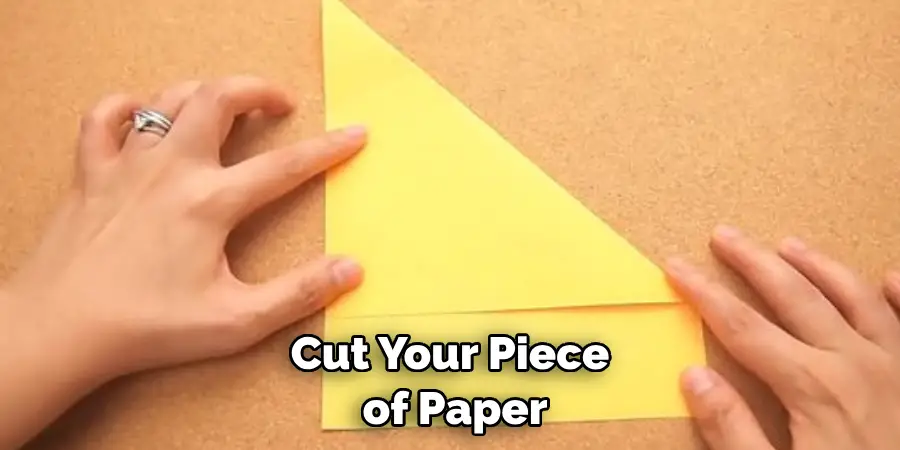
Step 2: Cut the Paper Into A Square
Using your scissors, cut your piece of paper into a perfect square. The recommended size is about 6 inches by 6 inches. With your pencil, draw lines from each corner of the square towards the center. These lines should be about halfway through the paper, creating an “X” shape.
Step 3: Cut Along the Lines
Using your scissors, carefully cut along each line from the corner to the center of the paper. Take every other tip created by cutting along the lines and fold them towards the center of the paper. Use your finger or a ruler to make sharp creases.
Step 4: Secure The Tips With Tape
Place a small piece of tape around the folded tips to secure them in place. Make sure the tape is tight and holds the tips firmly. Using your pencil, poke a hole in the center of the paper where all of the folded tips meet.
Step 5: Cut Your Straw
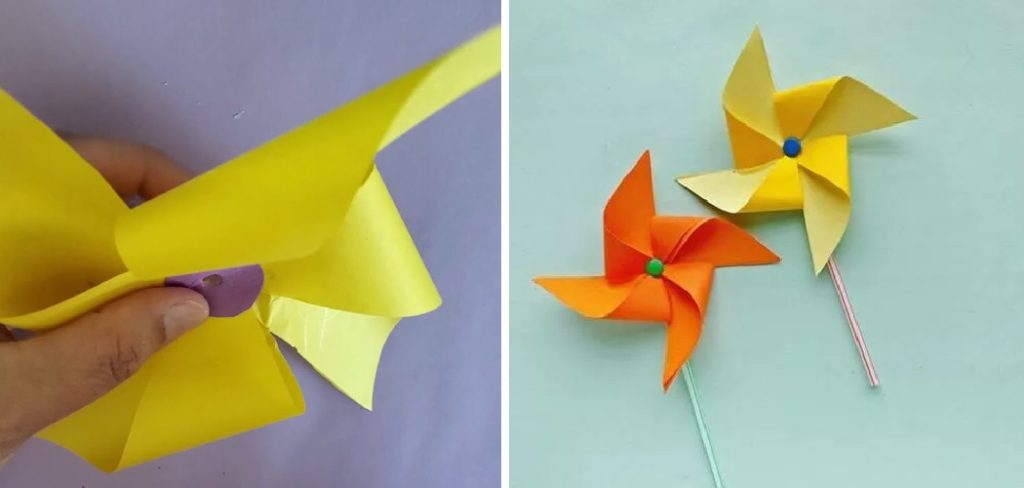
Cut the straw so that it’s about 2-3 inches long. Carefully insert one end of the straw into the hole in the center of the paper. Push it through until about half an inch is sticking out on the other side. Take all of the remaining tips and fold them over the straw. Make sure they are evenly spaced and not overlapping.
Step 6: Secure The Tips To The Straw
Once again, use a small piece of tape to secure the tips to the straw. This will prevent them from unfolding and keep the pinwheel in place. Hold onto the straw and give your pinwheel a spin! You should see all of the folded tips rotating around, creating a beautiful spinning effect.
Step 7: Experiment With Different Materials
While this tutorial uses paper and a straw, you can also try making pinwheels with different materials. Try using colored cardstock or even thin plastic sheets for a more durable pinwheel.
Making a pinwheel with a straw is a fun and easy project that can be enjoyed by people of all ages. So have fun creating different designs and spinning your pinwheels in the breeze! Overall, making a pinwheel with a straw is a great way to explore simple mechanics and create something beautiful at the same time.
Precautions for How to Make a Pinwheel With a Straw
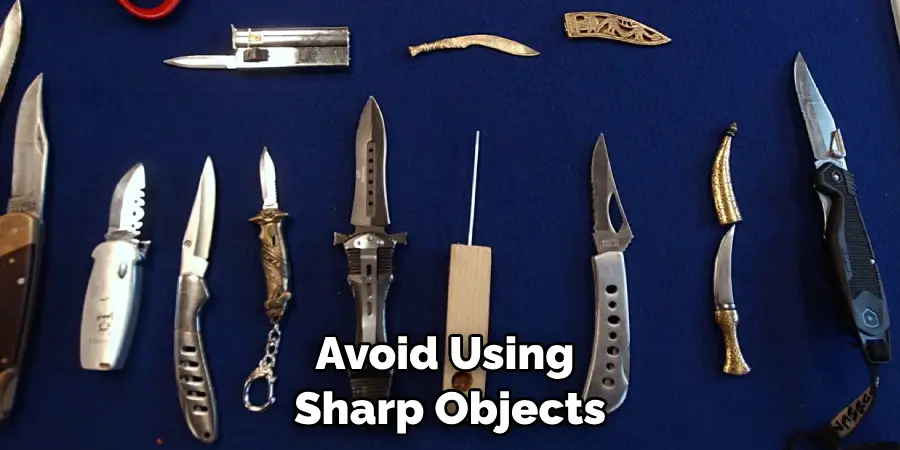
- Avoid using sharp objects such as scissors or knives when making a pinwheel with a straw, especially if children are involved. Instead, use safe alternatives like craft punches or paper clips to create the necessary holes.
- Make sure to supervise children while they are making their pinwheels and encourage them to always handle and dispose of the materials safely.
- When decorating the pinwheel, avoid using small and potentially hazardous materials like buttons or beads. Instead, opt for larger and safer decorations such as stickers or markers.
- If using a hot glue gun to secure the pinwheel, make sure to handle it carefully and keep it away from children.
- When attaching the straw to the pinwheel, be cautious not to poke yourself with the pin or paper fastener.
- If using a fan to test your pinwheel, make sure to keep fingers and hair away from the blades.
- Always dispose of materials properly after making the pinwheel, especially if any sharp objects were used.
Making a pinwheel with a straw is not only a fun activity, but it can also be a great way to teach children about the importance of safety and handling objects carefully. By following these simple precautions, you can ensure a safe and enjoyable crafting experience for everyone involved.
Are There Any Alternative Methods for Making a Pinwheel With a Straw?
There are several alternative methods for making a pinwheel with a straw. While the traditional method involves using paper and scissors, there are other creative techniques that can be used. One popular method is to use fabric instead of paper. This adds a unique texture and durability to the pinwheel.
Simply cut out two squares of fabric and glue them onto the straw in a criss-cross pattern. You can then attach a button or bead to the center for decoration.Another alternative method is using recycled materials such as plastic bottles or cardboard.
By cutting out shapes and attaching them to the straw, you can create a pinwheel that is not only unique but also environmentally friendly. For those who enjoy a challenge, there are even designs available online for 3D printed pinwheels. Using a 3D printer, you can print out the various components of a pinwheel and assemble it with a straw as the base.
How Do You Clean and Maintain Your Pinwheel After It Has Been Used?
After creating your pinwheel with a straw, you may be wondering how to clean and maintain it for future use. Proper care and maintenance can help extend the life of your pinwheel and keep it in good working condition. Here are some tips on how to clean and maintain your pinwheel:
1. Remove Any Dirt or Debris

Before cleaning your pinwheel, make sure to remove any dirt or debris that may have accumulated on it. This can be done by gently dusting off the pinwheel with a soft cloth or brush.
2. Wash with Soap and Water
To clean your pinwheel, mix some mild dish soap with warm water in a bowl. Dip the pinwheel into the solution and swirl it around for a few minutes. Then, rinse the pinwheel with clean water and gently pat it dry with a towel.
3. Lubricate the Moving Parts
If your pinwheel has any moving parts, such as a spinning straw or wheel, it is important to lubricate them regularly. This will help prevent friction and keep the pinwheel running smoothly. You can use a small amount of oil or grease for this purpose.
4. Store in a Dry Place
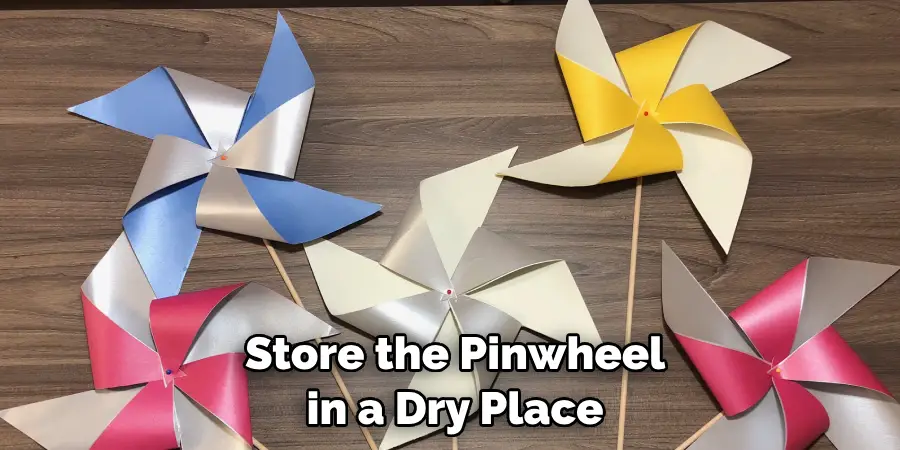
After cleaning, make sure to completely dry your pinwheel before storing it. It is best to store the pinwheel in a dry place, away from moisture and direct sunlight. This will help prevent rust or damage to the pinwheel.
5. Check for Wear and Tear
Regularly inspect your pinwheel for any signs of wear and tear. If you notice any damage, such as a bent straw or broken wheel, make sure to repair or replace it before using the pinwheel again.
6. Use Caution When Playing
When using your pinwheel, make sure to handle it gently and avoid applying too much force. This will help prevent any damage or breakage.
By following these simple steps, you can keep your pinwheel in good condition and enjoy using it for a long time. Remember to clean and maintain your pinwheel after each use to ensure its longevity.
How Do You Attach the Paper to the Straw for the Pinwheel?
When it comes to making a pinwheel with a straw, the most important part is attaching the paper to the straw. This is what allows the pinwheel to spin and catch the wind. There are several methods you can use to attach the paper, each with its own advantages and limitations. One simple method is using tape or glue to secure the paper onto the straw. This is quick and easy, but it may not provide enough stability for the pinwheel to spin smoothly. If you use this method, make sure to apply the tape or glue evenly and avoid any gaps between the paper and straw.
Another popular method is using a push pin or thumbtack to secure the paper onto the straw. This ensures a firmer hold on the paper and allows the pinwheel to spin more smoothly. However, it may leave small holes in the paper and may not be suitable for younger children. For a more creative approach, you can also use decorative brads or paper fasteners to attach the paper onto the straw. This adds an extra element of design to your pinwheel and provides a secure hold. Just make sure to poke holes in the paper beforehand to avoid tearing or damaging it.
Conclusion
In conclusion, making a pinwheel with a straw is not only a fun and creative activity, but it also serves as an educational tool for children to learn about the science behind wind power. By following these simple steps, you can create your own pinwheel using readily available materials such as straws, paper, and push pins.
One of the key takeaways from this project is that we can harness the power of wind to create movement and energy. This concept can be further explored by discussing how wind turbines work and their impact on renewable energy sources. By engaging in hands-on activities like making a pinwheel, children can develop a better understanding and appreciation for these important concepts. I hope this article has been beneficial for learning how to make a pinwheel with a straw. Make Sure the precautionary measures are followed chronologically.