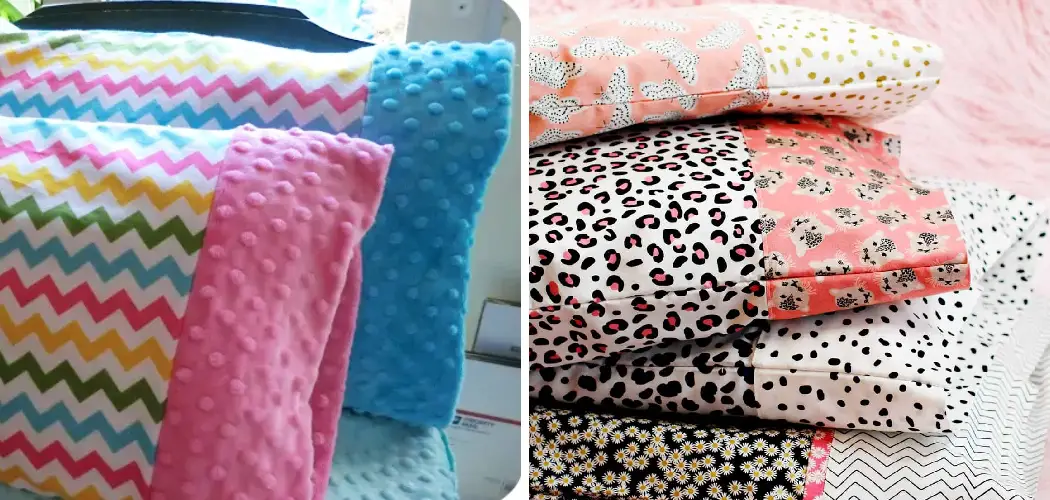
Do you want to give your bedroom a quick and easy makeover? Pillowcases can be a wonderful way to add some color, texture, or pattern to an otherwise plain room. Making pillowcases with cuffs adds an extra layer of visual interest as well as making them easier to use.
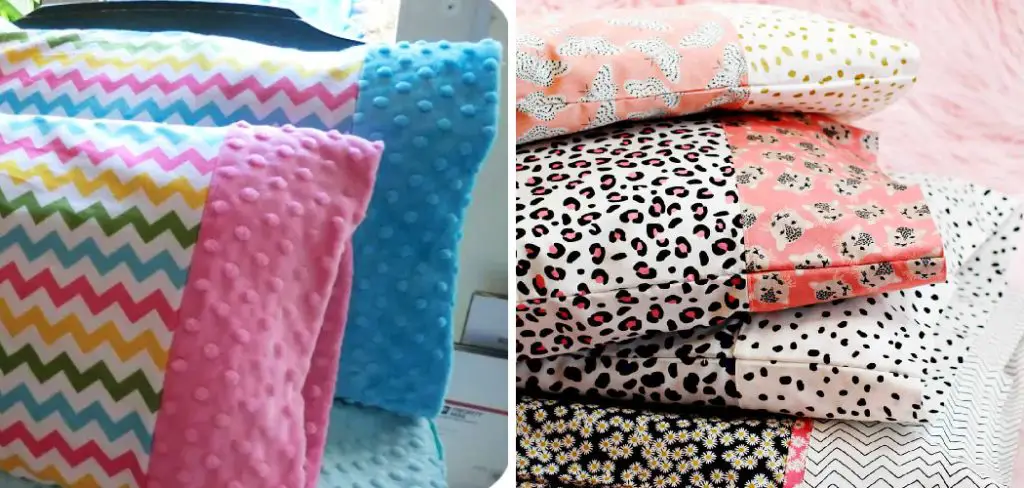
In this blog post on how to make a pillowcase with a cuff, we’ll take you through the steps for creating beautiful pillowcases with decorative cuffs in no time at all! So grab your supplies and get ready – let’s get crafting!
What is Pillowcase?
A pillowcase is a piece of cloth used to cover a pillow and usually includes an opening at one end through which the pillow can be easily inserted or removed. Pillowcases are one of the simplest sewing projects you can make as they require few materials and have a straightforward construction.
What is a Cuff?
A cuff is an extra band of fabric at the end of a garment or piece of fabric. In this case, it will be attached to the opening of the pillowcase in order to provide extra decoration and make it easier to use.
What You Will Need
- One Yard of Cotton Fabric (Amount May Vary Depending on Size)
- Thread
- Sewing Machine (or Needle and Thread)
- Scissors
- Iron (Optional)
- Measuring Tape or Ruler
Step-by-step Guidelines on How to Make a Pillowcase With a Cuff
Step 1: Measure the Fabric
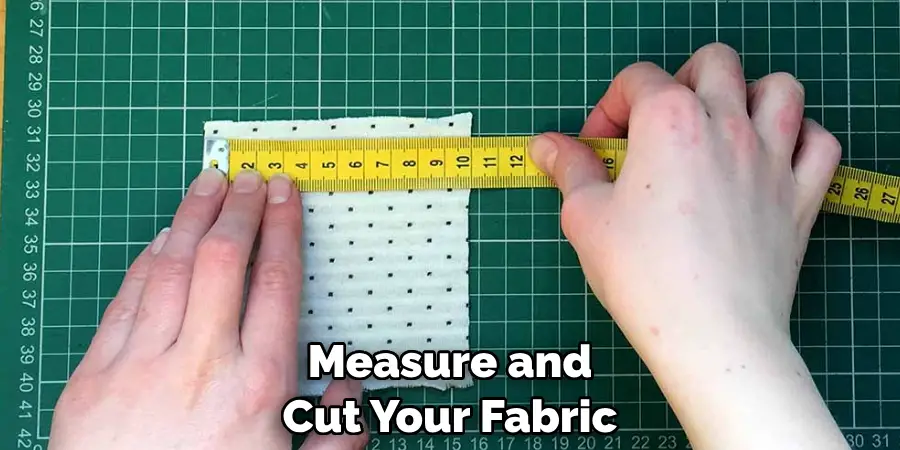
Measure and cut your fabric to the desired size for your pillowcase. Generally, you will want the fabric to be twice as wide as the finished pillowcase is long, plus 1 inch for seam allowance. It is important to have extra fabric so that you can create the cuff at the end. But if you are short on fabric, it is okay to go a bit shorter. It just won’t be as voluminous.
Step 2: Cut the Cuff Fabric
Cut a strip of fabric for the cuff that is twice as wide as the finished pillowcase and 6 inches tall. This will give you enough room to fold the cuff in half so it fits around the pillow nicely. If you want a larger cuff, feel free to cut it taller. It will just take longer to sew.
You can also cut the cuff in a coordinating fabric to add some extra color and texture. This is a great way to add some extra visual interest to your pillowcase.
Step 3: Sew Cuff Fabric Together
Fold the fabric for the cuff in half lengthwise and pin it together with straight pins. Sew down both sides using a ¼ inch seam allowance. Turn the right side out and press with an iron, making sure all edges are flat and straight. It is important to have a nice, crisp edge here as this will give your pillowcase a professional finish. This step can be done by hand or with a sewing machine.
Step 4: Attach Cuff to Pillowcase
Take your main piece of fabric for the pillowcase and lay it out flat. Lay the cuff along one of the shorter sides of the fabric, right side up. Pin both pieces together with straight pins and sew them together using a ¼ inch seam allowance.
It is important to make sure that the long sides of the cuff line up with the raw edges of the pillowcase fabric. You can also use a zigzag stitch to make sure the seam is extra secure.
Step 5: Fold Pillowcase in Half
Fold the two long edges of the pillowcase in towards each other so they meet in the middle, making sure to match up all four corners (you should now have a rectangular shape). Pin all four corners together with straight pins. It is important to make sure the edges of the cuff are tucked in so they don’t get caught in the seam. But if they do, it’s okay – this can be fixed with a needle and thread.
Step 6: Finish Cuff Seam
Finish off your cuff by sewing around all four sides using a ½ inch seam allowance. This will make sure that your cuff is secure and won’t come apart. This step can also be done by hand or with a sewing machine. It is important to make sure the edges of the cuff are still tucked in so they don’t get caught in the seam.
Step 7: Finish Pillowcase Seams
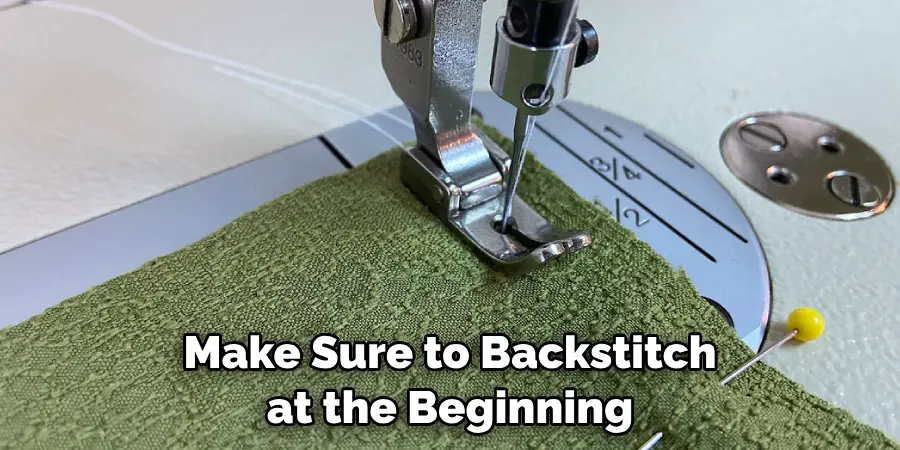
Finish off your pillowcase by sewing around all four sides using a ½ inch seam allowance. Make sure to backstitch at the beginning and end of each seam to secure them in place. Otherwise, they may come undone over time. This step can also be done by hand or with a sewing machine. It is important to make sure the edges of the cuff are still tucked in so they don’t get caught in the seam.
Step 8: Turn Right Side Out
Turn your pillowcase right side out and press with an iron, making sure all edges are neat and flat. Optionally, you can top stitch along the edges for extra reinforcement. It is important to make sure the edges of the cuff are still tucked in so they don’t get caught in the seam.
But if they do, it’s okay – this can be fixed with a needle and thread. It is also important to make sure to press all seams flat so that your pillowcase looks nice and professional.
Step 9: Insert Pillow Form
Insert your pillow form into the finished pillowcase and adjust the filling as needed so that it’s snug inside. You can use a zipper or buttons to close up the opening if desired. Although it isn’t strictly necessary, it will give your pillowcase a nice finished look. You can also add decorative trim or lace around the edges of the opening if desired.
Step 10: Trim Excess Fabric
Trim any excess fabric from the seams of your pillowcase as needed. This will help make sure that all edges are even and create a neat, professional look. If you are using a zipper or buttons to close the opening, make sure to leave enough extra fabric so that it still fits securely. But if you are not using a closure, it is okay to trim off any extra fabric.
Step 11: Enjoy Your Pillowcase!
You’re done! Congratulations – you have just completed a beautiful pillowcase with a cuff. Now it’s time to enjoy your new creation in the comfort of your own home! Always remember to follow the manufacturer’s instructions when caring for your pillowcase to ensure it will last for years to come. It’s also a great idea to hand wash it or place it in the washing machine on a gentle cycle. Happy crafting!

That’s all there is to it! We hope this guide on how to make a pillowcase with a cuff was helpful. Now you can easily add some style and color to your bedroom without breaking the bank or spending hours at the sewing machine.
Frequently Asked Questions
Q: Can I Use Different Fabrics for the Pillowcase and Cuff?
A: Yes, absolutely! You can use any type of fabric you like. Just make sure that both fabrics are the same width and length before sewing them together.
Q: Do I Need an Iron?
A: An iron is not necessary, but it will help you achieve a crisp, professional look for your pillowcase with a cuff.
Q: How Long Does it Take to Make a Pillowcase With a Cuff?
A: It usually takes about 30 minutes to complete the project. This includes time for measuring, cutting fabric, and sewing all of the pieces together.
Q: What Size Should I Make My Pillowcase?
A: This will depend on the size of your pillow form. Generally, a pillowcase should be about twice as wide as the finished pillowcase is long, plus 1 inch for seam allowance.
We hope these instructions on how to make a pillowcase with a cuff were helpful in making your own beautiful creations! Now you can quickly and easily add some style and color to any room in your home! Plus, it’s a great way to use up fabric scraps or other materials that you may have lying around.
Conclusion
Congratulations! You’ve just finished creating a beautiful pillowcase with a cuff. Not only did you learn how to follow instructions and complete a helpful project, but you also now have something new to brighten up your space. With this knowledge under your belt, you can move on to even more intricate sewing projects.
Why not try making a rectangular fabric basket for decoration or storage? Start by gathering the materials and tools, then follow the steps on how to make a pillowcase with a cuff to finish the project.
Before long, you’ll have another creative piece of homeware that will bring color and style into any room. Taking on fun projects like these is one great way to show off your skills. So don’t be afraid to get started – give it a try today!

