
Do you want to make a paper coffin for Halloween decorations? Building a paper coffin doesn’t have to be complicated or expensive; it can be an easy and creative way to dress up your home for the spooky season. With just a few simple steps, you’ll soon have your very own custom-made, frightfully fun coffin!

In this blog post, we will show you how to make a paper coffin using everyday materials such as craft paper, scissors, tape, and glue – in no time flat. So grab yourself some basic supplies and get ready to create something truly unique – it may even become one of your favorite crafts yet!
What Is the Paper Coffin Box Called?
The paper coffin box is also known as a mailer or envelope mailer. It has two parts: the inner box and the outer sleeve. The inner box is designed to fit snugly over items that need protection during shipping, while the outer sleeve provides an additional layer of protection against dust and moisture. The paper coffin is a great way to package items for both mailing and storage purposes.
It can be customized with printed graphics, logos, or artwork, allowing you to create distinctive packaging solutions. You can find pre-made mailers in various sizes or create your own unique size by cutting cardboard into the desired dimensions.
In addition to being an attractive option for mailing items, paper coffins are also popular for arts and crafts projects. You can use them to make custom gift boxes, decorations, or even miniature caskets. The possibilities are endless!
No matter what you’re using the paper coffin box for, be sure to use quality materials that will provide maximum protection and withstand the rigors of shipping. While they may look delicate, these mailers are durable enough to keep your items safe while they’re in transit. With a little creativity and some careful planning, you can create stylish packaging solutions with this versatile product.
10 Methods How to Make a Paper Coffin
1. Gather Your Supplies
To make a paper coffin, you will need a sheet of paper, a pencil, scissors, glue, and tape. You will also need a ruler or a straight edge to help you make clean, straight cuts. If you want to decorate your casket, you can also collect other decorative materials like markers, stickers, or glitter. Although not strictly necessary, it is helpful to have a paper trimmer or guillotine for making precise cuts.
2. Fold the Paper in Half
Start by folding your sheet of paper in half lengthwise. Once the paper is folded, crease it well so that the fold is nice and sharp. Take the two ends of the paper and fold them inwards to meet at the center crease. This will create a triangular shape when unfolding.
Once you’re happy with the shape, crease the two folds again and unfold. If you want, you can also make a fold in the middle to give your coffin an extra layer of depth. To finish this step, open up the coffin and fold it back in half lengthwise. Your paper should now have four layers.
3. Cut Out the Coffin Shape
Next, use your scissors to cut out the shape of a coffin from the folded sheet of paper. To do this, start by cutting a rectangle that is about 3 inches wide and 8 inches long. Then, cut two triangles out of the sides of the rectangle to create the coffin shape. Finally, cut two more small rectangles from the top and bottom of the rectangle to make the lid and base.
This will result in a coffin-shaped sheet of paper. Though you can make the coffin any size you want, a paper coffin traditionally has a slightly larger lid than the base. When you are finished cutting out the coffin shape, unfold the paper to reveal your completed craft.
4. Unfold the Coffin
Once you have cut out the coffin shape, unfold the paper so that you have a flat piece again. Make sure the corners and sides line up properly. You can use a ruler or a straight edge to help you get everything aligned correctly.
While you are unfolding the paper, make sure to press down firmly on each fold so that it is nice and crisp. This will make sure your coffin looks neat and professional. Try to avoid creasing or wrinkling the paper.
5. Fold Up the Bottom Edge
Fold up the bottom edge of the coffin shape about 1 inch. Once you have done this, crease the fold well so that it stays in place. This will give your coffin a slightly raised bottom edge. You may need to adjust the size of the fold in order for it to fit your desired dimensions.
However, the standard fold should be about 1 inch. To make sure that the fold stays in place, you can use a glue stick to secure it. Additionally, you can use some tape to reinforce the fold.
6. Fold in the Side Edges
Next, fold in each of the side edges of the coffin shape about 1 inch. Again, be sure to crease these folds well so that they stay in place. You can optionally glue the folds to reinforce them further. To make the coffin extra sturdy, you may opt to fold in the side edges twice.
When finished, the sides of your coffin should be straight and even. However, if you want to give your coffin a more authentic look, you can adjust the side folds to create a slight curve. Although the sides are now folded in, the top of your coffin should still be open.
7. Glue or Tape Down the Folds
Now it’s time to secure the folds you just made. You can do this by either gluing them down or taping them down with clear tape. Either method will help the coffin maintain its shape. Make sure to apply glue or tape to all of the corners and sides so that everything is secure.
While you are doing this, be sure to keep the coffin flat and firmly press down on all of the folds. If you’re using glue, let it dry for at least 30 minutes to ensure that it stays in place. Try to avoid using too much glue, as this can cause the paper to wrinkle. Make sure all of the folds are secure before moving on to the next step.
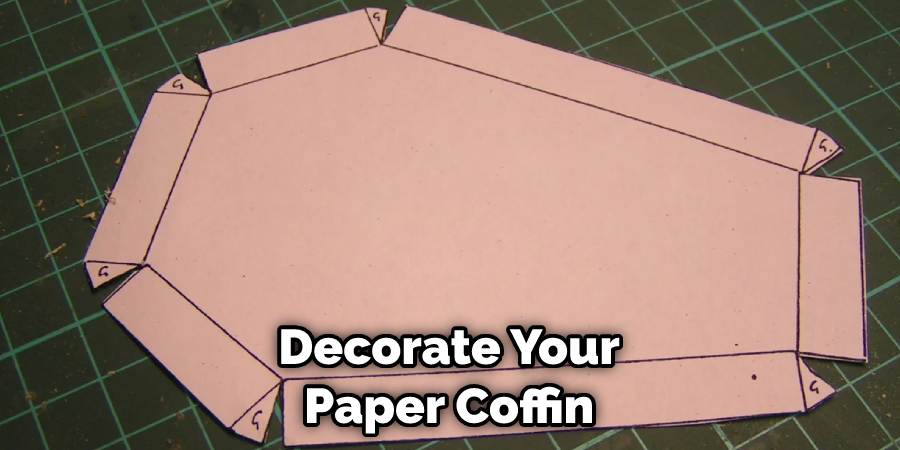
8. Decorate Your Coffin
Once all of the folds are secured, you can decorate your coffin however you like! You could paint it, add stickers, or even wrap it in fabric or yarn. If desired, you can also add embellishments like knobs or hinges for a more realistic look.
Be creative and design your coffin to reflect your personality and style! Once you’re finished decorating, your paper coffin is ready to be displayed or used as part of an interesting Halloween decoration. Have fun!
9. Fill Your Coffin With Funeral Supplies!
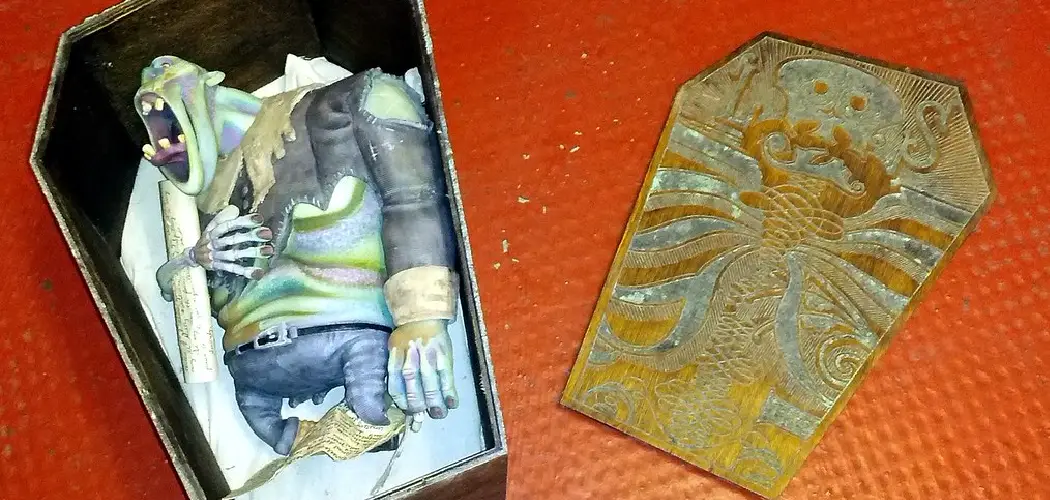
Now that your coffin is complete, it’s time to fill it with funeral supplies! You could add things like fake flowers, black balloons and spooky Halloween decorations. Get creative and have fun! Finally, you can put your paper coffin together to make the full effect!
With these simple steps, you now know how to make a paper coffin. Enjoy making your own unique and creative casket! Additionally, you can use this same process to create other fun crafts, such as paper boxes or even a mini coffin.
While the paper coffin is not an appropriate substitute for a real casket, it can be used as part of a Halloween decoration or craft project. Go ahead and let your imagination run wild! Have fun inventing new crafts with a paper coffin.
10. Have a Spooky Good Time!
Your paper coffin is now complete and ready to be used in your Halloween festivities! You can use it to spook your friends or as a decoration for your home. Have fun with it, and remember to stay safe this Halloween!
We hope you enjoy crafting your paper coffin and creating the perfect atmosphere for your festivities. Although it may take some time and effort, you’ll be sure to have a coffin that looks great and is one of a kind!
Conclusion
Creating a paper coffin for Halloween decorations is a fun, crafty way to make your house look spookier! With the steps provided in this article, starting with gathering all of the supplies and materials, then following instructions on how to construct the coffin, as well as tips on how to make a paper coffin – you can create an amazing and eerie-looking paper coffin in no time!
Give it a try this Halloween season and have a graveyard-themed party – you won’t be disappointed. Invite friends or loved ones to participate in making the coffins and set up a haunted night your house won’t forget – it’ll be scream-worthy!
So don’t miss out on your chance for some easy DIY decoration that will leave your guests wanting more. Get creative, get crafting, and make sure you post pictures of your creations – happy haunting!