
The crab stitch is a beautiful, decorative crochet stitch that can be used to edge blankets, scarves, and other items. So, we need to learn How to Do a Crab Stitch in Crochet. It’s also known as the reverse single crochet stitch and creates a lovely, scalloped edge on any project it’s added to. Knowing how to do this stitch opens up many creative possibilities for your crochet projects. Plus, it’s an easy stitch to learn and master, so you can quickly add it to your repertoire of crochet skills.

The crab stitch in crochet is a unique, decorative edging that makes items look more polished and professional. It adds texture to projects like scarves, blankets, and sweaters. The advantage of using the crab stitch is that it has a firm border that will not stretch out from wear or washing. It also works quickly and easily. The crab stitch is also reversible as it looks the same on both sides of the fabric, making it popular for items like headbands and cowls that are meant to be worn or viewed from both sides. In this blog post, You will learn in detail how to do a crab stitch in crochet.
Step-by-Step Processes for How to Do a Crab Stitch in Crochet
Step 1: Inspect Your Work
Before you begin, look at the stitches and rows of the project you are working on. Make sure that each stitch looks uniform and that all the loops appear to be of even size for the crab stitch to work properly.
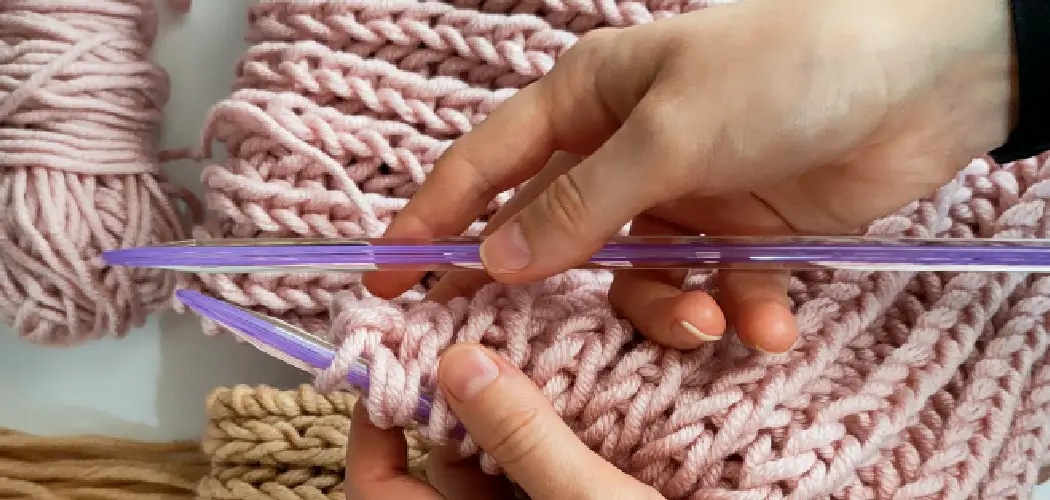
Step 2: Make a Foundation Chain
Using the appropriate size of crochet hook, start off with a foundation chain that is one stitch longer than the desired width of your project. For example, if you want to make a 10-stitch wide crab stitch, then create an 11-stitch foundation chain. Pull up each loop and make sure the tension is even throughout.
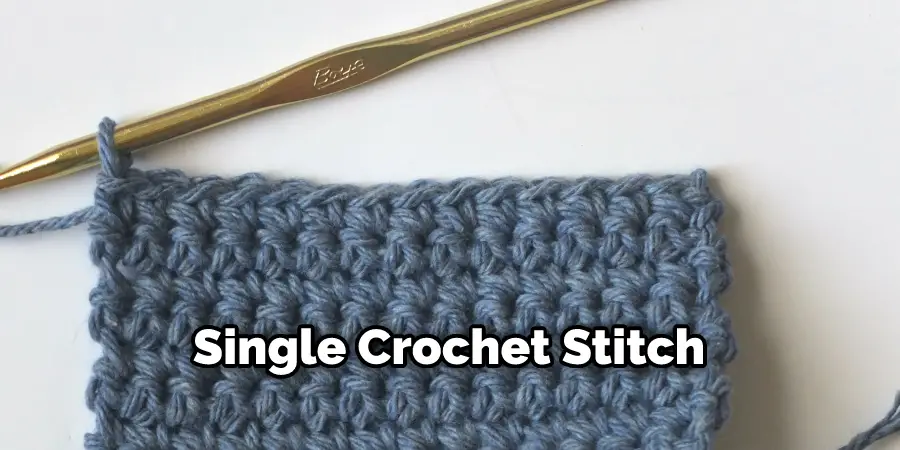
Step 3: Make a Single Crochet Stitch
Once you reach the end of the chain, insert your crochet hook into the back loop (the first stitch from your foundation chain), yarn over, and pull through both loops. This creates one single crochet stitch. Make a crab stitch by inserting your crochet hook through the next stitch, yarn over, and pull through both loops. This should give you two loops on your crochet hook; yarn over again and pull through only one loop. Repeat this motion for the rest of the stitches in the row.
Step 4: Make an Edge Crab Stitch
You will need to make an edge crab stitch at the end of your row. To do this, simply insert your crochet hook through the last stitch (the foundation chain) and pull up a loop. Yarn over and pull through both loops. To create multiple rows of crab stitches, start by chaining one more stitch than the desired width of your project. For example, if you’re making a 10-stitch wide crab stitch, then create an 11-stitch foundation chain.
Step 5: Work From Row to Row
To begin each row, insert your crochet hook into the back loop (the first stitch from your foundation chain). This time, you will be making crab stitches instead of making a single crochet stitch. Yarn over and pull through both loops. When ending each row, make an edge crab stitch by inserting your crochet hook through the last stitch (the foundation chain) and pulling up a loop. Yarn over and pull through both loops. Repeat this process for each new row until you reach the desired length.
Step 6: Increase or Decrease Crab Stitch Width
To increase or decrease the width of your crab stitch project, simply chain more or fewer stitches for your foundation chain. For example, if you want to make a 10-stitch wide crab stitch, then create an 11-stitch foundation chain. To finish your work and fasten off the crab stitch project, cut the yarn and draw the tail through the last loop that is on your hook.
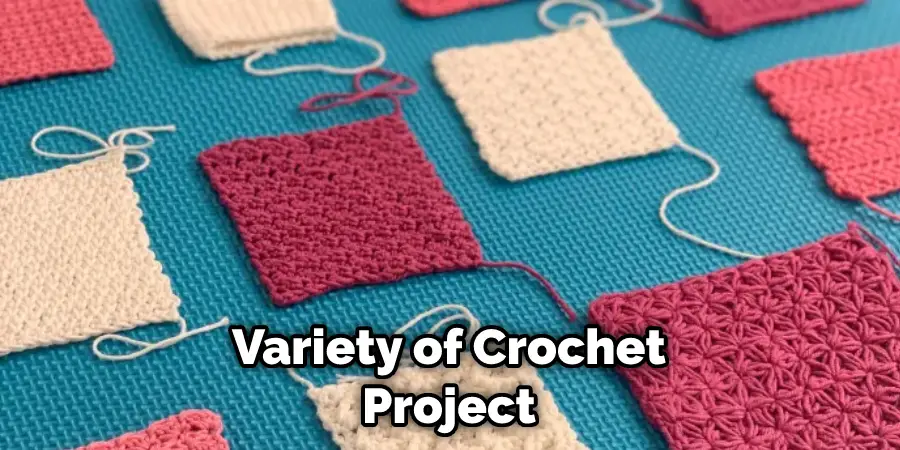
Pull it tight to secure the end. You have now successfully completed a single crochet crab stitch. By following these steps, you will be able to easily complete a variety of crochet projects that utilize the crab stitch. With its unique texture and design, this stitch is great for adorning blankets, hats, and scarves.
Safety Tips for How to Do a Crab Stitch in Crochet
- Make sure you have the correct crochet hook size for the yarn or thread that you’re using. Hooks that are too small won’t fit over stitches, whereas hooks that are too large can make your work look sloppy and uneven.
- Always read the pattern instructions carefully before starting a project to understand any special techniques or specific abbreviations used in the pattern.
- When starting your crab stitch, always work from right to left or vice versa so that the stitches face one direction throughout the project.
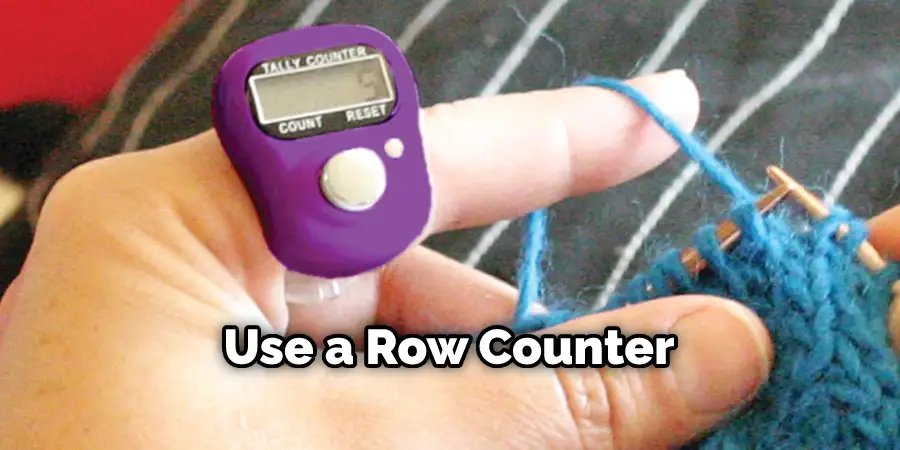
- To track where you are in a pattern, use a row counter, yarn marker, or post-it note to mark the row or round you’re currently working on.
- To ensure your tension is even throughout, it’s important to practice making consistent stitches and adjust your tension as necessary.
- When starting a stitch, always insert the hook through both loops of the previous stitch and pull up a loop for the new stitch.
- Be sure to keep an eye on your work as you go and make any needed adjustments along the way. This can help prevent mistakes or ensure that the finished project looks even and consistent throughout.
- Make sure to take regular breaks while crocheting so that your hands and wrists don’t get too tired or sore. If your hands become fatigued, take a break and return to the project when you feel rested. That way, you can ensure that your work looks neat and even.
By following these safety tips for Doing a Crab Stitch in Crochet, you can ensure that your project looks and feels great.
How Can You Make Sure That Your Finished Project Looks Neat and Professional?
After completing your Crab Stitch in Crochet project, it is important to ensure that the finished look looks neat and professional. To do this, ensure that all your stitches are even and tight. Take the time to check your work and adjust individual stitches as necessary to match up evenly with the other stitches.
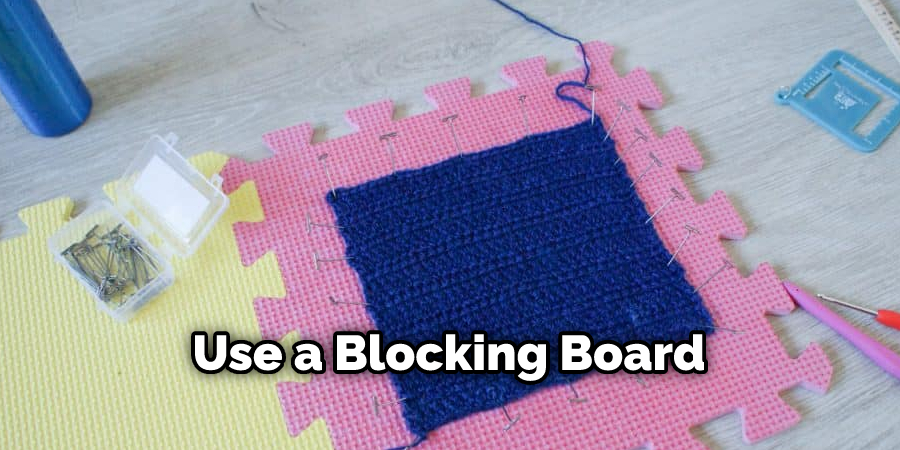
Additionally, you should use a blocking board or foam mat to shape and set your project pieces properly. This will help ensure that the finished product looks neat and professional. Finally, ensure that you weave in all of your loose ends securely so that there are no unsightly tails hanging out from your Crab Stitch in Crochet project. With a bit of extra care and attention, you can ensure that your Crab Stitch in Crochet project will look neat and professional.
How Can You Fix a Mistake Your Make When Completing a Row of Crab Stitches?
If you make a mistake while completing a row of crab stitches, it can be fixed by carefully unraveling the last stitch until you reach the correct place in your pattern. Then, rework the stitch correctly and continue with your pattern.
- Identify where you went wrong within the row of crab stitches.
- Unravel the last stitch until you reach the correct point in your pattern.
- Check that all of the stitches are even and aligned with each other before continuing.
- Rework the last stitch correctly, and then proceed with your pattern as normal.
- If needed, take a deep breath and make sure to relax as you crochet your crab stitches.
Following these steps, you can easily fix any mistakes while completing a row of crab stitches in crochet.
Conclusion
One disadvantage of the Crab Stitch in Crochet technique is that it can be somewhat difficult to learn. This stitch creates an effect that is different from standard crochet stitches, so it takes some practice and patience to master this technique. Additionally, the crab stitch can cause fabric distortion if done improperly or with too tight tension. It is important to adjust the stitch tension as you are working to ensure that the fabric remains flat.
In conclusion, the crab stitch is a great way to add texture and a unique design to any crochet project. It’s also a great way to highlight special areas of your work or provide an interesting border to your finished projects. The crab stitch works opposite to other stitches, so it can take some practice before you get comfortable with it. With practice and patience, you’ll be able to master the crab stitch in no time and create beautiful projects that are truly one-of-a-kind. I hope this article has been beneficial for learning how to do a crab stitch in crochet. Make Sure the precautionary measures are followed chronologically.