
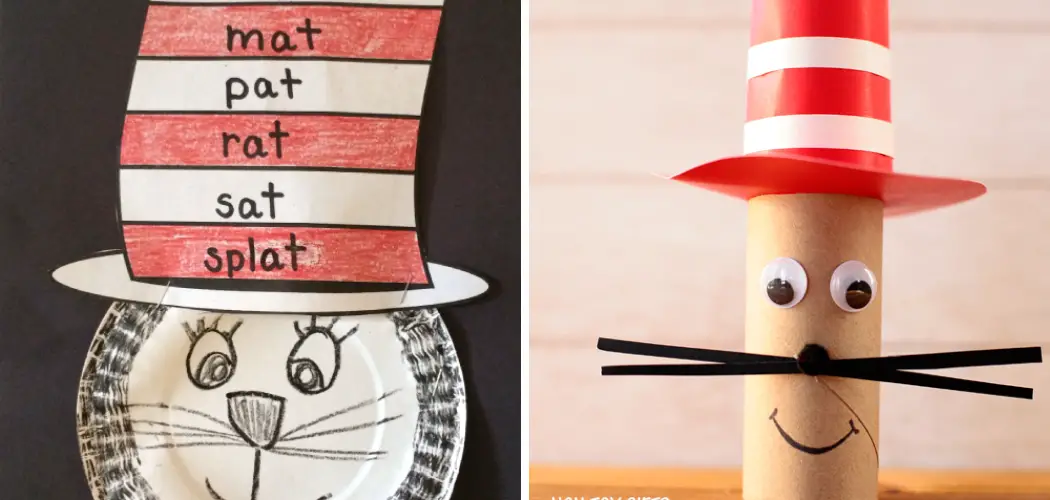
Making a paper cat in the hat is an excellent way to use scrap paper and show off your creativity! Not only that, but you can also decorate it with colors and patterns to make a unique one-of-a-kind piece. Whether for yourself or as a gift, making your custom Cat in the Hat hat is a fun and unique project.

One of the main advantages of making a paper Cat in the Hat hat is the cost. All you need are some basic supplies such as colored cardstock, scissors, and glue or tape. You don’t have to invest in any expensive materials or tools. In addition, there is no need to purchase a pre-made hat, as you can make your own design. In this blog post, You will learn in detail how to make a paper cat in the hat hat.
Step by Step Processes for How to Make a Paper Cat in the Hat Hat
Step 1: Inspect the Area
Begin by inspecting the area to ensure you have all the materials needed for this project. Gather paper, scissors, a ruler, glue or a stapler, and any other craft items desired.
Step 2: Choose Appropriate Materials
Select paper of two different colors – one should be red, and one should be white – to best replicate the style of The Cat in the Hat. Use heavier-weight paper for better durability if desired.

Step 3: Cut Out Pieces
Using the ruler, measure and cut out two pieces of paper into rectangles that are 18” long by 8” wide. These will form the sides of your hat. Cut out a circle from the red paper that is 8” in diameter and use this as the top of your hat.
Step 4: Construct the Hat
Place one rectangle horizontally on the table and glue or staple it to itself. Take the other rectangle and fold it into thirds lengthwise so that you have three equally sized strips.
Step 5: Attach the Strips to the Hat
Place the three strips around the perimeter of your previously constructed rectangle and them using glue or staples. Glue or staple the red circular top piece onto your hat so that it is centered on top.
Step 6: Cut Out Ears
Using the white paper, cut out two cat ears, each measuring 3” in length and 1.5” at its widest point. Glue or staple the ears to either side of your hat. Cut out three stripes that are 1” wide and 9” in length from the red paper.
Step 7: Attach Stripes to Hat
Glue or staple these stripes on top of the hat so that they overlap slightly and cover the entire top portion of your hat. Your paper cat in The hat is now complete! You can make additional modifications or decorations to your hat if desired. Enjoy your new creation and wear it proudly.
You Can Check It Out to Use a Yarn Swift

Safety Precautions for How to Make a Paper Cat in the Hat Hat
- Use scissors with rounded blade tips to avoid cuts or injuries when cutting the paper.
- Be careful when using a glue gun, as it can cause burns if not handled properly.
- Read and understand all directions before beginning the project to ensure accuracy in measurements and results.
- Select materials that are appropriate for the age and experience level of the person making the hat.
- Keep all items related to the project, such as scissors and glue guns, out of reach of children.
- Wear safety goggles when using a hot glue gun or cutting paper with scissors. This will help protect eyes from flying debris resulting from the cutting process.
By following these safety precautions, you can make a paper Cat in the Hat hat that is both safe and fun to wear.
How Much Time Will It Take to Make a Paper Cat in the Hat Hat?
Making a paper Cat in the Hat hat is an easy and fun craft project that takes minimal time. Depending on how detailed you would like your hat to be, it will take around 30 minutes to make one. This includes cutting out the pieces of paper, assembling them together, and adding decorations as desired. All you need is some colored paper, scissors, and a glue stick, so it’s a great project for all ages.

How Can You Make Sure Your Paper Cat in the Hat Hat Looks, Professional?
When creating a paper Cat in the Hat hat, there are several techniques you can use to make sure your project looks professional. First, always use high-quality cardstock or construction paper when creating the components of the hat. You can also make use of matching colors or patterns for an extra touch of style. Next, consider adding embellishments to the hat such as buttons, ribbons, and fabric accents. You can also use glue or tape to adhere each component together.
Finally, if you have access to a printer, try printing out an iconic Cat in the Hat image and then cutting it out and glue it onto your paper hat. By following these steps, you can ensure your Cat in the Hat hat looks professional and impressive.
How Can You Personalize Your Paper Cat in the Hat Hat to Make It Unique?
- Start by drawing your own Cat in the Hat design on a piece of paper. You can use markers, colored pencils, or crayons to create a colorful and unique design.
- Cut out the Cat in the Hat design that you created and trace it onto a larger piece of construction paper or cardstock.
- Use scissors to cut out the larger Cat in the Hat from the construction paper or cardstock.
- If you want to add extra detail and make your Cat in the Hat look more realistic, you can use paint pens or fabric markers to draw eyes, whiskers, and a nose onto your paper hat.
- You can add different colors and patterns to your paper hat using washi tape, ribbon, or scrapbooking supplies.
- To make the Cat in the Hat hat even more unique, you can use glitter glue, sequins, or pom-poms to decorate the surface of your paper hat.
- Finally, you can use a glue stick to attach a felt or fabric brim to the bottom of your paper hat. This will give it some extra stability and make it look more like a real Cat in the Hat hat.
You can also create unique accessories for your Cat in the Hat hat by making ear muffs, bow ties, or tails out of felt or fabric.

What Techniques Can You Use to Decorate Your Paper Cat in the Hat Hat?
- Add colorful embellishments to your paper Cat in the Hat Hat. You can use pom-poms, feathers, sequins, glitter, or any other fun decorations you choose. Attach these items with glue dots or a hot glue gun for a secure hold.
- Paint your hat with fabric paint or use markers to add a unique design. You could make stripes, polka dots, or even draw the Cat in the Hat’s likeness on your hat.
- Use fabric ribbons to tie around the base of your paper Cat in the Hat Hat for an extra special touch and some flair.
- Add decorative trim around the edges of your hat, such as lace or rick-rack.
- Finally, if desired, add a chin strap to secure your paper Cat in the Hat Hat on your head. You can make this by cutting two holes at the sides of your hat and threading some ribbon or elastic through them. Tie the ribbon or elastic to your desired length for a secure fit.
These are just some of the ways you can decorate your paper Cat in the Hat Hat. Have fun and be creative – there’s no limit to what you can do.
How Can You Store Your Paper Cat in the Hat Hat When It’s Not Being Used?
It’s important to keep your paper Cat in the Hat hat safe and secure when it’s not being used. To store it properly, you should first ensure the hat is clean and dry before storing it away. You can use a tissue or cloth to wipe any excess glue or dirt off of the hat. Then, you’ll want to find a safe place to store it. Many people like to keep their hats in a box or container that is lined with tissue paper or other soft materials.
This will help protect the hat from any potential damage caused by being stored too close to other objects. If you’re planning on reusing your paper Cat in the Hat hat for multiple occasions, you might want to consider investing in a hat box or other storage container specifically designed for hats. This will help keep your Cat in the Hat hat looking its best and make it easy to store away when not being used.

No matter how you decide to store your paper Cat in the Hat hat, just be sure that it is kept away from direct sunlight or any potential sources of damage.
Conclusion
One disadvantage of making a paper Cat in the Hat hat is that it can be quite time-consuming. This project requires cutting and folding pieces of paper into the correct shapes, gluing them together, and then using scissors to cut out details. Additionally, it is important to make sure all the folds are accurate so that the hat looks as professional as possible. If not done properly, the hat may not look right or be able to stay on your head. Moreover, depending on the craft supplies available, it may be difficult to find everything one needs in order to make a paper Cat in the Hat hat.
In conclusion, making a paper Cat in the Hat hat is a fun and creative way to express your imagination. By following the steps above, you can create your own unique hat that will be sure to draw attention and be admired for its originality. Whether you are looking for a silly accessory or something to make you stand out, this craft is a great way to show off your talents. I hope this article has been beneficial for learning how to make a paper cat in the hat hat. Make Sure the precautionary measures are followed chronologically.
You Can Check It Out to Make a Bee with Paper