
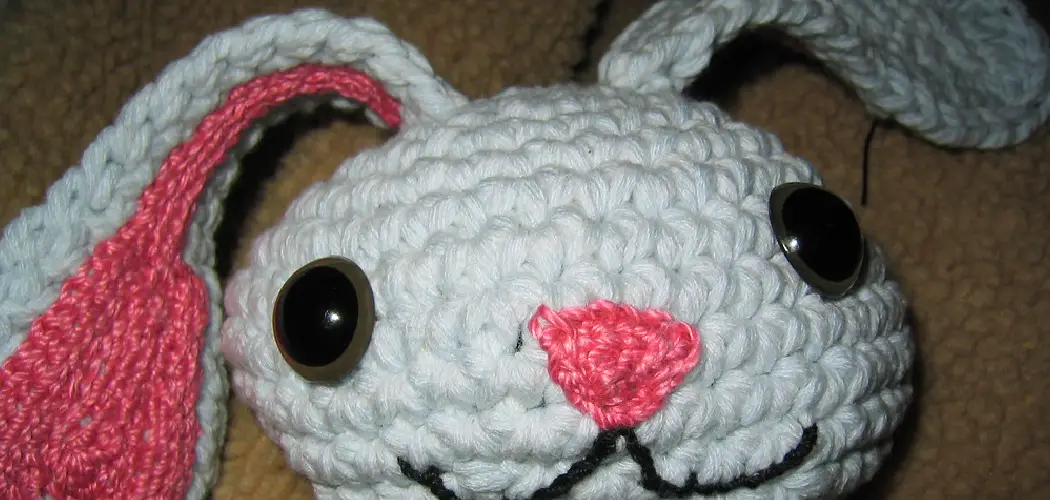
Crochet bunny ears for hats can be fun and easy to make. They are perfect for adding extra flair to any child’s hat or just livening up a plain beanie. Crocheting bunny ears is one of the quickest and most creative ways to add personality and style to your crochet project. With just a few basic materials and a bit of patience, you can create a unique and charming addition to your wardrobe.
Crochet bunny ears for hats are a fun and creative way to add a special touch to any headwear. These ears can be used in many different ways, such as topping off an ordinary hat or adding extra style to a beanie or balaclava. Plus, crocheting these ears is not difficult and can be completed quickly. In this blog post, You will learn in detail how to crochet bunny ears for hat.
What Types of Stitches Are Used in Making Bunny Ears?
The basic stitches used when crocheting bunny ears for a hat are single crochet and reverse single crochet. Single crochet is done by inserting your hook into the stitch, yarn over your hook and pulling up a loop, yarn over again, and drawing through both loops on the hook. Reverse single crochet is done by working from left to right instead of the usual right to left.
To work a reverse single crochet, insert your hook into the stitch, yarn over and draw up a loop, yarn over again and draw through two loops on the hook. Both of these stitches can be used together to create bunny ears for a crocheted hat. You might also find increases or decreases in patterns that help shape the ears. Increasing is done by making two single crochets in one stitch while decreasing is done by combining two stitches into one.
Step-by-Step Processes for How to Crochet Bunny Ears for Hat
Step 1: Inspect Crochet Hook Size:
Start by ensuring that you have a crochet hook of the right size. It should be small enough to make tight and secure stitches but not so small it is difficult to use. Gather all the necessary supplies for crocheting bunny ears–scissors, yarn, a tapestry needle, and a crochet hook.
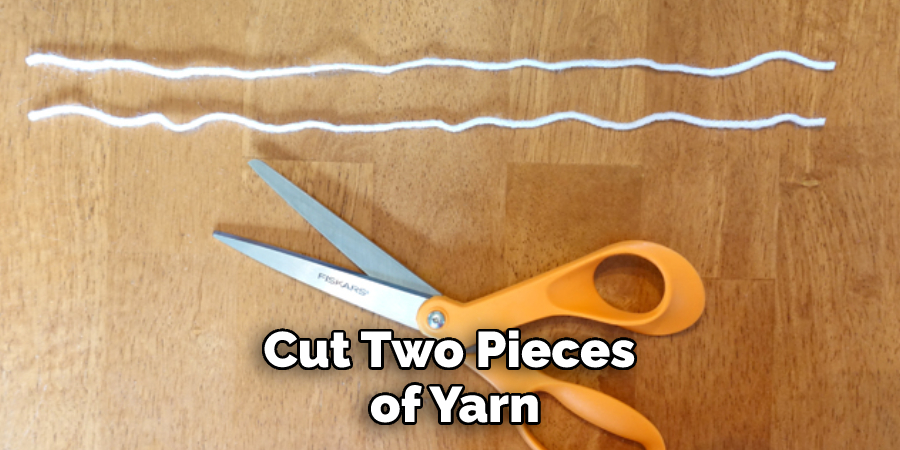
Step 2: Prepare Yarn
Cut two pieces of yarn, one for each ear. Each piece should be about 18 inches long. The longer the yarn is, the larger your bunny ears will be when finished. Thread one end of each piece of yarn through a tapestry needle and tie a knot at the other end.
Step 3: Begin Crocheting
Find the center of one piece of yarn and place your crochet hook through it. Make a slip knot by taking the yarn end and wrapping it around your crochet hook twice, then pull it back through the loop. Next, make single crochets (sc) in each stitch for about seven rows. Make sure to count the number of stitches you make, or else your bunny ears might not be the same size.
Step 4: Finish Crocheting
Now, finish by making one more row of crochets and then tie off your yarn. Cut the excess yarn, leaving about an inch of yarn remaining. Thread this end of the yarn through a tapestry needle and weave it into the back of your stitches, making sure to hide the loose end.
Step 5: Attach Bunny Ears to Hat
Once cropped both bunny ears, attach them to the hat by sewing or gluing them on. You can use a needle and thread or fabric glue to attach the ears, whatever works best for you. Congratulations! You have now successfully crocheted bunny ears for your hat.
8 Tips for How to Crochet Bunny Ears for Hat
- Make sure to have all the supplies you need before starting the project so that no time is wasted. This includes yarn, a crochet hook, scissors, and stuffing or embroidery floss if desired.
- Check your pattern carefully before beginning the project to ensure there are no mistakes and that it’s easy to follow.
- Carefully read through the instructions and make sure you understand each step before starting to crochet.
- Always use light-colored yarn, so it’s easier to see when making stitches and identifying mistakes.
- Don’t pull on your work too tightly, as this can distort the shape of the ears.
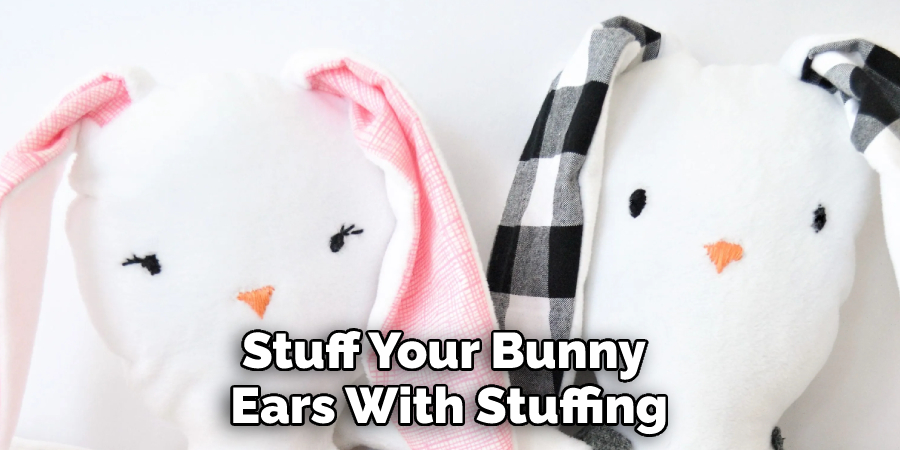
- Stuff your bunny ears with stuffing or embroidery floss lightly, so they keep their shape and don’t become too flat or round.
- When sewing the bunny ears onto the hat, use a strong thread and ensure it is securely sewn in place but not too tight.
- Finally, check the bunny ears before wearing your hat to ensure they look symmetrical and securely attached.
Following these eight tips can help ensure that you have the best results when learning How to Crochet Bunny Ears for Hat.
How Long Does It Take Crochet a Pair of Bunny Ears for a Hat?
The time it takes to crochet bunny ears for a hat will depend on the complexity of the project and the skill level of the person doing it. Generally speaking, a basic pair of ears can take anywhere from 30 minutes to an hour to complete depending on your speed and familiarity with crochet stitches.
If you’re making a more complex or detailed pair of ears, it may take significantly longer. Some people have reported spending several hours on their bunny ear projects.
How Can You Make Sure Your Bunny Ears Look Even and Professional?
Once you’ve completed the basic crochet pattern for your bunny ears, it’s important to ensure that your finished project looks even and professional. Here are a few tips on how to achieve this result:
- Make sure that each ear is identical in size and shape by double-checking them with a ruler or measuring tape.
- Pay close attention to your tension when crocheting so that all of the stitches in each ear come out evenly and consistently.
- If possible, use a stitch counter to keep track of how many rows you have completed on each ear. This will help ensure that they are even in size and shape.
- Once both ears are completed, use a tapestry needle to weave in any loose ends or strands of yarn.

Following these tips will help ensure that your bunny ears look professional even when you attach them to your hat.
How Do You Store the Crocheted Bunny Ears When Not in Use?
When not used, the best way to store your crocheted bunny ears is by rolling them up into a ball shape and loosely tying them with yarn. This will prevent them from getting tangled or distorted.
Alternatively, you could also hang your crocheted bunny ears on a hook or pegboard. Ensure they are completely dry before storing them, as any moisture left in the yarn may cause it to become moldy or discolored. Additionally, storing your crocheted bunny ears in a cool, dry place away from direct sunlight will help keep them looking like new for longer. With these tips and tricks, you can keep your crocheted bunny ears looking cute and ready to wear anytime.
Is It Necessary to Hire Any Professional to Crochet Bunny Ears for Hat?
No, hiring a professional to crochet bunny ears for a hat is not necessary. With the right materials and some basic crochet skills, you can make your own bunny ears in no time. All you need is yarn, a crochet hook, scissors, and some creativity.
To start off your project, choose a type of yarn that best suits your project. There are various yarn types available in stores, so take some time to pick out the one that best fits your needs.
Once you have your yarn, some basic crochet skills are required to make the bunny ears. You can find a lot of tutorials online or look into taking a class at your local craft store. Many tutorials provide step-by-step instructions that are easy to follow and will help you get started with crocheting the bunny ears for your hat.
You will want to ensure you pay attention to the details and use the right stitches or patterns to get the desired effect.
Conclusion
The main disadvantage of crocheting bunny ears for a hat is the amount of time it takes. Crocheting is a skill that takes practice and patience, so if you are new to it, there may be some trial and error before you get the perfect look.
Additionally, depending on your desired size, you will need to purchase a lot of yarn to make the ears, which can be costly. For those who are experienced in crocheting, however, this should not be a problem. Lastly, ensuring that the bunny ears fit perfectly with your hat may require some trial and error.
In conclusion, crocheting bunny ears for a hat is a fun and creative way to add an extra touch of cuteness to your handmade headwear. With the right pattern and supplies, you can create unique bunny ear designs in no time! Whether you’re designing for yourself or someone else, these crocheted bunny ears will surely bring some smiles. I hope this article has been beneficial for learning how to crochet bunny ears for hat. Make Sure the precautionary measures are followed chronologically.
You Can Check It Out to Make a Paper Horse