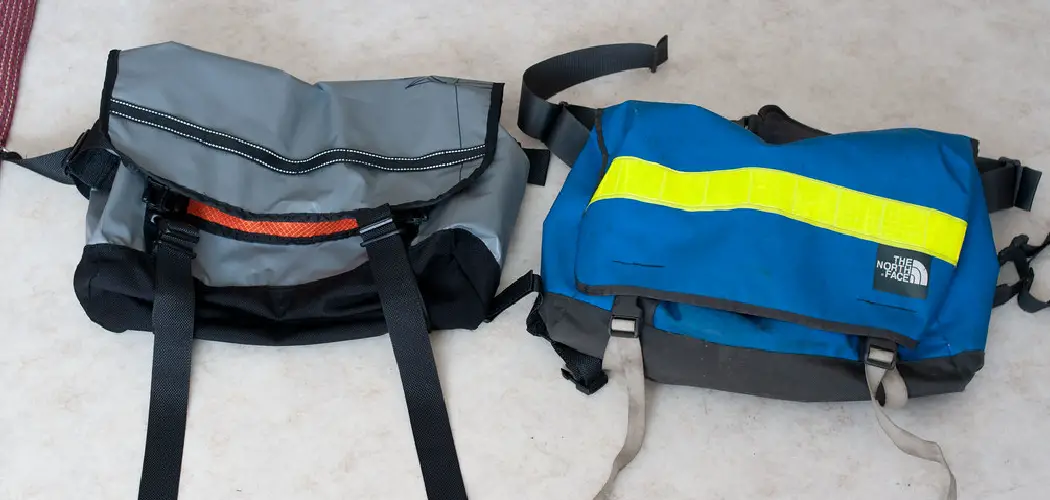
Do you want something unique and stylish to carry around all your belongings? With a little bit of creativity, it’s easy to make a messenger bag that will not only hold your gear but will also turn heads! Messenger bags are the perfect blend of style and practicality – they can take you from class to work without having to sacrifice fashion for function.
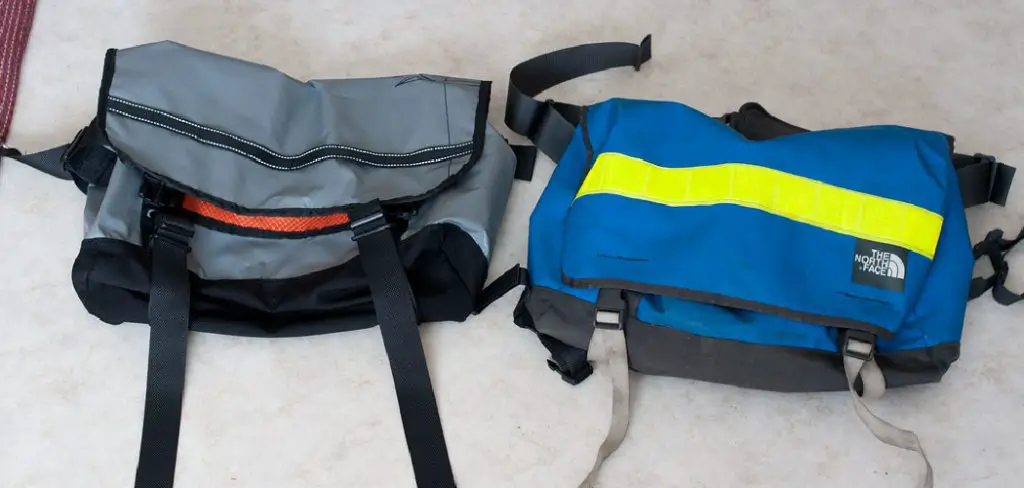
Whether you’re looking for an everyday bag or one for a special occasion, this guide will show you exactly how to create a beautiful messenger bag with minimal effort. With simple supplies, helpful tips and step-by-step instructions on how to make a messenger bag, creating a one-of-a-kind personalized accessory has never been easier!
What is a Messenger Bag?
A messenger bag is a type of handbag that often features a long strap worn across the body. It’s an ideal choice for those who need to keep their hands free and their belongings secure while on the move. Messenger bags tend to be roomier than other bag styles, allowing you to carry more items safely and comfortably. You can also adjust the length of the strap, making it perfect for any height.
Gather Your Supplies
Making a messenger bag requires just a few basic supplies and materials that are easy to find. You’ll need:
- Fabric of Your Choice (Approximately a Yard)
- Matching Thread
- Zipper
- Sewing Machine
- Iron and Ironing Board
- Pencil or Fabric Marker
- Scissors
- Sewing Needles
- Pins and Safety Pins
11 Step-by-step Guidelines on How to Make a Messenger Bag
Step 1: Cut Your Fabric
You should have two pieces that are the same size, measuring 18-by-17 inches. It’s important to make sure that the pieces are exactly the same size for later steps. But if you want to make a larger bag, simply increase the size of the fabric. This will affect the number of other supplies you’ll need. If you’re using a patterned fabric, make sure to make sure the fabric is facing in the same direction for both pieces.
Step 2: Fold and Iron Your Fabric
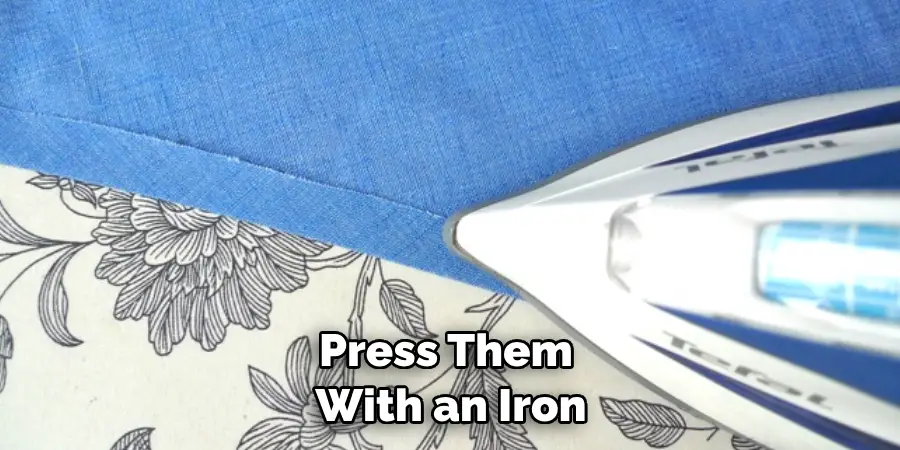
Fold each piece in half lengthwise, making sure the sides are even. Then press them with an iron to create a crease for sewing. It will make it easier to sew the pieces together. If you want to add an extra layer of protection, you can use a thin batting material between the layers. But for this tutorial, it isn’t necessary. But be sure to keep the batting material away from the ironing board and heat.
Step 3: Sew the Bag Together
Now that your fabric pieces are folded and ironed, you can sew them together. The easiest way to do this is to use a sewing machine. Make sure the right sides of the fabric are facing each other and stitch along the edges, leaving a 1/2-inch seam allowance. When you’re finished, turn the bag right side out and press it with an iron. This will give your bag a crisp look.
Step 4: Cut the Straps
The straps are what make messenger bags so convenient to carry around! Use a fabric marker to measure and mark where you’ll be cutting. Then cut two straps, each measuring 1-by-30 inches in length. You can make the straps longer or shorter depending on your preference. However, if you do make them longer, remember that it’ll affect the amount of fabric and other supplies you’ll need.
Step 5: Sew the Straps to the Bag
Now that you’ve cut your straps, you can attach them to the bag. Place one end of each strap at the top edge of the bag, about 4 inches away from either side. Sew the straps into place, making sure to backstitch for extra strength. It’s also important to make sure the straps are facing in the same direction.
Step 6: Add a Zipper
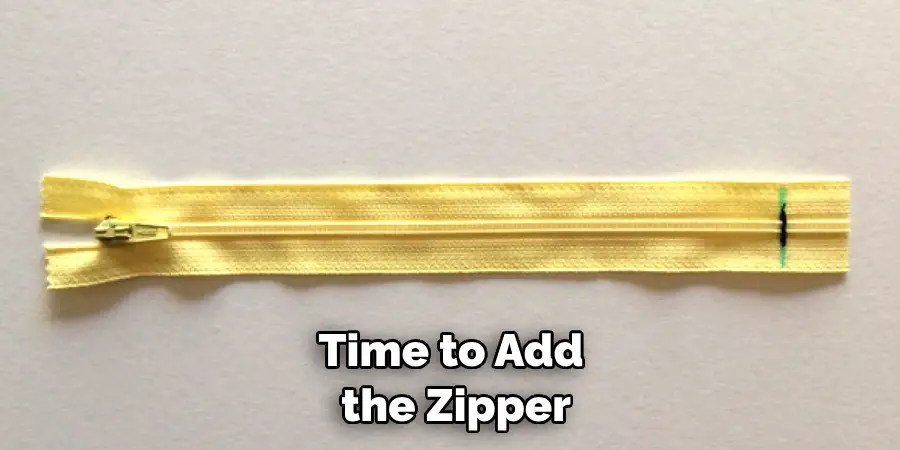
Now it’s time to add the zipper. Start by sewing the ends of the zipper together so you have one continuous piece. Then pin it in place along one edge of the bag, about 1/2 inch away from the edge. Use a zipper foot to sew it in place and make sure to backstitch at both ends for extra security. If your zipper is too long, you can trim off the excess.
Step 7: Finish the Edges
To give your bag a finished look, you will need to fold over the edges twice and sew them down with a zigzag stitch. This will also keep any fabric from fraying. Start by folding over the top edge of the bag and pinning it in place. Then sew a zigzag stitch along the edge to secure it. Do this for each side and then turn your bag right side out!
Step 8: Create an Inner Pocket
To add extra storage space, you can make an inner pocket in your bag. Start by measuring and cutting a piece of fabric that is 9-by-8 inches. Then fold it in half lengthwise, press it with an iron, and sew along the edges. Attach the pocket to the inside of the bag using pins or safety pins.
Step 9: Attach Hardware
Now that your bag is finished, it’s time to attach the hardware. This includes items such as buckles, clips, and swivel hooks. You can find these supplies at most craft stores or online. Attach the hardware according to the manufacturer’s instructions. This will make it easier to adjust the straps and keep your things secure.
Step 10: Add Personal Touches

Make your bag truly unique by adding personal touches! You can embroider your initials onto the bag or add sequins and beads for a little extra pizzazz. But don’t forget the practical additions like pockets and zippered compartments. These will help keep your items organized and easily accessible.
Step 11: Enjoy Your New Bag!
You’ve done it – you’ve made your very own messenger bag! Now all that’s left to do is enjoy it. Show off your creation at the office, school, or anywhere else you go! With a messenger bag that’s truly one-of-a-kind, you’re sure to stand out from the crowd. Always remember to take care of your bag so it can last for years.
Making a messenger bag is simple and fun. With these easy steps as a guide, you can create an accessory that will be both fashionable and practical for years to come. So grab your supplies and get started on making a messenger bag you’ll love today!
Do You Need to Get Help From a Professional?
If you’re still not sure how to make a messenger bag, don’t worry! You can always get help from a professional who specializes in making bags. They will be able to provide more detailed instructions and guidance on the process.
Plus, they might even be able to give you some tips and tricks for making your own unique creation. So if you need help, don’t hesitate to reach out and ask! It could be the best way for you to get the stylish messenger bag of your dreams.
Making a messenger bag is an enjoyable and rewarding experience that anyone can try! With these simple steps, you can create a one-of-a-kind accessory that will be both fashionable and functional for years to come. So don’t wait another moment – gather your supplies and get started on making a messenger bag today!
Tips and Tricks for Making a Messenger Bag
- Pre-wash All Fabric Before Beginning, as This Can Help Prevent Shrinking Later on.
- Take Time to Measure and Mark Where You Will Be Cutting Your Straps or Other Pieces. This Will Help Ensure That Each Piece is the Exact Same Size.
- For Extra Strength, Sew a Few Extra Stitches at Both Ends of Your Straps and Zipper.
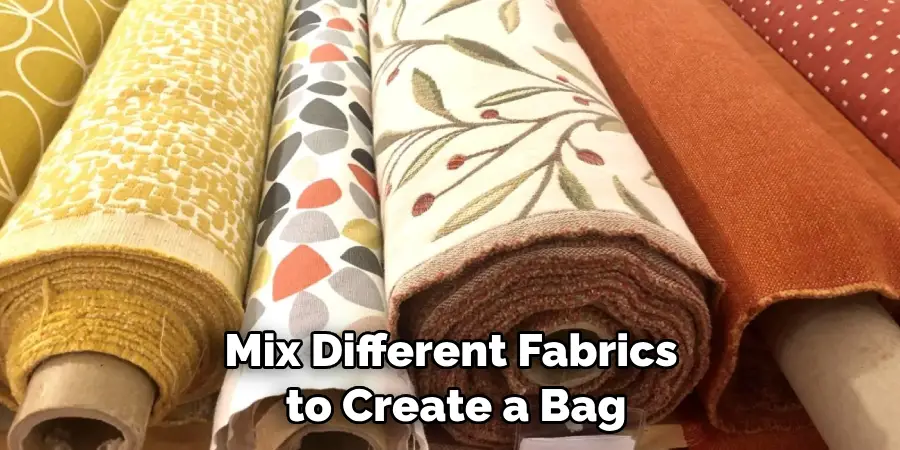
- Change Up the Colors and Patterns for a Truly Unique Look. You Can Mix Different Fabrics to Create a Bag That’s All Your Own!
- Use an Iron-on Interfacing or Batting Between the Layers of Fabric for Extra Protection.
- Don’t Be Afraid to Get Creative! Add Embroidery, Patches, Sequins, and Other Embellishments to Make Your Bag Truly One-of-a-kind.
Making a messenger bag can seem daunting but with a few simple steps and supplies, you can create a stylish and functional bag that will last for years to come. So don’t be afraid to get creative and have fun with it!
Frequently Asked Questions
Q: What Kind of Fabric Should I Use for a Messenger Bag?

A: You can use any type of fabric you’d like. But for best results, choose a durable, lightweight material such as canvas or cotton. If you’re looking for something more durable, leather or vinyl are good choices as well.
Q: How Long Does It Take to Make a Messenger Bag?
A: The amount of time it takes to make your own messenger bag will depend on the complexity of the design and how experienced you are at sewing. However, most basic designs can be completed in about an hour or two. If this is your first time making a bag, set aside a few hours to ensure you have enough time.
Q: What Other Supplies Will I Need?
A: In addition to fabric and thread, you may need other supplies such as an iron, scissors, pins, safety pins, buckles or clips, and a zipper. You can find most of these supplies at your local craft store.
Q: What Size Should I Make My Bag?
A: The size of your bag will depend on how much you plan to carry. Typically, messenger bags measure between 8-by-12 inches and 12-by-16 inches. But if you’re looking for something larger or smaller, feel free to adjust the measurements accordingly.
Conclusion
In conclusion, making a messenger bag is an enjoyable and rewarding project that anyone with some basic sewing skills can take on. It is a great way to save money, add style to your wardrobe, and stand out from the crowd! The steps for making a messenger bag are fairly straightforward, so don’t be afraid to give it a try. Try different fabrics in unique color combinations to really make your bag personal and one of a kind.
Gather all of the supplies you need first and then have fun mixing and matching each piece until you find the perfect combination. And don’t forget to practice proper techniques when stitching those seams and installing hardware or straps.
Whether for yourself or as a gift for someone special, the messenger bag you create will be remembered fondly by all who appreciate it. So why not take your new knowledge on how to make a messenger bag and get creative today? Give it a shot; you never know what amazing creations may come of it!

