
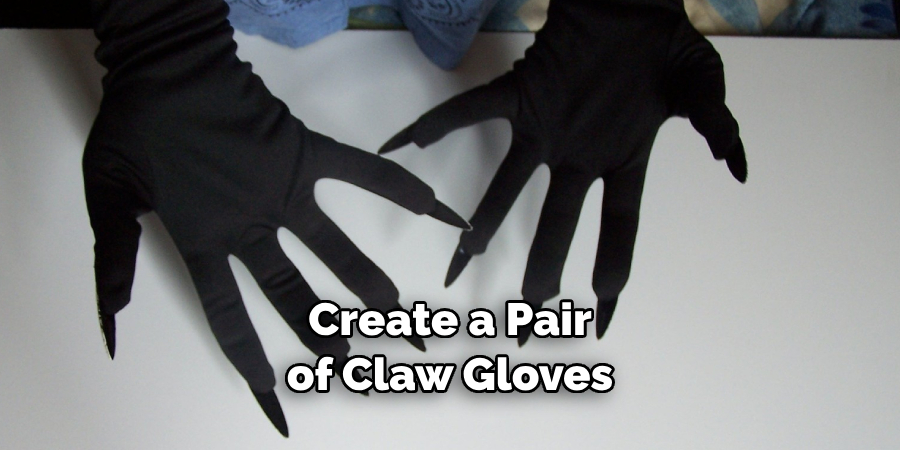
Have you ever wanted to copy Wolverine’s signature claws? You can make your very own pair of claw gloves with some materials and handy crafting skills.
With the cold winter months just around the corner, it’s time to start thinking of ways to stay warm – and nothing is cozier than a pair of claw gloves. Whether you’re looking for something fun to wear during your next snow day or want an accessory that will keep your hands warm while attending outdoor events, claw gloves are the perfect solution!

In this blog post, we’ll take you through what’s involved in how to make claw gloves – from procuring supplies and preparation tips right through to some handy assembly pointers. Get ready to craft yourself a one-of-a-kind set of cozy claws that you won’t wait to get out and show off!
What Will You Need?
Before you can get started on your own set of claw gloves, there are a few components that you’ll need to source:
- A pair of gloves (knit fabric works best)
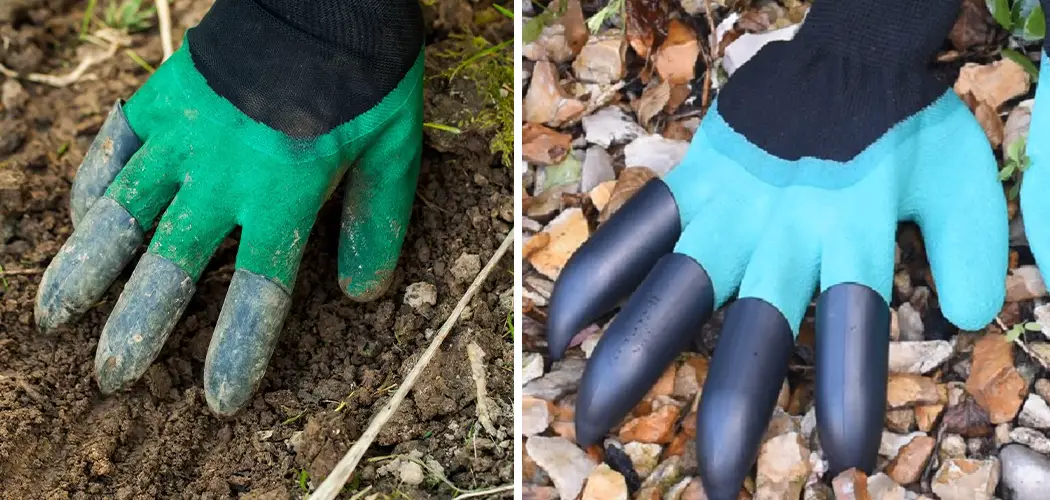
- Plastic claws
- Hot glue gun and plenty of hot glue sticks
- Craft foam in coordinating colors
- Scissors and craft knife for making precise cuts
- Ruler or measuring tape for accurate measurements
- Pencil and markers for marking out the template
Once you have all these components, you’re ready to start!
10 Easy Steps on How to Make Claw Gloves
Step 1. Making the Template
The first step is to create a template that will be used as a guide when attaching your claws and foam. To do this, use a pencil or marker to trace the shape of your claws onto the craft foam. Make sure that you leave at least an inch of space between each claw for extra room.
Step 2. Cutting Out and Attaching the Foam
Once you’ve marked out your template, it’s time to cut out all of the pieces using scissors or a craft knife. Once they’re all cut out, attach them to the gloves using hot glue. For best results, ensure that any exposed edges are trimmed away and that none of the claws overlap one another. Moreover, you can add extra detailing, such as foam dots, to make the gloves look more realistic.
Step 3. Attaching Claws
Now it’s time to add those claws! Using hot glue, attach plastic claws around each piece of foam in order to give the gloves their signature Wolverine look. As with the foam, make sure to keep any exposed edges trimmed away and that the claws don’t overlap one another.
Step 4. Finishing Touches
Once you’re happy with your claws, it’s time to add some finishing touches. If desired, you can sew ribbon or trim around the edges of each claw glove for an extra decorative touch. Additionally, you can add other embellishments like buttons or beads for a unique look.
Step 5. Use and Enjoy!
Now that you’ve completed your claw gloves, it’s time to wear them with pride. Whether you’re attending a costume party or just trying to keep your hands warm during cold weather, these claw gloves are sure to do the trick. Be careful not to get too carried away with your Wolverine-style antics, though – you don’t want to scare anyone!
Step 6. Try a Variation!
Feel free to be creative with this project and try out different variations. For example, you can use fabric paint or glitter to add extra sparkle to the edges of your claws. You can also switch up the shapes and colors of foam for a more personalized look.
Step 7. Keep your claws safe
Once you’ve finished crafting your claw gloves, make sure to keep them safe from the elements. The plastic claws can easily break if stored improperly, so storing them in an airtight container or bag is good when not in use. You can also use fabric glue or a sewing machine to attach the claws and foam to make them more durable.
Step 8. Clean and Maintain Your Claws
Regular cleaning and maintenance are key for keeping your claw gloves looking their best. First, wipe them down with a slightly damp cloth each time before storing them away. You should also regularly check for any signs of wear and tear and replace broken claws as needed.
Step 9. Have Fun
Have fun with this project! Feel free to experiment with different shapes, colors, fabrics, and embellishments to give your claw gloves a unique, personal touch. Keep in mind that some of the materials you use may be more delicate, so take extra care when crafting and always work on a clean surface.
Step 10. Share it with us!
Once you’ve finished creating your pair of claw gloves, remember to share the result with us on social media! We’d love to see how creative and fun your design turned out. Remember to tag us with the hashtag “claw glove craft” so that we can check out your masterpiece.
Crafting a set of personalized claw gloves is an easy, fun project that can be done in just a few steps. With the right materials and some handy crafting skills, you can have a one-of-a-kind accessory in no time!
5 Additional Tips and Tricks
- When measuring your gloves, use a soft tape measure to measure your hand accurately. This will help you ensure that the glove fits snugly and comfortably.
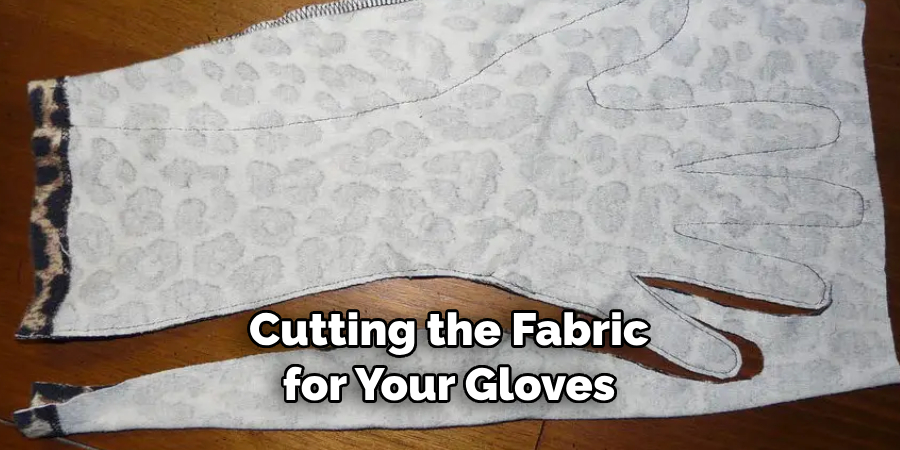
- When cutting the fabric for your gloves, use sharp scissors to get a clean cut. This will help ensure the claws are evenly sized when attached to the glove.
- If you want to give your gloves some extra durability, sew a layer of interfacing between the two layers of fabric before attaching the claws. This will add an extra layer of protection against wear and tear.
- If you plan on wearing your gloves outdoors, treat them with a waterproofing spray after sewing them together. This will help keep moisture out and your hands dry during wet weather.
- After making your gloves, try them on before wearing them outside. This will help you ensure that the claws are securely attached and that the gloves fit comfortably. If something needs to be adjusted, do so before heading out for your adventure!
With these tips in mind, you should be well on your way to making a pair of awesome claw gloves!
5 Things You Should Avoid
- Avoid using thin fabric when making your gloves. Thinner fabrics can tear easily and won’t be as durable for prolonged use.
- Avoid cutting the fabric too close to the claws, as this can cause fraying and create a less professional look.
- Avoid using too much glue when attaching your claws, as it may get messy and create an uneven surface.
- Avoid overstretching the fabric when sewing, as this can lead to misshapen gloves that won’t fit properly or look attractive.
- Finally, avoid wearing your gloves outdoors without treating them with waterproofing spray first; otherwise, you risk damaging them in wet weather!
Avoiding these mistakes will help ensure that your claw gloves are created with quality, craftsmanship, and style!
6 Different Style Ideas
- For a steampunk look, use metallic fabric and antique-looking claws for your gloves.
- For a more futuristic look, opt for shiny fabrics and bright colors such as silver or neon green. Be sure to use light-up claws if you want to make an impact!
- If you’re going for a gothic vibe, opt for darker shades of fabric with intricate designs and sharp claws in matte black or gunmetal gray.
- If you want your claw gloves to stand out from the crowd, try creating them in unique shapes such as hearts or stars instead of traditional fingerless style gloves.
- Finally, if you’d like something more feminine, add lace trim or sequins to your gloves for a girly touch.
- If you’d like to get creative, try combining multiple styles and colors of fabric for a truly unique design.
With these style ideas in mind, you can easily create a pair of claw gloves that stand out from the crowd! Have fun and get creative!
Conclusion
Now that you know the basics, get to crafting your very own claw gloves! You can create gloves with a menacing and intimidating appearance with a few simple materials. Test out different materials for the claws, such as acrylics, polymers, and foam, and have fun with them! Don’t forget to experiment with patterns or color designs and find a look that speaks to you. These gloves are perfect for cosplays, Halloween costumes, or even wearing them on your day off.
Before you know it, you will easily take on the world while wearing your creative masterpieces. So don’t wait any longer – put your crafting skills to work and make yourself a pair of awesome claw gloves today!
Hopefully, the article on how to make claw gloves has helped provide you with useful tips, tricks, and style ideas to get you started on your claw glove-making journey. Good luck, and have fun! Enjoy making your claw gloves! Happy crafting!