Making your own magnolia wreath is not only a fun and creative activity, but it also allows you to add a personal touch to your home decor. Additionally, store-bought wreaths can be expensive and may not always have the exact design or size that you want.

Making your own magnolia wreath can be a fun and creative project, but it also has several advantages over purchasing a pre-made one. First and foremost, making your own wreath allows you to customize it to your personal style and preferences. You can choose the size, shape, color scheme, and any additional decorations that you want for your wreath. Read this blog post to learn how to make a magnolia wreath.
Materials You Will Need
To make a beautiful and long-lasting magnolia wreath, you will need the following materials:
- Fresh magnolia leaves
- Wreath form (foam or wire)
- Floral wire or hot glue gun
- Scissors or garden shears
- Pruning shears (optional)
- Wire cutters (if using floral wire)
- Ribbon or twine for hanging
- Decorative accents (pinecones, berries, etc.)
- Protective gloves
- Water mister (optional)
Step-by-step Instructions for How to Make a Magnolia Wreath
Step 1: Inspect the Magnolia Leaves
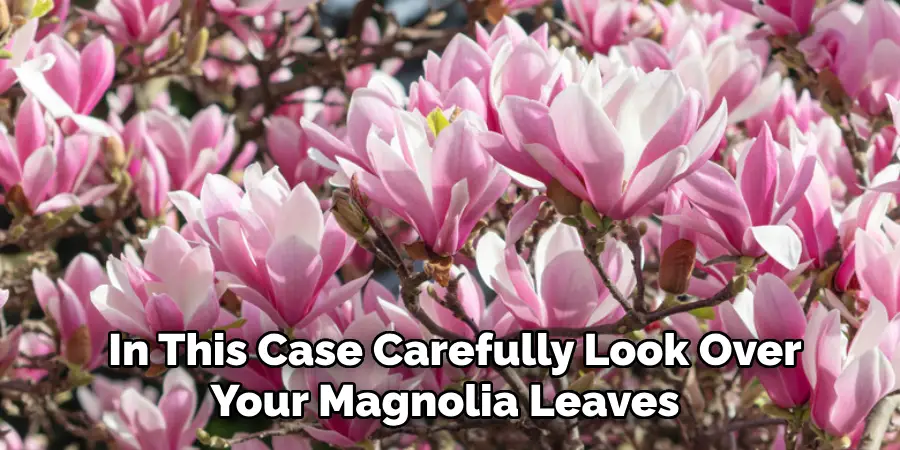
Before beginning any project, it is important to inspect the materials you will be using. In this case, carefully look over your magnolia leaves for any signs of damage or discoloration. Removing damaged leaves from the start will ensure your wreath looks its best.

Step 2: Prepare Your Supplies
Gather all necessary supplies before starting your project. These may include the magnolia leaves, wire wreath form, floral wire, and pruning shears. Decide on the size of your wreath by selecting a wire wreath form that fits your desired dimensions. This will help you determine how many magnolia leaves you will need to create a full wreath.
Step 3: Cut the Stems
Using your pruning shears, carefully cut the stems off of your magnolia leaves. Leave about an inch of stem attached to each leaf for easier attachment to the wire wreath form. Take one magnolia leaf and wrap it around the wire wreath form, securing it in place with floral wire. Continue this process, overlapping each leaf slightly until the entire wreath form is covered.
Step 4: Fill Any Gaps
After attaching all the leaves, go back and fill in any gaps by tucking additional leaves into the wreath and securing them with floral wire. For a more decorative look, consider adding accents such as pinecones, berries, or ribbon to your wreath. These can be attached using floral wire.
Step 5: Hang Your Wreath
Using a piece of sturdy ribbon or twine, create a loop and attach it to the back of your wreath for hanging. Hang your magnolia wreath on a door, wall, or use it as a centerpiece. Admire your creation and enjoy the beauty of nature in your home.
Step 6: Maintain Your Wreath
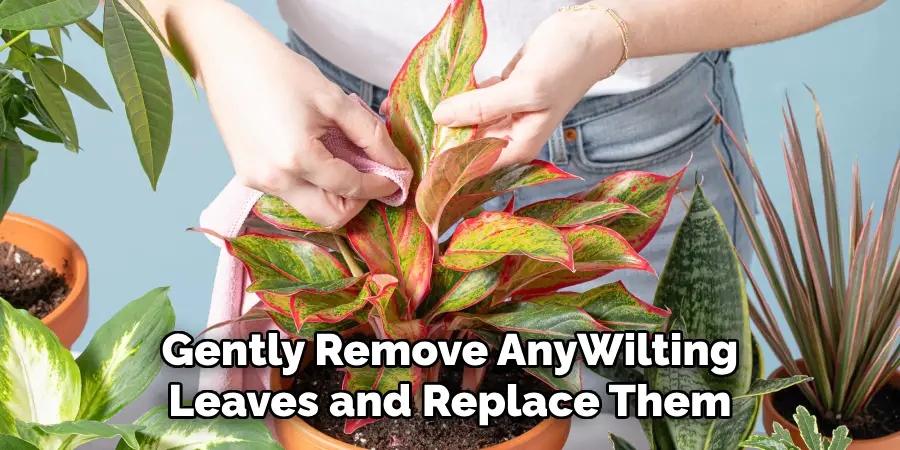
To keep your magnolia wreath looking fresh, mist it with water every few days to prevent drying out. If needed, gently remove any wilting leaves and replace them with fresh ones. With proper care, your wreath can last for several weeks or even months.

Tips for How to Make a Magnolia Wreath
- Start by cleaning all the tools and equipment that you will be using to make your Magnolia wreath, such as scissors, wire cutters, and a hot glue gun. Make sure they are in good working condition before starting.
- Wear protective gear such as gloves and safety glasses to prevent any injuries while handling sharp tools or hot glue.
- Keep children and pets away from your workspace to avoid any accidents.
- If using a ladder to reach high branches, make sure it is stable and on a flat surface before climbing.
- Use caution when handling fresh Magnolia leaves as they can have sharp edges that may cause cuts or irritate the skin. Consider wearing gardening gloves for added protection.
- When using hot glue, be careful not to burn yourself or accidentally get the glue on your skin. If you do, immediately run the affected area under cold water.
- Take breaks as needed and stay hydrated while working on your wreath.
How Long Will It Take to Make a Magnolia Wreath?
The time it takes to make a Magnolia wreath will vary depending on the size and complexity of the wreath, as well as your level of experience. On average, it can take anywhere from 1-2 hours for a simple wreath to 3-4 hours for a more intricate design.
It is important to not rush through the process and take breaks as needed to avoid any accidents or mistakes. Additionally, allow enough time for the wreath to fully dry before hanging it up. Overall, the process of making a Magnolia wreath can be a fun and enjoyable experience, but it is important to prioritize safety precautions and take your time to create a beautiful end result.

Are There Any Special Care Instructions for a Magnolia Wreath?
If you’ve successfully made your own magnolia wreath, congratulations! You now have a beautiful and unique decoration to display in your home. However, as with any natural material, there are some special care instructions that should be followed to ensure the longevity of your wreath. First and foremost, it’s important to keep your magnolia wreath out of direct sunlight.
The sun’s rays can cause the leaves to fade and dry out, which will ultimately lead to a less attractive wreath. Instead, opt for a spot in your home that receives indirect sunlight or place the wreath in an area with no natural light at all. Next, keep your wreath away from sources of heat such as radiators or fireplaces.
The heat can cause the leaves to dry out and become brittle, which can lead to premature shedding. It’s also important to avoid hanging your wreath in an area with high humidity, as this can cause mold or mildew to form on the leaves.

How Do You Store Your Magnolia Wreath When Not in Use?
So, you’ve successfully made your own beautiful magnolia wreath. Congratulations! You may be wondering what to do with it when the holiday season is over or if you simply want to switch up your decor.
First of all, it’s important to mention that storing your magnolia wreath properly will ensure its longevity and keep it looking pristine for years to come. Here are a few tips on how to store your magnolia wreath when not in use:
- Clean your wreath before storing it. Use a soft cloth or brush to gently remove any dust or debris from the leaves and branches.
- Place your wreath in a dry, cool place. It’s best to avoid areas with high humidity as this can cause mold or mildew to form on your wreath.
- Consider investing in a wreath storage bag or box. These can be found at most home goods stores and are specifically designed to protect wreaths during storage.
- If you don’t have a storage bag or box, you can also use a large plastic bag or trash bag to cover your wreath. Just make sure it is completely sealed to prevent any moisture from getting in.
- Avoid storing your wreath in direct sunlight as this can cause the leaves to fade or become brittle.
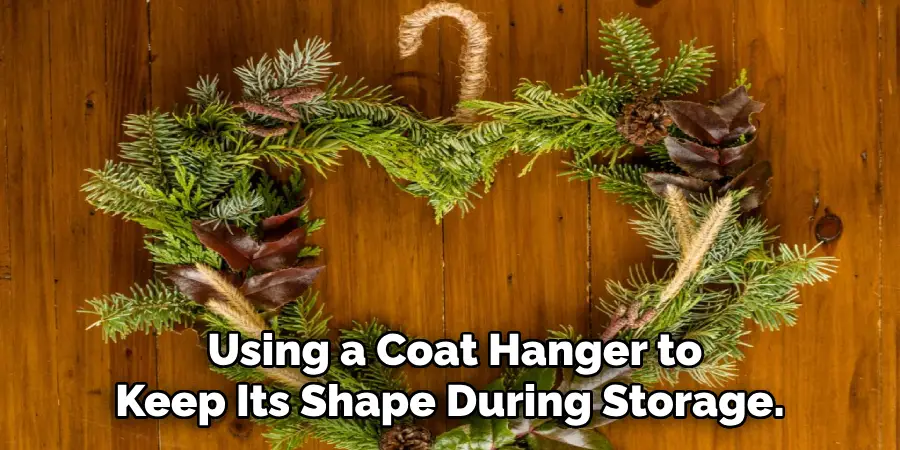
- If you have a larger wreath, consider hanging it on a hook or using a coat hanger to keep its shape during storage.
- You can also add a few drops of essential oils, such as cedarwood or peppermint, to help repel insects and keep your wreath smelling fresh.

By following these simple tips, you can ensure that your magnolia wreath will be just as stunning next season as it was when you first made it.
How Do You Prevent Your Magnolia Leaves From Turning Brown While Making the Wreath?
If you’ve ever tried making a magnolia wreath, you may have encountered the problem of your magnolia leaves turning brown. This can be frustrating and ruin the overall appearance of your wreath. However, there are a few tips and tricks that can help prevent this from happening.
Firstly, it’s important to select fresh magnolia leaves for your wreath. The fresher the leaves, the less likely they are to turn brown. Make sure to pick leaves that are still supple and green, not ones that have already started to dry out.
Another way to prevent your magnolia wreath from turning brown is by dipping the stems of your leaves in a solution of water and glycerin before using them. This will help preserve the leaves and keep them hydrated, preventing them from drying out and turning brown.
You can also try lightly misting your wreath with water every few days to keep the leaves hydrated and prevent browning. Just be careful not to over-mist, as this can cause mold to grow on your wreath.
What is the Best Way to Attach Magnolia Leaves to a Wreath Form?
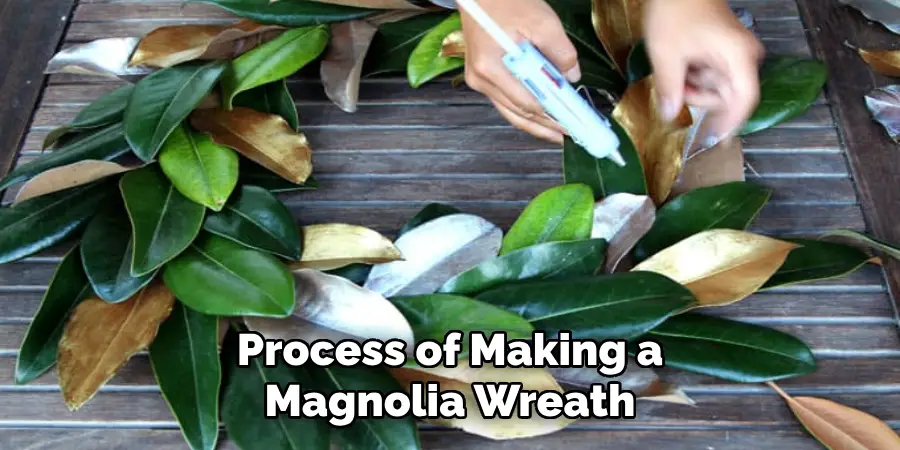
When it comes to attaching magnolia leaves to a wreath form, there are several methods you can use. One option is to use floral wire or hot glue. Simply cut a piece of floral wire and wrap it around the stem of the leaf, then secure it to the wreath form. You can also use hot glue to attach the leaves directly onto the form. Just be careful not to use too much glue, as it can be messy and difficult to remove if you make a mistake.
Another method is using a foam wreath form and inserting the stems of the leaves directly into the foam. This creates a more natural look and allows for easy rearranging if needed. Whichever method you choose, make sure to evenly space out the leaves and cover the entire wreath form for a full and lush look. And don’t be afraid to mix in other foliage or decorations to add variety and interest to your magnolia wreath.
Conclusion
In conclusion, making a magnolia wreath is an easy and enjoyable DIY project that can bring a touch of nature and elegance to your home. By following these simple steps, you can create a beautiful wreath using fresh or faux magnolia leaves that will last for many seasons to come.
To recap, start by gathering the necessary materials such as a grapevine wreath base, floral wire, and of course, magnolia leaves. Then, prep the leaves by removing any brown spots and cutting them into manageable sizes.
Next, attach the leaves to the wreath base using floral wire, making sure to cover the entire surface for a full and lush look. I hope this article has been beneficial for learning how to make a magnolia wreath. Make Sure the precautionary measures are followed chronologically.

