Are you looking to bring a personal touch to your bedroom décor? Has the thought of upcycling furniture or accessories crossed your mind in order to make something unique, budget-friendly and truly all your own? Then why not take on the challenge of painting a fabric headboard?

With step-by-step instructions on how to paint a fabric headboard, some simple tools, and patience—you can achieve a custom look for any room. From prepping the fabric and selecting color combinations to discussing materials you need for the task at hand—we’re here to guide you every step along this creative journey!
11 Step-by-Step Guidelines on How to Paint a Fabric Headboard
Step 1: Gather Your Supplies
To paint a fabric headboard, you will need:
- Drop Cloths or Plastic Sheeting
- Painter’s Tape
- Sandpaper or Sanding Block
- Primer Suitable for Fabric Surfaces
- Acrylic Paint in Your Desired Colors
- Paintbrushes (Various Sizes)
- Water and Mixing Cup
- Fabric Medium (Optional)
- Clear Sealant Spray
Step 2: Choose Your Colors
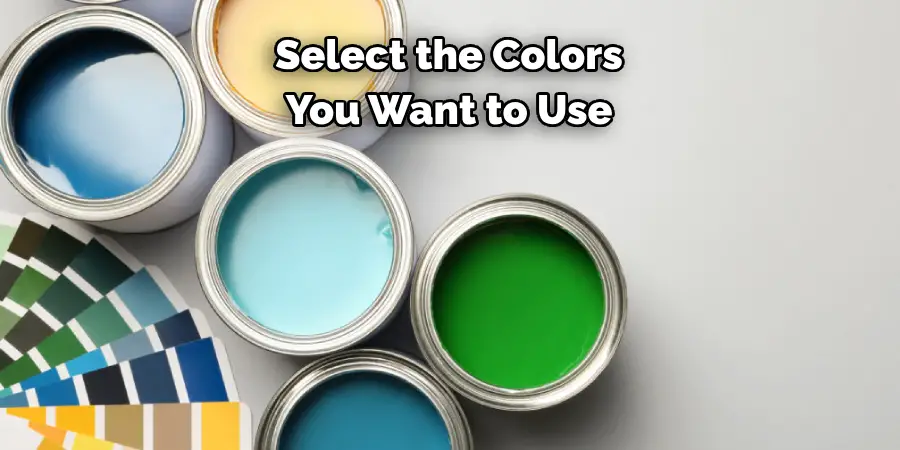
Select the colors you want to use for your headboard. Consider the existing color scheme of your bedroom or any other decor pieces you may want to complement. You can use a single color or create a design using multiple colors.s and spills. Next, sand down the headboard’s surface lightly to create a smoother base fo, primer suitable for fabric surfaces to help the paint adhere better.
Step 3: Mix Your Paints
In a mixing cup, add a small amount of water and then gradually mix in your acrylic paints until you achieve your desired color. Optional: You can also mix in fabric medium to create a softer texture on the fabric. It also helps make the paint more durable and flexible while preventing it from cracking when dry.
Step 4: Prepare Your Headboard
Remove any hardware or attachments from your headboard. Place a drop cloth or plastic sheeting underneath to protect your working surface from any drips or spills. Next, sand down the headboard’s surface lightly to create a smoother base for painting. YOu can use sandpaper or a sanding block for this step.
Step 5: Mask Off Edges
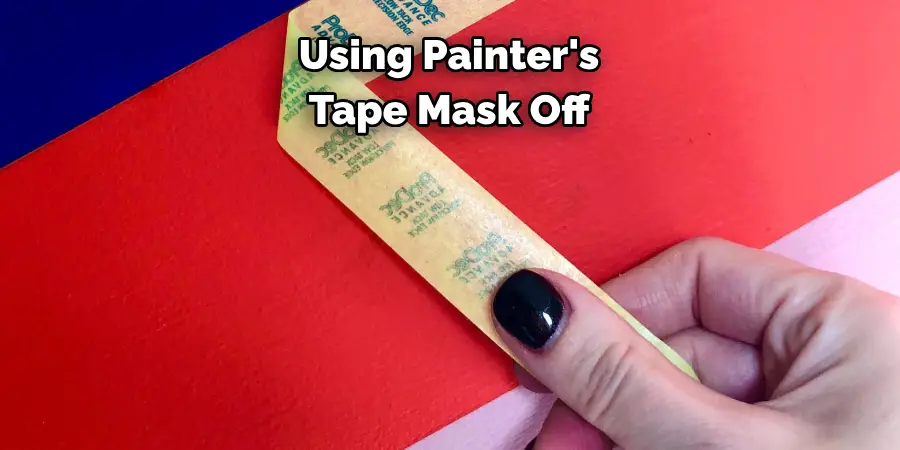
Using painter’s tape, mask off the edges of your headboard to ensure clean and straight lines when painting. This will also help prevent paint from getting onto parts of the headboard that you do not want to be painted. You can also use stencils for a more intricate design. It is recommended to use a low-tack painter’s tape so that it does not peel off any fabric when removed.
Step 6: Prime the Fabric
Using a primer suitable for fabric surfaces, apply an even coat to the entire headboard. This will help the paint adhere better and prevent any bleeding or fading of colors. Allow the primer to dry completely before moving on to the next step. But if you are using fabric medium, skip this step and move on to Step 7. This step is necessary if you are painting a darker fabric color or using light paint colors.
Step 7: Start Painting
Now comes the fun part! Using your paintbrushes, start painting your desired design onto the headboard. You can use different brush sizes for various effects. Remember to apply thin layers of paint and allow each layer to dry before adding another one. This will help prevent the paint from clumping and keep the colors vibrant. You can also layer different colors for added dimension.
Step 8: Layer Colors
For a more dynamic look, you can layer colors on top of each other while they are still wet or after they have dried. This will create a blended effect, giving your headboard depth and dimension. Although, if you want a more solid color, make sure to let each layer dry completely before adding another one. You can also use a hairdryer on low heat to speed up the drying process.
Step 9: Add Details
Once you have completed your base design, you can add details or touch-ups using a smaller brush. This is where your creative side can come out and play! You can add patterns and textures or even write words or phrases for a personalized touch. It is recommended to use a darker color for these details to make them stand out. But remember to let everything dry completely before moving on to the next step.
Step 10: Seal the Paint
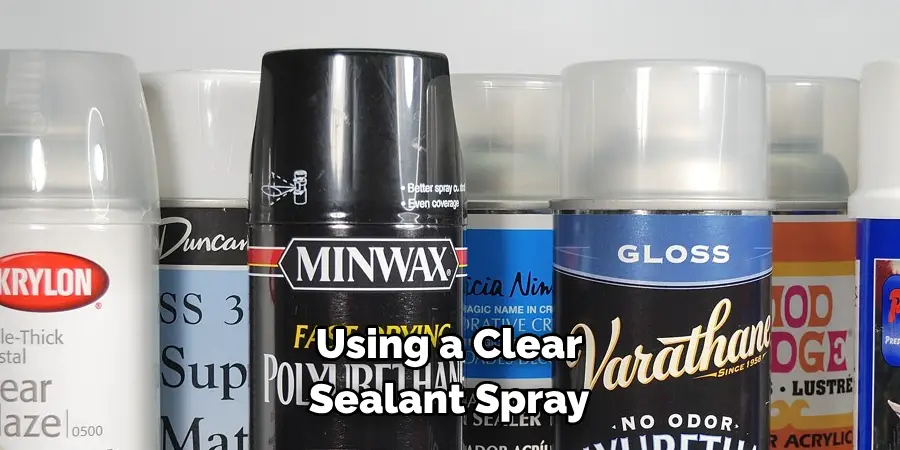
Once you are satisfied with your painted design, seal it using a clear sealant spray. This will protect your headboard from scratches and spills, making it easier to clean in the future. It also gives the paint a glossy finish and helps prevent fading or peeling. Make sure to use the spray in a well-ventilated area and follow the manufacturer’s instructions.
Step 11: Let it Dry
Finally, allow your headboard to dry completely before moving it back into your bedroom. This can take anywhere between 24-48 hours depending on the paint and sealant used, as well as the climate of your area. Once dry, remove the painter’s tape and any other masking materials, then reattach any hardware or attachments that were removed earlier.
Following these simple steps on how to paint a fabric headboard, you can transform your plain fabric headboard into a work of art that reflects your personal style and adds character to your room. This DIY project is not only budget-friendly but also allows you to unleash your creativity and make something truly unique for your home. So go ahead and paint a fabric headboard today!
How Much Could It Cost?
The cost of painting a fabric headboard mainly depends on the materials you use. Generally, it can range from $20 to $50, which is significantly cheaper than buying a new headboard. You can also save money by using leftover paints or repurposing old fabrics for your project. Plus, with painting, you have the freedom to change the design whenever you want without spending additional money.
Tips and Tricks
Experiment With Different Colors and Techniques to Create a Unique Design That Speaks to Your Personality.
Use Painter’s Tape to Create Clean Lines and Stencils for Intricate Designs.
Apply Thin Layers of Paint and Let Each Layer Dry Completely Before Adding Another One for the Best Results.
If Using Fabric Medium, Mix It in With Your Paint to Create a Softer and More Durable Finish.
Seal the Paint With a Clear Sealant Spray for Added Protection and Shine.
Don’t Be Afraid to Make Mistakes, as They Can Often Lead to Unexpected and Beautiful Results.
Have Fun and Let Your Creativity Flow!
Frequently Asked Questions
Q1. Can I Use Any Type of Paint for Fabric Headboards?
A1. While you can technically use any type of paint on a fabric surface, we recommend using acrylic paint as it is specifically formulated to adhere well to fabrics and has a wide range of color options. If you want to use a different type of paint, make sure to do a test patch first and see how it adheres to the fabric.
Q2. Do I Need to Wash My Fabric Headboard Before Painting?
A2. Yes, it is recommended to wash your fabric headboard before painting as this will remove any dirt or oils that may prevent the paint from adhering properly. Make sure to follow the manufacturer’s instructions for washing and drying your fabric.
Q3. Can I Paint Over an Existing Design on My Fabric Headboard?
A3. Yes, you can paint over an existing design on your fabric headboard as long as it is in good condition and does not have any flaking or peeling paint. If there are any imperfections, make sure to sand them down before painting. You can also use a primer to create a smoother surface for your new design.
Q4. How Do I Clean My Fabric Headboard After Painting?
A4. To clean your fabric headboard after painting, simply wipe it down with a damp cloth and mild detergent. Avoid using harsh chemicals or abrasive cleaners as they may damage the painted surface. If you have used a sealant, make sure to follow the manufacturer’s instructions for cleaning and care. So there is no need to worry about your painted headboard getting dirty over time.
Conclusion
It’s possible to customize your bed to fit the look and feel of any home decor! With the right tools, some time, and a little bit of creativity, you’ll have a painted fabric headboard that stands out and is something that you can be proud of.
So go ahead, grab those supplies, get creative, and start transforming any room with a show-stopping fabric headboard. When you’re done, bask in the glory of your beautiful creation and share it with friends. There’s nothing more satisfying than admiring your own hard work – so don’t put it off any longer – experiment today! Thanks for reading this article on how to paint a fabric headboard

