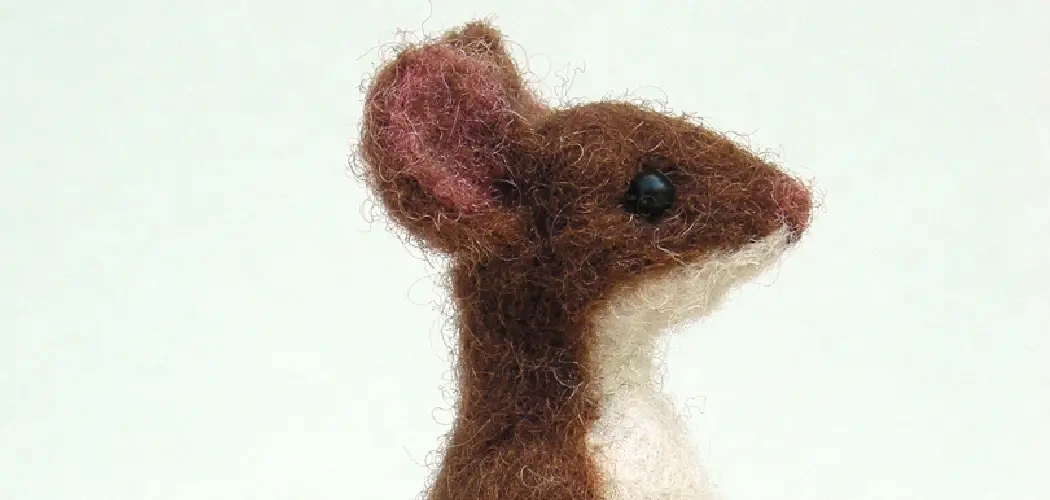
Unleash your inner child and dive into the world of needle felting with this delightful guide on how to make a felt mouse. This charming project is perfect for creating whimsical gifts and decorations and serves as a joyful way to spend your leisure time.
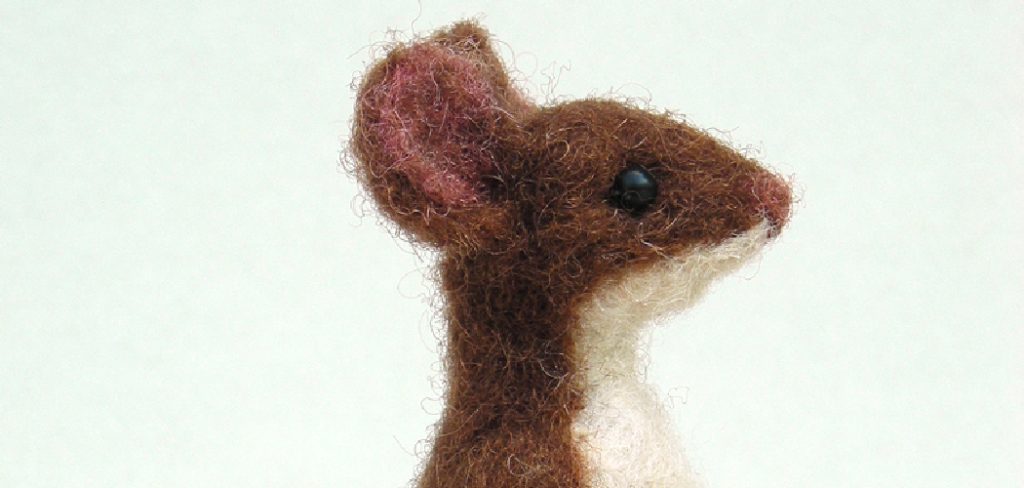
Whether you are new to the craft or an experienced needle filter, the process of shaping soft wool into a cute, fluffy friend is both rewarding and relaxing. With easy-to-follow steps and practical tips, we’re here to help you bring a little character brimming with personality to life. So gather your materials and let your creativity flow as we embark on this felt mouse crafting journey together.
Gathering Your Supplies
Before you can start crafting your felt mouse, having all your supplies on hand is essential. Begin by selecting soft Merino wool roving in various colors that will make up the mouse’s body, ears, nose, and eyes. You only need a small quantity of black wool for fine details like whiskers and eyes, but it’s crucial for bringing your mouse to life.
Invest in a basic needle felting needle set that includes various sizes. The different needles will help you shape the wool and add intricate details to your mouse. A felting mat is a must-have for your work surface, as it protects both the table and the needles during the felting process.
Don’t forget a pair of sharp scissors for snipping wool and trimming up those final details to perfection. If you want to create a more finished look with beads or sewn elements, have an embroidery needle and thread at the ready.
Lastly, if you desire a plumper little mouse, grab some polyester stuffing to give it a rounded body. With all these items prepared, you’re almost ready to dive into the satisfying craft of needle felting.
How to Make a Felt Mouse: Adorably Fuzzy Fun
1. Shaping the Body
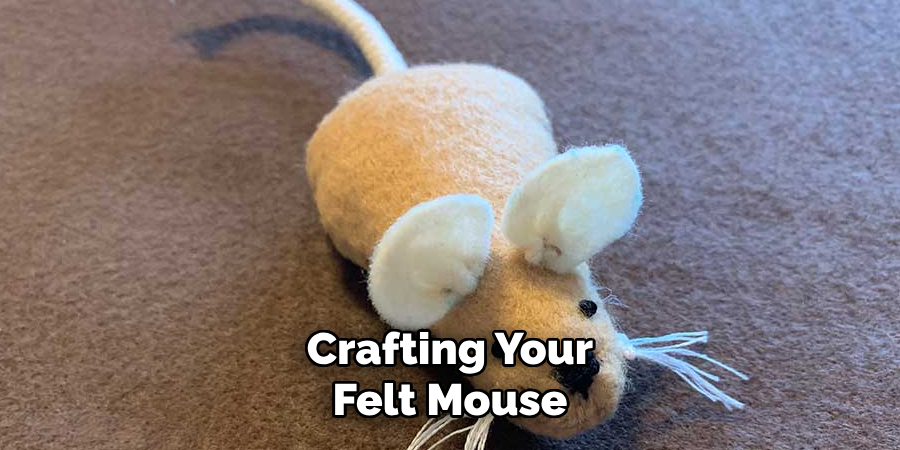
Crafting your felt mouse begins with the head, the foundation of your character’s personality. Pinch a small amount of white wool and roll it between your palms to form a soft ball. With your needle felting needle, start felting from the center outward, ensuring the core is firm and stable. Add wool incrementally, allowing the head to grow and take shape evenly, resulting in a smooth, rounded appearance.
Next, it’s time to give your mouse a cuddly body. Select a more generous amount of white wool, shaping it into a relaxed oval form with your fingers. Carefully place this oval shape beneath the head and feel the two parts together, creating a seamless join. As you work, continuously mold the wool to achieve a plump, well-proportioned body with a distinct neck area that transitions gracefully into the head.
Finally, the characteristic feature of any mouse is its slender tail. Twist a slender strip of wool to form a thin, elongated shape. Using your needle, feel this piece with delicate, tight pricks until it becomes dense and sturdy.
Attach the tail to the body once satisfied with its strength and tapering. Anchor it well at the rear of the body, ensuring it’s fixed in place and capable of a lifelike, flexible movement. Your mouse is now taking shape, with a captivating presence brought about by your skillful hands and imaginative vision.
2. Adding Features
With the body of your felt mouse shaped to perfection, it’s time to add character with unique features that give your creature a lifelike charm.
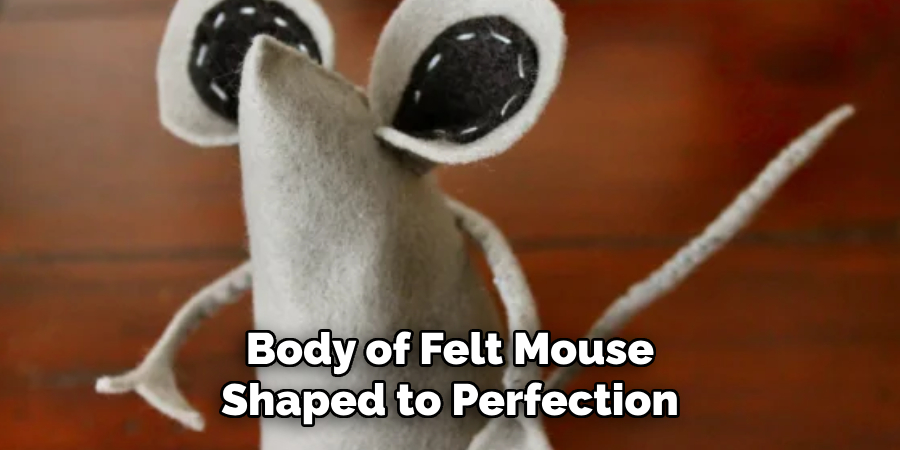
- Ears: Carefully pinch two small triangles of pink wool and, using your needle, felt them until they are compact and firm. Position these ears on either side of the head, angling them slightly forward to mimic an alert posture. The ears should be attached securely while maintaining their integral shape.
- Nose: Next, take a small amount of pink wool and form a tiny sphere serving as the mouse’s nose. Attach this at the front of the head, ensuring it protrudes to create a 3D effect. For the nostrils, either utilize a small pinch of black wool and feel it in place or carefully sew on a tiny black bead or embroider a black dot.
- Eyes: The eyes can be made from small, black woolen balls felted to the appropriate size, or you can opt to sew on black beads for a quicker and smoother finish. Place them near the top of the head, spaced appropriately to convey the innocent expression that is so endearing in small animals.
- Whiskers (optional): Whiskers add a touch of whimsy and realism. Take thin strands of black wool and individually felt them into place, extending from the nose area outward. These should be affixed lightly to allow for a natural drape, adding movement and texture to your mouse.
Remember, each feature contributes to your felt mouse’s unique personality, so don’t rush. Take your time in crafting and attaching each element, and don’t hesitate to rework a piece until it’s just right. Your patience and attention to detail will shine through in the finished product, bringing joy to anyone who glimpses your handcrafted critter.
3. Personalization and Finishing Touches
Personalization is where you can really let your creativity shine and make your felt mouse uniquely your own. Experimenting with different wool colors for the body, ears, and nose can produce various adorable mice, from classic greys and whites to vibrant shades that reflect fantasy or seasonal themes.
For those who appreciate a touch of flair, consider adding decorative elements. A small ribbon tied around the neck or a tiny bell can transform your felt mouse into a delightful ornament. Attaching beads with an embroidery needle and thread can create the illusion of an elegant collar or even a patterned coat.
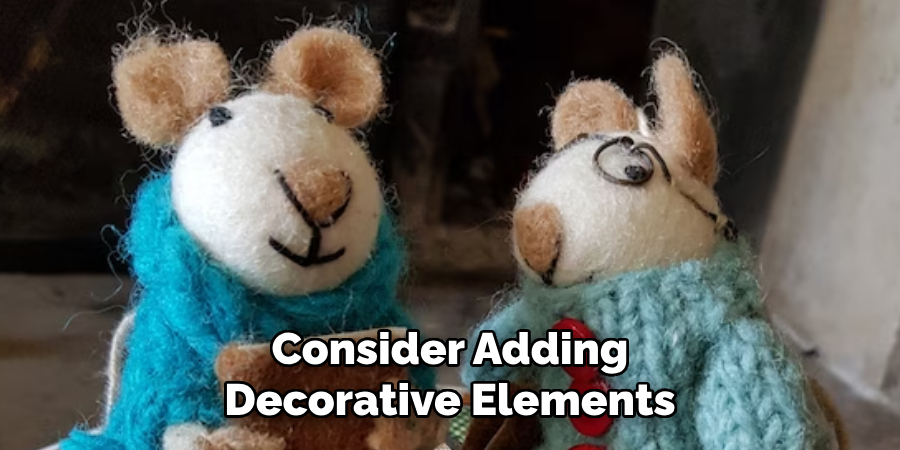
Embroidering small details, such as a mouth with a simple stitched line or tiny eyebrows with fine threads, can add much expressive character to your creation. Each stitch allows you to weave in personality and emotion, from a mischievous grin to a thoughtful furrow.
If you’ve chosen to give your mouse a plumper appearance with stuffing, gently poke a small hole in the bottom of the body using the tip of your scissors. Gradually fill the cavity with polyester stuffing until the mouse feels soft yet firm to the touch. Be careful not to overstuff, as this might distort your mouse’s shape. Once filled to your satisfaction, felt the wool around the opening to close the gap securely.
Remember, there’s no right or wrong regarding personal touches. Your felt mouse is a canvas for your imagination, so have fun and craft a character that brings you joy.
Mastering Advanced Techniques
As you refine your needle felting skills, advanced techniques can elevate your felt mouse from charming to exquisitely lifelike. Needle sculpting is one method that demands finesse; using finer needles and deliberate shading with wool of varied tones, you can sculpt realistic ears, legs, and paws.
These nuanced features, precisely shaped and shaded, add incredible depth and personality to your creation, though they require patience and practice to perfect.
For those seeking a distinct texture, wet felting is an optional technique that can be used to create the base body shape of your mouse. By layering wool and applying gentle movements in soapy water, the fibers intertwine and felt together, resulting in a smoother, organic look.
This method is a bit more complex and requires additional materials, such as warm water and a felting mat – it’s an exciting avenue for those wishing to expand their needle felting repertoire.
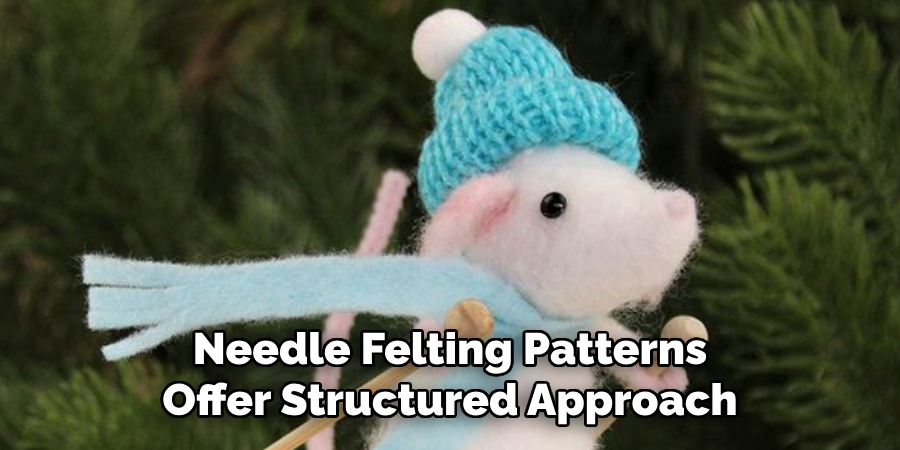
In addition to sculpting and texturing methods, needle felting patterns offer a structured approach to creating intricate designs. These patterns, which can be found online or purchased, provide detailed instructions for crafting specific shapes, poses, or even whimsical clothing details for your felt mouse.
Utilizing patterns can be particularly beneficial for beginners or those wanting to replicate complex designs more easily and confidently.
By embracing these advanced techniques, the artistry of your needle felting will flourish. Whether you choose to master the art of needle sculpting, explore the potentials of wet felting, or follow intricate patterns, each method opens doors to greater creativity and superb craftsmanship in your felt mouse projects.
That’s it! You’ve now learned how to make a felt mouse from start to finish, including advanced techniques and personalization tips. With practice, you’ll soon be able to create a whole family of adorable felt mice that are uniquely yours.
A World of Variations
Venture beyond the basic mouse and craft various animal friends to accompany your felt creation. By adopting the fundamental techniques from mouse-making, you can shape and design bunnies with long, floppy ears and soft, round tails; craft elegant cats with sleek bodies and piercing woolen eyes, or fashion clever foxes with bushy tails and pointed snouts.
Each animal features unique shapes and colors, allowing your creativity and felting skills to diversify.
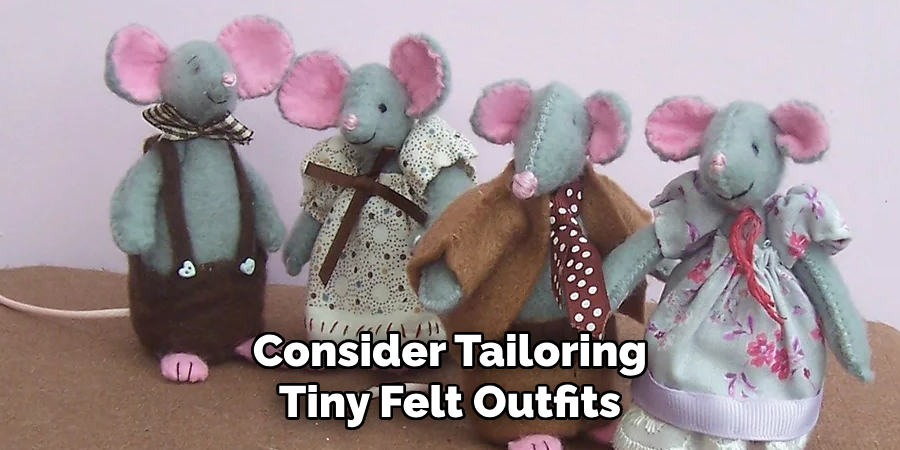
Taking your mice to the next level, consider tailoring tiny felt outfits for them. Scarves, hats, vests, and even intricate costumes can be fashioned to give each character outfit its own distinct charm. This is an engaging activity and a chance to try out various color combinations and patterns, enhancing the personality of each felted character.
Creating miniature scenes sets the stage for these characters, transforming a simple mouse into a protagonist in its own story. Construct a cozy felt house with miniature furniture, thread a garden scene with vibrant flowers, or set up a quaint picnic with felt food items. These scenes offer your creatures a rich narrative and context, igniting the imagination and adding depth to your projects.
Finally, felt mice make adorable and personalized gifts or decorations. Converting your creations into functional items like keychains, festive ornaments, or playful magnets can bring a touch of handmade charm into everyday life.
These small tokens are fun to make and serve as endearing, one-of-a-kind presents that capture the heart and craft of the maker. Whether as a hanging decoration for a special occasion or a daily companion on a set of keys, these miniature felt treasures will leave a lasting impression.
Tips and Troubleshooting
Embarking on the needle-felting journey, one must embrace both the joy of creation and the learning curve that accompanies it. Start small and don’t rush the process; beginning with simple shapes will build your skill foundation and give you the confidence needed to tackle more complex projects in the future. It’s essential to accept that mistakes are a part of learning, so be bold and experiment with various techniques and adaptations.
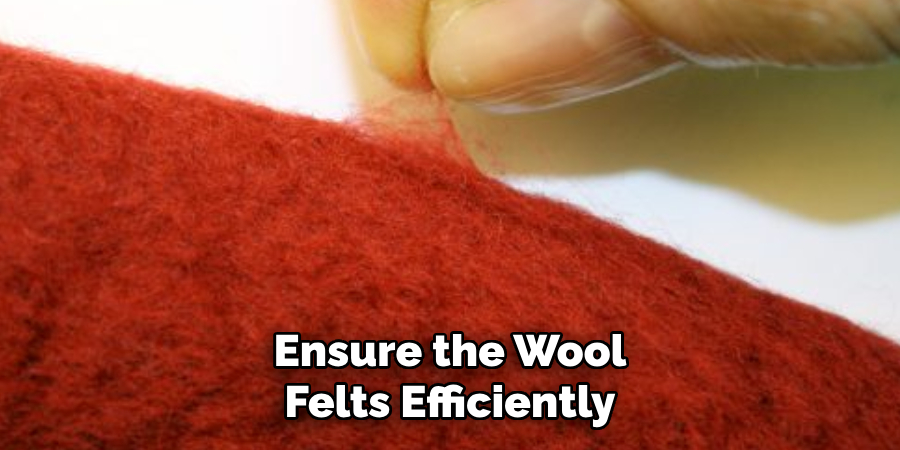
Use sharp needles to ensure the wool felts efficiently and to avoid unnecessary damage to the fibers. Quality equipment, including felting needles, makes a significant difference, so make it a practice to check your tools regularly and replace them when they become dull.
When felting, work slowly and with a gentle touch. Forceful stabbing can lead to tearing the wool or even injuring yourself. Controlled, tiny pricks with the needle will help you mold and densify the wool precisely as intended. This gentler approach also extends the life of your needles and materials.
Remember, practice is the key ingredient in the recipe for needle felting success. The more you work with wool, the more adept you become at shaping and detailing your creations. Embrace the entire process, from your very first piece to the most intricate designs you’ll craft.
Each project brings new lessons, and with every challenge overcome, your skills will flourish. Enjoy every moment of your crafting journey, and take pride in the progress and unique pieces you’ll make along the way.
5 Benefits of Making a Felt Mouse
Crafting has always been more than just the creation of objects. It’s a journey of creativity, providing an outlet for expression, a balm for stress, and a source of satisfaction. This listicle is dedicated to the humble DIY felt mouse and the multitude of benefits it offers to crafters.
1. A Creative Outlet
Unleash Your Imagination
The first and most appealing benefit of making a felt mouse is the sheer creative freedom it offers. You are the designer, the curator of colors, and the maker of patterns. There are no limits to how you can personalize your felt mouse with a multitude of designs – from sleek and classic to quirky and fun.
You can also choose color schemes that resonate with you personally or match your style. The simple act of choosing shapes, patterns, and colors is a powerful form of self-expression.
Exploration of Design Principles
By making a felt mouse, you also gain an understated education in design. As you play with form and proportion, you’ll undoubtedly begin to understand visual design principles. This newfound knowledge of how to balance color, texture, and shape can be applied to other areas of your life, influencing everything from dress to decorating your home.
2. Stress Relief
Engage Your Mind Creatively
Engaging in a crafting activity, such as making a felt mouse, can be a wonderful way to distract your mind from daily stressors. Crafting serves as a creative and psychological refuge where you can focus solely on the task at hand.
A Therapeutic Craft
The repetitive actions of cutting, stitching, and assembling can be meditative, leading to a state of flow where time seems to stop. Moreover, the structure and organization that crafting requires can help relieve anxiety by providing a sense of control and accomplishment.
3. Handmade Gift
Sincere and Unique Presents
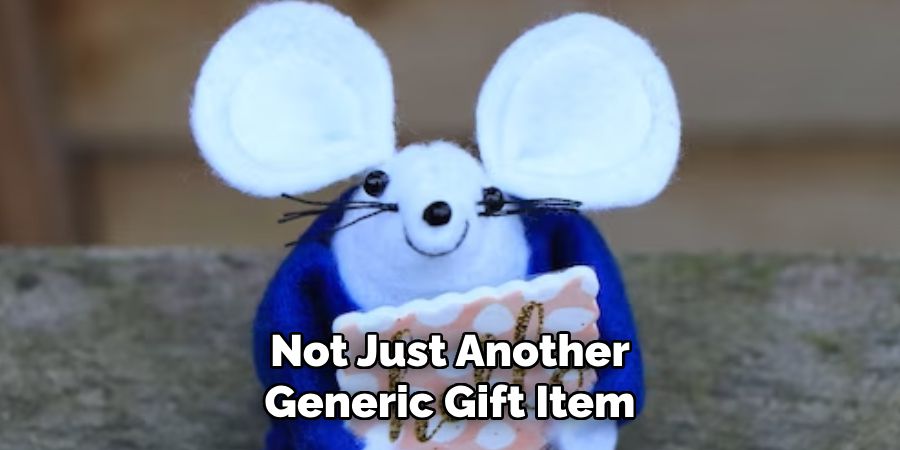
A felt mouse is not just another generic gift item; it’s a personal statement of care and effort. Handmade gifts are cherished for their personal touch and the thought that goes into them. They represent an investment of the most valuable resources: time and creativity.
Impactful on Many Occasions
Whether it’s a birthday, holiday, or just to show appreciation, a thoughtful handmade gift like a felt mouse can be incredibly impactful. Particularly for children, a handmade toy can become a lifelong treasure, imbued with its creator’s love.
4. Cost-Effective
Minimize Spending on Office Tools
Crafting your own felt mouse can be remarkably cost-effective. With just a few inexpensive materials, such as felt, thread, and stuffing, you can create a functional and charming work of art that serves as a computer accessory.
Savings Over Store-Bought Options
When you compare the cost of supplies to the price of a pre-made mouse, the savings become noticeable. By embracing DIY, you save money and avoid contributing to the waste that inevitably comes with packaged goods.
5. Skill Development
Enhance Your Coordination
Sewing a felt mouse, especially with small, intricate details, can significantly improve your hand-eye coordination and fine motor skills. These are not just valuable for crafting; they have many benefits in daily life, from better handwriting to improved athletic performance.
Continuous Learning and Growth
Every time you make a felt mouse, you can try new techniques and improve upon your previous attempts. This process of learning and growth is immensely satisfying. It can encourage you to advance to more complex crafting projects, further expanding your skills and your passion for creation.
Conclusion
With the essence of creativity and the spectrum of techniques explored, you are now equipped with how to make a felt mouse that brings joy and whimsy to any space. These tips will guide you as you dive into the world of needle felting with confidence. The possibilities are endless, and each creation is a testament to your unique artistic vision.
So gather your colorful wool, sharp needles, and boundless imagination and set forth on a fantastic journey of crafting and discovery. Whether gifts, decorations, or simply for pleasure, your handcrafted mice will surely charm and delight.

