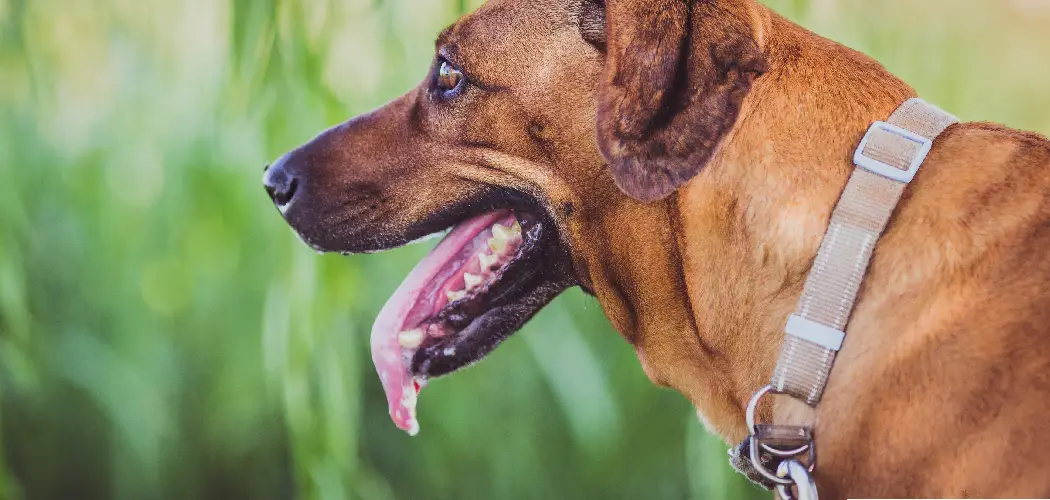
Dogs, our furry best friends, are an integral part of many families. They bring us joy and companionship, and we want to ensure their safety at all times. That’s where a dog collar comes in handy.
It not only helps identify your dog but also provides a way to attach a leash for walks and keep them safe during outdoor activities such as hiking or camping.The main advantage of making your own dog collar is the opportunity to create something unique and personalized for your furry friend.
Commercial dog collars can be boring and generic, but by making one yourself you have the freedom to choose any design, color or pattern that suits your dog’s personality. You can find step-by-step instructions on how to make a dog collar in this blog article.
Materials You Will Need
- Webbing material
- Hardware (buckles, D-rings)
- Fabric (optional for design purposes)
- Sewing Machine
- Scissors
- Measuring Tape
- Ruler or straight edge
- Pins or clips to hold fabric in place when sewing
- Chalk or washable marker for marking measurements and lines on the fabric
- Thread (matching color to the webbing/material being used)
Step by Step Processes for How to Make a Dog Collar
Step 1: Inspect the Dog Collar
Before you start making a dog collar, it is important to inspect the materials you have chosen. Make sure that the collar is in good condition and there are no sharp edges or rough spots that can harm your dog.
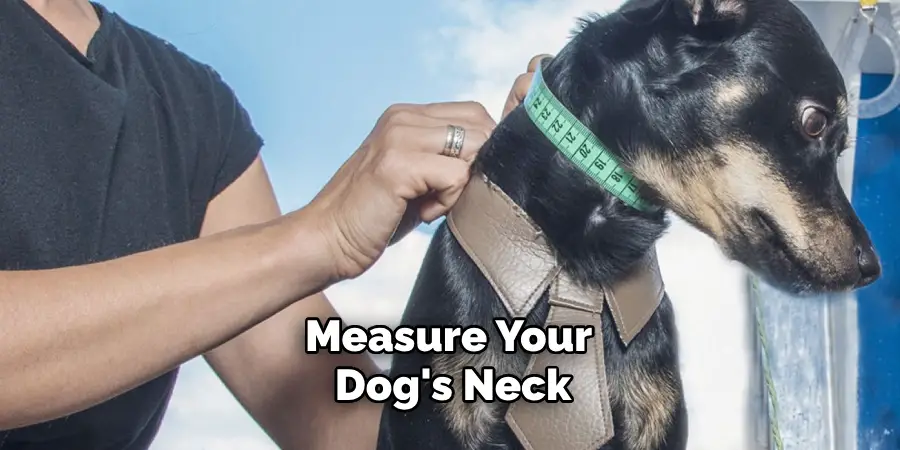
The first step in making a dog collar is to measure your dog’s neck. Use a soft measuring tape to measure around your dog’s neck, leaving enough room for two fingers to fit in between the collar and your dog’s neck. This will ensure that the collar is not too tight or too loose.
Step 2: Choose a Material
You can use a variety of materials to make a dog collar such as nylon, leather, or fabric. Make sure to choose a material that is durable and comfortable for your dog. You can also choose a fun pattern or color to make the collar more unique.
Once you have chosen a material, measure and cut it according to your dog’s neck measurement. Make sure to add an extra inch on each end for adjustments.
Step 3: Attach Buckle and D-ring
Using a sewing machine or hand stitching, attach the buckle and D-ring to one end of the collar. Make sure that they are securely attached. On the other end of the collar, create adjustments by adding holes for the buckle to fit in. You can use a leather punch tool or a hole puncher for this step.
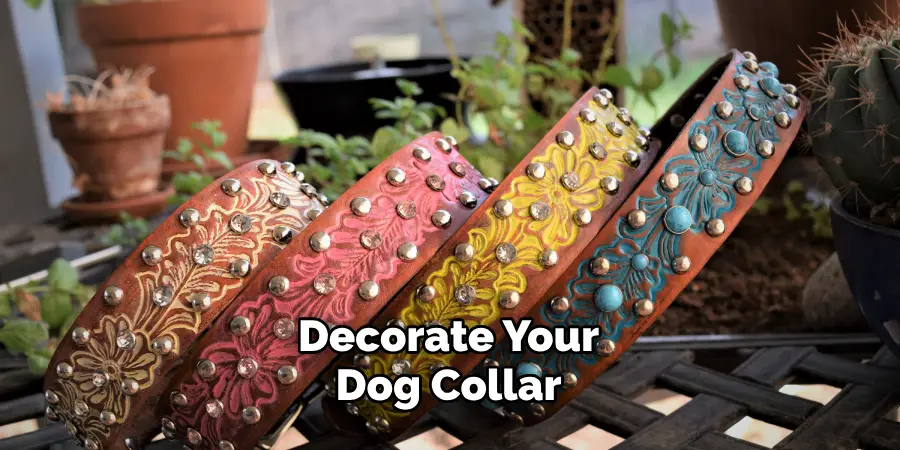
Step 4: Add Decoration (Optional)
This step is optional, but you can choose to add decorations to your dog collar such as charms, name tags, or buttons. Just make sure that they are securely attached and will not be a choking hazard for your dog.
Before putting the collar on your dog, make sure to test it by pulling on it slightly. This will ensure that the collar is secure and will not come undone while your dog is wearing it.
Step 5: Put the Collar on Your Dog
Once you have tested the collar, put it on your dog’s neck and adjust it accordingly. Make sure that the collar is not too tight or too loose. Now that you have successfully made a dog collar, it’s time to show it off! Take your dog for a walk and let them rock their new stylish and comfortable collar.
Tips for How to Make a Dog Collar
- Always keep safety in mind when working with sharp tools such as scissors, needles or pins. Make sure to use them carefully and away from children.
- If you are using glue or other adhesives, make sure to work in a well-ventilated area and avoid getting it on your skin. If contact occurs, rinse the affected area immediately.
- When using sewing machines, make sure to keep your fingers away from the needle and always sew slowly and carefully.
- When measuring or cutting materials, double check your measurements to avoid any mistakes. It’s better to have extra fabric than not enough.
- If you are using a hot glue gun, make sure to unplug it when not in use to avoid accidents.
- Always supervise children and pets when working on any crafting project to ensure their safety and avoid any accidents.
- If you are unsure about how to use a certain tool or technique, ask for help or do some research before proceeding. Safety should always be the top priority when creating anything.
How Long Does It Take to Make a Dog Collar?
When it comes to making a dog collar, there are many different factors that can affect the amount of time it takes. Some people may be able to complete the task in just a few hours, while others may take several days or even weeks. So, how long does it really take to make a dog collar?
The answer ultimately depends on your experience level, as well as the complexity of the design you choose. If you are new to making dog collars, it may take longer as you learn how to properly measure and cut materials, attach hardware, and create a finished look. However, with practice and repetition, you can significantly decrease the amount of time it takes to make a dog collar.
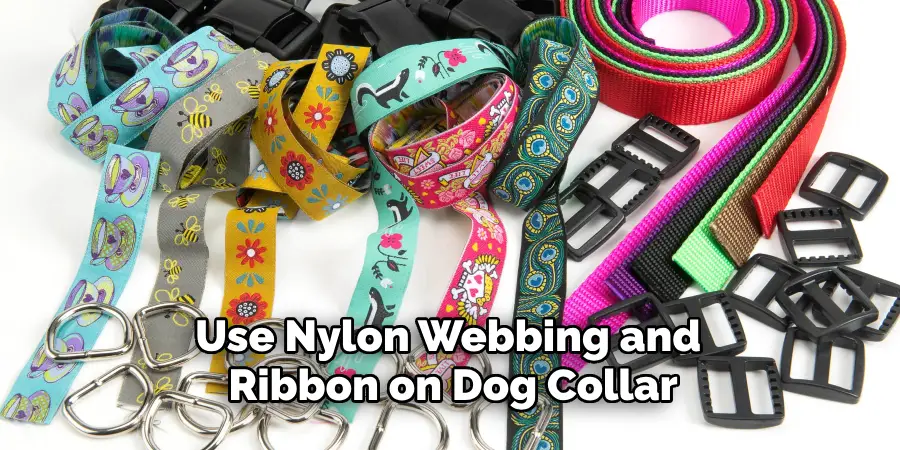
Another factor that can affect the time it takes to make a dog collar is the type of materials you use. Some materials, such as leather or thicker fabrics, may be more difficult to work with and require more time and effort. On the other hand, if you opt for simpler materials like nylon webbing or ribbon, the process may be quicker.
Some Common Mistakes to Avoid When Making a Dog Collar
Making a dog collar can be a fun and rewarding activity, but it’s important to make sure you have the right tools and techniques in order to create a safe and comfortable collar for your furry friend. Here are some special techniques and tools that can help you in making the perfect dog collar.
Special Techniques:
1. Measuring Correctly
It’s important to measure your dog’s neck accurately in order to ensure a proper fit for the collar. Use a soft measuring tape and make sure to leave some room for adjustments, as dogs may grow or lose weight over time.
2. Choosing the Right Materials
When making a dog collar, it’s important to choose materials that are sturdy and comfortable for your dog. Nylon webbing or leather are popular choices, but make sure to avoid materials that can cause irritation or discomfort.
3. Adding Breakaway Features
If you have an adventurous dog that loves to explore, consider adding a breakaway feature to the collar. This will allow the collar to come apart if your dog gets caught on something, preventing choking or injury.
4. Using Quality Hardware
The hardware used in a dog collar, such as buckles and D-rings, should be strong and durable. Make sure to test the strength of the hardware before assembling the collar.
Common Mistakes
1. Using Inappropriate Materials
As mentioned earlier, it’s important to choose materials that are safe and comfortable for your dog. Avoid using materials that can cause irritation or injury, such as rough or sharp edges.
2. Not Securing the Collar Properly
A loose or improperly secured collar can be dangerous for your dog. Make sure to properly secure the collar and regularly check for any signs of wear and tear.
3. Making a One-Size-Fits-All Collar
Dogs come in all shapes and sizes, so it’s important to make a collar that fits your dog specifically. Avoid making a one-size-fits-all collar, as it may not be comfortable or secure for your dog.

4. Not Testing the Collar
Before putting the collar on your dog, make sure to test it out by pulling on it gently. This will help you identify any weak points or potential issues with the collar.
Making a dog collar requires some special techniques and tools to ensure a safe and comfortable fit for your furry friend. It’s important to measure accurately, choose the right materials, and avoid common mistakes to create a high-quality collar that will last for years to come.
Conclusion
In conclusion, making a dog collar is not as difficult as it may seem. With the right materials and tools, anyone can create a custom dog collar that is both stylish and functional for their furry friend. Whether you want to save money, have a special design in mind, or simply enjoy DIY projects, creating a dog collar at home is a great option.
It allows you to personalize the collar to your dog’s unique style and personality while ensuring the quality of materials used. Not to mention, it can also be a fun activity that you and your dog can do together. I hope this article has been beneficial for learning how to make a dog collar. Make Sure the precautionary measures are followed chronologically.

