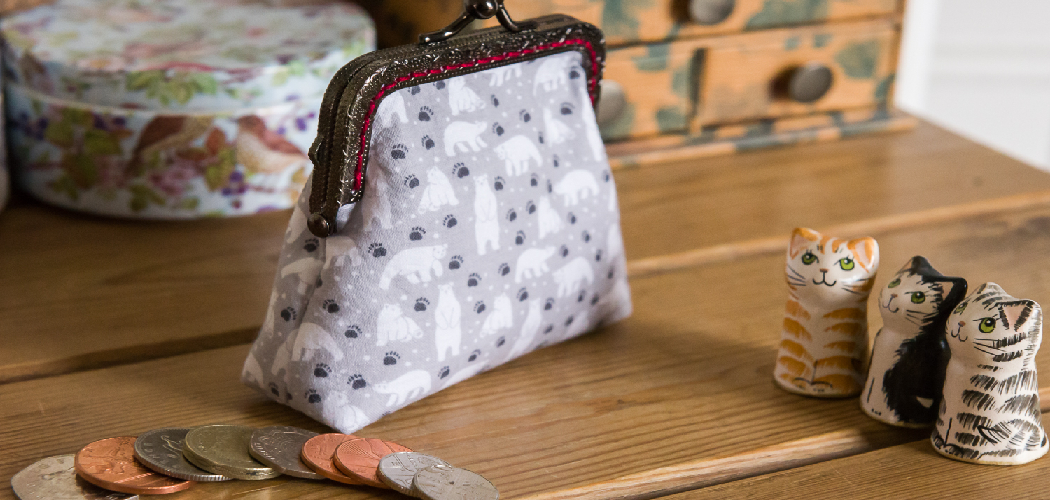
Are you ready to learn the art of making a coin purse? If so, you’ve come to the right place! In this tutorial, we will provide step-by-step instructions on how to create a beautiful and stylish coin purse that can be proudly carried by anyone.
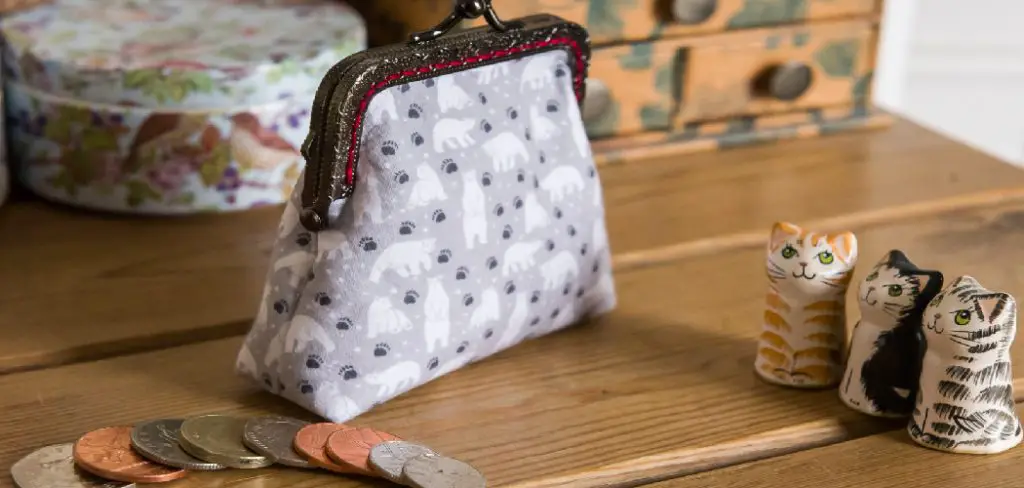
Not only is it easy but also fun crafting your own handmade item with something as simple as fabric and yarn. Whether it’s for yourself or as a gift idea for someone special, everyone is sure to love it. Let’s get started on how to make a coin purse!
Why Make a Coin Purse?
Before we dive into the steps, let’s first understand why making a coin purse is beneficial. For one, it allows you to express your creativity and make something unique that reflects your personal style. Additionally, handmade items can also be more durable and of higher quality than store-bought ones. It’s also a great way to save money by using materials you already have at home.
Materials You Will Need
To create your own coin purse, you will need the following materials:
- Fabric of Your Choice
- Lining Fabric
- Zipper (Preferably 8 Inches or Longer)
- Sewing Machine or Needle and Thread
- Ruler
- Scissors
- Pins
- Iron and Ironing Board (optional)
10 Step-by-step Instructions on How to Make a Coin Purse
Step 1: Choose a Fabric
You can use any type of fabric you like – cotton, denim, leather, etc. It’s best to choose a sturdy fabric that will hold up over time. You will need two pieces of fabric, one for the exterior and another for the lining.

It’s also a good idea to prewash your fabric before starting as it may shrink or bleed during the process. It’s always better to be safe than sorry. This step can be skipped if you’re using recycled fabric.
Step 2: Cut Out Rectangles
Using your ruler and scissors, cut two rectangles of each fabric. The exterior fabric should measure 8×4 inches while the lining fabric should be slightly smaller at 7.5×3.5 inches. You can adjust the size of your rectangles depending on how big or small you want your coin purse to be. This tutorial is based on a medium-sized coin purse. You can also round the corners of your rectangles for a more polished look.
Step 3: Prepare the Zipper
If your zipper is longer than 8 inches, cut it down to size. Next, sew one end of the zipper tape to the top edge of the exterior fabric rectangle. Repeat this step for the lining fabric as well, making sure that both zippers are facing the right side of the fabric. It’s important to use a zipper foot on your sewing machine for this step. You can also hand-sew the zipper in place if you don’t have a sewing machine.
Step 4: Sew the Zipper
Place both fabric rectangles with their right sides together and align the edges. Sew along the top edge of the zipper, making sure to backstitch at each end. Flip both fabrics over and press them flat using an iron (optional). This will help keep the fabric in place when sewing the remaining edges. It’s important to unzip the zipper halfway before proceeding to the next step.

Step 5: Sew the Other Edges
Keeping the right sides together, sew along the remaining three edges of the fabric rectangles. Make sure to leave a small opening on one side of the lining fabric to turn the coin purse right side out. Once done, trim any excess threads and clip the corners for a neater finish. You can also use pinking shears if you have them. It’s important to not cut the seam you just sewed.
Step 6: Turn Right Side Out
Gently turn the coin purse right side out through the opening in the lining fabric. This will reveal your beautiful exterior fabric and zipper. Use a blunt object such as a pencil or chopstick to push out the corners for a sharper appearance. Once done, hand stitch the opening in the lining fabric using an invisible stitch. But don’t worry, if you’re not good at hand sewing, you can also use a small amount of fabric glue to close the opening.
Step 7: Sew the Zipper Ends
To make sure your zipper doesn’t come off, sew a few stitches on each side of the zipper end where it meets the fabric. This will also give it a more professional look. You can use matching thread or gimp thread for a decorative touch. This is the perfect opportunity to personalize your coin purse by adding a small charm or keyring. If you’re using a keyring, make sure to attach it before sewing the zipper ends.
Step 8: Create the Coin Purse Shape
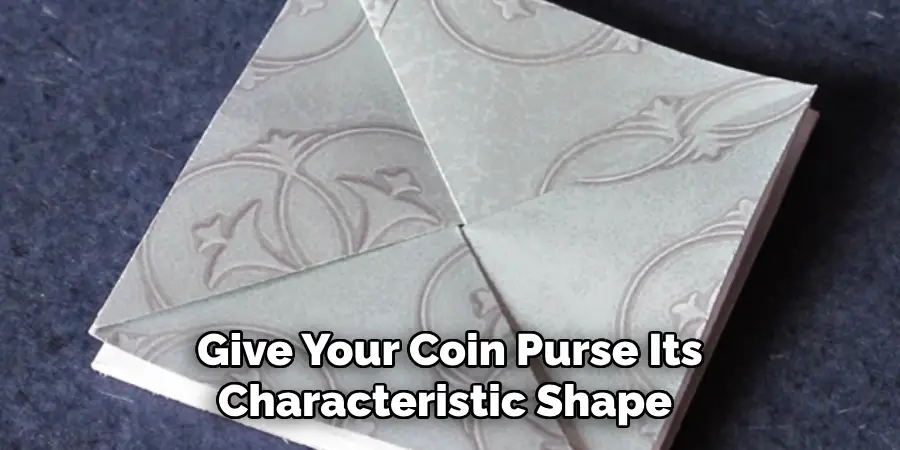
To give your coin purse its characteristic shape, fold it in half and sew along the sides. Make sure to backstitch at each end and reinforce the zipper ends with additional stitches. Trim any excess fabric and threads once done. You can also zigzag stitch along the edge for added durability. It’s important to not sew over the zipper teeth, as this can damage your sewing machine.
Step 9: Add a Lining
If you prefer a more finished look on the inside, you can add a lining to your coin purse. Cut out two rectangles of lining fabric in the same size as the exterior fabric and attach it to one side using fabric glue. Make sure to let it dry completely before proceeding to the next step. You can also sew the lining in place if you prefer. This step is optional but highly recommended for a more professional finish.
Step 10: Enjoy Your Handmade Coin Purse!
Congratulations, you have successfully completed your handmade coin purse! You can now use it to store your coins and small items, or even as a mini wallet. Feel free to experiment with different fabrics and designs to make more unique coin purses that will suit your style and needs. And don’t forget to show off your creation to others, who knows, you might inspire them to make their own! Happy crafting!
Following these easy step-by-step instructions, you now know how to make a coin purse from scratch. This can be a fun and rewarding activity for anyone with basic sewing skills or looking to try out a new hobby.
Making your own coin purse not only allows for personalization but also provides a sense of accomplishment and satisfaction. So why not give it a try and see what unique creations you can come up with? So go ahead, gather your materials, and get ready to create a one-of-a-kind coin purse that you can be proud of. Happy crafting!
Do You Need to Hire Professionals?
While making a coin purse may seem like a simple task, there are instances where hiring professionals can be beneficial. For example, if you want to create a more intricate design or use specialized materials such as leather or metal hardware, outsourcing the production of your coin purse can save you time and effort. Professional services also offer higher-quality finishes and can cater to specific requests for custom-made coin purses. Ultimately, the decision to hire professionals or make your own coin purse depends on your preference and needs.
Frequently Asked Questions
Q: Can I Use a Different Type of Closure Instead of a Zipper?
A: Yes, you can experiment with different types of closures such as buttons, snaps, or even velcro. Just make sure to adjust the steps accordingly and reinforce the closure with extra stitches for added durability. It’s also important to consider the functionality of the closure in relation to the size and purpose of your coin purse.
Q: How Can I Make My Coin Purse More Durable?
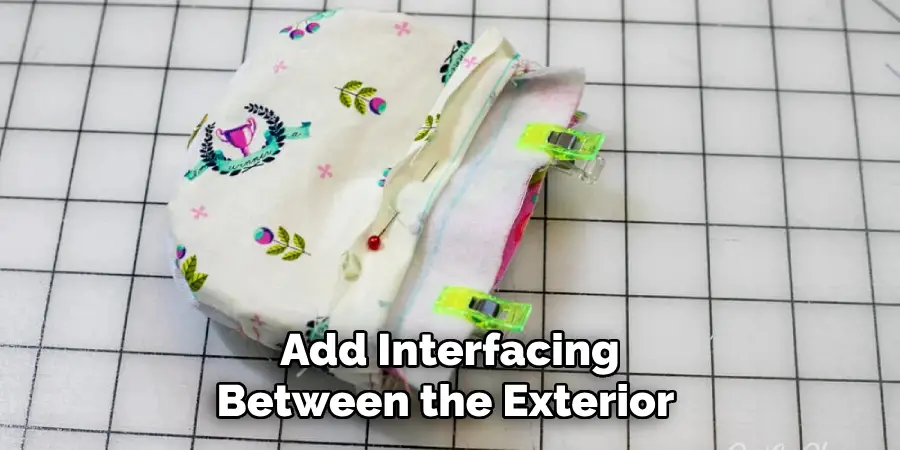
A: To make your coin purse more durable, you can use thicker fabrics or add interfacing between the exterior and lining fabric layers. You can also reinforce the seams with extra stitching or use a zigzag stitch for added strength. Additionally, you can opt for metal hardware such as keyrings or eyelets to prevent wear and tear on the fabric.
Q: Can I Make Larger or Smaller Coin Purses?
A: Yes, you can adjust the size of your coin purse by simply cutting out larger or smaller rectangles of fabric. However, make sure to adjust the length of your zipper accordingly and always keep in mind the functionality of your coin purse. For example, a larger coin purse may also be used as a small clutch or wallet, while a smaller one may only fit coins. So feel free to experiment with different sizes to find what works best for you. And don’t forget to share your creations with others!
Conclusion
To sum up, making a coin purse is an enjoyable weekend project that produces quick results. You can make a coin purse from nearly any type of fabric or leather you like. You will need basic sewing skills to make a coin purse and it’s helpful to have access to a sewing machine, but hand-stitching the purse is still doable.
Have fun choosing the colors and textures of fabric and hardware for your finished product. After all, it’s the little details that will turn your homemade coin purse into something special you can be proud of. Let those creative juices flow and get started now on making your very own awesome coin purse! Thanks for reading this article on how to make a coin purse.

