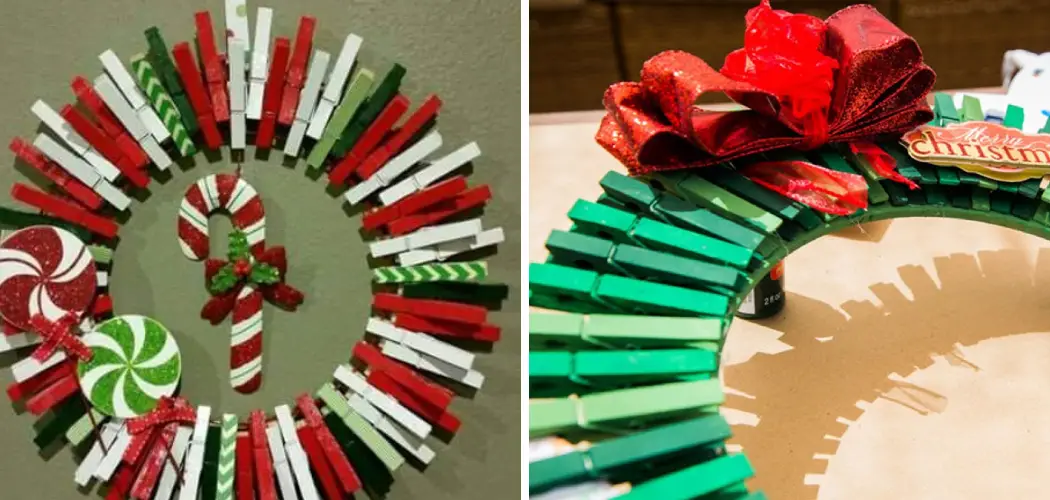
Clothespin wreaths exude charming versatility, making them a delightful addition to any decor throughout the year. These wreaths adapt effortlessly to any season or celebration, all while offering an excellent opportunity for personal expression. Their simplicity in design provides an easy and cost-effective DIY project, perfect for both crafting novices and experts.
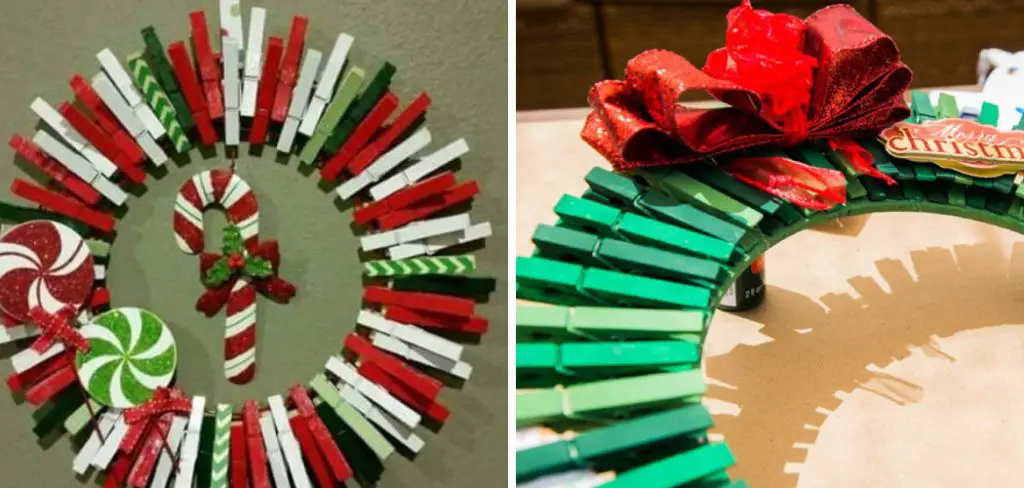
In this guide, you’ll discover how to make a clothespin wreath into eye-catching adornments with styles ranging from rustic farmhouses to vibrant holiday themes. Prepare to unlock this customizable craft’s potential and warmly welcome creativity in your home.
Design Inspiration
The next step on our creative journey is envisioning the perfect motif for your clothespin wreath. Envision your wreath gracing a rustic setting with weathered wood-toned pins or thriving in a farmhouse scenario with a mix of gingham patterns and pastel hues. Picture a wreath blooming with floral beauty adorned with faux petals and vibrant greens, or celebrate the seasons with themed ornaments for holidays such as Halloween or Christmas.
When selecting your design path, contemplate the intricacies of your color scheme and the size of your wreath to maintain proportion and visual appeal. Factor in the types of embellishments you find captivating—will they be subtle twine bows or bold, painted figures?
Your chosen theme should resonate with your personal style and space, inviting a piece of your personality to shine through. This craft is about following steps and infusing your essence into your creation. Let your imagination guide you, and remember: every choice is yours to make, and every possibility is within reach.
Materials Roundup
Crafting a clothespin wreath requires creativity and the assembly of certain essential materials. Here’s a comprehensive list to get you started:
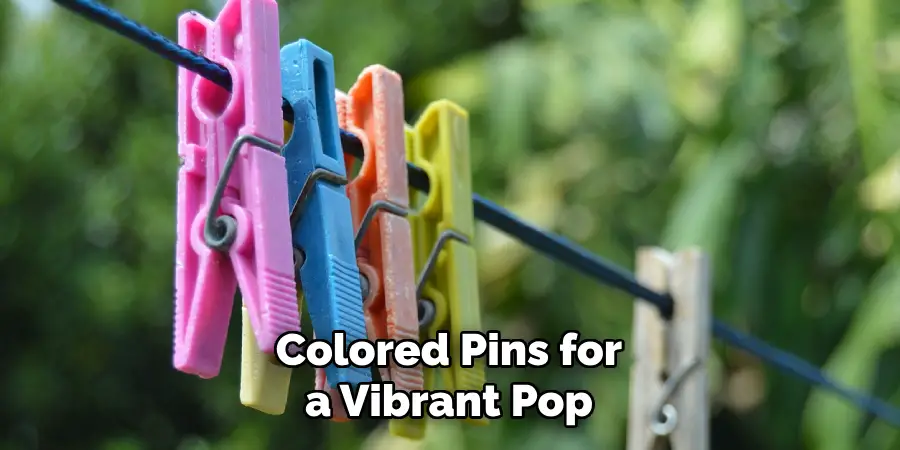
- Clothespins: Select from various types, such as classic wood for a natural look, colored pins for a vibrant pop, or mini clothespins for delicate designs. Choose heavier-duty pins for larger wreaths that may hold more weight.
- Wreath Form: Available in multiple sizes, choose a form based on the scale of your final display piece. Options range from small, 8-inch forms perfect for intimate spaces to grand, 24-inch forms designed for a substantial visual impact.
- Hot Glue Gun and Glue Sticks: An indispensable tool for affixing your clothespins and decorations. Ensure you have a sufficient supply of glue sticks for your project.
- Ribbon: Select ribbons that complement your color scheme and are robust enough to hang your wreath once completed.
- Decorative Accents: These are optional and can include anything from artificial flowers and greenery to festive ornaments and personalized charms.
When choosing clothespins, consider the final look and feel of your wreath. Wooden pins can be painted or stained to match any theme, while colored pins immediately offer a distinctive flair. If your wreath design involves layering or additional heavy embellishments, opt for sturdier clothespins to maintain structure and longevity.
Affordable materials can often be found at craft stores, dollar stores, or through online retailers. Keeping an eye out for sales and using coupons can significantly reduce costs without compromising on quality.
Lastly, addressing safety when using a hot glue gun is important. Always use the tool on a heat-resistant surface, keep a bowl of water nearby for any burns, and never leave the glue gun unattended while plugged in. By following these precautions, you’ll ensure a safe and enjoyable crafting experience.
Additional Embellishments
In personalization, additional embellishments are the key to elevating your clothespin wreath from a project to a bespoke piece of art. Consider the spectrum of available adornments like artificial flowers and a lush variety of greenery to breathe life and dimension into your wreath. For a more tactile experience, explore the charm of painted clothespins, which can match or contrast your color scheme for a daring or cohesive look.

Buttons, vibrant or vintage, can add unexpected pops of texture and nostalgia. And don’t forget the rustic allure of twine, which can be wound around pins or formed into bows for a touch of country chic.
Choosing these extras requires considering the wreath’s existing elements; aim for harmonious colors and a balanced distribution to ensure each addition complements rather than clutters. For more delicate items, bypass the permanence of glue for the gentle finesse of sewing or the simplicity of tying, which not only secures the item but also allows for future adjustments or replacements.
Remember, each additional element reflects your personal style and, when used thoughtfully, can transform your wreath into a unique keepsake.
Planning and Sketching
Before diving into the assembly of your wreath, take a moment to plan and sketch your design. An initial blueprint helps envision the final product, ensuring a cohesive look once all elements are in place. Consider the placement of your clothespins and how your chosen embellishments will interplay with the base.
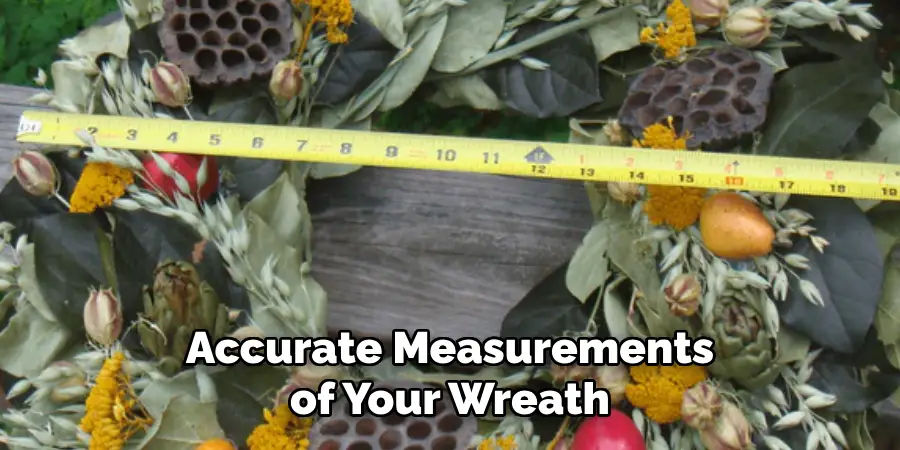
Quick sketches can help distribute materials evenly around the wreath form, reducing the risk of a cluttered or unbalanced appearance. Take accurate measurements of your wreath form to estimate the number of clothespins required. This preparatory step ensures your vision becomes a well-executed and beautiful craft.
How to Make a Clothespin Wreath: A Beginner’s Guide
Initiating your craft, the wreath form is your canvas. Begin by fastening the ribbon, which serves a dual purpose: as a hanger and as an aesthetic element. Cut a length of ribbon measuring approximately twice the intended hanging length. Loop the ribbon around the top section of your form, bringing both ends upwards, and tie a secure knot, leaving excess to form an elegant bow.
Alternatively, a hidden loop behind the wreath offers a more subtle suspension. Aesthetic appeal can further be enhanced by wrapping the form with burlap or twine before attaching clothespins, especially if you opt for a wire frame. This conceals the base material and adds a rustic warmth to your craft.
Foam forms benefit from fabric or twine wrapping, providing a grippy texture to which clothespins adhere more easily. Wireframes may require additional wrapping or padding to ensure the clothespins sit snugly and maintain their positions. If decorative accents will largely cover the form, prioritize sturdy ribbon attachments, as these will bear the bulk of the final weight.
Whichever material you choose, ensure the form is prepped to complement your design, support your clothespins, and hold steadfast once displayed proudly in your home.
Attaching the Clothespins
With your wreath form prepped and your materials at the ready, it’s time to attach the clothespins. Here’s how you can achieve a secure and aesthetically pleasing attachment using various methods.
1. Hot Glue Method:

For a firm and long-lasting bond, hot glue is the go-to choice. When working with a hot glue gun, always prioritize safety: use a low-temperature gun to minimize burn risks, and keep a bowl of water nearby should any hot glue come into contact with your skin. Begin by applying a small bead of glue along the flat side of a clothespin, being cautious not to overapply, which can cause the glue to seep out and create a mess.
Press the clothespin onto the wreath form, holding for a few seconds to allow the glue to cool and the bond to solidify. Space the pins evenly, and periodically step back to check the alignment and balance of your design.
2. Sewing Attachment:
For an alternative, non-permanent method, sewing allows you to stitch your clothespins onto fabric-covered foam forms. This is particularly useful if you anticipate wanting to change your design. To sew a clothespin, first remove the spring to separate the two wooden pieces.
Position the wooden piece flat against the fabric and use a needle and thread to stitch through the existing holes of the clothespin, securing it onto the form. Reattach the spring once the wooden parts are sewn into place.
3. Clamping Method:
Using clothespins to clamp onto decorative items presents a creative and unique angle to your design. This technique involves directly clipping items such as greenery, light accessories, or fabric onto the wreath form using clothespins. This can be a delicate process, as balancing the weight and maintaining an even distribution requires a keen eye.
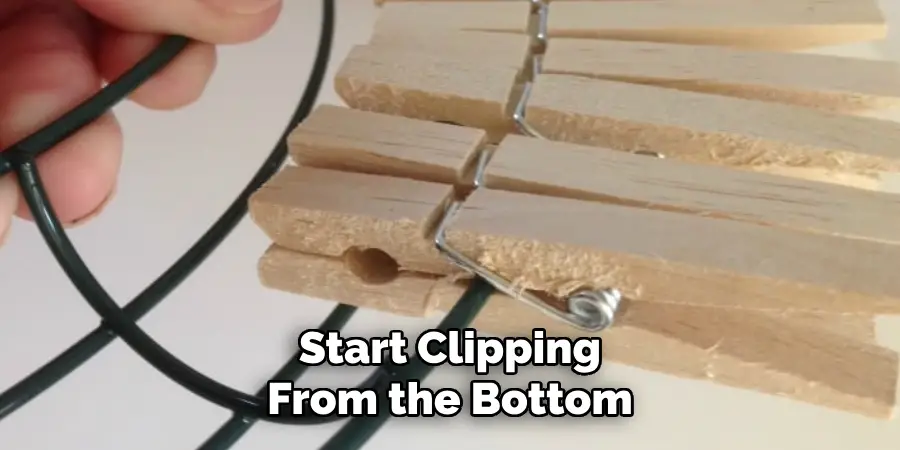
Start clipping from the bottom of the form and work upwards in sections, ensuring that each piece is firmly gripped while leaving equal space between each attachment for uniformity.
4. Combining Methods:
A hybrid approach often yields the most dynamic results, with the hot glue providing durability and the clamping method offering flexibility and ease of change. You might glue down the main framework of clothespins for stability, using clamps to add interchangeable seasonal decor.
5. Overcoming Challenges:
One common challenge during this step includes ensuring even spacing and alignment of clothespins. To address this, consider using a ruler or a homemade jig to keep the spacing consistent. Balance can be achieved by alternating the direction the clothespins are facing and periodically weighing the wreath to ensure it doesn’t become too heavy on one side.
6. Tips for Efficiency:
Working section by section lets you focus on symmetrical design and ensures the glue doesn’t cool before the clothespin is in place. Having all materials and tools within arm’s reach will streamline the process and keep you organized. Consistency is crucial for a polished look, so take your time with each attachment and ensure each section mirrors the others.
Adding Embellishments
Now that you’ve mastered attaching clothespins, the next thrilling step is to add embellishments that personalize and bring your wreath to life. The following methods will ensure that every decorative addition is secure and beautifully integrated into your design.
Gluing:
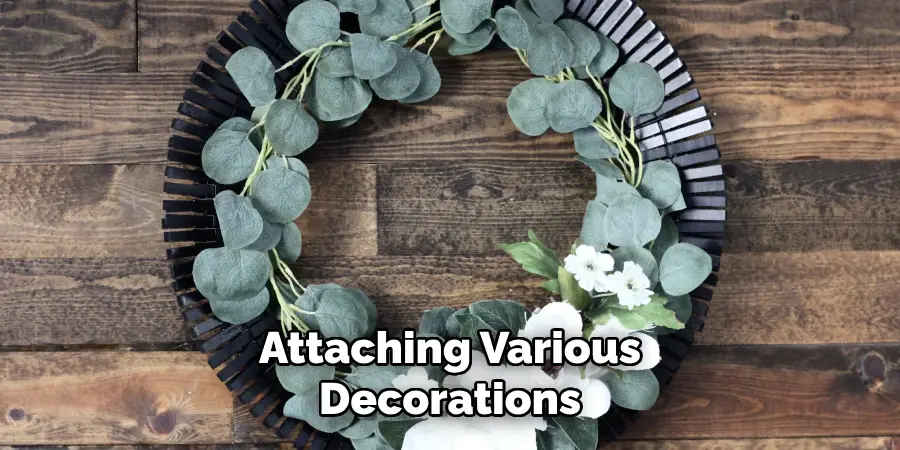
Gluing is a versatile option for attaching various decorations, from lightweight baubles to heavier ornaments. For a seamless experience, choose the right glue for your material – hot glue works well for most items, but delicate fabrics may require fabric glue, and metal or glass may need a stronger epoxy.
When gluing, apply the adhesive sparingly to avoid excess that can seep out and create a mess. For thin materials like ribbon, apply glue to the wreath form instead of the material to prevent saturation and damage. If using a glue gun, consider a silicone pad or a piece of parchment paper beneath your work to catch drips easily.
Sewing:
Sewing is ideal for attaching lightweight, delicate items like silk flowers or fabric scraps. Start by selecting a thread that blends with your sewing item and double it for extra strength. Use simple stitches like loop or whip stitch for a secure hold. When sewing, avoid pulling too tight, as this can cause bunching or warping of the base fabric. If sewing isn’t an option, consider using fine wire or floral pins to secure items in place.
Wiring:
Floral wire or twine is an excellent choice to attach heavier items such as pinecones or large ornaments. Cut a piece of wire long enough to wrap around the item and the wreath form securely. Twist the wire ends together and tuck them into the form to avoid sharp ends sticking out. Twine works similarly and can add a rustic look. Secure knots tightly and conceal them beneath other elements if possible.
Creativity and Experimentation:
Embellishing your wreath is a time for creativity, so feel free to experiment with different textures, colors, and layers. Maintain visual harmony by stepping back periodically to view the overall balance. Grouping items in odd numbers is a designer’s trick for achieving a natural and pleasing arrangement.
Troubleshooting Tips:
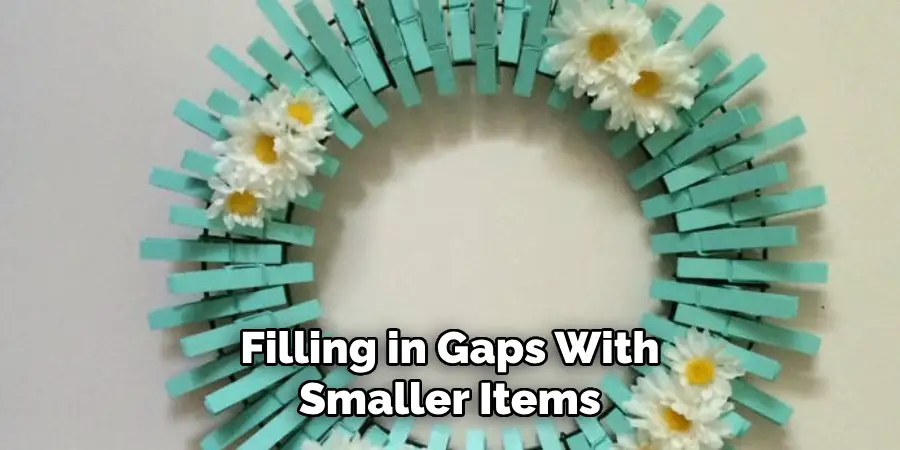
Uneven arrangement of decorations can be corrected by filling in gaps with smaller items, balancing heavy elements across the wreath, or repositioning items if needed. If attachments feel insecure, reinforce them with additional glue, wire, or thread. Delicate items can be supported with hidden structures like toothpicks or small dowels to prevent drooping.
By incorporating these tips and techniques, you’ll create an embellished clothespin wreath that’s aesthetically pleasing and durable enough to enchant your space season after season.
That’s it! You’ve now learned how to make a clothespin wreath using simple materials and techniques. With the ability to easily change out decorations, your wreath can adapt to different seasons and occasions, making it a timeless addition to any home decor.
Have fun experimenting with different styles and designs, and let your creativity shine through! So why wait? Gather your supplies, follow these steps, and get ready to hang your unique and personalized clothespin wreath for all to admire.
Finishing Touches and Customization
Every wreath reflects the maker’s style, and the final touches are where your unique personality shines brightest. Ribbon bows made from satin, burlap, or velvet can be tied at the top or bottom of your wreath for a classic embellishment. Consider using twine loops as a rustic alternative, creating a hanger that complements your design theme.
Incorporate customized messages or names with hand-painted wooden cutouts or cardstock banners for an added personal touch. This ushers your wreath from a decorative piece to a storytelling centerpiece, warmly greeting all who pass by.
To make your wreath unique, explore painting individual clothespins before assembly for a festive or gradient effect. A sprinkle of glitter on wet paint can add just the right amount of sparkle, turning your wreath into a radiant beacon of joy.
For the crafters who delight in intricate details, advanced techniques like decoupage using paper napkins or specialty paper add a sophisticated flair. Stenciling patterns onto clothespins before attaching them introduces an element of complexity and artistic precision.
With each brushstroke, glitter dusting, or twine loop, your wreath morphs from a collection of individual pieces to a custom work of art, embodying the essence of your creativity and the spirit of the season or occasion you’re celebrating.
Frequently Asked Questions (FAQs)
What Type of Glue Should I Use if I Want to Attach Heavier Items to My Clothespin Wreath?
For heavier items such as large ornaments or metal decorations, using a strong adhesive, like epoxy or gorilla glue, is recommended. These are designed to hold heavier weights and will ensure your items stay in place.
Can I Use Real Flowers Instead of Silk for My Wreath, and How Should I Attach Them?
Real flowers can add a beautiful, natural touch to your wreath, but they won’t last as long as silk flowers. If you choose to use real flowers, using a floral tube with water to keep them hydrated is best. Attach the tube to the wreath with floral tape or wire.
Is There a Way to Make My Clothespin Wreath Weather-Resistant for Outdoor Use?
You can apply a clear acrylic spray sealant to protect your wreath from the elements when hanging it outside. This will provide a moisture-resistant barrier. Ensure all elements of your wreath are suitable for outdoor conditions, including the glue and paints used.
How Can I Fix a Mistake if I’ve Placed a Decoration in The Wrong Spot?
If the glue has not fully set, you may be able to carefully peel or slide off the decoration and re-position it. If it has been set, you may need a glue remover or gently pry it off with a tool, being careful not to damage the other elements around it.
Are There Any Kid-Friendly Techniques for Making a Clothespin Wreath?
Absolutely! Children can participate by painting the clothespins with washable paints, attaching pre-glued items, or using stickers. Make sure to supervise the use of any tools or materials that aren’t child-friendly.
Can I Add Lights to My Clothespin Wreath?
Yes, adding a string of battery-operated LED lights can create a magical effect. Tuck the lights around the clothespins, securing them in place with small bits of wire or tucked in the clips, and hide the battery pack behind the wreath.
How Do I Store My Clothespin Wreath when It’s Not Displayed?
To store your wreath, wrap it in tissue paper or bubble wrap and place it in a cool, dry area. A wreath storage box or a large plastic bag can help keep it dust-free until you are ready to display it again.
Conclusion and Displaying Your Masterpiece
Congratulations on crafting your beautiful clothespin wreath! Your time, creativity, and effort have culminated in a truly unique and personal work of art. Take pride in this accomplishment and the joy it will bring to your home. Display this masterpiece with honors—hang it on your front door as a welcoming symbol, adorn a special wall, or place it above the mantelpiece to become the focal point of any room.
Don’t forget, a handmade wreath also makes a heartfelt gift for loved ones on special occasions, a treasure filled with your warmth and personality. Thanks for reading our post about how to make a clothespin wreath.

