
Creating a Christmas tree using a Styrofoam cone is a delightful and creative way to infuse the festive spirit into your home Decor. This craft allows you to design a beautiful, miniature tree that can be displayed on tabletops, mantels, or as part of a holiday centerpiece. In this comprehensive guide, we’ll walk you through the step-by-step process of how to make a Christmas tree with a Styrofoam cone as the base.

From selecting the right materials and colors to shaping and decorating the tree, you’ll learn the techniques required to create a stunning holiday decoration. Whether you’re a seasoned crafter or a beginner, crafting a Christmas tree with a styrofoam cone is a joyful and rewarding experience that adds a special touch to your holiday celebrations.
Selecting the Size of the Styrofoam Cone
When making a Christmas tree with a Styrofoam cone, it is important to select the right size for your project. The size of the cone will determine the overall height and shape of your tree.
Styrofoam cones come in various sizes, ranging from 4 inches to 18 inches in height. When selecting the size, consider where you plan on displaying the tree and what other decorations will be surrounding it. If you want a smaller tree to display on a table or mantel, a 4-6 inch cone would be suitable. For a larger statement piece, consider using an 12-18 inch cone.

In addition to size, pay attention to the shape of the cone. Some cones are tapered while others have straight sides. Tapered cones create a more traditional tree shape, while straight sided cones allow for a more modern and abstract design.
Once you have selected the size and shape of your Styrofoam cone, it’s time to move on to choosing decorations and assembling the tree. Keep in mind that larger cones may require more materials and time to complete, so plan accordingly.
Considering the Color for the Project
When it comes to making a Christmas tree with a Styrofoam cone, one important aspect to consider is the color scheme for your project. Whether you are creating a traditional green tree or want to experiment with more unique colors, there are many options available when working with Styrofoam.
One option is to use acrylic paints to d. These paints are easy to work with and come in a wide variety of shades, allowing you to create any color tree you desire. You can also mix colors together to create custom shades for a more personalized touch.
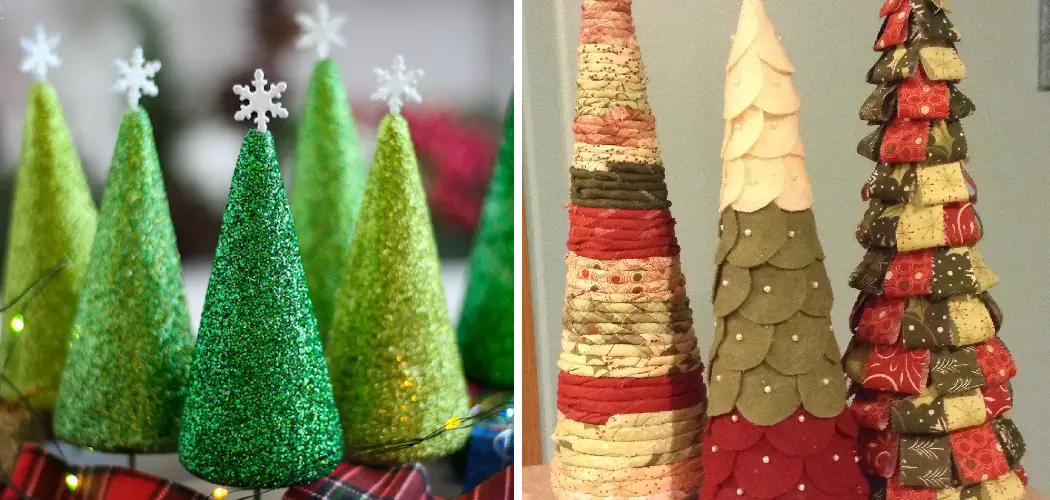
Another option is to use fabric or ribbon to wrap around the cone, creating a textured and colorful look. This works especially well for creating a plaid or patterned tree. You can also use tissue paper or crepe paper to achieve a similar effect.
For those looking for a more natural look, you can use moss, twine, or even small pine cones to cover the cone and create a rustic Christmas tree. This adds a charming touch and is perfect for those who prefer a more understated holiday decor.
No matter what color or style you choose, be sure to secure the materials onto the cone using glue or pins. This will ensure that your tree stays in place and looks beautiful all season long.

In addition to considering the color scheme for your Styrofoam Christmas tree, you can also add embellishments such as glitter, sequins, or miniature ornaments to make it even more festive. The possibilities are endless, so have fun and get creative with your project! So don’t be afraid to think outside the box and make your Styrofoam Christmas tree truly unique.
10 Methods How to Make a Christmas Tree with a Styrofoam Cone
1. Cover the Styrofoam Cone with Fabric
Covering a Styrofoam cone with fabric is an easy way to make a festive Christmas tree. First, cut out a piece of fabric that is large enough to cover the entire cone. Then, use hot glue to attach the fabric to the cone, starting from the bottom and working your way up. Once the fabric is securely attached, you can fluff it up and add decorations such as ribbons, bows, and ornaments for an extra festive look.
2. Paint the Styrofoam Cone
Painting a Styrofoam cone is another great way to create a festive Christmas tree. You can either paint the entire cone one color or create a pattern using multiple colors. Once you have finished painting your cone, let it dry completely before adding any decorations. This will ensure that they stick properly and won’t get ruined by any accidental smudges of paint.
3. Glue on Faux Greenery

Glueing faux greenery onto a Styrofoam cone is an easy way to make it look like a real Christmas tree without having to worry about watering it throughout the holiday season! Start by cutting out small pieces of greenery and then use hot glue to attach them all around the cone, starting at the base and working your way up towards the top in a spiral pattern. Once you’ve finished gluing on all of your greenery, you can add decorations such as mini ornaments and lights for an extra festive touch!
4. Add Lights
Adding lights to your Styrofoam Christmas tree is an easy way to make it look even more festive! Start by wrapping strings of battery-operated LED lights around your tree in whatever pattern you prefer. If you want to add even more sparkle, try adding some beaded garlands or glittery ribbon around your tree for an extra special touch! Make sure to secure the lights and decorations with a small amount of hot glue to keep them in place.
5. Use Tinsel
Using tinsel is another fun way to decorate your Styrofoam Christmas tree! Start by wrapping strings of tinsel around your tree in whatever pattern you prefer – vertical lines work well but feel free to experiment with different designs if you’d like! Once you’ve finished wrapping tinsel around your tree, add some mini ornaments or other decorations for added flair! You can also incorporate different colors of tinsel to create a more unique and eye-catching tree.
Tinsel is an affordable and easy way to add some sparkle and shine to your Christmas tree, making it the perfect addition to your Styrofoam cone creation!
6. Decorate with Ornaments
Decorating with ornaments is one of the most classic ways to adorn your Styrofoam Christmas tree! Start by attaching small hooks onto each ornament so that they can easily be hung from branches (you can also use hot glue if needed). Then start hanging each ornament from different parts of your tree until it looks full and festive – don’t forget about adding larger statement pieces near the base for added impact!
7. Add Colorful Ribbon
Adding colorful ribbon is another great way to make your Styrofoam Christmas Tree stand out this holiday season! Start by cutting out several strips of ribbon in various lengths (the longer ones should go near the bottom while shorter ones should go near the top).
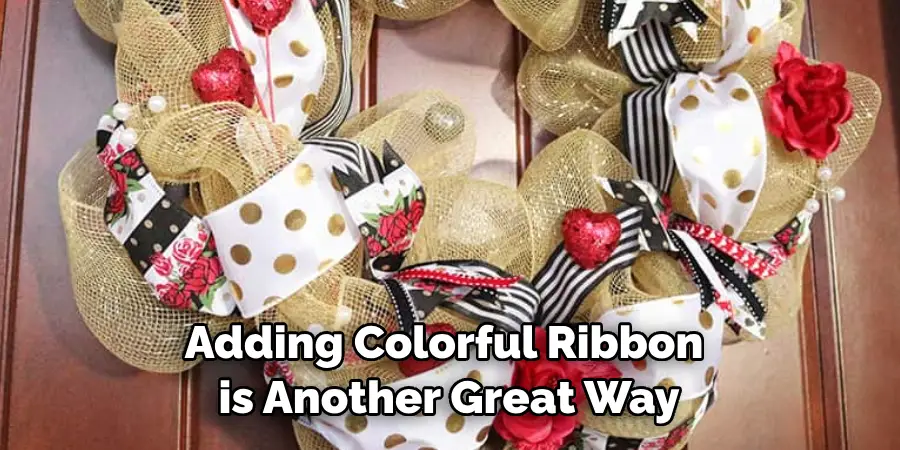
Then tie each strip into bows before attaching them all over your tree using either hot glue or small hooks – just make sure not to overcrowd them too much so they still have plenty of space between them for added dimensionality!
8. Make Your Own Garland
Making garland for your Styrofoam Christmas Tree is easier than it sounds – all you need are some craft supplies such as felt scraps, sequins, buttons, and beads plus some string or twine for tying everything together! To begin creating garland simply thread each item onto string in whatever order you prefer before tying off both ends securely – once complete hang this homemade garland on branches across your tree for an extra special touch this holiday season!
9. Create Snowy Accents
Creating snowy accents on top of a styrofoam christmas tree adds instant winter charm – all you need are cotton balls and white paint which when combined together create beautiful snow peaks throughout any styro foam christmas tree branches! To begin simply dip cotton balls into white paint before pressing them onto branches – repeat this step until the desired effect has been achieved!
10. Add Glittery Accents
Adding glittery accents on top of a styro foam christmas tree adds instant winter glamour – all you need are some glitter glue pens plus lots of imagination! To begin simply draw shapes, patterns, words etc across branches using glitter glue pens – repeat this step
Conclusion
With all this information, you now know how to make a Christmas tree with a styrofoam cone. You can also add any extra decorations and glitter that you please; this tree is completely customizable! Make sure the decorations you use are lightweight so your tree will stay standing. Once finished, let it take center stage on your mantel or countertop.
For an even more festive effect, hang some twinkling lights and mistletoe around it for a complete December look. If you’re feeling creative, try making trees informed by Japandi-inspired decor or use different materials such as paper or felt to craft a truly unique design.