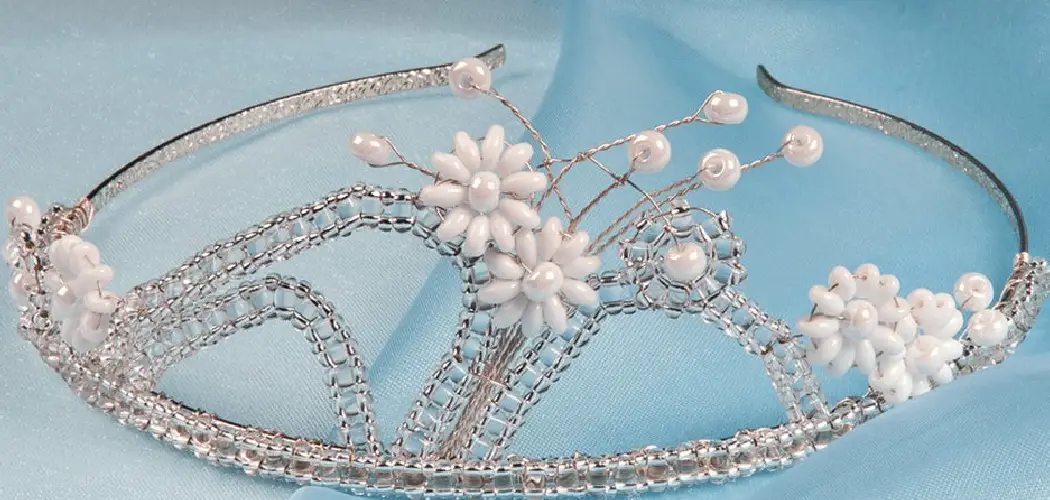
Are you looking for a fun and creative holiday activity to do with your family this Christmas? Have you exhausted all the traditional baking and decorating activities but still want to find something new? If so, why not try making a festive Christmas Headband?
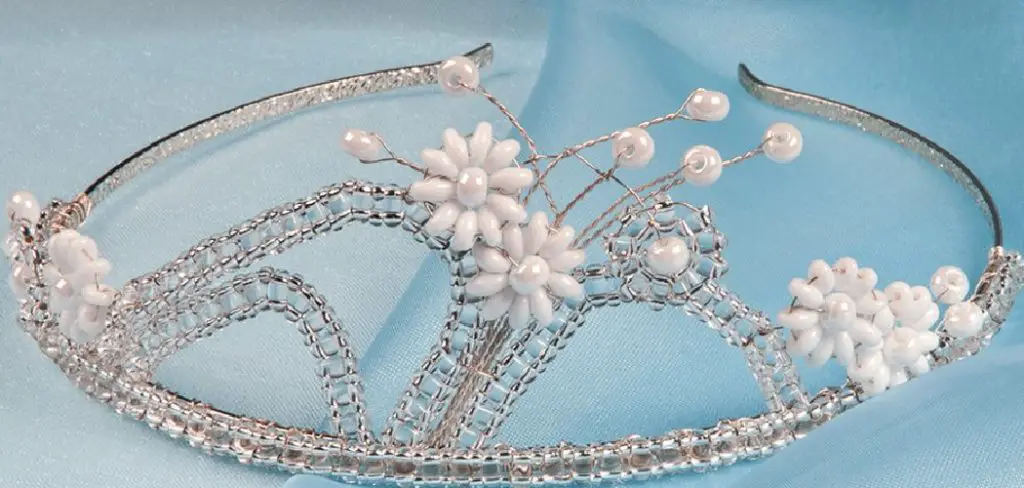
Christmas is the perfect excuse to get creative with your decorations, and a festive headband is one of the best ways to kick off your holiday celebrations. Whether you’re looking for something special for yourself or a unique gift for someone else, it’s time to put on those craft gloves and make something truly special! With these easy steps, you can learn how to make a christmas headband that will be sure to impress everyone this holiday season.
Get ready for some crafty holiday fun by following these instructions on how to make a DIY Christmas headband!
What Will You Need?
Before you start crafting your headband, make sure you have the following materials:
- Faux fur or felt fabric
- Glue gun
- Scissors
- Sequins, beads, and other decorative elements (optional)
- Headband base
Once you have all of your materials, it’s time to get crafting!
10 Easy Steps on How to Make a Christmas Headband
Step 1: Cut Out the Faux Fur or Felt
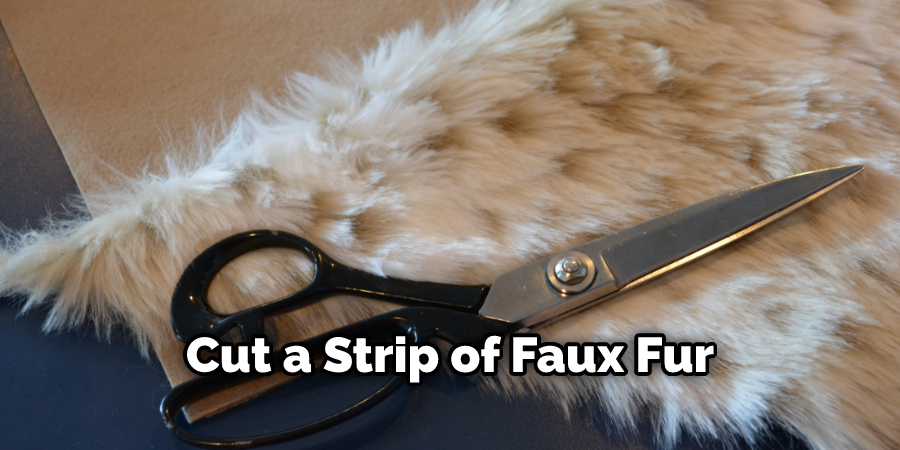
Cut a strip of faux fur or felt fabric using your scissors. The length and width of the piece will depend on how big you want your headband to be. Be sure to add an extra inch for seam allowance when cutting out your fabric!
Step 2: Attach the Faux Fur or Felt to Your Headband Base
Grab your glue gun and attach one end of the strip of fabric onto the headband base. Securely press down until it is firmly attached, then move on to Step 3. You can use a few glue dots to ensure it is securely attached.
Step 3: Wrap Around Headband Base
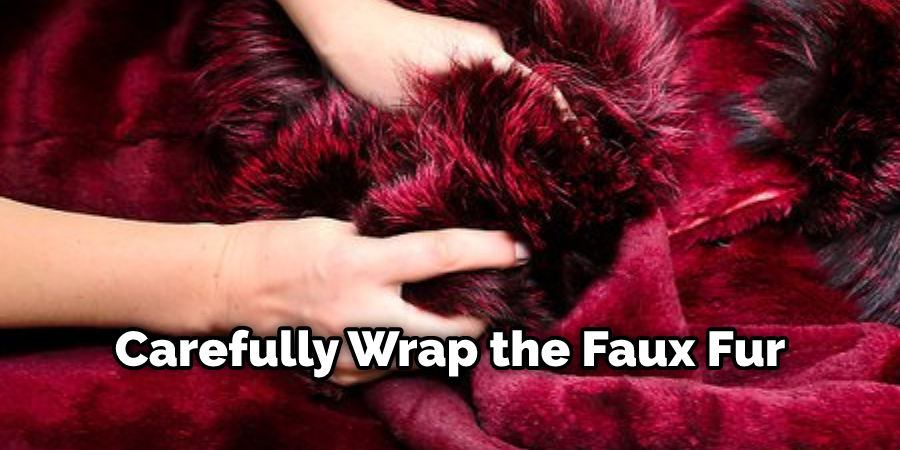
Carefully wrap the faux fur or felt around the headband base and secure it with glue at both ends. Ensure that the entire headband is covered with the fabric and that there are no gaps or exposed parts. Don’t worry if the fabric bunches up – this can be fixed in the next step!
Step 4: Add Decorative Accents (Optional)
If desired, you can add some decorative accents to your Christmas headband. This could include sequins, beads, ribbons, and more. Simply glue them onto the headband until it looks just how you want it!
Step 5: Add the Final Touches
Once your headband looks just right, use your glue gun to reinforce any loose parts. This will help them stay securely in place and ensure that your Christmas headband looks its best for as long as possible. You can also add a few more decorative elements if desired.
Step 6: Try It Out
Once your Christmas headband is all finished, it’s time to put it on and show off your crafty skills! Be sure to take lots of pictures so you can remember the fun holiday activity for years to come. If you want, you can make a few more headbands in different styles and use them as gifts for your family and friends.
Step 7: Store Your Christmas Headband
When you’re finished wearing your headband, make sure to store it in a safe place until the next holiday season. This will help keep your headband looking its best and ensure it lasts for many Christmases! Be careful not to store it in an area that is too hot or cold, as this can cause damage.
Step 8: Different Headbands for Different Occasions
If you’re feeling really creative, why not make different kinds of Christmas headbands? You can customize each one with different materials and accents to match the occasion, whether you’re celebrating Christmas Eve or ringing in the New Year. Additionally, you can use the same techniques to make holiday headpieces like antlers or elf ears.
Step 9: Share Your Creations
Show off your handiwork by sharing pictures of your Christmas headbands with friends and family. This is a great way to get everyone in the holiday spirit! Moreover, you can use your pictures as inspiration for others who want to make their own festive headbands.
Step 10: Have Fun!
Making Christmas headbands can be a fun and creative activity for the whole family. So don’t forget to have fun while making something special for this festive season! Remember, with a little bit of creativity and some craft supplies, you can make your own Christmas-themed headwear that will last for many holidays to come.
And there you have it – ten easy steps on how to make a Christmas headband! With just a few simple supplies and some creative flair, you can make yourself or someone else a unique holiday accessory that will bring lots of cheer to any celebration. So wear your crafty hat and prepare for some festive crafting fun!
5 Additional Tips and Tricks
- Trim your headband with festive ribbons and accessories to give it a unique look.
- Use fabric paint or markers to add some fun designs and colors to your headband.
- Glue tiny ornaments, bells, and other festive items to the headband for an extra special look.
- If you’re feeling creative, you can even make a 3-D version of a Christmas tree on top of the headband using craft materials like felt and Styrofoam balls!
- You can also use artificial flowers, feathers, or fabric trims to add more dimension and texture to your project. Have fun with it!
With these tips in mind, you should be able to create beautifully Christmas-themed headbands that will surely get everyone in the holiday spirit! Enjoy crafting!
5 Things You Should Avoid
- Don’t choose a fabric that is too heavy. Heavy fabrics can make the headband uncomfortable to wear and can also cause your headband to droop.
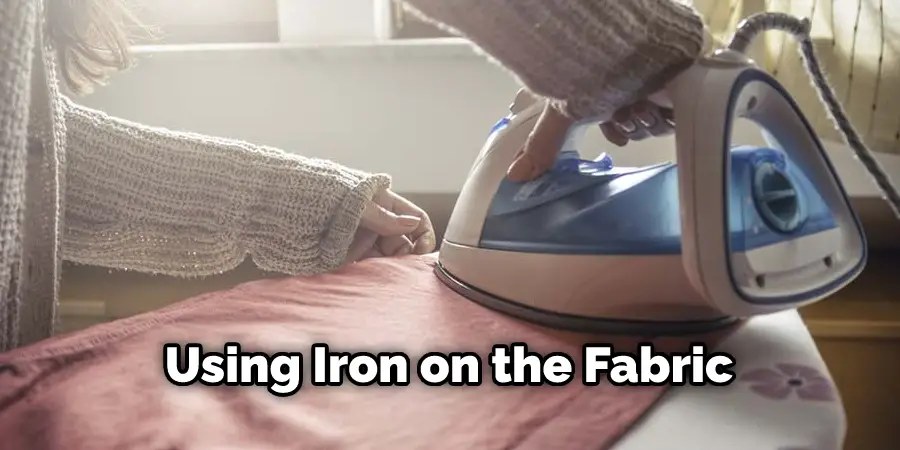
- Avoid using iron on the fabric. This could leave behind burns or other marks, which would be impossible to remove without ruining the design of your Christmas headband.
- Ensure you are using an appropriate seam allowance when sewing together pieces of fabric, as this will affect how well your Christmas headband holds its shape once finished.
- When spraying paint onto the fabric, ensure you hold it at least 30cm away from the surface and use multiple light coats instead of one heavy coat to avoid any running or dripping of paint on the fabric, which can ruin its appearance.
- Don’t forget to have fun when making your own Christmas headband! Thinking outside the box and trying something different can make a big difference in the end result. Choose materials you feel comfortable working with, and don’t be afraid to experiment with new techniques or ideas that come to mind while you are creating your masterpiece.
With these tips in mind, you can make a beautiful Christmas headband that will surely get noticed. With a little bit of creativity and effort, you’ll have a unique and eye-catching accessory for your holiday. Enjoy!
5 Different Design Ideas
- Festive Felt: Get a few sheets of colored felt in festive red, green, and white (or whatever colors you like!). Cut the felt into strips that measure about 2 inches wide by 8-10 inches long. Loop them together to create an adjustable headband.
- Ribbon & Bows: Take some festive ribbons in classic holiday shades. Measure how much you’ll need to wrap around your head, then tie it at the back with a bow for extra jolly flair!
- Paint Your Own: Pick up some plain wooden or plastic headbands from the craft store and let your creative juices flow! Paint on Christmas trees, snowmen, holly leaves — whatever design you can think of — and finish with a few sparkles to really give your headband some holiday glimmer.
- Glitter & Gems: Make your own statement piece by taking an ordinary headband and adding glitter, gems, and other decorations! Spruce up the plain band with festive designs like Christmas trees, snowflakes, and Santa hats — you name it!
- Pompoms & Feathers: Take a basic plastic or metal headband in silver or gold and add fluffy pompoms, feathers, and fabric roses for a fun, festive look. You can even make your own pompoms with extra yarn if you feel crafty!

Making your own Christmas headband is easy — just use one of these five ideas to get started! With some creativity and seasonal supplies, you’ll have an eye-catching headband in no time.
Conclusion
Christmas headbands are a great way to show your holiday spirit this season! These headbands can be created with minimal effort and supplies, whether you make them for yourself, as gifts for others, or for a fun family craft session just in time for the holiday festivities. You can purchase ready-made materials or create your own unique style with homemade materials. Be sure to have some extra glittery ribbon and fabric because there’s no such thing as too much sparkle at Christmastime!
For added flair, consider adding bells to the edges of the headband or use colorful pipe cleaners to recreate images like a wreath or snowman. No matter what design or decorations you choose, these Christmas headbands are sure to get you in the holiday spirit!
Hopefully, the article on how to make a christmas headband has given you some inspiration for your own holiday craft project. Have fun and get creative!

