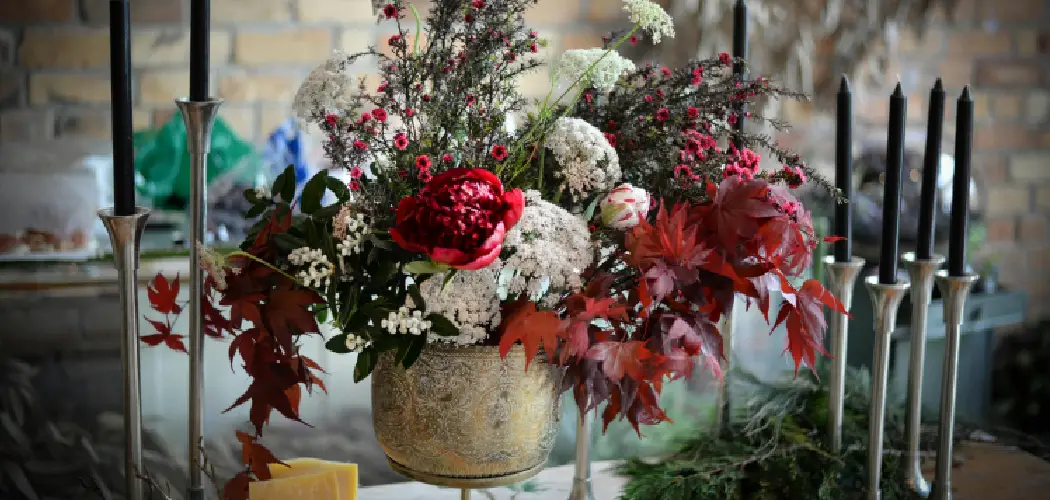
Do you want to make a statement in your home with stunning and eye-catching centerpieces? Do you need help with floral arranging or centerpiece styling? We’re here to help! In this blog post, we will give detailed directions on how to make a centerpiece for any occasion.
You’ll learn everything from where and when to buy the supplies, proper suitable flower combinations, tips on creating your masterpiece – and plenty of ideas for making those perfect photo-ops, too! There may be daunting challenges ahead at first glance—but trust us when we say producing beautiful works of art can be as easy as 1-2-3. Let’s get started making gorgeous centerpieces together!
Necessary Items
First things first, gather all the necessary items before starting your centerpiece. This will make it easier to focus on creating and styling the centerpiece rather than running back and forth looking for supplies.
- A vase or container
- Floral foam (oasis foam)
- Fresh or artificial flowers
- Foliage/greenery
- Pruning shears/floral scissors
- Water
- Optional: Ribbon, candles, decorative accents
10 Steps on How to Make a Centerpiece
Step 1: Choosing Your Container
The container you choose will set the tone for your centerpiece. Depending on your occasion and theme, you could use a tall or short vase, mason jar, wooden box, or pumpkin! Get creative and think outside of the box when it comes to choosing your container. Ensure it is clean and sturdy enough to hold the floral foam and flowers.
Step 2: Preparing the Floral Foam
Soak the floral foam in water for 10-15 minutes before using. This will ensure that your flowers stay hydrated and fresh for longer. Once soaked, cut the foam to fit inside your container with a little room on the sides. You can use multiple pieces of foam to fill the container if needed.
Step 3: Choosing Your Flowers
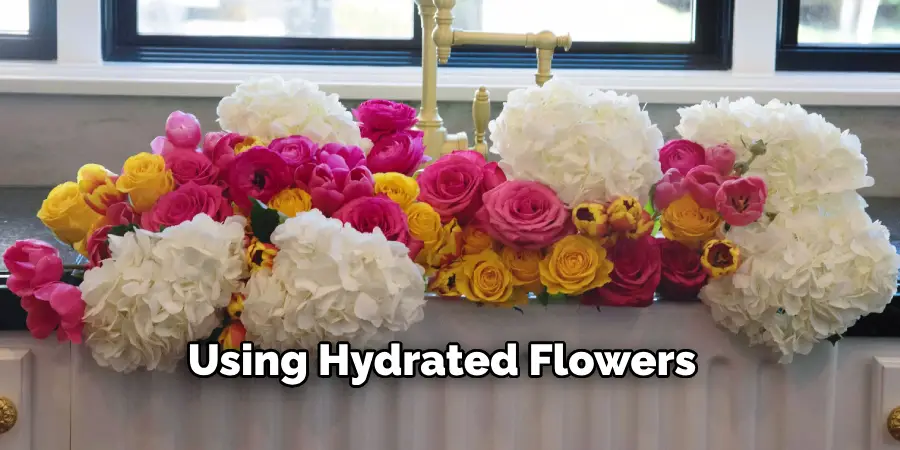
Select flowers that will complement each other in terms of color, texture, and size. It is always helpful to research beforehand or visit a local flower shop for guidance on what flowers are in season and will last longer. Consider the occasion and theme when choosing your flowers to make your centerpiece more intentional.
Step 4: Trimming Your Flowers
Before arranging the flowers, trim them down to the desired length. Remove any leaves or thorns from the stems below the waterline, as they can cause bacteria growth and harm your flowers.
Step 5: Creating a Focal Point
Start with the focal point of your centerpiece, which will be in the center. This could be a larger flower or a cluster of flowers that are different from the rest. Place it in the middle of the foam and ensure it is securely anchored.
Step 6: Building Volume and Shape
Add more flowers around the focal point, building volume and shape as you go. Place taller flowers towards the back and shorter ones towards the front to create depth. Feel free to experiment with different angles and heights for a more dynamic look.
Step 7: Adding Greenery
Add foliage or greenery in between your flowers to fill any gaps and add texture. This will also help frame your centerpiece and make it look fuller.
Step 8: Watering Your Centerpiece
Once you have finished arranging all the flowers and foliage, water your centerpiece. Fill the container with water until it reaches about an inch below the rim. Check and refill the water regularly to keep your flowers fresh.
Step 9: Adding Decorative Accents (optional)
If desired, you can add decorative accents such as ribbons, candles, or other seasonal items to enhance your centerpiece. These can add a personal touch and tie in with your theme.
Step 10: Displaying Your Centerpiece
Find the perfect spot to display your masterpiece! Ensure it is on a stable surface away from direct sunlight, heat sources, or drafts. You can also add additional elements around the centerpiece, such as candles or table linens, to complete the look.
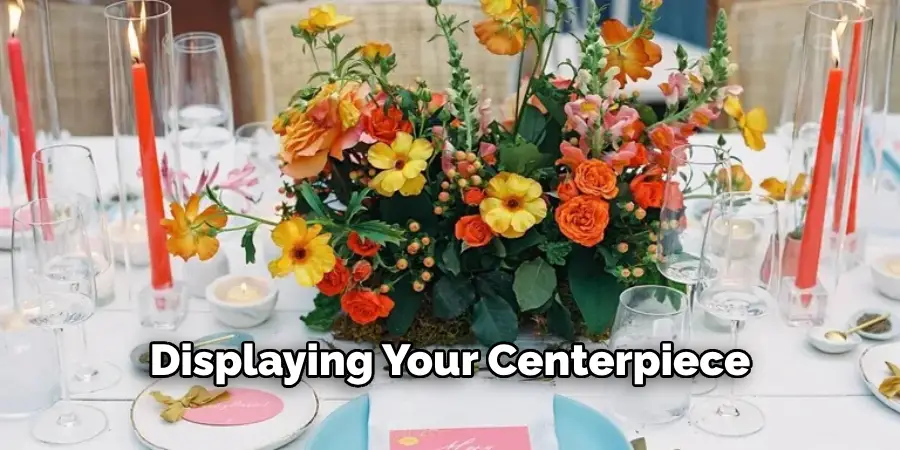
Congratulations! You have successfully created a beautiful centerpiece that will impress your guests. Remember to change the water regularly and remove any wilted flowers to keep it looking fresh. Don’t be afraid to experiment with different flowers and containers for endless possibilities.
With these simple steps, you can easily make a centerpiece for any occasion and add a personal touch to your home decor. Remember, the key is to have fun and let your creativity flow! So go ahead, get creative, and start making stunning centerpieces today.
8 Care Tips for Your Centerpiece
Now that you have created your perfect centerpiece, here are some tips to help it last longer:
1. Change the Water Every Few Days
By changing the water every few days, you are preventing bacteria growth and keeping your flowers hydrated. This will ensure that your centerpiece stays fresh and beautiful for longer.
2. Trim the Stems Every Time You Change the Water
Trimming the stems at an angle whenever you change the water helps create a larger surface area for the flowers to absorb water and nutrients. This will help keep your flowers alive and fresh.
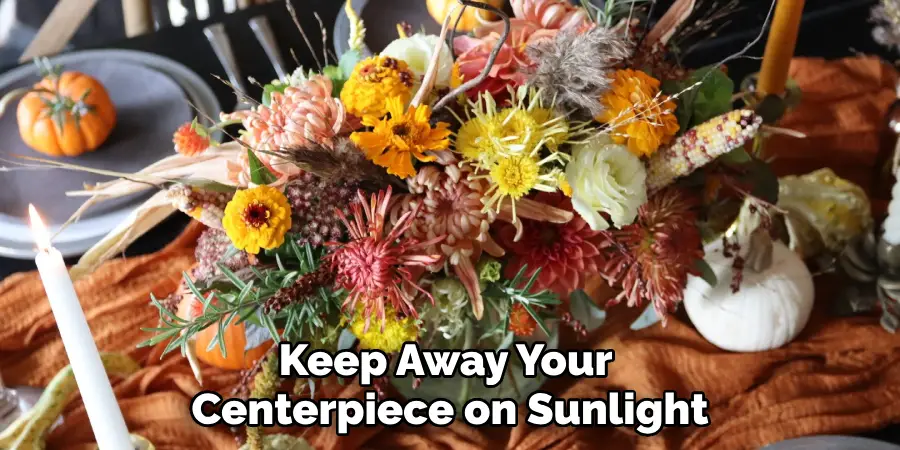
3. Avoid Direct Sunlight
Placing your centerpiece in direct sunlight can cause the flowers to wilt faster. It is best to display it in a cool, shaded area to prolong its lifespan.
4. Keep Away from Heat Sources
Just like direct sunlight, heat sources such as heating vents or radiators can also cause your flowers to wilt faster. Keep your centerpiece away from these sources to maintain its freshness.
5. Remove Wilting Flowers
As soon as a flower begins to wilt, remove it from the arrangement to prevent any bacteria from spreading to the rest of the flowers. This will also keep your centerpiece looking fresh and vibrant.
6. Mist Your Flowers
If you are using fresh flowers, lightly misting them every day can help keep them hydrated and prolong their lifespan. Just ensure to see all candles or other decorations in your centerpiece.
7. Store in a Cool Place Overnight
If you use your centerpiece for an event and want it to last longer, store it in a cool place overnight. This will help keep the flowers fresh and prevent them from wilting too quickly.
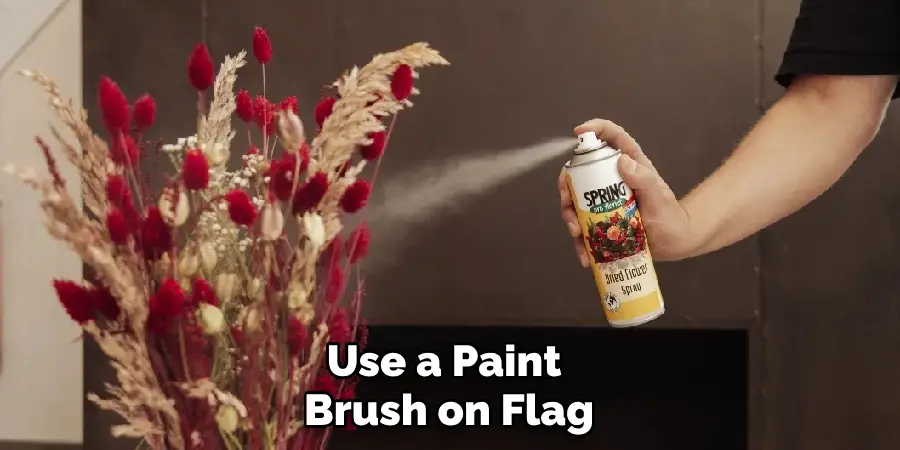
8. Use Flower Preservation Spray (optional)
For special occasions, you may use a flower preservation spray to help keep your flowers looking fresh for longer. Just follow the instructions on the label and avoid spraying any candles or other decorations.
So there you have it; with these care tips, your centerpiece will continue to look beautiful and add a touch of elegance to your home or event. Remember to have fun and get creative with your arrangements, and don’t be afraid to try new flowers and techniques.
What’s more, taking the time to create a centerpiece can be both incredibly rewarding and a great way to alleviate stress. Crafting something unique with your two hands and enjoying the process of creativity has its rewards – creating something delightful to look at for you and others brings joy!
Frequently Asked Questions
Can I Use Artificial Flowers for My Centerpiece?
Yes, you can use artificial flowers for your centerpiece if desired. However, they may have different effects than fresh flowers and require other care instructions.
How Long Will My Centerpiece Last?
The lifespan of your centerpiece will depend on the type of flowers used and how well you care for them. On average, a well-maintained arrangement can last up to two weeks.
Can I Use Different Types of Flowers in My Centerpiece?
Yes, feel free to mix and match different types of flowers in your centerpiece for a unique and eye-catching arrangement. Just make sure to choose flowers with similar care needs.
How Often Should I Change the Water in My Centerpiece?
It is recommended to change the water every 2-3 days or whenever it appears cloudy. This will help keep your flowers fresh and prevent bacteria growth.
Can I Use Other Containers Besides a Vase for My Centerpiece?
Absolutely! Get creative and use a unique container for your centerpiece, such as a mason jar, teacup, or hollowed-out pumpkin. Just ensure it is waterproof and can hold enough water for the flowers. So, feel free to think outside the box regarding your centerpiece.
Now, you have the tools to make your next gathering more special with a truly stunning centerpiece. So go ahead and get creative: express yourself with floral designs, dazzling colors, or down-home country style – whatever strikes your fancy. With these simple steps, you’ll find that making centerpieces is not a daunting task but a pleasure!
Conclusion
Creating a beautiful centerpiece doesn’t have to be complicated or expensive. With these simple steps and care tips on how to make a centerpiece, you can easily make stunning centerpieces for any occasion. From thrifting for accessories to creating a focal point or center of attention, there are many ways to create a centerpiece that serves its purpose. Ultimately, you want the centerpiece to be eye-catching and inviting.
Incorporating flowers or plants can help bring energy and life into the space, while other items can add interest, such as unique art pieces. As long as your choice of decor is reflective of your style and meets the size requirements for the room you’re in, it’s easy to showcase a centerpiece worth talking about proudly.
Try out our centerpiece creation tips now and give your house the perfect conversation starter – then mark “project complete” off your list! So go ahead, let your creativity flow, and create a centerpiece that will wow your guests and add a personal touch to your home decor.

