
Are you looking to add an extra touch of elegance and character to your next arts and crafts project? You can easily transform any design with a simple bow made out of twine! It may seem complicated, but making a stunning bow with twine is remarkably easy when you follow the right steps.

With just a few pieces of simple household supplies (like twine, scissors, and hot glue), you can craft beautiful bows that will add decor flair in the form of natural texture and charm. Whether you create a large statement bow for a centerpiece or delicate mini bows to accentuate cards, you’ll make them in no time!
In this blog post, we’ll provide clear instructions on how to make a bow out of twine so that you can take your projects up a notch. Let’s get started!
What Will You Need?
Before you can begin crafting your bow, make sure you have the following supplies on hand:
- Twine (any color or thickness you like!)
- Scissors
- Hot glue gun and hot glue sticks
- Tape
Once you’ve gathered all the necessary materials, you can start making your bow!
10 Easy Steps on How to Make a Bow Out of Twine
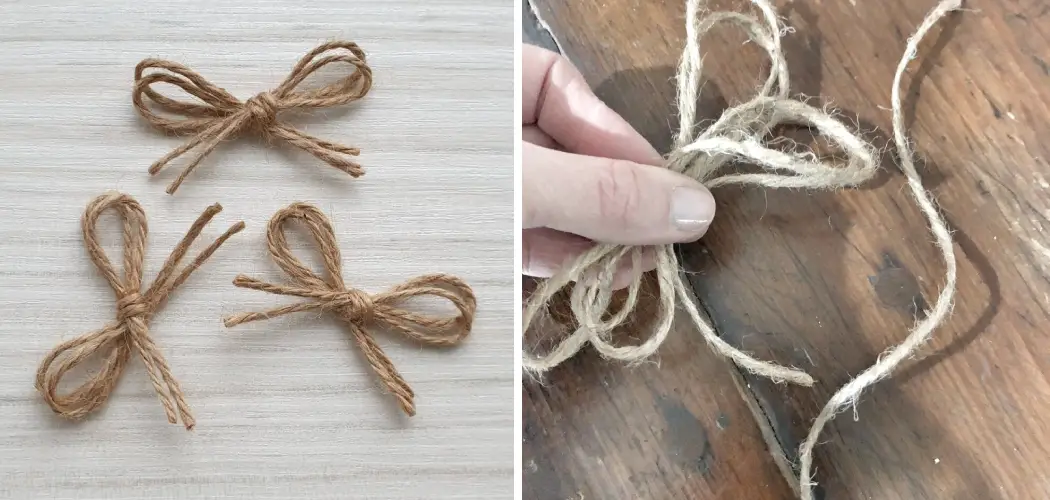
Step 1: Cut 3 Pieces of Twine
Start by cutting 3 pieces of twine, each about 6-7 inches long. Make sure that all three pieces are the same length. Trim off any uneven ends for a more polished look and feel.
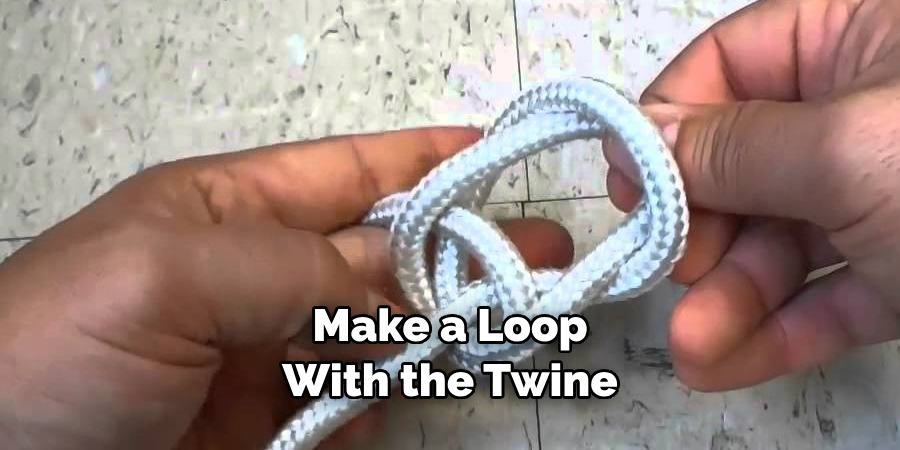
Step 2: Create Loops
Take one piece of twine and create a loop with it. To form a loop, simply cross the two ends over each other, then pull them taut so that they don’t come undone. Repeat this step with the other two pieces as well. You should have three loops when finished.
Step 3: Tie the Loops Together
Tie the three loops together in the middle with another piece of twine. The knot should be tight enough to keep everything secure but not so tight that it’s difficult to work with. As an extra measure, you can add a drop of hot glue to ensure the knot stays in place.
Step 4: Twist and Shape the Bow
Using your hands, twist each loop a few times until you get a bow shape you like. Make sure to gently pull on each side of the bow to create an even shape. Be careful when manipulating the loops, as twine can be delicate and easily break.
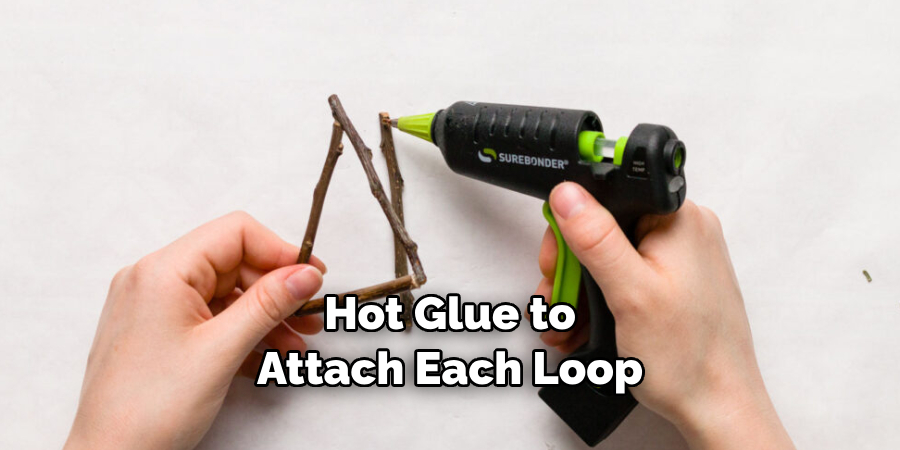
Step 5: Secure with Hot Glue
To make sure that your bow holds its form, use hot glue to attach each loop into place securely. Be careful not to burn yourself! Applying a thin layer of glue will do the trick.
Step 6: Add Tape for Extra Support
Once you’ve glued each loop down, add a strip of tape around the middle of the bow (where all three loops come together). This will act as another support and give your bow a firmer hold. You can also use this step to cover up the knot from earlier.
Step 7: Make Adjustments
Return to step 4 and adjust any areas that need extra shaping. Once everything looks symmetrical, you should have a beautiful bow! As an optional step, you can add embellishments such as beads or rhinestones to give your bow a special touch.
Step 8: Trim Any Loose Ends
Using scissors, trim any excess twine or glue from your bow. Let’s also neaten up the ends by cutting them into points or angles. Keep trimming until you get the desired shape you want.
Step 9: Go Over Your Bow
If you want your bow to last longer, you can add layer of hot glue for extra reinforcement. Make sure to cover all parts of the bow, not just the center knot. Otherwise, it might look less polished when used in crafts!
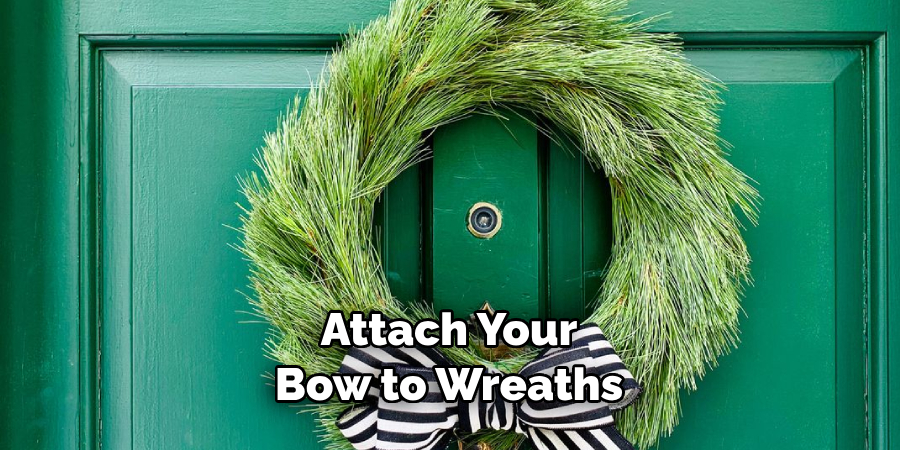
Step 10: Show Off Your Handiwork!
Now that you have a gorgeous bow made out of twine, it’s time to get creative! You can attach your bow to wreaths, gift boxes, cards, and more – endless possibilities. Remember to take pictures of your finished product to showcase it and inspire others.
Making a beautiful bow with twine is surprisingly easy when you follow these simple steps. With just a few materials from around the house and some patience, you can create stunning pieces that will add character to any design or project.
5 Additional Tips and Tricks
- Choose thicker twine for larger bows and more delicate twine for smaller ones.
- Always measure the lengths of your twine before cutting to ensure that each loop is the same size.
- leave enough space between loops so they don’t overlap when shaping your bow.
- Add a drop of hot glue on either side of your knot for extra security.
- When in doubt, practice makes perfect – keep experimenting until you get a bow shape you love!
This guide was helpful and informative in teaching you how to make a bow out of twine! With these steps, you can easily add texture and elegance to any project or design.
5 Things You Should Avoid
- Use only a little hot glue, as it can make your bow look lumpy and uneven.
- Avoid tugging too hard on the twine when shaping the loops, as this could cause them to fray or break.
- Don’t be tempted to rush through the steps – take your time and ensure everything is in the proper place before proceeding.
- Try to avoid skimping on tape – having extra support will help keep your bow secure for longer periods.
- Remember to measure twice and cut once! This will ensure that all of your loops are even so that you have a beautiful finished product.
With these tips and tricks in mind, we’re sure you’ll be able to craft unique and stylish bows with twine in no time!

With a few simple supplies and patience, you can now make beautiful bows out of twine that are perfect for any project or design. So get creative and have fun! We’d love to see your handiwork – don’t forget to tag us in your photos on social media so we can admire your creations.
How Do You Tie a Fancy Bow With Twine?
If you’d like to add a special touch to your bow, why not try tying it with some fancy knots? This way, you can give your masterpiece an even more unique look and feel. Here are a few knot-tying techniques that will help elevate your bow:
- Slipknot: Start by making a loop with the twine and passing one end through the opening, then pull tight to cinch the knot.
- Overhand Knot: Form an “X” shape with the twine ends and pass one end through the middle of the “X” from underneath. Pull tightly for a secure knot.
- Square Knot: Make two loops out of each side of the twine, then cross one over the other. Take each end and pass them through the loops they created. Pull tight to complete the knot.
- Figure-Eight Knot: Make a loop with the twine, then take an end and wrap it around the loop twice before passing it through again. Pull tightly to finish off your fancy bow!
Tying a fancy knot will give your bow an extra dose of personality and style – so don’t be afraid to get creative! With these techniques in mind, you can craft beautiful bows out of twine for any occasion or project.
What Type of String is Best for a Bow?
The type of string you choose for your bow will depend on what kind of look and feel you are going for. For a more classic style, consider using cotton twine or jute cord. If you want something with extra shine, use metallic string or ribbon. For a softer, more elegant look, opt for satin or silk-wrapped yarn.
No matter what type of material you choose, make sure it is lightweight enough that it won’t stretch out the loops when shaping the bow. With that in mind, happy crafting!
This guide helped teach you to make a bow out of twine! Now that you know the basics explore different materials and styles to get the perfect bow for your next project.
Conclusion
Now that you know how to make a bow out of twine, the possibilities are endless! Try it out the next time you need to wrap a present for a friend or give something an extra special touch.
Be creative when picking twine colors and adding to your bows; the options are limitless! The experience of creating something with your hands can be empowering and satisfying, no matter what material you use.
Learning to make a bow out of twine is economical and fun – why not try it today? You never know what exciting results you’ll come up with, and be sure to take lots of pictures of your unique creations!
There’s nothing quite like giving someone special in your life something heartfelt you crafted entirely on your own!