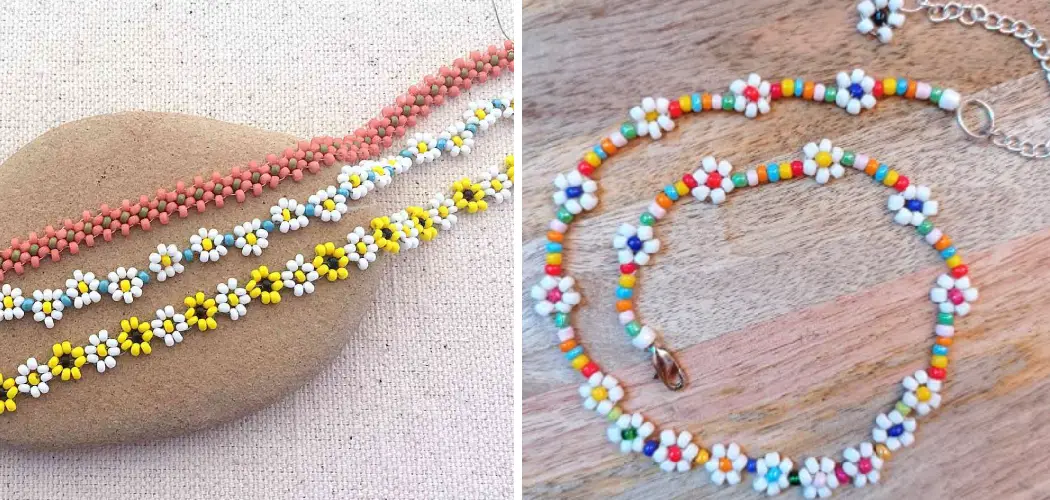
Crafting a bead flower necklace is a delightful venture that merges the elegance of jewelry with the artistry of handcrafted flowers. The process of creating a bead flower necklace allows you to explore your creativity, design a stunning piece of wearable art, and immerse yourself in a rewarding craft.
This intricate accessory brings together the charm of delicate floral motifs and the shimmer of beads, resulting in a necklace that can be a captivating addition to any ensemble. Whether you’re a seasoned jewelry maker or a beginner seeking a captivating project, learning how to make a bead flower necklace opens a world of possibilities.
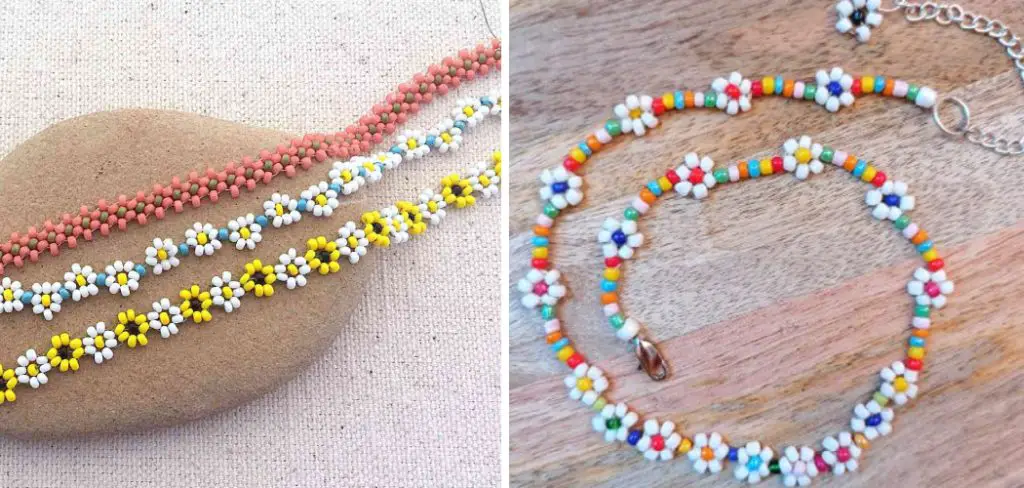
From selecting the right beads and colors to mastering the art of assembling petals, stems, and leaves, this article offers a step-by-step guide to help you craft a breathtaking bead flower necklace that showcases both your artistic flair and your passion for jewelry creation.
The Concept of Creating a Bead Flower Necklace
Making a bead flower necklace is a fun and creative way to add some unique flair to your jewelry collection. Not only will the finished product look great, but you’ll have the satisfaction of creating something beautiful with your own two hands.
The process for making a bead flower necklace is not complicated, and with some basic materials and tools, you can create a stunning statement piece in no time. Once you get the hang of it, you can use different colors and shapes to give your necklace an extra special touch.
To start, gather all of your materials, which should include seed beads, thread, and a needle. Choose the colors of the beads that will make up your flower design; you can use one color or several contrasting shades for a more intricate look.
Make sure to cut your thread so it’s long enough to string each of your beads. Once everything is ready, begin by creating a single chain of the chosen beads, which will form the body of your flower design.
The Uniqueness and Personal Touch of Handmade Jewelry
Handmade jewelry can make a unique statement about your style and bring a personal touch to any outfit. Whether it’s a beaded flower necklace, an eye-catching pair of earrings or something else entirely, handmade pieces are often one-of-a-kind and highly prized.
If you have ever wanted to learn how to create your own jewelry designs, making a beaded flower necklace is a great place to start. It’s not too difficult, and the result can be stunning!
To ensure that you get the most out of your project, begin by gathering all the supplies you need for your design. You will want to have enough beads to cover the length of your necklace, any special decorations or embellishments, some nylon thread, and a clasp for the closure. You may also want to purchase some beading needles or tools if you don’t already have them.
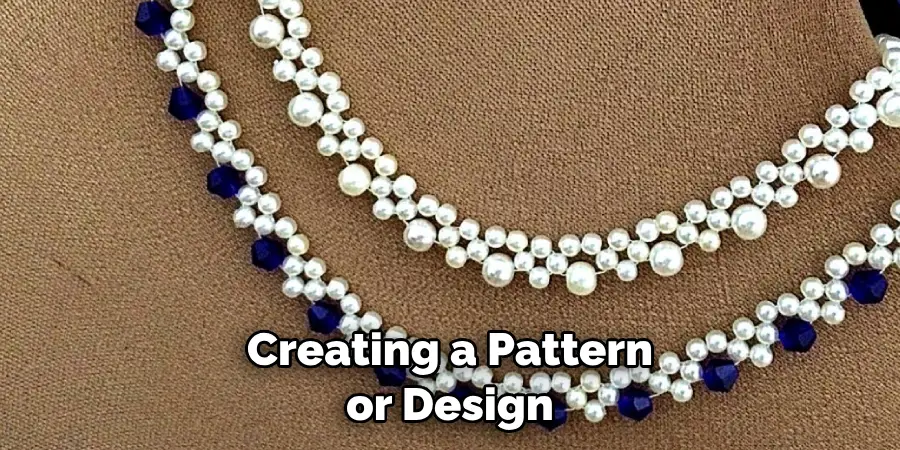
Once you have gathered your supplies, it is time to start stringing the beads together. Begin by threading one end of the nylon through a needle so that you can easily pass the beads through. You will want to decide on a pattern or design for your necklace so that each layer of beads is placed intentionally. Once you have chosen your pattern, simply string the beads together and secure them with knots at both ends.
To create the flower look of your necklace, you can use several techniques. For a simple approach, add some extra beads to the middle of your necklace and wrap each side around them using smaller beads to secure the ends.
To achieve a more intricate flower look, you can use wire or thread to stitch floral shapes onto your necklace. If you choose this method, make sure the wire and thread are securely fastened to the strands of beads.
10 Steps How to Make a Bead Flower Necklace
Step 1: Gather Your Materials
Before you begin crafting your bead flower necklace, ensure you have all the necessary materials at hand. You’ll need an assortment of beads in various sizes, colors, and shapes to create the flowers, as well as seed beads for the necklace strand.
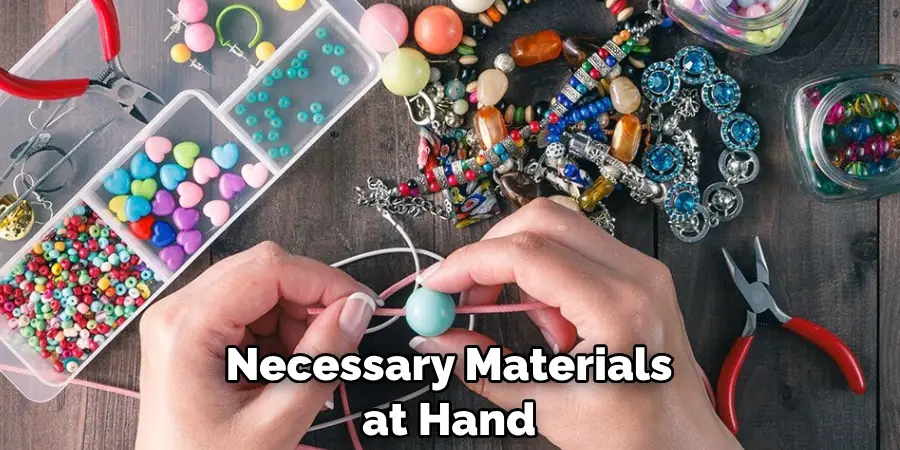
Additionally, you’ll require jewelry wire, crimp beads, crimping pliers, a clasp, needle-nose pliers, wire cutters, and a beading mat or tray to keep your work organized.
Step 2: Plan Your Design
Sketch out a design for your bead flower necklace. Decide on the number of flowers, their placement, and the overall length of the necklace. This planning stage is essential to avoid mistakes and make the creation process smoother.
Step 3: Create the Flowers
Start by crafting the bead flowers. Choose a larger bead for the center of each flower, representing the flower’s core. Thread the bead onto a length of jewelry wire, leaving a tail for later attachment. To create petals, thread smaller beads onto the wire, alternating with seed beads for spacing. Loop the wire back through the core bead and tighten to form a circular arrangement. Repeat this process for each flower.
Step 4: Craft the Stems and Leaves
For the stems, cut varying lengths of jewelry wire. Thread seed beads onto the wire to create the stem’s length. At the base of the stem, form a loop using needle-nose pliers to secure the beads. Attach leaves to the stems by threading a few beads and creating small loops at intervals. These leaves can be created using leaf-shaped beads or by arranging seed beads in a leaf-like pattern.
Step 5: Assemble the Flowers
Arrange your bead flowers, stems, and leaves according to your design. Use needle-nose pliers to create small loops at the end of each stem. Attach the loops to the necklace strand, positioning them as desired. Secure the loops by twisting them around the necklace strand and applying a small amount of jewelry glue if needed.
Step 6: String the Necklace
To create the necklace strand, begin by measuring the desired length and cutting a piece of jewelry wire accordingly. Thread seed beads onto the wire, creating a pattern or design that complements your bead flowers. Leave some extra wire at each end for attaching the clasp.
Step 7: Attach the Clasp
Using crimp beads, attach the clasp to the ends of the necklace strand. Slide a crimp bead onto the wire, followed by the clasp’s loop. Thread the wire back through the crimp bead and flatten it using crimping pliers. Trim any excess wire. Repeat this process for the other end of the strand.
Step 8: Attach Flower Embellishments
Position the bead flowers along the necklace strand, attaching them to the loops on the stems. Use needle-nose pliers to secure the loops tightly. Ensure the flowers lie flat against the neckline and are evenly spaced.
Step 9: Finishing Touches
Inspect your bead flower necklace for any loose threads, uneven loops, or gaps. Make any necessary adjustments and tighten the connections as needed. This step ensures your necklace is sturdy and well-crafted.
Step 10: Test and Wear
Before wearing your bead flower necklace, gently tug on the connections to ensure the flowers and beads are securely attached. Once you’re confident in the necklace’s durability, it’s time to proudly adorn yourself with your handmade creation. Your unique and intricate bead flower necklace is a testament to your artistic skills and dedication to crafting wearable art.
Tips for Making Adjustments and Ensuring Durability
Making adjustments to your necklace is simple and easy as long as you keep in mind the structure of the necklace. If at any time you feel like some part isn’t working, don’t be afraid to take it apart and rework it until you achieve the look that you desire. When making adjustments, be sure to use a secure knot so that your necklace will remain durable and last for a long time.
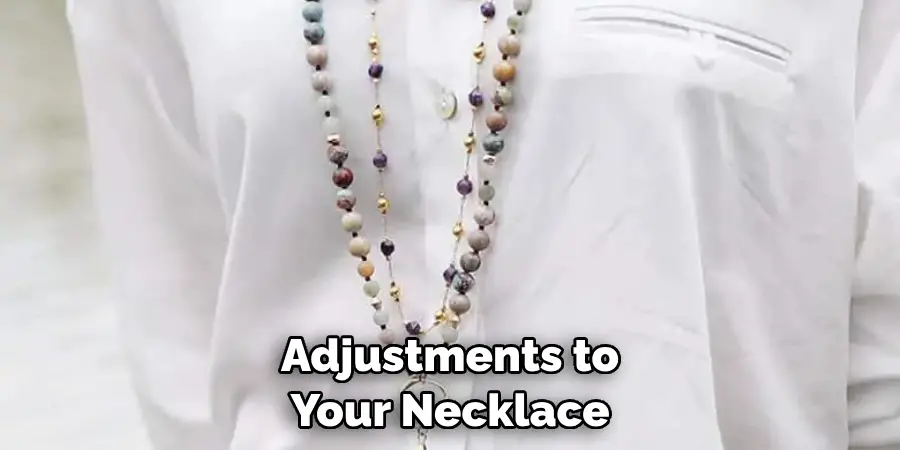
Additionally, make sure that all of your bead holes are the same size to ensure an even balance when stringing them on the wire. This will help prevent any weak or loose links from forming in your design. Finally, use a strong glue or adhesive to secure any parts that may be prone to coming undone over time. With these tips, your bead flower necklace will stay looking beautiful for years to come.
Conclusion
In summary, making a bead flower necklace can be both fun and rewarding. You’ll be able to create a unique piece of jewelry that is truly wearable art! As long as you choose the right materials, use the correct tools, don’t forget to secure any jump rings in place and leave enough space between beads for ease of movement – you’ll have an amazing accessory to add to your wardrobe.
With patience and practice, anyone can learn how to make a bead flower necklace. Why not try it yourself? The process may take some time if this is your first attempt – but once complete, you’ll have a beautiful handmade piece that you can wear with pride.

