

Do you want to make something unique and eye-catching? Perler bead patterns are the perfect way to showcase your creativity! Not only are they fun to make, but perler beads can be used to create all sorts of colorful images. By following this guide, you’ll be well on your way to creating your own one-of-a-kind artwork with patterns made from simple items like paper, iron beads, a pegboard—and even iron!
If you’ve ever wanted to build something pixelated and unique, perler beads are the perfect craft item for you! With a little patience and creativity, anyone can follow steps to create their own personalized projects from these small iron-on plastic beads.
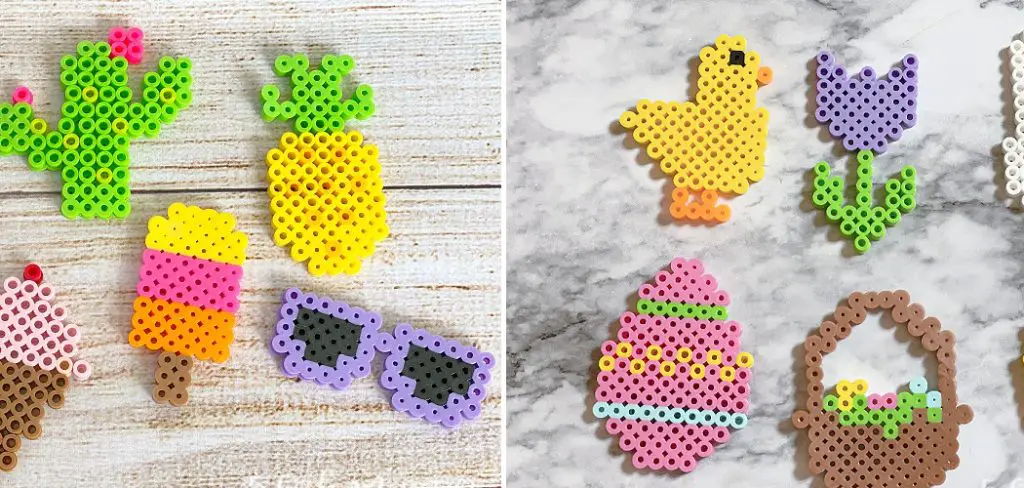
Perler bead patterns offer endless possibilities – they can be anything from animals, people, plants or abstract designs – so regardless of your crafting level, there is something out there for everyone. You might be wondering where to start with making a pattern – well have no fear because this blog post will show you exactly how to make a perler bead pattern!
Benefits of Making a Perler Bead Pattern
1. Fun and Creative Way to Create Colorful and Unique Designs
One of the great advantages of using Perler Beads to create patterns is that you can make any design imaginable. Whether you’re looking for a simple pattern, or something more complex and intricate, with the range of colors and sizes available it’s easy to let your creativity run wild!
2. Can be Easily Re-used
Perler Beads are easy to remove and reuse, so you can experiment with different designs without having to start from scratch each time. This makes it a great way to try out new ideas or tweak existing patterns.
3. Great Way to Spend Time Together
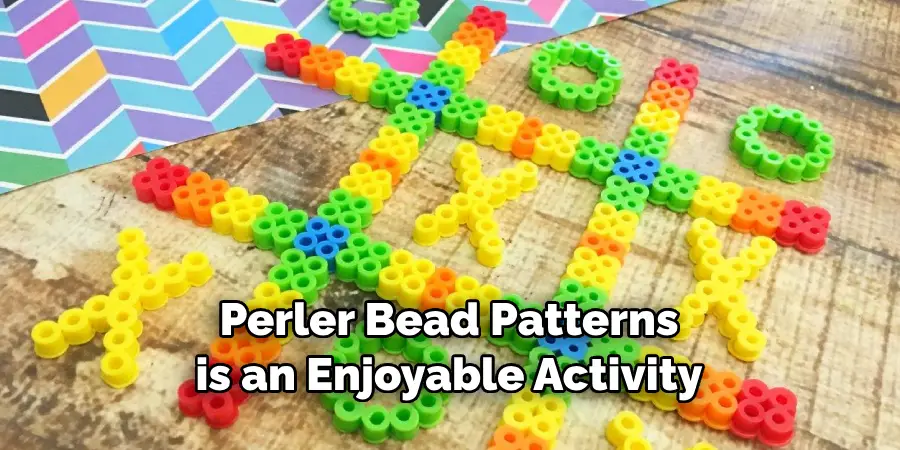
Making Perler Bead patterns is an enjoyable activity that people of all ages can participate in. Working together to create colorful patterns is a great way for families, friends or classmates to spend time together and have fun.
4. Can be Used in a Variety of Projects
Perler Beads can be used in more than just creating pictures; they are also great for making jewelry, hairstyles, magnets, and coasters. With enough imagination anything is possible! Also, once a pattern is made it can be easily transferred onto fabric or paper.
5. Affordable and Accessible
Perler Beads are an affordable crafting material that can be readily found in most craft shops. In addition, kits with all the necessary supplies are available so you don’t have to buy everything individually. With such easy access, anyone can make their own creations with Perler Beads.
Overall, making a pattern with Perler Beads is an enjoyable and creative way to spend time with loved ones. With so many benefits, why not give it a go?
How to Make a Perler Bead Pattern in 6 Easy Steps
Step 1: Gather All The Tools You Will Need
The very first step is to get all the tools and materials you will need to create your pattern. You will need perler beads, an ironing board, parchment paper, an iron, a pegboard (or needle art canvas), and scissors.
Step 2: Choose Your Design
After gathering all of your supplies, it is time to choose a design that you want to make. There are many great online resources that will help you choose a pattern. You can also draw your own design if you’d like.
Step 3: Place Beads On The Pegboard
Once you have chosen a pattern, start by placing the beads on the pegboard following the pattern of your choice. Each bead should fit into one of the pegs on the pegboard. Also, try to make sure that the beads are in a straight line so that they will be easier to iron later.
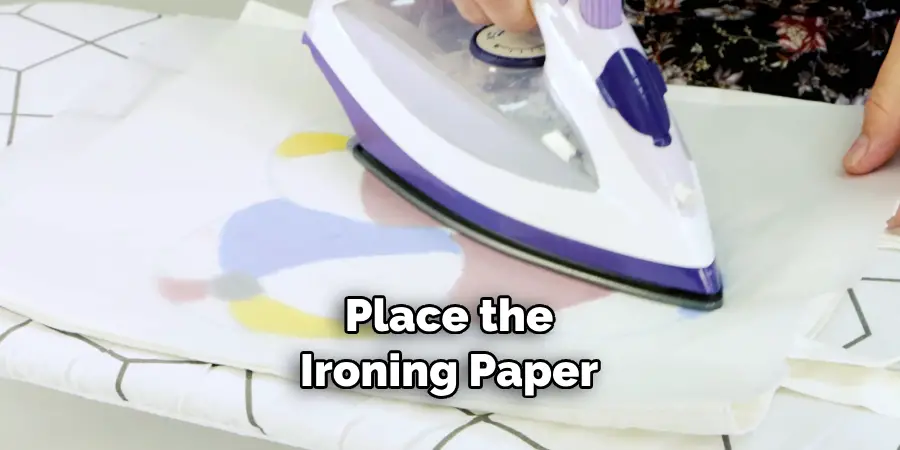
Step 4: Ironing The Beads
Once you have placed all the beads on the pegboard, it’s time to start ironing them. Place a piece of parchment paper on top of your pattern and slowly move an iron over it. Be sure to use the appropriate heat setting for the type of beads you are using.
Step 5: Trim Away Excess Beads
Once you have ironed the pattern, use a pair of scissors or craft knife to trim away any excess beads on the edges. This will help make your design look neat and tidy. Also, make sure to not cut any of the beads in the pattern itself.
Step 6: Frame Your Design
After trimming away the excess beads, you are ready to frame your design. You can use a picture frame or display it on a wall plaque. This will help keep your perler bead pattern looking nice and neat for years to come.
Some Additional Tips to Make a Perler Bead Pattern
1. Do Not Overcrowd the Grid
When placing your Perler beads onto the grid, it is important to not overcrowd the design. This will result in an uneven pattern that does not look as nice or fit together properly. Also make sure that the beads you are using are not too close together as this can create gaps in your design.
2. Use Different Sizes of Beads
Using different sizes of Perler beads can help to add texture and depth to your pattern. For example, small beads could be used for smaller details while larger ones could be used for more intricate designs. Experimenting with different sizes of beads can help you create a unique and interesting pattern.
3. Take Breaks
It is important to take breaks when crafting your Perler bead pattern. This will help reduce fatigue and allow you to focus on the task at hand so that you can create a quality product in a shorter amount of time. Taking breaks also helps to give you perspective and allows you to come up with new and creative ideas for your pattern.
4. Add Color Variants
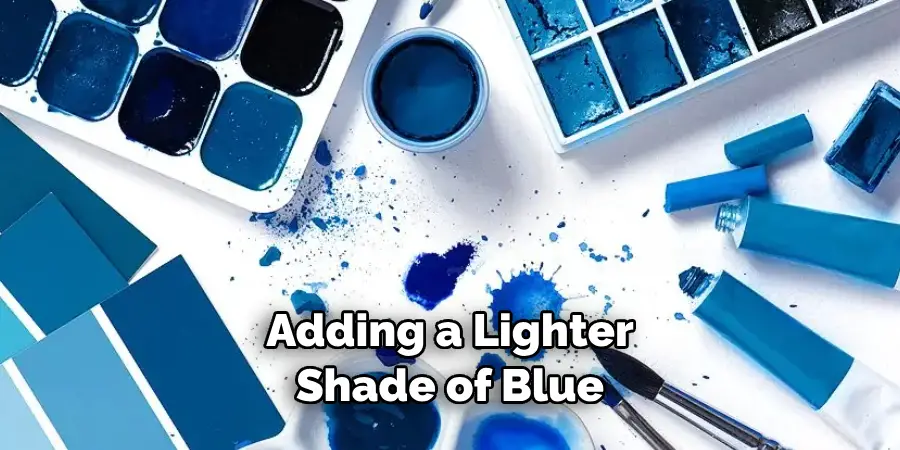
Using different shades of the same color can help add some variety to your Perler bead pattern. For example, adding a lighter shade of blue or green can help make certain areas of the pattern stand out more. Experimenting with different colors is a great way to create a unique and eye-catching pattern.
5. Use Reference Materials
Using reference materials while crafting your Perler bead pattern can help give you an idea of what the finished product should look like. There are many websites and books dedicated to helping crafters create beautiful patterns so be sure to utilize these resources when creating your own designs.
6. Have Fun!
Above all else, have fun while creating your Perler bead pattern. Crafting should be an enjoyable experience and a great way to express yourself and show off your creativity. So don’t be afraid to experiment with different colors, sizes, and shapes of beads to create the perfect design.
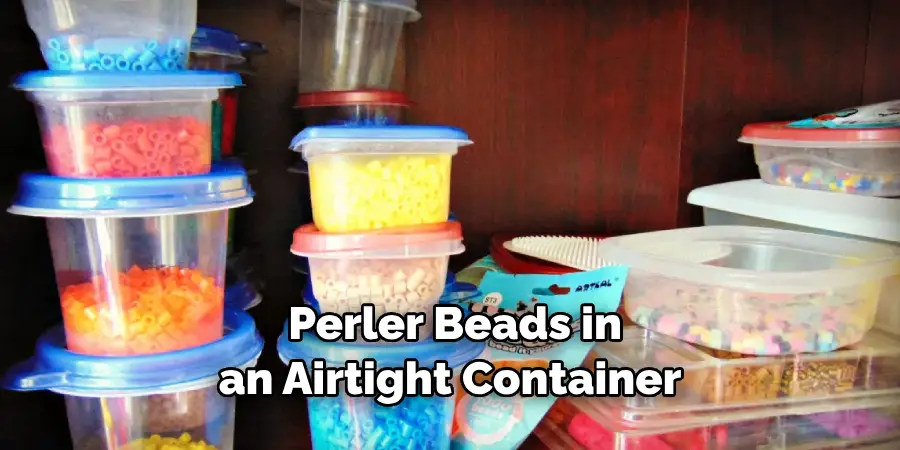
7. Store Your Beads Properly
When you are finished with your pattern, make sure to store your Perler beads in an airtight container. This will help keep them clean and organized and prevents them from getting lost or damaged. Doing this will ensure that your beads last for years to come and can be used again in future projects.
Frequently Asked Questions
What Precautions Should I Take When Making a Perler Bead Pattern?
When making a Perler Bead pattern, it is important to take certain safety precautions. Be sure to wear protective eyewear while working with the beads, as they may fly out of the pegboard and into your eyes. Additionally, keep small pieces away from children and pets so that no one accidentally swallows them. Finally, be careful when pressing the beads together as it can cause burns if done incorrectly. With these simple steps in mind, you can safely and easily make your own Perler Bead pattern with ease.
What Is The Best Way to Make a Perler Bead Pattern?
The best way to make a Perler Bead pattern is to start with a simple design and gradually increase the complexity of your pattern as you become more comfortable making them. Begin by selecting a few colors that will help create a cohesive design, then choose the pegboard size that best fits your project. Once you have chosen the board, simply start stringing beads on from there. Use reference pictures or graphs to create specific shapes and designs, or use your own creative ideas to come up with something truly unique. With a little patience and practice, you can easily make a beautiful Perler Bead pattern in no time!
What Are The Benefits of Making a Perler Bead Pattern?
Making a Perler Bead pattern has many benefits. Not only does it give the maker an opportunity to be creative and have fun, but it offers a great way to relax and relieve stress. Additionally, Perler Bead patterns are perfect for gifting or even selling as they make beautiful wall decorations or jewelry pieces. Finally, it is a great way to bond with friends and family over an enjoyable activity that can be done together. With the right supplies and some creativity, you can make beautiful Perler Bead patterns that will be treasured for years to come.
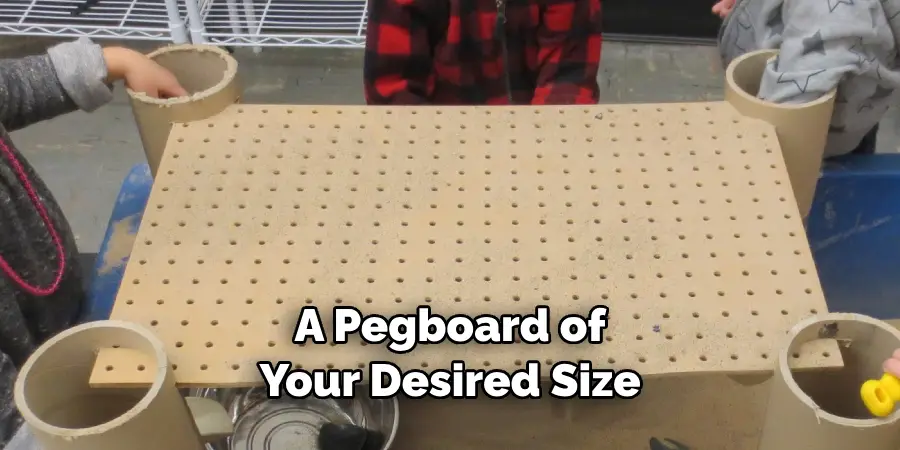
What Supplies Do I Need To Make a Perler Bead Pattern?
To make a Perler Bead pattern, you will need several supplies. The most important supplies are the beads (in various colors), ironing paper, and a pegboard of your desired size. Additionally, you may want to purchase a tweezer set and special tools to help lift the beads off of the pegboard. Finally, you will need an iron (or other type of heat source) to secure the pattern once it is complete. With all of these supplies in hand, you are ready to begin making your own Perler Bead patterns!
Are Perler Bead Patterns Only For Children?
No! While it is true that children often enjoy making Perler Bead patterns, they can be enjoyed by anyone of any age. Many people find crafting with beads to be a relaxing and enjoyable activity, so no matter your age or skill level you can still have fun and make something special. With all the creative possibilities available, there is no limit to the kinds of patterns and designs you can create. So don’t be afraid to unleash your inner artist by making a Perler Bead pattern of your own!
What Are Some Tips For Making Perler Bead Patterns?
When making a Perler Bead pattern it is important to keep several tips in mind. Be sure to plan out your pattern before starting it, as this will help you avoid mistakes. Additionally, use a tweezer set or other tools to help gently and accurately remove the beads from the pegboard. Finally, be sure to place the ironing paper over the finished design before pressing with an iron (or another heat source) so that the beads are securely fused together. With these simple tips in mind, you can create a beautiful Perler Bead pattern with ease!
What Are Some Creative Ways To Use My Perler Bead Pattern?
Once you have made your own beautiful Perler Bead pattern, there are many creative ways to use it. You can turn them into ornaments for the Christmas tree, hang them as wall decorations, or even make jewelry! Additionally, you can combine several patterns together to create unique designs that would look stunning in any room. With all the possibilities available, your Perler Bead pattern can be transformed into something truly special and one-of-a-kind.
Conclusion
Crafting with Perler Beads can be a great way to relive stress, ignite your creativity, and foster new friendships along the way. The sky’s the limit when it comes to patterning with these tiny pieces of plastic — you can create a small coaster or a huge quilt depending on how much time, effort, and patience you put into the task. Making each design your own helps ensure that even if someone else has made something similar, yours makes its own unique statement.
Now you know how to make a perler bead pattern! Whether you’re experienced with crafting already or just starting out, you’ll quickly find that Perler Beads are just as addictive as they are enjoyable to work with. So don’t be afraid to let yourself get creative and express your inner artist — who knows? You may surprise even yourself with how amazing the final product looks!