Do you need a creative way to jazz up your presents? Do you want your gift recipient to be wowed with something special? If so, consider making an eye-catching bag gift wrapper! This tutorial will take you step by step through creating and assembling a thoughtful tote bag featuring lovely wrapping paper or fabric prints.

For those wondering how to make a simple and attractive gift wrapper for the next time you’re giving a present, look no further! Making your bag gift wrapper is easy and fun, with countless creative possibilities.
With just some basic materials like fabric, ribbon, or paper bags, it’s possible to make an eye catching DIY gift wrap that will be sure to wow the recipient of your thoughtful present.
In this article, we’ll walk through every step of how to make a bag gift wrapper. Let’s get started!
What Will You Need to Make a Bag Gift Wrapper?
In order to assemble a unique bag gift wrapper, you will need the following materials:
- A fabric or paper bag of your choosing; this should be large enough to fit the item you’re gifting.
- It was wrapping paper, fabric, or ribbon in the color and pattern that best matched your bag choice.
- Scissors and tape to cut and secure the paper or fabric.
- A hot glue gun with adhesive sticks.
Now that you have all the materials, it’s time to start constructing your bag gift wrapper!
10 Easy Steps on How to Make a Bag Gift Wrapper
Step 1: Prepare Your Bag
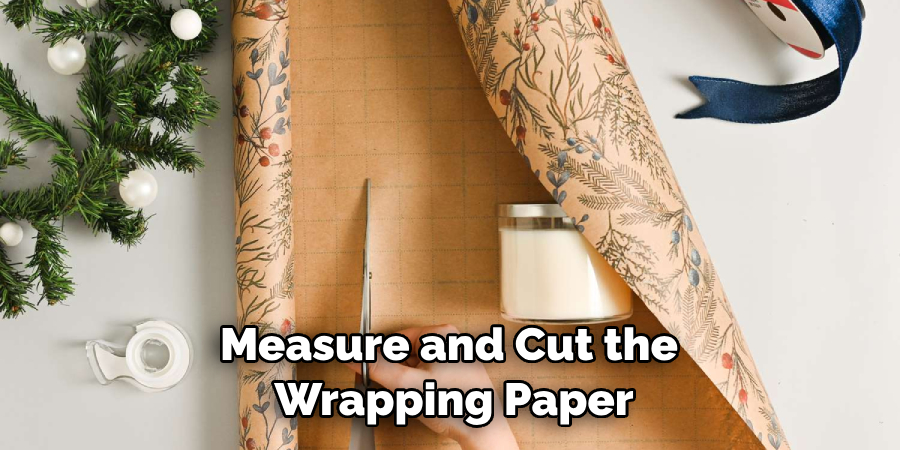
First, measure and cut the wrapping paper (or fabric) so that it wraps around the entire bag. Leave a few extra inches of overlap from one side to secure the ends together later.

Next, use a hot glue gun to attach the wrapping paper (or fabric) along each side of the bag. Make sure to press firmly while adhering for it to stick properly.
Step 2: Add Ribbon Accents
To add some extra flair, consider cutting and attaching ribbons along the edges of the wrapping paper. You can choose from a variety of colors and patterns to match your bag design. If you choose to use ribbons, be sure they are secured with hot glue in order for them to last.
Step 3: Secure the Wrapping Paper End
Once you have glued on all four sides of the bag, carefully tuck in one side of wrapping paper or fabric so that it overlaps with the other end. Use hot glue to secure them together. Remember to apply pressure while the glue cools!
Step 4: Embellish Your Bag Gift Wrapper
If you’d like to add even more sparkle to your gift wrap, consider adding embellishments like gems, glitter, buttons, and more! This is a great way to make it an even more special present for someone special. Additionally, you can also use fabric paint to create your own unique designs.
Step 5: Add the Gift
Once you’ve personalized your bag gift wrapper, it’s time to add in the present! If necessary, use extra wrapping paper or tissue to fill in the bag. Make sure that it’s securely fastened so that the present doesn’t move around during transport.

Step 6: Place Inside a Gift Box
You can place your newly crafted bag gift wrapper inside a decorative gift box or container if you’d like. This will keep everything tidy and organized while also adding an extra layer of protection for your present. Another great idea is to line the box with tissue paper or confetti.
Step 7: Wrap with Ribbon
Using ribbon, carefully tie up any loose wrapping paper or fabric ends. Secure them with a knot at the top and trim any excess material. Try to keep the design as neat and clean as possible.
Step 8: Place on Display
Now that your bag gift wrapper is complete, you can display it proudly for all to see! You can set it up on a shelf, or mantelpiece, or even hang it in an entryway. If you’re feeling extra creative, consider adding accents such as lights or garland to enhance the presentation.
Step 9: Add a Gift Tag
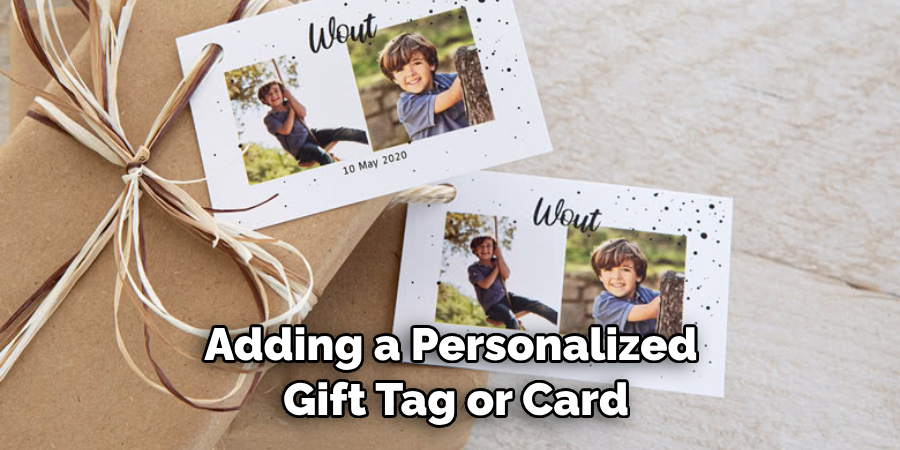
If you’d like to make your gift even more unique, consider adding a personalized gift tag or card. This is an easy way to add extra thoughtfulness and sentimentality to the present. Keep it simple or elaborate; either way, the recipient will surely appreciate the gesture.
Step 10: Present Your Bag Gift Wrapper
Your DIY bag gift wrapper is now ready for gifting! Be sure to package it with care before delivering it to its future owner. Remember to include a heartfelt message if you’d like; it will make the present even more special.

Following these ten simple steps, you can make a beautiful and unique bag gift wrapper that will impress you! No matter the occasion or recipient, homemade gifts are always appreciated. So get crafting and have fun!
5 Additional Tips and Ticks
- Use a reusable shopping bag if you don’t have a specialty bag. Make sure to decorate the outside of the bag with ribbons and bows to make it look festive.
- Incorporate different fabrics into the bag design; use felt, lace, or fun patterns like polka dots or stripes!
- Add a personalized touch by using alphabet stickers to spell out words on the outside of the bag that relate to the gift inside.
- Consider adding some extra surprise items to the main gift — think mini candy bars, special chocolates, or snap bracelets!
- Use glitter glue pens to add a bit of sparkle to your bag! This is an easy way to make it stand out from other gifts under the tree.
Happy wrapping! By following these tips and tricks, you can easily create a beautiful bag gift wrapper in no time.
6 Things You Should Avoid
- Don’t choose fragile fabrics; they won’t provide enough support for the gift.
- Avoid using sharp objects like scissors to cut the fabric, as it can lead to rips or tears.
- Don’t use too much glitter glue; it can make the bag look tacky and overwhelming.
- Avoid adding too many items into the bag; otherwise, it won’t fit inside properly and may become damaged during transit.
- Don’t forget to tie the top of the bag securely so that nothing falls out! A gift tag attached to one of the handles is also a great way to identify whose presents are whose under the tree.
- Don’t forget to have fun with your gift wrapping. This is an opportunity to show off your creative side and make something unique!
Following these simple steps will ensure you have a professional-looking gift wrapper in no time! With these tips and tricks, you’re now ready to create the perfect bag gift wrapper for any occasion.
5 Different Design Ideas
- Personalize the bag with cartoon characters or their favorite animals for a more playful look.
- Create an ombre effect by using various shades and hues of fabric for the design.
- Spell out words outside the bag that express gratitude or love towards the recipient.
- For a fun twist, add confetti or small pieces of colorful tissue paper to the inside of the bag before placing your gift inside!
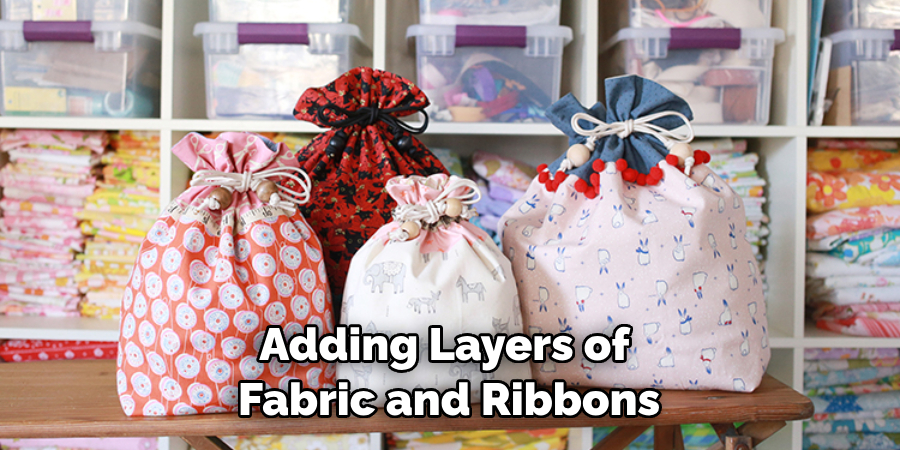
- Make a 3D design by adding layers of fabric and ribbons onto each other for extra texture and dimension!

With these five ideas, you are sure to have a unique and eye-catching gift wrapper in no time! Happy wrapping!
How Can You Make a Bag Gift Wrapper With a Professional Touch?
- Use high-quality materials, sturdy fabrics, and ribbons are best that won’t fray easily.
- Choose a color scheme that matches the occasion or recipient; pastels for an Easter egg hunt, bright colors for a birthday party, and earth tones for Thanksgiving dinner.
- Take your time when placing the ribbon around the bag to make sure everything looks tidy.
- Add personalized touches like names or initials on small tags or even hand stamped onto fabric pieces!
- Make sure to use enough glue so that all the fabric pieces stay in place, but not so much that it’s visible from the outside of the bag!
By following these steps, you can create a professional-looking bag gift wrapper every time! Enjoy and Happy Wrapping! ̃̃
Conclusion
Making a bag gift wrapper is a great way to easily, quickly, and affordably wrap gifts! This crafty gift-giving hack will save you time and money while still enabling you to give your loved ones beautiful presents.
You can make these kinds of wrappers for any occasion, including birthdays, holidays, or just because. With the right materials, such as wrapping paper, ribbon, glue, scissors, and tape, all it takes is creativity to make that package look perfect.
So get started on making handcrafted bags now! Not only will you be giving your gifts an upgrade in style, but you will also make the recipient smile when they receive your unique present. With little effort and cost, this project will surely be great for those who want something extra special under the tree this year!
Hopefully, the article on how to make a bag gift wrapper has helped you understand the process and how to make a beautiful bag that will make any gift stand out. With these tips, tricks, ideas, and tools, you can now become an expert at wrapping gifts in style! Enjoy your new found skill and have fun creating unique pieces for those special occasions. Happy wrapping!

