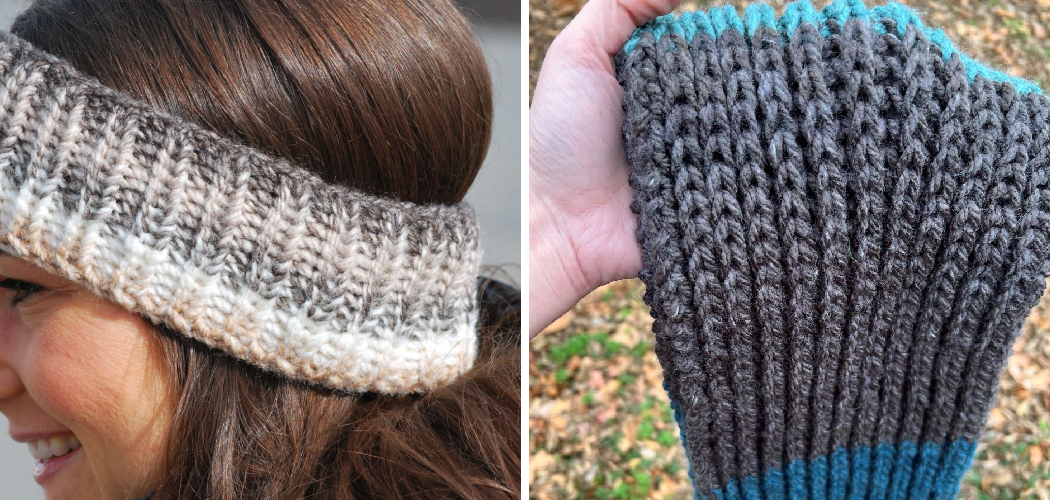
Are you an avid knitter looking for new techniques or a novice seeking to add something unique to your skill set? Look no further than knitting ribbing in the round! It’s simple, versatile, and once you learn it, countless projects can be created with this technique.
Knitting ribbing in the round is a great way to create quick gifts such as scarves, mittens, hats, and socks – all while adding texture and dimension to any project.
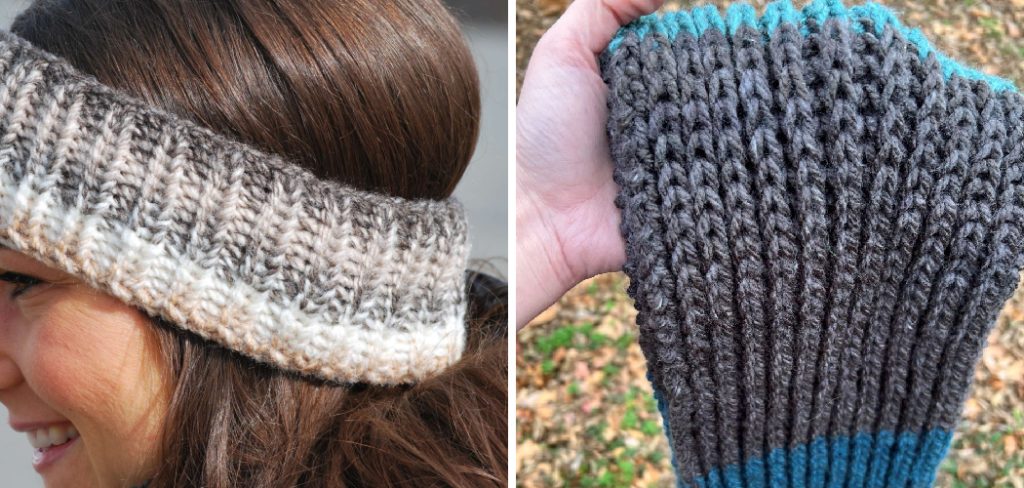
In this blog post, we’ll cover the basics of how to knit ribbing in the round as well as provide tips and tricks for mastering this technique. Remember that the same principles apply to knitting ribbing flat too! Let’s get started.
What Will You Need?
Before you get started, make sure you have all the materials necessary to craft your ribbing:
- A set of circular needles in the appropriate size for your yarn weight
- The desired yarn
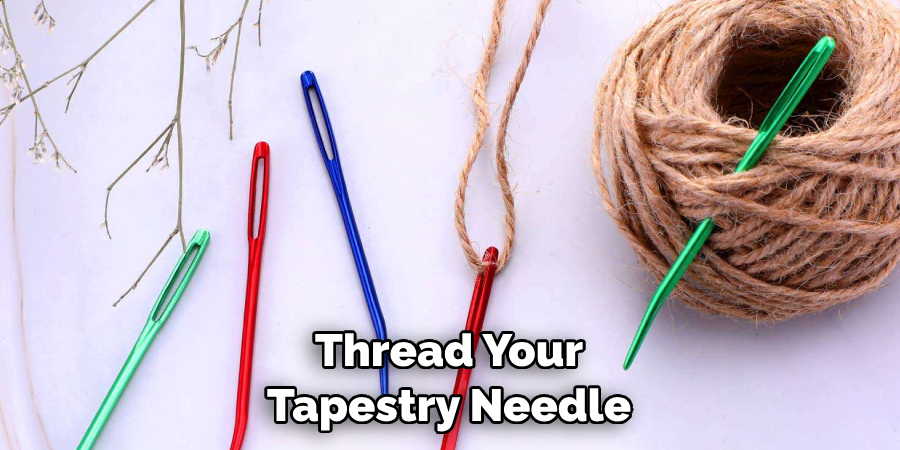
- A tapestry needle to weave together the ends later
You’re ready to begin once you have all the materials on hand!
10 Easy Steps on How to Knit Ribbing in the Round
Step 1: Cast On Stitches
Begin by casting your stitches to the circular needle. The number of stitches depends on the pattern you’re following or the width of the item you’re creating. Remember, when creating ribbing in the round, your stitch count should be a multiple of four for a 2×2 ribbing pattern. This is because you’ll be working with two knit stitches followed by two purl stitches repeatedly.
Step 2: Join in the Round
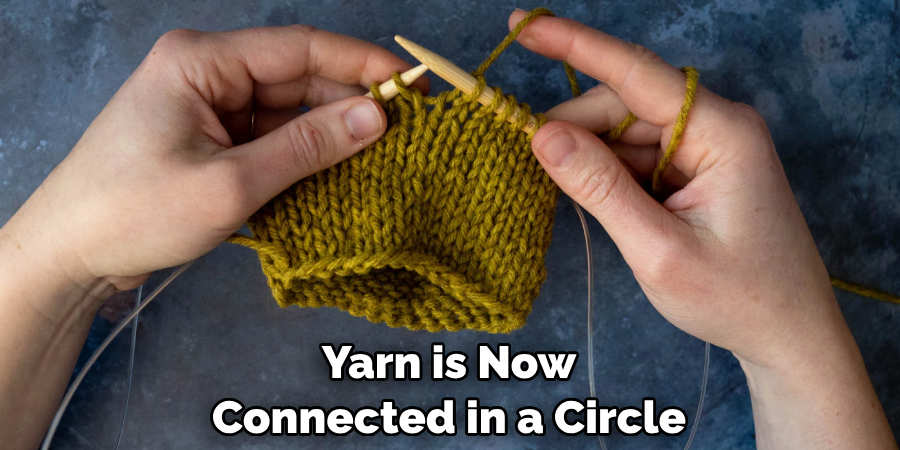
After casting the necessary stitches, you must join them in the round. Carefully shift all the stitches to one side of the needle, ensuring they’re not twisted. Bring the needle with the working yarn (the yarn attached to the ball) to your right hand and the other needle with the first cast-on stitch to your left. Now, use your right needle to knit this first stitch.
This is the start of your round and your yarn is now connected in a circle. To keep track of the beginning of your rounds, you can place a stitch marker after the first stitch.
Step 3: Start the Ribbing Pattern
Now that your stitches are joined in the round, it’s time to start the ribbing pattern. For a 2×2 ribbing, follow this pattern: knit two stitches, then purl two stitches. Repeat this sequence all the way around. Move your yarn to the front of your work before purling and to the back before knitting.
Step 4: Continue the Pattern
Continue knitting two, purling two for each round. The fantastic thing about knitting ribbing in the round is that you don’t need to worry about switching your pattern when you start a new round. Just keep going in the same sequence: knit two, purl two. The ribbing will start to appear after a few rounds.
Step 5: Checking Your Work
As you work, pausing and checking your stitches occasionally is important. Ensure you’re still working in the correct sequence and have not accidentally dropped any stitches. If you spot a mistake, don’t worry! Just carefully undo your stitches until you reach the mistake, then fix it and continue.
Remember, knitting is a craft of patience and practice. Keep at it, and soon you’ll have a beautifully ribbed piece of knitting created in the round!
Step 6: Completing Your Work
Once you’ve knitted enough rounds to reach your desired length, it’s time to complete your work. Cut your working yarn, leaving a long tail. Use your tapestry needle to thread this tail through each live stitch on your needle, sliding them off as you go.
Pull tightly to close the top of your work after all the stitches are off and threaded through the tail. This is especially useful for projects like hats. For other projects, you should weave the tailback and forth through the ribbing to secure it before cutting off any excess yarn.
Step 7: Weaving in the Ends
After you’ve secured the top of your work, the final step is to weave in any loose ends. Thread your tapestry needle with the tail of the yarn. Weave the needle in and out of your stitches, moving in one direction for a few stitches, then turning and going the other way. This will ensure your end is securely woven in and won’t unravel. You can cut off the remaining tail once you’ve woven in about an inch.
Step 8: Finishing Touches
Now that every end is neatly woven in take a moment to examine your work. Ensure that your ribbing is consistent throughout the project and that there are no loose stitches. If you find any irregularities, use your tapestry needle to tidy them up. After all, the beauty of knitting lies in its attention to detail.
Once you’re satisfied with your creation, pat yourself on the back! You’ve successfully knitted ribbing in the round, and your piece is ready to use or gift.
Step 9: Practice, Practice, Practice!
Knitting ribbing in the round might be tricky initially, but just keep practicing, and you’ll get the hang of it in no time. Try experimenting with different patterns and stitches for fun variations on your ribbing work. You can also practice mixing yarn weights or using more than two colors. With enough practice, you’ll soon master this skill and be able to create ribbing that perfectly fits your project.
Step 10: Enjoy Your Finished Work
The last step is the most important: take a moment to admire your finished work! The unique sense of accomplishment you get after knitting something yourself is truly unbeatable — and with ribbing in the round, you can enjoy the beauty of both sides. So, take a moment to revel in your knitting success before moving on to your next project!
By following these simple steps, you can get started knitting ribbing in the round and create various unique items. Whether you’re gifting a cozy beanie or creating a stylish cowl, it’s the perfect way to let your creativity fly. So, grab your needles and yarn and get ready to start crafting!
5 Additional Tips and Tricks
- Always start your ribbing with a smaller needle size than the main body of your work. This will ensure your ribbing is tight and neat.
- When switching between knit and purl stitches, ensure your yarn is in the correct position. The yarn should be at the back for knit and in front for purl.
- To avoid a ‘jog’ or step in your ribbing when you join in the round, try the ‘jogless join’ technique.
- Count your stitches carefully to ensure your ribbing pattern is consistent throughout your round.
- Practice makes perfect. Keep going even if your first few attempts at ribbing in the round aren’t perfect. Keep practicing, and you’ll get the hang of it.
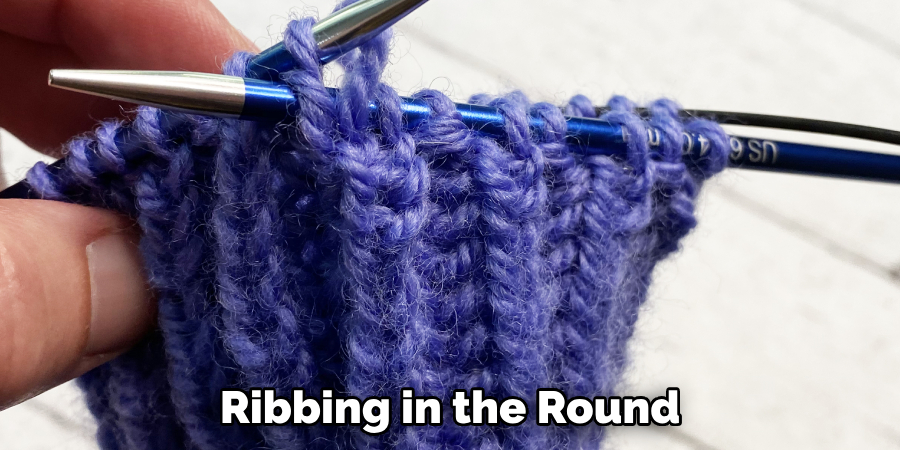
With these tips and tricks, you should have everything you need to knit ribbing in the round. Have fun!
5 Things You Should Avoid
- Knit only a little tight when doing ribbing in the round. This will cause your work to be stiff and difficult to stretch.
- Avoid stretching your stitches out of shape, as this can affect the texture of your ribbing.
- Never cut off extra yarn at the end of a round, as this can create an unintentional hole in your knitting.
- Be careful not to drop any stitches in your ribbing, as these can be difficult to fix.
- Remember to count your stitches after each round, this will help ensure you’ve correctly followed the pattern.
By following these tips and understanding what should and shouldn’t be done when knitting ribbing in the round, your projects will surely turn out to look perfect. Now get knitting!
How to Do 2×2 Ribbing in the Round?
2×2 ribbing is a great way to add texture and interest to your knitting projects. To do this technique in the round, you’ll need to use two needles: knit stitches and purl stitches. Begin by casting an even number of stitches onto the needle with knit stitches. Then join your work in the round.
On the first round, knit two stitches, then purl two stitches. Continue in this pattern around until you reach the end of your round. To ensure your ribbing is consistent, count your stitches after each round and keep track of how many times you’ve completed the pattern.
When it comes time to cast off your ribbing, use a stretchy cast-off technique to ensure it is neat and has plenty of give.
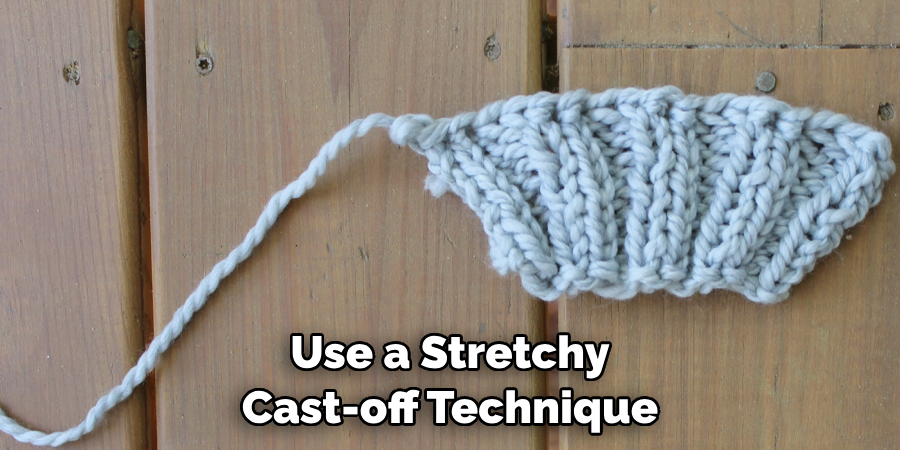
Following these tips, you should have no trouble creating beautiful 2×2 ribbing in the round! You’ll quickly be an expert knitter with just a bit of practice and patience.
Conclusion
Crafting a ribbed fabric in the round is the perfect way to finish your projects! The subtle texture and elasticity of ribbing add just the right je ne sais quois to cardigans, hats, and more. In addition, learning how to knit ribbing in the round can provide a fantastic way to practice two-by-two knitting and get familiar with new techniques like twisted stitch cables.
Plus, you’ll be able to further expand your knowledge by experimenting with other types of stitches and yarn weights. Ultimately, mastering this skill will not only help bring your knitted projects from good to great but also give you an incredible boost in confidence for further knitting endeavors — so get out those needles and start creating!
Hopefully, the article gave you all the information and tips for this wonderful technique. Good luck and happy knitting!

