
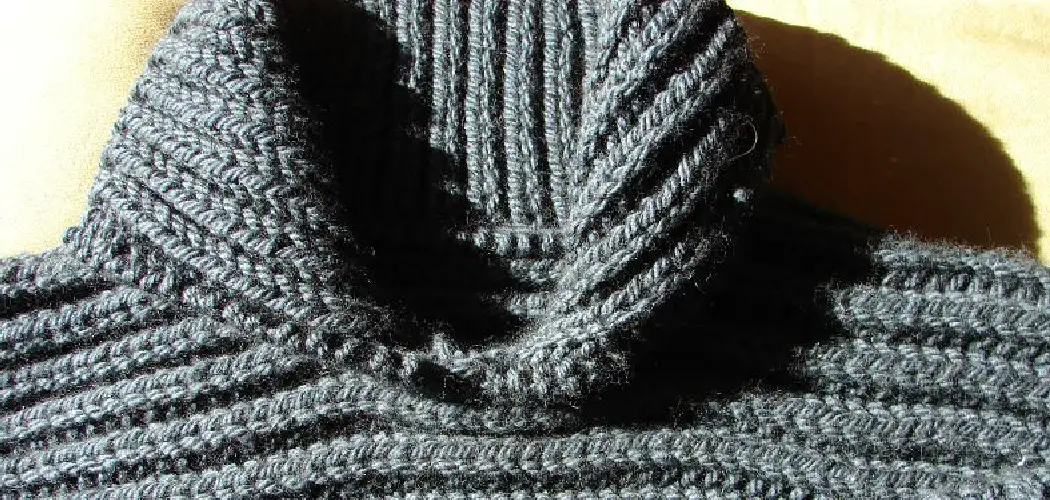
Do you want to create the perfect accessories for your winter wardrobe? Fisherman stitch is a type of knitting with distinctive ridges that gives any project – whether it be a scarf, blanket, hat, or mitten — an interesting texture and look. It’s perfect for staying warm in style this season! This blog post will teach you how to knit fisherman stitch as well as offer tips on how to customize and care for your work. Read on if you’re ready to jump into a world of warmth, cozy textures, and stylish knitted fashions!

What Is the Difference between Brioche and Fisherman’S Rib in Knitting?
The difference between brioche and fisherman’s rib in knitting is that the stitches used are different. Brioche uses a combination of knits and purls, while Fisherman’s Rib is worked exclusively with knit stitches, creating a flowing pattern of vertical stripes.
Brioche creates an extra-thick fabric with two distinct layers, giving a pillowy look and feel. The knits and purls are worked every other row, with the same stitch (knit or purl) repeated in each successive row. With Fisherman’s Rib, the knit stitches form distinct “ribs” that intertwine to create a raised texture on one side of the fabric and a smooth texture on the other.
Brioche is often used for sweaters, hats, or cowls as it creates a warm and cozy texture. Fisherman’s Rib can also be used for hats, sweaters, and scarves. It creates an elastic fabric that is great for snug garments such as mittens and socks due to its ability to stretch.
Overall, the differences between brioche and fisherman’s rib in knitting are that brioche is made up of knits and purls, while Fisherman’s Rib is worked exclusively with knit stitches. Both techniques create extra-thick fabrics, but the look and feel will differ depending on which stitch technique you use.
Brioche will give a pillowy texture, while Fisherman’s Rib will create elastic ribs that intertwine. Both techniques are great for creating warm and cozy garments such as sweaters, hats, mittens, and scarves. No matter which stitch technique you choose, it is sure to be an enjoyable knitting experience!

10 Methods How to Knit Fisherman Stitch
1. Knit the First Row.
To start, you will need to knit the first row. You can do this by using any type of stitch that you like. Make sure to knit to the same number of stitches as you will be using for your Fisherman Stitch.
If you are using a pattern that calls for an even number of stitches, you will want to add one stitch, as this will make the Fisherman Stitch easier to knit. Although it is possible to use other types of stitches when knitting the first row, it is recommended that you use a stockinette stitch as this will provide the best results.
2. Purl the Second Row.
After you have knit the first row, you will then need to purl the second row. To do this, you will need to insert your needle into the fabric from back to front. Then, you will need to wrap the yarn around the needle from back to front and draw it through the fabric. After this, you will slip off the previous stitch from the left needle and repeat this process until you reach the end of the row.

Once you have finished, turn your work so that the right side of the fabric is facing you. However, if you find that the wrong side of your fabric is facing you, this means that you have inserted your needle in the wrong direction and must re-knit the row.
3. Repeat Steps One and Two.
Once you have completed steps one and two, you will then need to repeat them until you have reached the desired length. Remember, each time you repeat steps one and two; you will be creating one more stitch.
As such, make sure to count your stitches each time so you can keep track of your progress. When you have reached the desired length, you will be ready to move on to step four. Though it may feel like a tedious process, taking the time to repeat these two steps is important for ensuring your work looks uniform and professional.
4. Cast off Your Stitches.
Once you have reached the desired length, you will then need to cast off your stitches. To do this, you will need to knit two stitches together. You will then need to pass the first stitch over the second one. Repeat this process until you have just one stitch left. Finally, cut off your yarn and pull it through the remaining stitch.

Now you have completed your Fisherman’s Stitch!
You can use this technique to create a variety of garments, including sweaters, scarves, and hats. This stitch also makes a great addition to any crocheted blankets or afghans. Have fun experimenting with this stitch, and enjoy the results!
5. Weave in Your Ends.
Once you have cast off your stitches, you will then need to weave in your ends. To do this, you will need to thread a tapestry needle with the tail of your yarn. Then, you will need to thread the tail of the yarn through the wrong side of the knitting in a secure manner.
This can be done by weaving your yarn through the stitches, making sure to weave in a few directions. Once you have woven in your ends, you can then trim off the excess yarn. For a finished look, use your tapestry needle to hide the yarn tail under the knitting. And you’re done! You have just created a stunning knitted Fisherman Stitch.
6. Block Your Work.
Blocking will help to set the stitches and even out any unevenness in your work. To do this, you will need to wet your fabric and lay it flat on a towel. Use pins to secure it in place and let it dry completely. Once dry, you will have a professional-looking finish to your knitted fabric. You can also steam block the fabric for a softer and more relaxed look.
Make sure to use the proper steaming techniques for the yarn you used in order to avoid any damage that could occur from heat. Although not necessary for all projects, blocking will help to ensure your work looks its best and stands the test of time.
7. Add Fringe (Optional).
Once your project has been blocked, you can then add fringe to it. To do this, you will need to cut several strands of yarn the same length. They should be long enough to wrap around your project twice while leaving a little bit of extra length. Then, one by one, you will need to fold the strands in half and use a crochet hook or tapestry needle to pull through each stitch in the row below.
After pulling it through, you can then pull the ends of the strands through the loop. Repeat this process until you have added fringe to your entire project. While it is an optional step, it can add a nice touch to any scarf, shawl, or other project!
8. Sew on a Label (Optional).
Once your project is complete, you can then sew on a label. This is optional, but it will help to show off your work! Start from the back side of the fabric and use a simple running stitch. Make sure to secure it by tying it off at the end. If you’re adding a label to a hat, add it on the inside of the brim.
And that’s it! You’ve now successfully knitted fisherman stitch. Additionally, it’s worth noting that fisherman stitch can be used for a variety of different projects, from sweaters to blankets and beyond. Have fun experimenting with this delightful stitch.
9. Care for Your Project.
You will also need to care for your project properly in order to ensure it will last for a long time and maintain its beauty. After you have finished your project, be sure to block it in order to help the fibers relax and to even out the fabric. It is also important to never stretch your work too tightly when blocking, as this can cause it to become distorted.
Additionally, if you are using yarn with a high content of animal fibers such as wool or alpaca, make sure that you only handwash it in cold water with a mild detergent. Hot water can cause the fibers to feel and shrink, which could ruin your project. With proper care and handling, your knitted fisherman stitch project will be a beautiful addition to your wardrobe or home decor!

10. Enjoy Your Handiwork.
Now that you have finished, it’s time to enjoy the fruits of your labor! You have worked hard and created a beautiful piece of knitwear – something that you can wear proudly! You should be proud of your accomplishment and show it off to your friends and family. Fisherman stitch is a great way of creating unique textured knits, so don’t be afraid to experiment with the stitches you’ve just learned.
Now that you know how to knit fisherman stitch, why not try creating a scarf or an accessory? Fisherman stitch looks amazing when combined with other basic knit stitches, so have fun and try new things. You can even use fisherman stitch to make sweaters, hats, mittens, and more. Whatever you create, remember that your hard work has paid off – so enjoy the results of your labor!
Things to Consider When Knitting a Fisherman Stitch
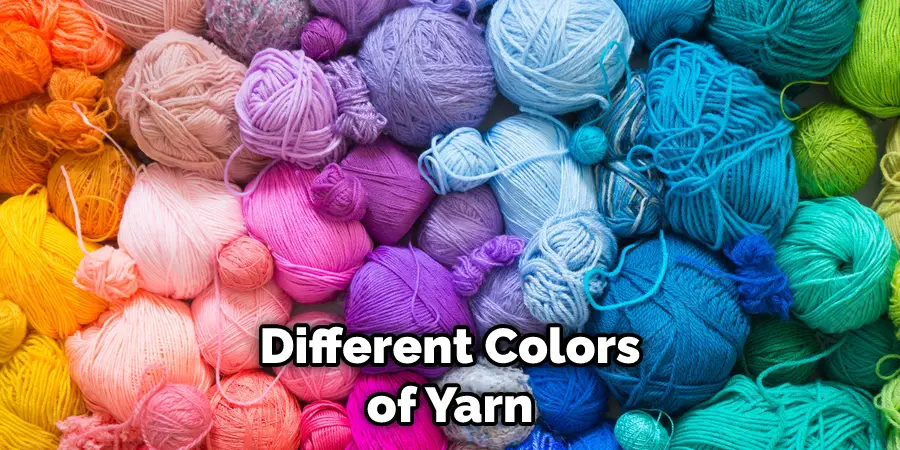
1. Choose the Right Yarn –
The fisherman stitch is a thick, dense stitch that looks best when worked with wool or other natural fibers. The texture of the fabric is determined by the weight and type of yarn you choose, so be sure to pick something that suits your project.
2. Choose the Correct Needles –
The needles you use will depend on the gauge and weight of your yarn. Smaller needles create a tighter stitch, while larger needles create a looser one. Opt for a size that best suits your desired look and feel.
3. Practice the Basics –
Before diving into a project, make sure to practice the basics of knitting first. This will help ensure that you have mastered the essential techniques and understand how stitches are knitted together. The fisherman stitch is made up of alternating knit and purl stitches, so make sure you’re comfortable with those stitches before attempting a project.
Conclusion
Now that you know how to knit the fisherman’s stitch, put your skills to the test with one of our beginner knitting patterns. With a little bit of practice, you’ll be able to create beautiful projects featuring this stunning textured stitching. We hope this guide on how to knit fisherman stitch was helpful. Please share it with your friends on social media if you find it useful. And be sure to check back here soon for more informative guides like this one.