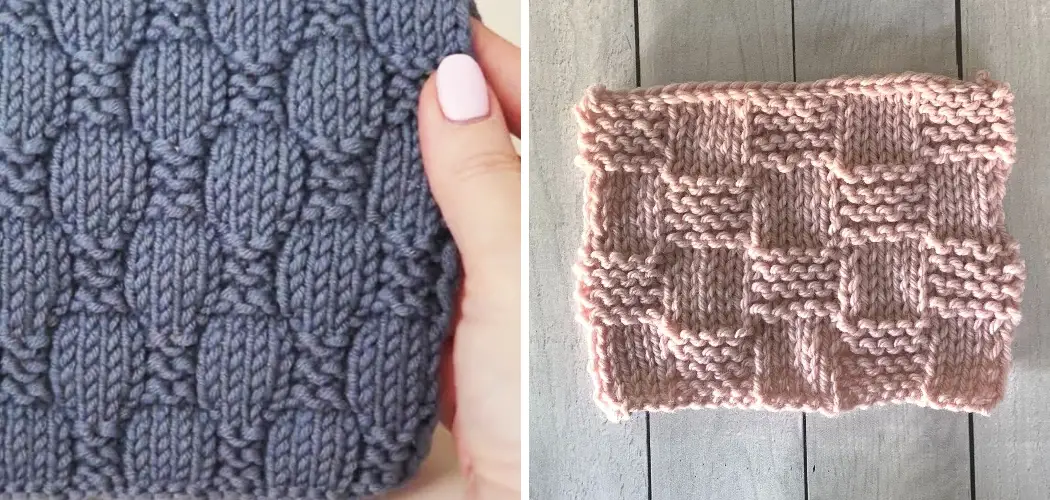
Have you ever wondered how to knit a checkerboard pattern? Whether you’re an amateur knitter or an experienced one, the challenge of creating this classic design is undeniable. Knitting checkerboard patterns can be intimidating at first glance since they require techniques different from those used in beginner knitting projects.
But with a little practice and patience, you can easily create stunning designs that will add charm and sophistication to your handmade garments.
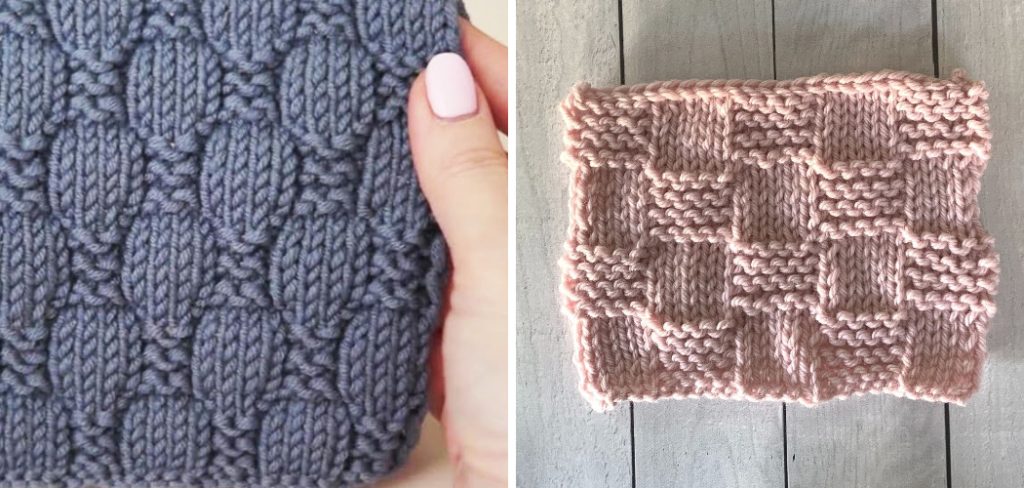
In this blog post, we will show you step-by-step instructions on how to knit a checkerboard pattern. We’ll walk you through simple tips and tricks on how to knit checkerboard pattern that can help make the process easier so that even beginners can enjoy creating beautiful pieces!
Necessary Materials
Given below is a list of materials you will need to complete this project:
- Yarn in Two Contrasting Colors
- Knitting Needles
- Scissors
- Darning Needle
- Ruler or Tape Measure
11 Step-by-step Guidelines on How to Knit Checkerboard Pattern
Step 1: Prepare the Yarn
The first step to knitting a checkerboard pattern is to prepare the yarn. You should use two colors of yarn that are contrasting in order to create the desired effect. To make sure that your work looks neat and even, take care that you don’t pull too tightly on either color when working with them. You can begin by winding each color of yarn into a ball so that it’s easier to work with.
Step 2: Cast On Stitches
Once you’ve prepared the yarn, it’s time to cast on your stitches. To begin, use one of the two contrasting colors and cast on an even number of stitches (e.g., 20 or 24). Make sure that the stitch count is divisible by four so that you can easily work with the pattern later.
It’s also important to make sure the cast-on edge is not too tight. This will help to make sure the finished checkerboard pattern looks neat and even.
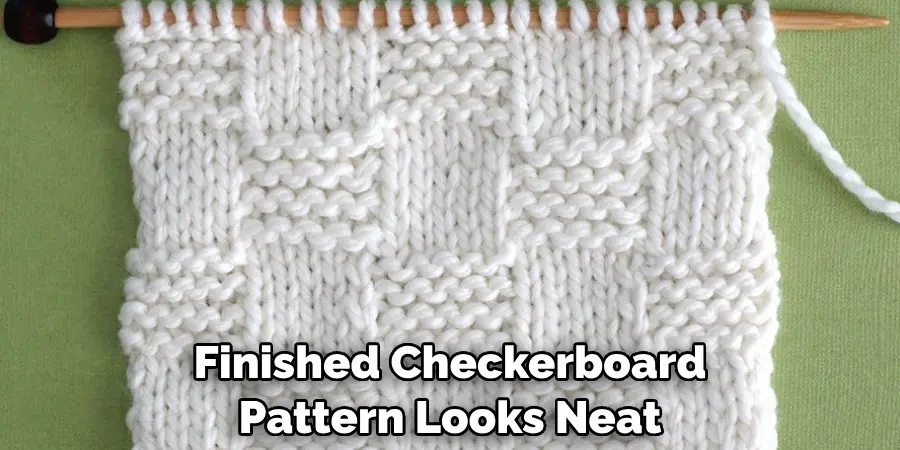
Step 3: Work the First Row
Once you’ve cast on your stitches, it’s time to start working on the first row of your checkerboard pattern. You should begin with one color and then switch to another after each two stitches.
For instance, if you are using blue and white yarn, you would knit two blue stitches and then two white, followed by two more blue and so on. But, it’s important to make sure that the stitches are worked in a specific order. Make sure you knit two blue stitches followed by two white and not vice versa. Otherwise, the checkerboard pattern will not be evenly distributed.
Step 4: Work the Second Row
The second row should be worked in the opposite way as the first row. This means that if you started with blue yarn for the first row, you should begin with white for the second row. The pattern stays the same — two stitches of each color followed by two more of the opposite color. It’s important to make sure that you don’t switch colors in the wrong order or else the checkerboard pattern will be ruined.
Step 5: Keep Working
Continue alternating the colors and working in this pattern until your piece measures the desired length. Be sure to keep an even tension on both yarns as you work so that your finished product looks neat and even. Here is the continuation of the content in Markdown format.
It is important to take note of the tension on both yarns so that the edges do not become too tight or loosened. Additionally, you should ensure that the checkerboard pattern remains even throughout and that the colors are alternated correctly.
Step 6: Change the Pattern
On every fourth row, you should change the pattern. This means that instead of knitting two stitches of each color, you should begin with one stitch of each color. For example, if you were working in blue and white yarn, you would knit one blue stitch followed by one white and then two more blue and so on.
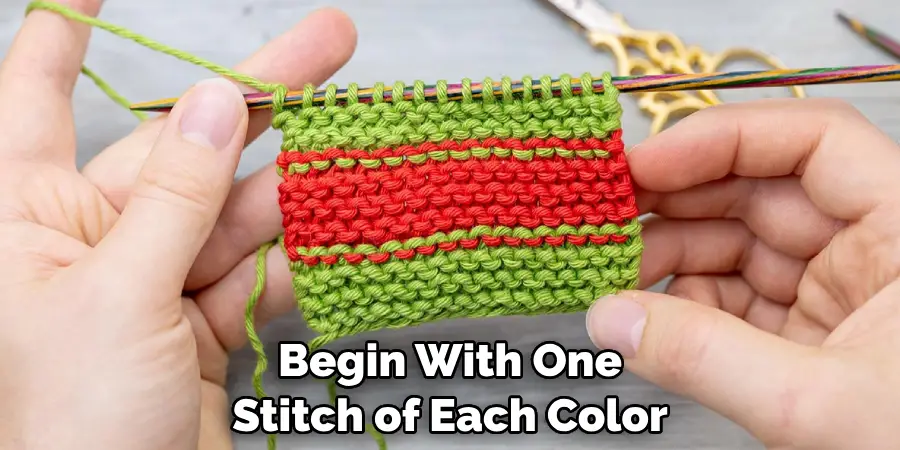
If the pattern of two stitches of each color was becoming too repetitive for you, this can help to add some variety and interest to your knitting.
Step 7: Repeat the Pattern
Continue alternating between the two-stitch and one-stitch patterns until you reach the desired length. Make sure that each row of colors is worked in the opposite order from the previous row so that the pattern looks even and neat. But you can also experiment with different patterns to create unique designs of your own.
Step 8: Bind Off Stitches
Once your piece has reached the desired length, it’s time to bind off your stitches. To do this, simply knit two stitches of one color and then switch to the opposite color and knit two more. Continue alternating until all of your stitches are bound off. This will help to make sure that your edges look neat and even.
Step 9: Weave in Ends
Once you’ve bound off your stitches, you should weave in any loose ends. To do this, use a darning needle and thread it through the loops of yarn that are left on your piece. Pull the yarn gently until all of the excess has been tucked away securely.
However, be careful not to pull too tightly on the yarn or else your checkerboard pattern may become distorted. It’s also important to make sure that all of the ends on each side are woven in neatly, as this will ensure that your finished piece look professional and polished.
Step 10: Block Your Work
Blocking is an important step when knitting any project since it helps to even out your stitches and give the finished project a professional look. To block your work, simply wet your piece and then pin it into shape on a flat surface. Allow it to air dry completely before using or displaying.
Step 11: Enjoy Your Finished Piece!
Congratulations! You’ve now completed your checkerboard pattern. Whether you choose to use your piece in a larger project or simply display it as is, we hope that it brings joy for many years to come. Always take a break in between knitting projects to give your fingers some rest and prevent any strain. Lastly, make sure you have fun while creating your own unique pieces!
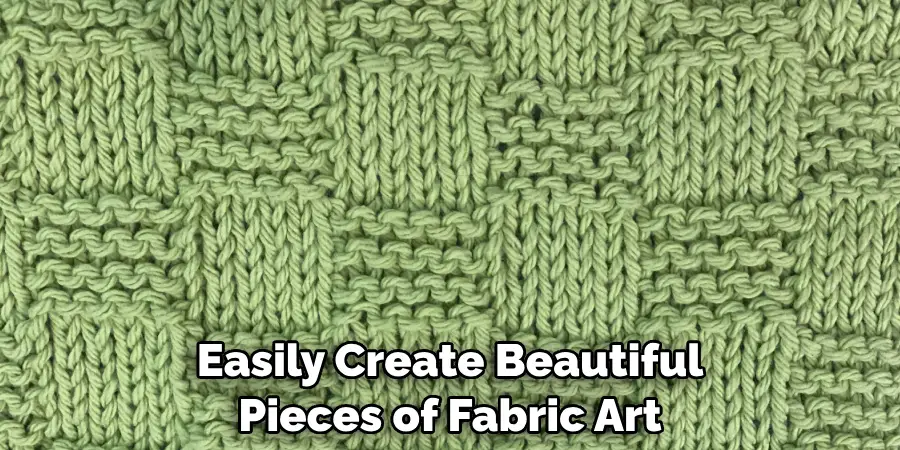
With these steps and tips on how to knit checkerboard pattern, even beginner knitters can easily create beautiful pieces of fabric art. So grab your needles and yarn and get creative! We look forward to seeing what you make. Happy knitting!
Tips
- Always Use Two Contrasting Colors of Yarn for the Best Effect.
- Make Sure to Keep an Even Tension on Both Strands of Yarn When Knitting.
- If You’re a Beginner, Opt for Larger Needles and Thicker Yarn to Make Your Project Easier Until You Get Comfortable With the Pattern.
- Take Time to Block Your Finished Piece in Order to Make It Look Neat and Even.
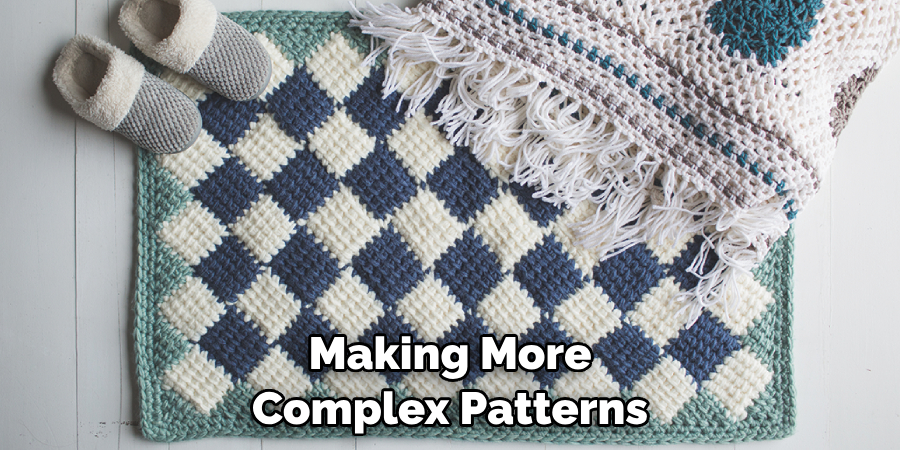
- Have Fun With Your Project by Adding Embellishments or Making More Complex Patterns!
Frequently Asked Questions
Q1: What Type of Needles and Yarn Should I Use for Knitting a Checkerboard Pattern?
A1: For best results, we recommend using medium-sized needles with thicker yarn (e.g., DK or worsted weight) when knitting a checkerboard pattern. You may also opt for larger needles and thicker yarn if you’re a beginner and want to make your project easier.
Q2: Can I Use More Than Two Colors of Yarn When Knitting a Checkerboard Pattern?
A2: Yes, you can use more than two colors when knitting a checkerboard pattern. However, it is important to note that the pattern will become more complicated, so it may be better for advanced knitters.
Q3: How Can I Add Embellishments or Make More Complex Patterns?
A3: Once you’ve mastered the basics of knitting a checkerboard pattern, you can add embellishments such as beads or sequins to make your piece even more unique. You can also try making more complex patterns by using different color combinations and increasing or decreasing the stitch count on each row. Get creative and have fun!
Q4: How Do I Know When My Piece is Finished?
A4: You will know when your piece is finished and when it has reached the desired length or width. If you’re using a pattern, make sure to follow the instructions carefully and measure regularly to ensure that you get the correct size. Otherwise, simply go by eye and bind off your stitches.
Conclusion
Knitting a checkerboard pattern is a great way to use up leftover yarn to create an attractive and eye-catching accessory. While the process may take some effort, the results are worth it! With a simple understanding of knitting basics and some patience, this fun project can be achieved.
What’s more, by mastering this classic pattern you’ll be able to create any other type of knitted checkerboard item from garments like sweaters or scarves to blankets and table mats. So grab your needles, select the corresponding colors of yarn, and get ready for some creative learning while you make something beautiful! Thanks for reading this article on how to knit checkerboard pattern.

