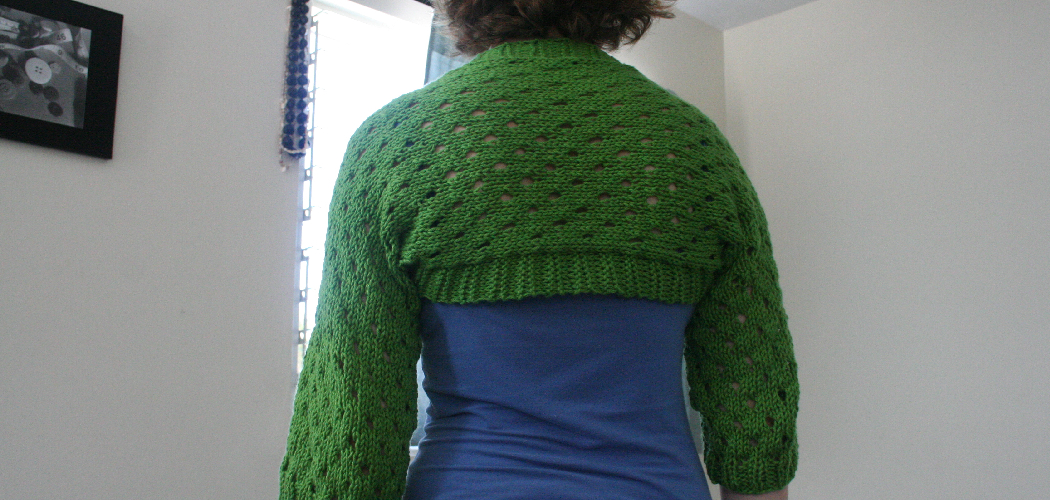
Are you looking for a one-of-a-kind statement piece to add to your wardrobe? Why not try knitting yourself a stylish shrug? With simple supplies and instruction, you can easily craft a cozy, eye-catching garment that will become an instant favorite. Whether as an addition to an elegant evening ensemble or part of a casual outfit on the weekend, crafting your knit shrug will open up all sorts of fashion possibilities.
If you’ve never knit a garment before, don’t worry. A shrug is a great place to start, as the pattern only consists of two rectangles sewn together at the shoulders and sides. Here we will walk you through the basic steps for how to knit a shrug.
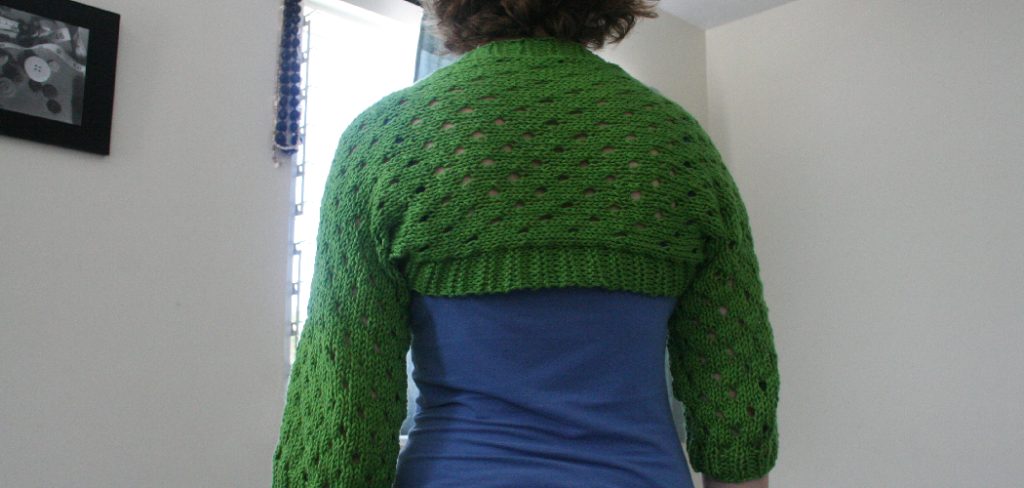
Read on for step by step instructions so you can get started making this versatile and timeless wardrobe essential!
What Will You Need?
Before you begin, it is important to gather the necessary supplies. To create your shrug, you will need the following:
- Medium weight yarn (approx. 800 yards)
- Size 8 knitting needles or size needed for gauge
- Tapestry needle
- Scissors
- Measuring tape
Once you have all your materials, it’s time to start!
8 Easy Steps on How to Knit a Shrug
Step 1: Gauge Your Yarn
The first step in any knitting project is to determine your gauge. This means figuring out how many stitches and rows fit into a one-inch square using your chosen needle and yarn size. To do this, knit a small swatch (about 4 inches by 4 inches), then measure the number of stitches horizontally and vertically within a one-inch area.
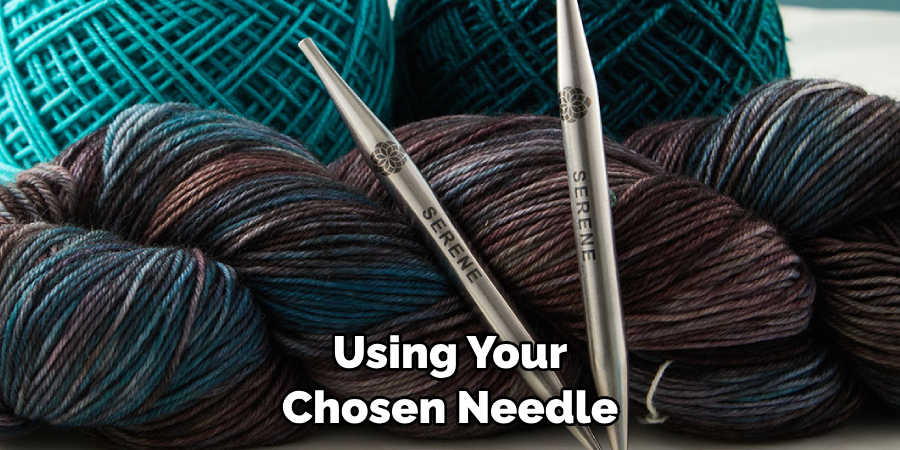
This will help you determine how many stitches you need to cast on and how many rows you need to knit to create your shrug. Remember, knitting a larger gauge swatch is always better to get an accurate measurement.
Step 2: Cast On
After determining your gauge, it’s time to cast on the stitches for your shrug. Use your knitting needles and yarn to cast on the number of stitches per your gauge and the desired length of the shrug. Remember, the length of your shrug should be the measurement around your upper arms and across your back.
Use the long tail cast’ method for a stretchy edge, which is very helpful for the fit of the shrug. Continue casting on stitches until you’ve reached your desired length.
Step 3: Knit the Rectangles
Now that you’ve cast on your stitches, you can start knitting! Keep your knitting stitches simple by using a basic garter stitch (knit every row) or stockinette stitch (knit one row, purl the next). Continue knitting rows until your piece measures the distance from your elbow to your wrist when your arm is bent at a 90-degree angle.
This will become the sleeve of your shrug. Once you’ve reached the desired length, bind off all stitches but do not cut the yarn. Leave a long tail for sewing the sides of the shrug together. Repeat the same process for the second rectangle.
Step 4: Sew The Rectangles Together
Now that you’ve knitted two rectangles, it’s time to sew them together to form your shrug. Lay the rectangles on a flat surface, side by side, with the right sides (the sides that will be visible when you wear the shrug) facing each other. The stitches should run vertically. Stitch the rectangles together along the short sides using the long tail of yarn you left when you bound off.
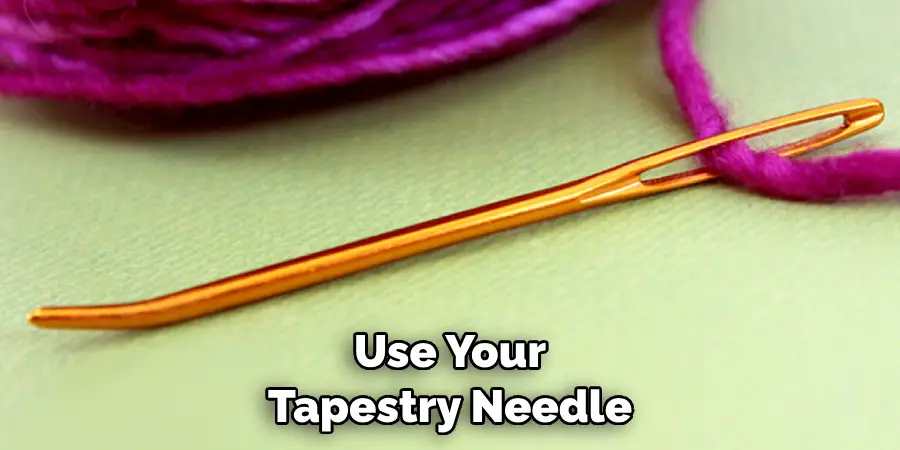
Use your tapestry needle to sew the sides together using a mattress stitch, which makes the seam almost invisible. Leave a gap in the middle for the neck opening, and make sure to stitch an equal distance from the center on both sides. This will form the sleeves and back of your shrug. Once you’ve stitched both sides, you can turn your shrug right side out.
Step 5: Try On Your Shrug
Now is the exciting moment when you get to try on your handmade shrug for the first time! Carefully put on the shrug, sliding your arms into the sections you’ve sewn together. The opening where you’ve left a gap will serve as the neckline if the shrug fits well around your body.
Congratulations! You’ve successfully knit your first shrug. If it doesn’t fit as expected, don’t worry. Knitting is a forgiving craft. You can easily adjust the seams to make the shrug tighter or looser until you find the perfect fit! Once you’ve made any necessary adjustments, cut off the excess yarn, and secure the ends. You now have a beautiful, handmade addition to your wardrobe.
Step 6: Add Finishing Touches
The last step is to add some finishing touches to your new shrug. You can keep it as is for a minimalist look or add some embellishments to make it your own. Perhaps you’d like to knit a border along the edges in a contrasting color or add some decorative buttons. You can also create a ribbed effect on the cuffs of the sleeves for added texture.
To do this, pick up stitches along the edge of the sleeve and knit in a rib pattern (knit two, purl two) for several rows before binding off. These small details can elevate the look of your shrug and make it a piece that is uniquely you.
Step 7: Care Instructions
Taking care of your newly knitted shrug will help ensure its longevity and maintain its beautiful appearance. Always check the washing instructions on your yarn label, as these can vary greatly depending on the fiber content. Generally, hand washing in lukewarm water with a mild detergent and laying flat to dry is the safest method for washing knitted items.
Resist the urge to wring out excess water, as this can distort the shape of your shrug; instead, gently squeeze out water and roll the shrug in a towel to absorb the remaining moisture. Store your shrug in a dry, clean place, ideally folded to prevent stretching or distortion.

Step 8: Enjoy Your Handmade Shrug
Now that you have successfully knit your shrug, it’s time to enjoy the fruits of your labor. Wear it with pride and joy, knowing that you created this beautiful piece of clothing with two hands. It’s a perfect accessory for a cool summer evening or a chilly indoor event.
You can pair it with a casual dress for a relaxed look or dress it up with a nice blouse for a more formal occasion. Remember, the beauty of a handmade shrug is not just in its appearance but also in the love and effort you put into creating it.
By following these steps, you can easily knit your very own shrug and show off your creativity to the world! Enjoy wearing and sharing your handmade masterpiece. Now go forth and start knitting!
5 Additional Tips and Tricks
- Practice Makes Perfect: If you’re new to knitting, don’t be discouraged if your first shrug doesn’t come out as expected. Knitting is a skill that improves with practice. Keep trying; with each project, your stitches become more even, your tension more consistent, and the process more enjoyable.
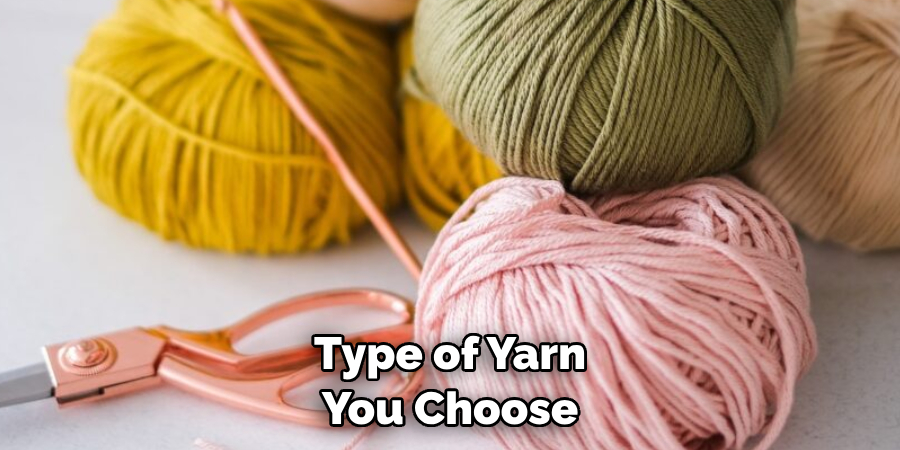
- Choose Your Yarn Wisely: The type of yarn you choose can significantly affect the look and feel of your shrug. Consider using a cotton or bamboo blend for a lightweight, summer-friendly shrug. Wool or alpaca would be a great choice for a cozier winter shrug. Always consider the weight and drape of the yarn when making your selection.
- Experiment with Different Stitches: Although this guide uses the garter stitch and stockinette stitch, feel free to use these options. You can use countless beautiful stitches to add texture and interest to your shrug. Experiment with different patterns and see what you like best.
- Make It Your Own: Don’t be afraid to add personal touches to your shrug. Embellishments, color choices, and stitch patterns are all ways to make your shrug uniquely yours.
- Keep Patience: Knitting isn’t a race. It’s a process to be enjoyed. Take your time with your project. Instead, take your time to enjoy each stitch, each row, and before you know it, you’ll have a beautiful, handmade shrug to wear with pride.
With these tips and tricks, you can make the most of your knitting journey! Have fun and enjoy the process.
5 Things You Should Avoid
- Avoid Using the Wrong Size Needles: The size of your knitting needles can significantly impact the look and feel of your shrug. Using too large needles can result in a loose, floppy fabric, while needles that are too small can produce a tight, stiff fabric. Ensure you’re using the correct needle size for your yarn and pattern.
- Don’t Ignore Gauge: Gauge refers to the number of stitches and rows per inch that you get with a particular size needle and yarn. It’s vital to check your gauge before starting your project, as it can affect the size of your finished shrug.
- Avoid Rushing Through Your Project: Knitting is a craft that requires patience. Trying to speed through your project can lead to mistakes and uneven work. Enjoy the process, and take your time.
- Don’t Neglect to Count Your Stitches: Regularly count your stitches to make sure you haven’t accidentally increased or decreased. This is particularly important when knitting a shrug, as maintaining the correct stitch count ensures a proper fit.
- Avoid Improper Care of Your Knitted Shrug: Your handmade shrug deserves the best care to maintain its beauty and longevity. Avoid machine washing or using harsh detergents unless specified by the yarn manufacturer. Always dry your shrug flat to prevent stretching or distorting its shape.
By avoiding these common mistakes, you can ensure that your knitting experience is enjoyable and that your finished shrug is something you’ll be proud to wear.
What is the Difference Between a Shrug and a Shawl?
Shrugs and shawls may look similar, but there are some key differences to be aware of when deciding which one is right for you. A shrug is typically shorter with an open or closed front, while a shawl usually has two triangular-shaped panels connected by a single line in the center and can be long enough to drape over the shoulders. Shrugs are typically worn for warmth and comfort, while shawls can be worn for warmth or as a fashion statement.

Additionally, shrugs are often knitted using thicker yarn than shawls, making them much warmer and more durable.
Ultimately, the choice between a shrug and a shawl will depend on your style and needs. Whether you knit a shrug or shawl, you can create a beautiful fashion statement that will surely be noticed.
Which Material is Best for Shrugs?
The best material for shrugs will depend on your preferences, the climate where you live, and the look you are trying to achieve. Cotton or bamboo blends are excellent choices for a lightweight and summer-friendly shrug. Wool or alpaca are great options for cozier winter shrugs. When choosing a yarn, always consider the weight, as this will affect the drape of your finished shrug.
Acrylic blends are a popular choice among knitters, as they are lightweight and affordable. However, remember that acrylic yarns can be prone to piling and may not be as durable as other materials. If you want a shrug that will stand up to wear and tear, consider using wool or a more durable blend.
Regardless of the material you choose, follow the care instructions provided by the yarn manufacturer for the best results.

Conclusion
All in all, how to knit a shrug can be a rewarding and fun experience, no matter your skill level. Not only will you have the pleasure of creating something with your hands, but you’ll also have the satisfaction of having something warm to wear in cold weather.
With that said, the ability to knit a shrug takes patience and practice. Don’t be afraid to make mistakes—take it slow and work through them individually. Make sure you choose the material that matches your skill level, too; starting with acrylic is ideal for beginners since it’s easy to use and forgiving for errors.
Once comfortable practicing with acrylic, move on to harder materials like wool or cotton that will give your shrug a more luxurious look.
Finally, when ready, challenge yourself by trying out different stitch patterns or altering your shrug’s shape. Have fun, take pride in creating something beautiful, and enjoy wearing the fruits of your labor!

