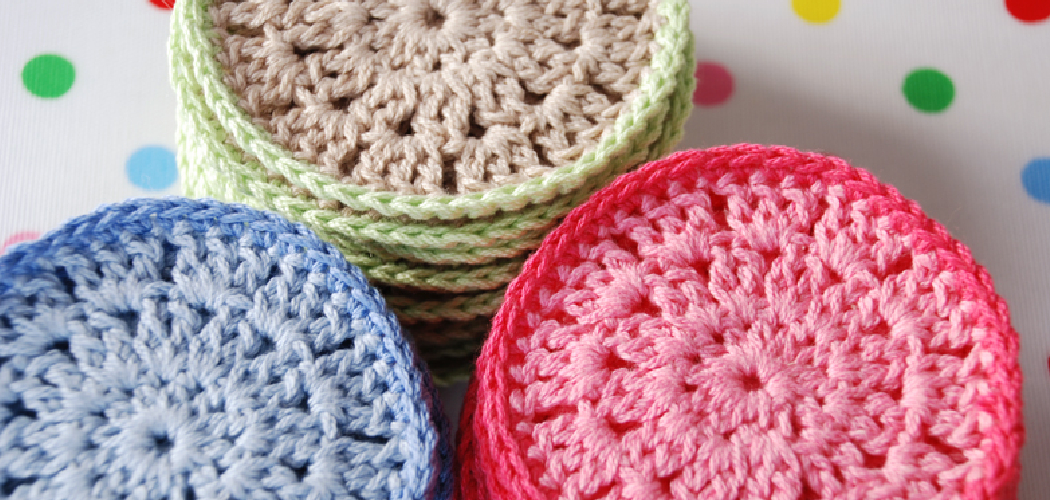
Are you wanting to add a decorative personal touch to your coffee table or home décor? Look no further than knitting your own coaster! Whether you’re a beginner knitter just starting out on their journey or an experienced crafter sharpening their skills, coasters are the perfect small project. Busting out the yarn and needles is always fun too – who doesn’t enjoy creating something with love and care?
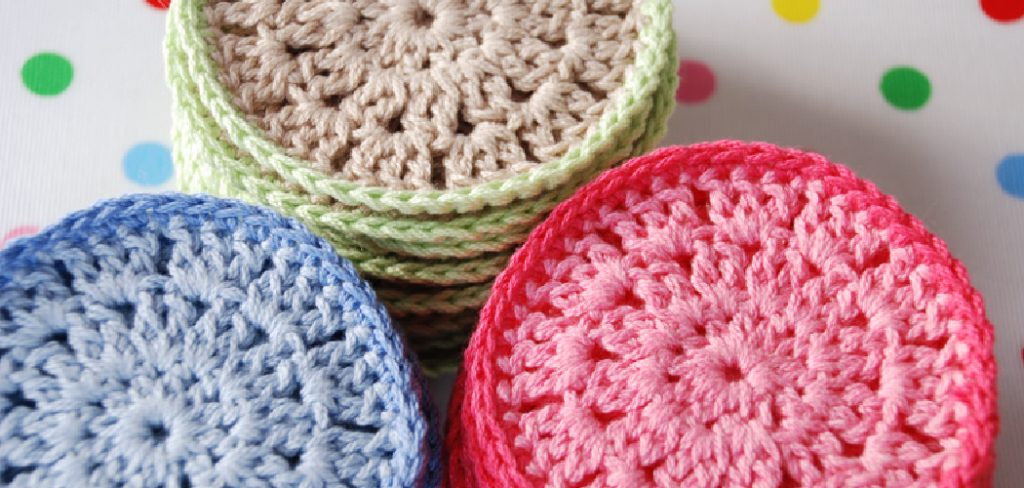
In this short tutorial, you’ll learn all about how to knit a coaster with simple steps that even newcomers can follow. So grab those materials, sharpen up those knitting needles, and get ready for some easy yet creative crafting!
Tools and Materials You Will Need to Knit a Coaster
- Yarn (choose a medium-weight yarn for best results)
- Knitting needles (select the appropriate sized needle based on your yarn of choice)
- Scissors
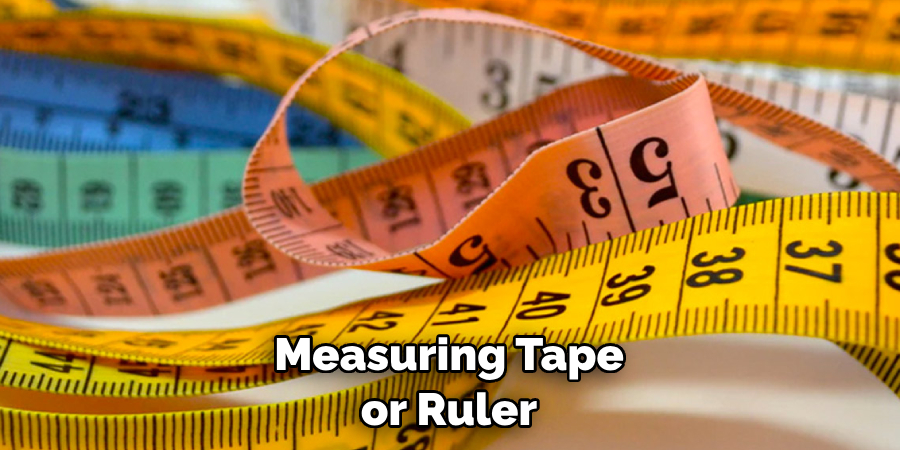
- Measuring tape or ruler
- Tapestry needle
Step-by-Step Guidelines on How to Knit a Coaster
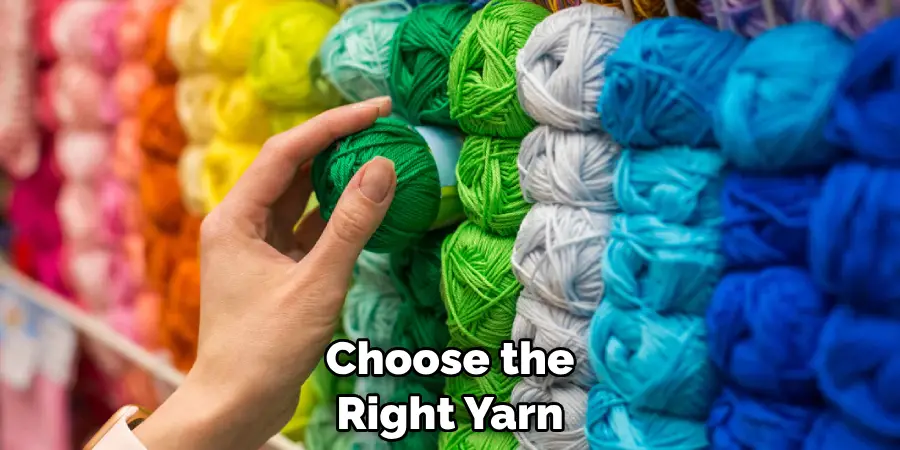
Step 1: Choose Your Yarn
The first step is to select your yarn – it is important to choose the right type and weight of yarn for your coasters. We recommend a medium-weight yarn for best results, but if you’re feeling creative, feel free to experiment with different types and textures of yarn. Choosing the right yarn is the key to creating beautiful coasters.
Step 2: Prepare Needles and Cast On
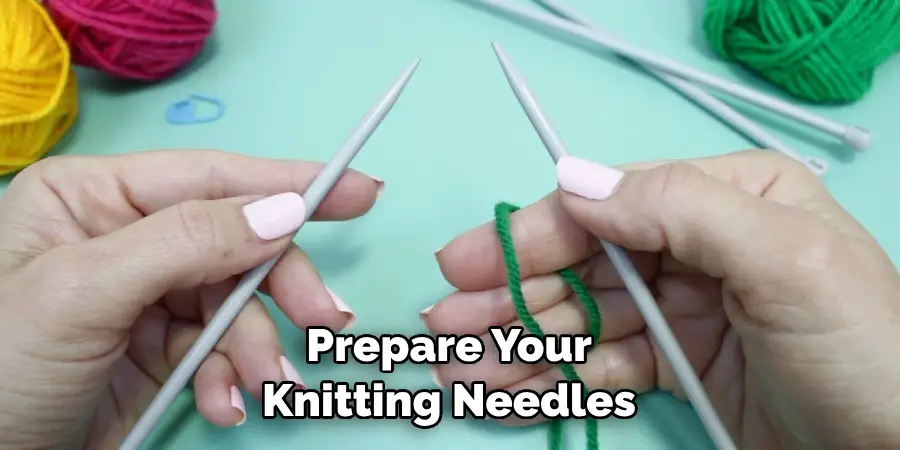
Then, it’s time to prepare your knitting needles – select the appropriate size based on your chosen yarn and cast on as many stitches as needed for the desired size of the coaster. We recommend casting on 20-25 stitches per coaster for best results but feel free to adjust this number depending on the size you want.
Step 3: Knit and Measure
Now it’s time to put your knitting needles to work! Begin knitting either in garter or stockinette stitch, depending on what type of texture you want for your coaster. As you knit, use a measuring tape or ruler to measure the size of your coaster and stop knitting when it reaches the desired measurements. This is the perfect time to adjust the number of stitches you have cast on if needed.
Step 4: Bind Off and Finishing Touches
Once your coaster has reached the desired size, it’s time to bind off your stitches. This is done by knitting two stitches together until you only have one stitch left on your needle. Then, pull the last working yarn over the last stitch to secure it and cut off any excess from the yarn.
To finish your coaster, weave in the ends with a tapestry needle and you’re all done! Your lovely DIY coaster is now ready to add a decorative touch to any table setting or living room. Enjoy your handmade creation and feel proud of what you’ve made!
With these simple steps, anyone can easily learn how to knit a coaster. Whether you’re a beginner or an expert, let yourself have fun and explore different types of yarn and textures to customize your coasters. So what are you waiting for? Put on your crafting hat and get ready to make some beautiful handmade pieces!
Additional Tips and Tricks to Knit a Coaster
1. To add more interest to your coaster, try varying the type of yarn you use. Knitting with multiple strands of different colors can create a unique pattern or texture that’s perfect for personalizing your coaster.
2. Before beginning your project, make sure to read through the pattern thoroughly. If you are using a pattern from an online source, be sure to save it on your device so you can refer back to it easily.
3. When knitting a coaster, use needles that are one size smaller than the ones recommended for the yarn you’re using. This will help make sure that your stitches are tight and won’t unravel.
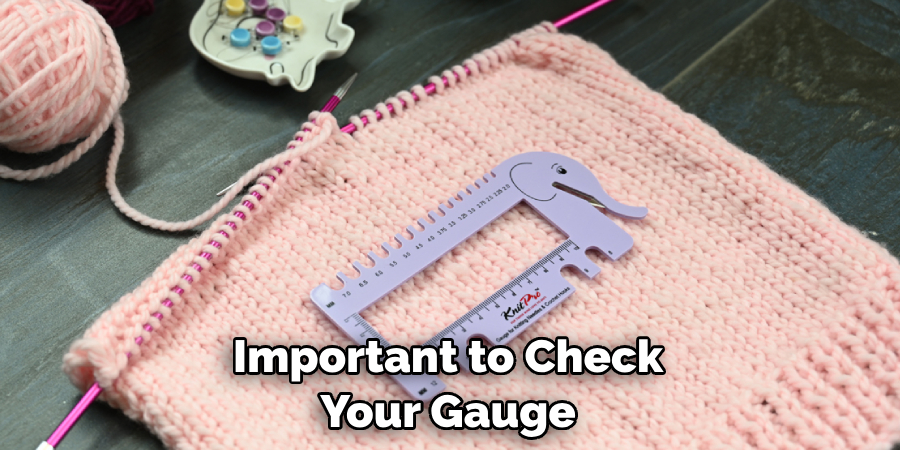
4. Make sure to check the gauge of your knitting project before starting as well. This will help you ensure that the size of your coaster is correct before you finish knitting it.
5. To make sure that your coaster stays in place, attach a few small pieces of felt or fabric to the bottom when finished knitting it. This will add some weight and prevent it from sliding around on tables and surfaces.
6. If you’d like your coaster to have a more polished look, try using some stitch markers around the edges. This will help you maintain an even pattern as well as give it a finished look.
7. Finally, after you’re done knitting your coaster, be sure to block it with steam or water before displaying it. Blocking your coaster helps open up the stitches and relax the yarn, giving your coaster a more professional and polished look.
Following these tips and tricks will help you create a beautiful and unique coaster that can be enjoyed for years to come. So grab your needles and some yarn, and get knitting!
Things You Should Consider to Knit a Coaster
1. Choose the right yarn for your project; select one that is lightweight and easy to work with. This will make knitting your coaster much easier!
2. Find a pattern you’d like to follow; there are many free patterns online, as well as in print books or magazines. Make sure it’s suitable for beginners if you’re just starting out.
3. When buying knitting needles, make sure to get the correct size for the project; if you’re using a pattern, refer to the suggested needle size in order to ensure your finished coaster comes out looking perfect!
4. Once you have all of your supplies and the pattern ready to go, it’s time to start knitting! If you’re not sure of the techniques, there are plenty of helpful online tutorials available.
5. After you have finished your coaster, it’s time to block it. This will ensure that the final product keeps its shape and looks just as nice as you envisioned it!
6. Finally, when your coaster is blocked, you can add an edging to give it an extra special touch. This could be something as simple as a single crochet stitch, or more elaborate if you’re feeling creative!
7. Once your edging is complete, you have now successfully knitted your very own coaster – congratulations! Show off your creations and enjoy the satisfaction of having made something unique with your hands.
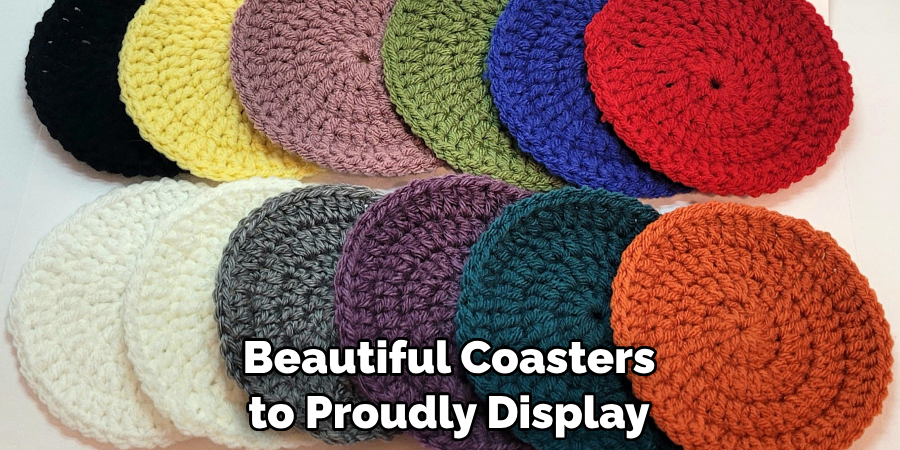
With a little bit of practice and patience, you can create beautiful coasters to proudly display in your home. Knitting is an enjoyable craft that can provide hours of relaxation and a great sense of accomplishment. Have fun!
Precautions Need to Follow for Knitting a Coaster
1. Always ensure that the yarn you are going to be using is suitable for your project. Make sure it is strong enough and won’t fray or break easily.
2. Select your knitting needles carefully. The size of the needles must match the weight of the yarn; otherwise, you may have difficulty completing your coaster successfully.
3. Remember to count stitches correctly and maintain an even tension when knitting.
4. Take breaks to check the accuracy of your work and make sure all edges remain neat and tidy.
5. When you have completed your coaster, use blocking wires or pins to keep it in position before it is used. This will help ensure that the stitches stay intact and do not become distorted or misaligned.
6. Before using your coaster, test it by washing it gently in cold water and blocking or pressing it with an iron to give it a professional finish.
7. Always store your coasters flat and in a cool, dry space so they don’t become misshapen or stained over time.
8. If you plan on giving the coaster as a gift, be sure to wrap it carefully and attach a tag with washing instructions. This will ensure that the recipient knows how to care for their new creation!
Following these precautions will ensure that your knitting projects come out perfectly every time. With a bit of practice and dedication, you can create beautiful, handmade coasters that will last for years. So get started today and show off your unique skills! Happy knitting!
Common Mistakes in Knitting a Coaster
1. Not checking your gauge – When knitting a coaster, it’s important to check your gauge. This will ensure that the finished product is the size you expect it to be and looks as great as possible.
2. Struggling with tension – Keeping an even tension is key when knitting a coaster. If the stitches are too loose or too tight, this can affect the shape and size of the finished coaster.
3. Not finishing off correctly – When knitting a coaster, it’s important to make sure you finish off correctly. This means binding off in a way that ensures the edges won’t come undone during use, making your hard work look sloppy and unprofessional.
4. Forgetting about shaping – Shaping is an important part of knitting a coaster. Depending on the shape you want your coaster to be, it’s important to take into account when knitting and make sure that all the sides are finished off evenly.
5. Not blocking – Blocking is an important step in finishing off any knitted piece, including a coaster. It is necessary to make sure that the finished item is shaped correctly and looks great.
6. Not seaming – Seaming is also an important step when knitting a coaster, as it will ensure that all the edges are tucked away neatly and securely. This will help your coaster to look professional and last through years of use.
These are some of the common mistakes made when knitting a coaster. While it’s easy to make mistakes, taking your time and familiarizing yourself with the basics of knitting is key to ensuring your coaster looks great and lasts for many years. With a little bit of practice, you can master the perfect stitch in no time! Happy crafting!
Frequently Asked Questions
Is It Difficult to Knit a Coaster?
Knitting a coaster is generally not difficult. It can take some practice getting used to the stitches, but once you understand how they work, it will become easier. As long as you have the right supplies and instructions, knitting a coaster should be relatively straightforward.
How Many Coasters Can I Make from One Skein of Yarn?
The amount of coasters you can make will depend on the size of the yarn and the size of needles you use. Generally speaking, one skein should be enough to make at least a few coasters.
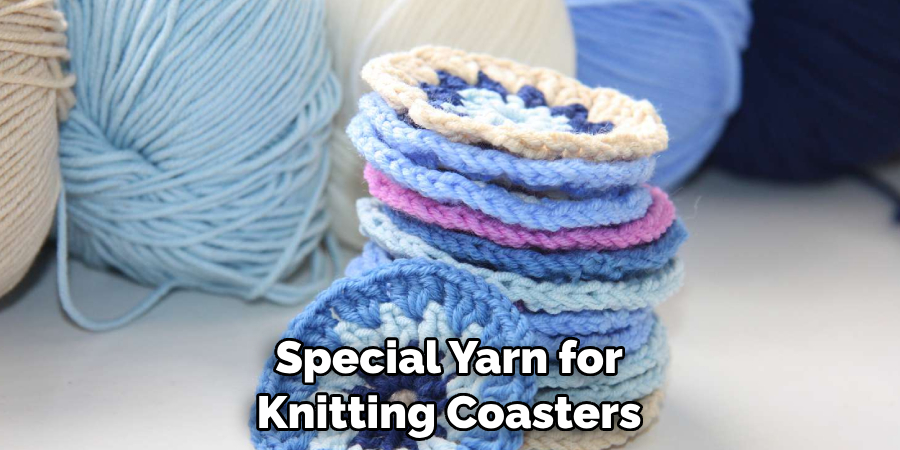
Do I Need to Use Special Yarn for Knitting Coasters?
No, you do not need to use special yarn for knitting coasters. Any yarn of the right weight and size should work for making coasters. However, using a smooth cotton or wool blend may produce better results than if you were to use a more fuzzy type of yarn.
Are Knitted Coasters Durable?
Yes, knitted coasters are very durable. If you use high-quality materials and take the time to properly care for them, they should last a long time. When washing your knitted coasters, it is best to do so by hand with cold water and lay them flat to dry. This will ensure that they remain in good condition for years to come.
Conclusion
Knitting a coaster is an ideal beginning project for those interested in honing their knitting skills. It’s quick, easy, and fun to make! You can add your own twist by choosing different colors and yarn textures, as well as creating unique shapes. The sky’s the limit when it comes to knitting a coaster!
After mastering this beginner-level craft, you can go on to create more intricate pieces such as sweaters, socks, and ponchos.
So grab some yarn and needles and try your hand at knitting your very own coaster today! Follow our step-by-step guide on how to knit a coaster as outlined above; you – and your home – won’t regret it! Keep up with our blog for all the tips on how to craft beautiful projects with yarn!

