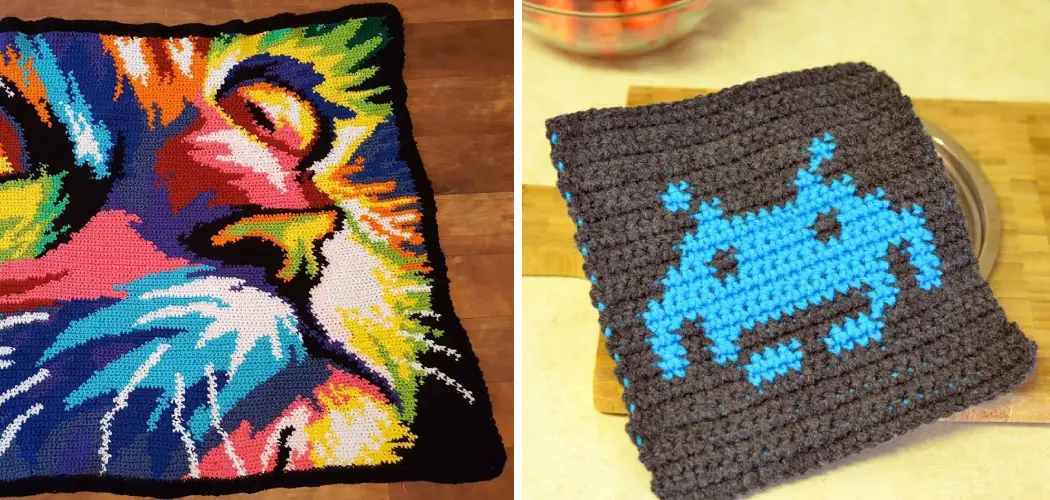
Do you want to learn another amazing way to express your creativity? Are you fascinated with the art of crochet and looking for a new challenge? Graphghan Crochet may be just the answer!
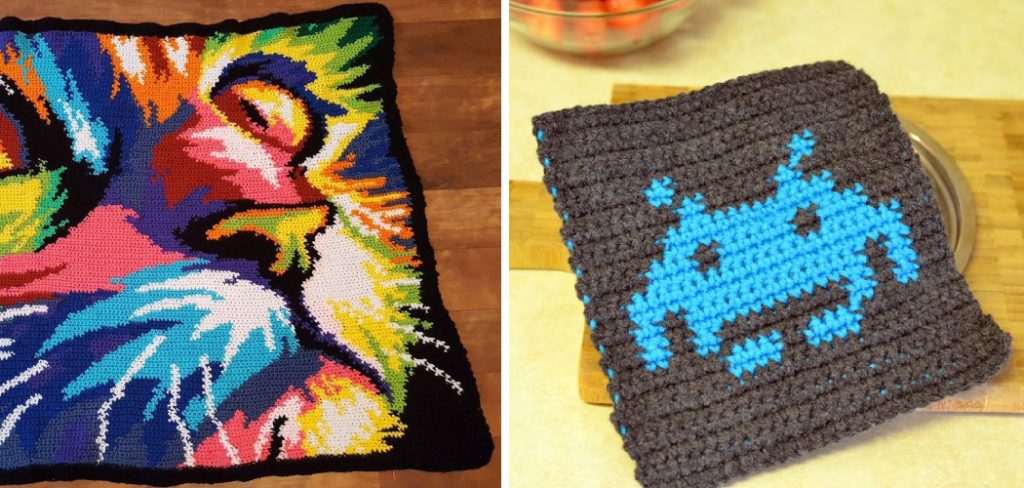
Graphgans are eye-catching creations that take traditional crochet to a whole new level. It’s an intricate combination of multi-colored stitches crafted together in interesting ways, able to transform plain yarn into something magical. If you’re eager to learn how to graphghan crochet, here are some tips for getting started. As you practice and refine your skills, you’ll create masterpieces in no time!
Just imagine what it could do for your next project! If this appeals to you, read on and discover how incredibly easy it is to make beautiful works of art with graphghan crochet.
What Will You Need?
You’re going to need some basic supplies these are given below:
- Graph pattern of your desired design or image (available online)
- Yarn in colors to match the graph pattern
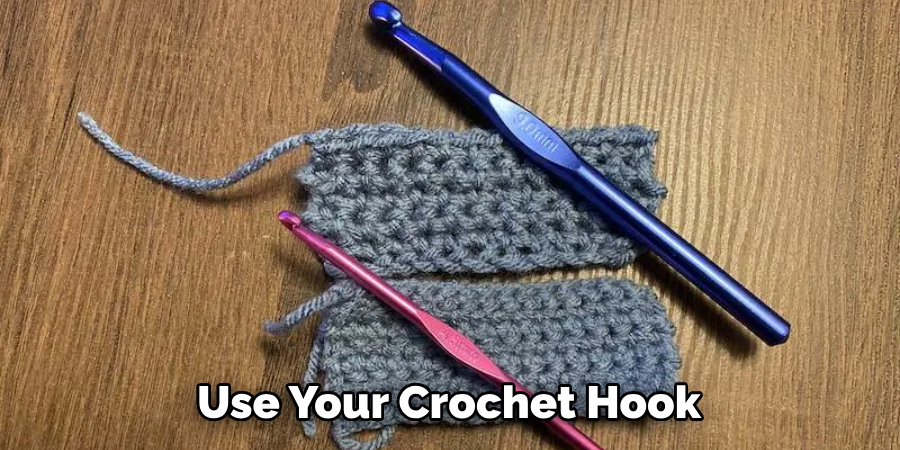
- Crochet hook that matches the yarn weight and type
- Tape measure
- Scissors
- A large surface to work on (optional but recommended)
- Pencil or marker (to mark off squares in your pattern)
Once you’ve gathered these items, you’re ready to get started!
8 Easy Steps on How to Graphghan Crochet
Step 1: Understand Your Graph Pattern
The first step to graphghan crochet is understanding your graph pattern. This pattern is your blueprint, showing you where to make stitches of different colors to form your chosen image or design. Each square on the graph represents a stitch in your project. Different colors in the squares indicate different colored yarns you will use.
Start by familiarizing yourself with the pattern, noting any changes in color, and identifying how many stitches you’ll need to make in each color. It’s a good idea to mark off squares on your graph pattern as you complete them, helping you track your progress and avoid mistakes.
Step 2: Choose Your Yarn and Prepare Your Materials
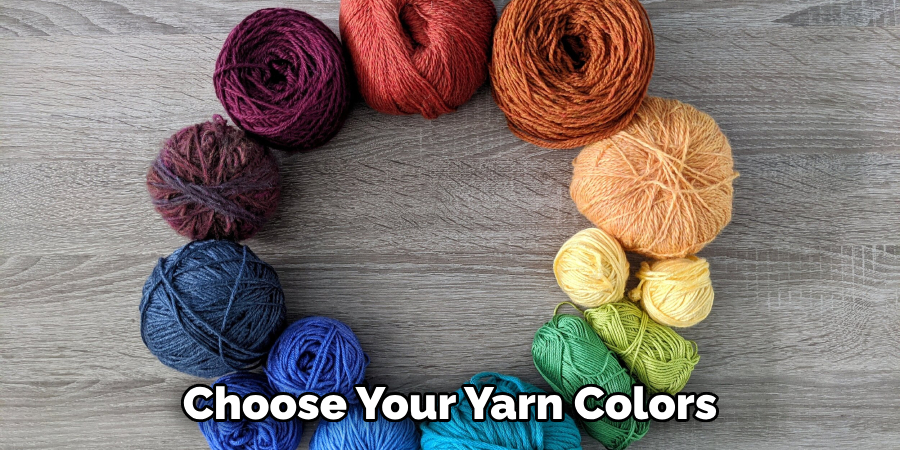
Now that you understand your pattern, it’s time to gather your materials. Choose your yarn colors based on the graph pattern. Remember, each color on the graph should correspond to a color of yarn. It’s generally suggested to use medium weight yarn for graphghan projects as it provides a good balance between detail and manageability.
Once you’ve chosen your yarn, prepare it for use. Roll your yarn into balls or skeins for easy use during crocheting. Also, ensure your crochet hook, scissors, and other materials are ready. With everything in place, you’re set to start crocheting your graphghan.
Step 3: Start Your Stitches
With your yarn and crochet hook ready, it’s time to start your stitches. Begin at the bottom right corner of your graph pattern if you’re right-handed or the bottom left corner if you’re left-handed. Follow the color guide, ensuring you crochet the right yarn for each square.
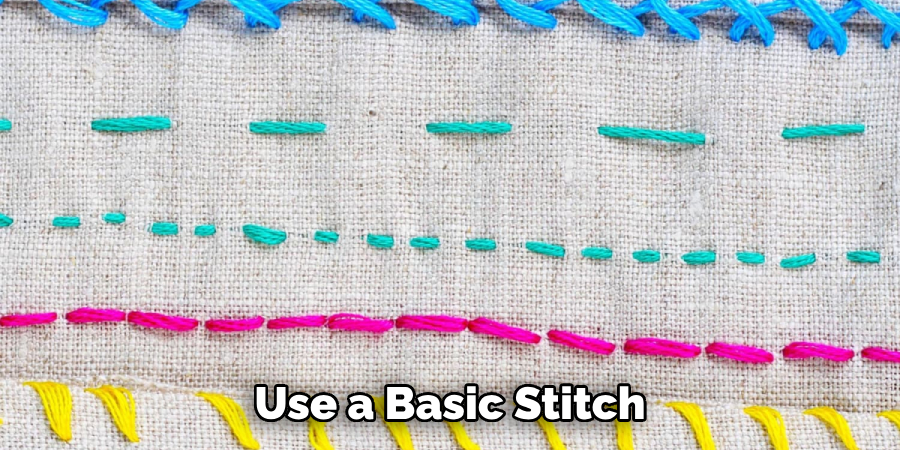
Use a basic stitch, such as a single or half-double crochet, for a smooth, even texture. Keep your tension consistent throughout to ensure the proportions of your image stay accurate. As you complete each square on your graph pattern, mark it off to help you keep track. Patience is key in this step, as the image will start to emerge slowly, stitch by stitch.
Step 4: Follow the Graph Pattern
It’s time to continue your work by following your graph pattern. As you work your way through the pattern, remember that each square represents one stitch of the corresponding color. You must switch colors whenever the squares change color on the graph. When you reach the end of a row, turn your work and start the next row in your pattern.
Remember to mark off the completed squares on your graph as you go. This process can be time-consuming and requires patience, but as your project grows, you’ll begin to see your chosen image come to life. As you follow your graphghan pattern, you’re essentially “painting” with yarn, creating a unique and visually stunning piece of crochet.
Step 5: Managing Color Changes
Managing color changes is a crucial part of graphghan crochet. Each time, you need to switch yarn colors, cut the previous color, leave a small tail, and start the stitch with the new color. Finish the stitch by pulling through with the new color. This way, the stitch is completed in the new color and ready for the next stitch.
Always remember to weave in the ends of each color change to maintain a neat finish on the back of your work. This step can be tricky at first, but with practice, it becomes an essential part of mastering the art of graphghan crochet.
Step 6: Continue Crocheting and Adjusting
Continue crocheting according to your graph pattern, making sure to change colors as indicated. It’s important to maintain uniform tension throughout, as inconsistent tension can distort the appearance of your design. If you notice any errors, don’t be afraid to undo stitches and correct them – it’s better to do this as you go along rather than having to unravel large sections of your work later.
As you progress, you’ll find your pace and develop your own rhythm in crocheting. Keep track of your progress on the graph pattern, marking off each square as you complete it. This is a labor of love and patience, but seeing your design come to life is truly rewarding.
Step 7: Completing Your Project
As you reach the final rows of your graph pattern, continue to crochet diligently, taking care to follow the color changes as indicated. When you’ve completed all the stitches as per the graph, take a moment to admire your work. The image or design you chose at the beginning has now come to life, stitched beautifully with your chosen yarn colors.
But your project still needs to be finished. Cut your yarn, leaving a short tail, and use your crochet hook to pull it through the final stitch, securing it tightly. Now, using a yarn needle, weave in all remaining yarn ends on the backside of your project.
Step 8: Caring for Your Finished Graphghan
Once your graphghan crochet project is complete, it’s essential to know how to care for it. Always refer to the yarn labels for specific washing instructions, as different materials may require different care routines.
Generally, it’s recommended to hand wash your finished graphghan in cold water with a gentle detergent, then lay it flat to dry. Avoid wringing or twisting, as this can distort your work’s stitches and overall image.
Following the steps outlined here, you can create an incredibly detailed and eye-catching graphghan project. Graphghan crochet requires skill, patience, and attention to detail. But with practice and dedication, anyone can learn how to graphghan crochet. So why not give it a try?
5 Additional Tips and Tricks
- Make sure you use a graphghan pattern that fits your skill level. Some patterns are much more complicated, so picking an appropriate pattern will ensure the most enjoyable crocheting experience!
- Keep a progress chart handy, and check it often as you crochet. This can help you catch any mistakes before they become too difficult.
- Take your time – graphghan crochet is a complex craft that requires patience and practice. Don’t be afraid to take regular breaks or even switch up the colors of your yarn as you go, just to keep things interesting!
- Always check the tension of your stitches – every loop should be taut and consistent with the others.
- Don’t forget to block your graphghan when you are finished! This process will smooth out all creases and make sure that the end result is even and professional-looking.
With these tips and tricks in mind, you are now ready to start graphghan crocheting. So roll up your sleeves and get started! You’ll be amazed at what you can create with a bit of patience and practice.
5 Things You Should Avoid
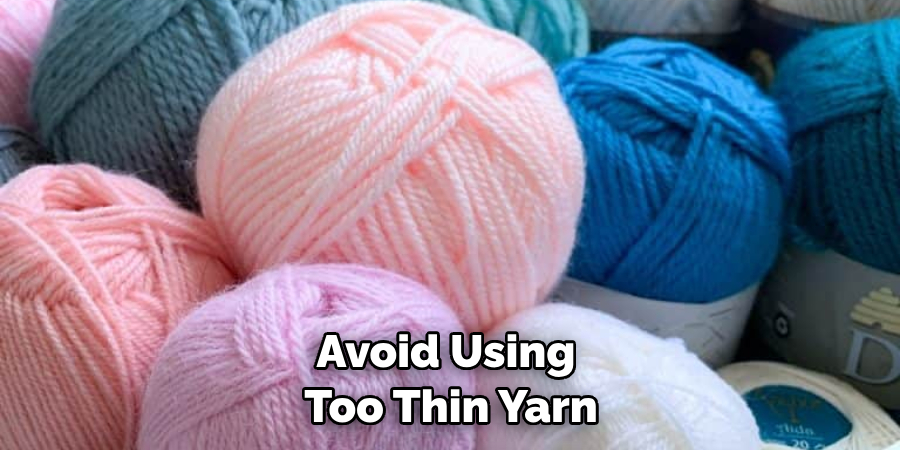
- Avoid using too thin yarn – it can make the stitches harder to keep track of and create a lop-sided result.
- Do not rush your project – taking your time will help ensure you do the best job possible!
- Don’t forget that graphghan crocheting takes a lot of concentration – so make sure you are in a comfortable, distraction-free environment when you crochet.
- Avoid using too many colors at once – this can make it difficult to see what your pattern is supposed to look like and may lead to mistakes.
- Don’t forget to count your stitches! Keeping track of the number of stitches per row will help you catch any errors before they become too difficult to fix.
By following these tips and tricks, you will be well on your way to becoming a master at graphghan crochet. Just remember to take your time, stay focused, and have fun!
Conclusion
With the help of graphghan crochet, you can make colorful and artful creations that will stand out in all rooms. You can customize your project using various colors and designs to make a statement piece fit for any home or occasion.
Even if you are just starting out, with a few simple steps on how to graphghan crochet, even a beginner can learn to create an amazing graphghan masterpiece. Don’t hesitate to get creative – many enthusiasts started out by being inspired by all types of artwork to create something unique.
So let your imagination run wild and explore the serene world that is graphghan crochet! To begin learning this calming craft, go over our blog post one more time, where we provide some helpful tips on how to start your project today.

