
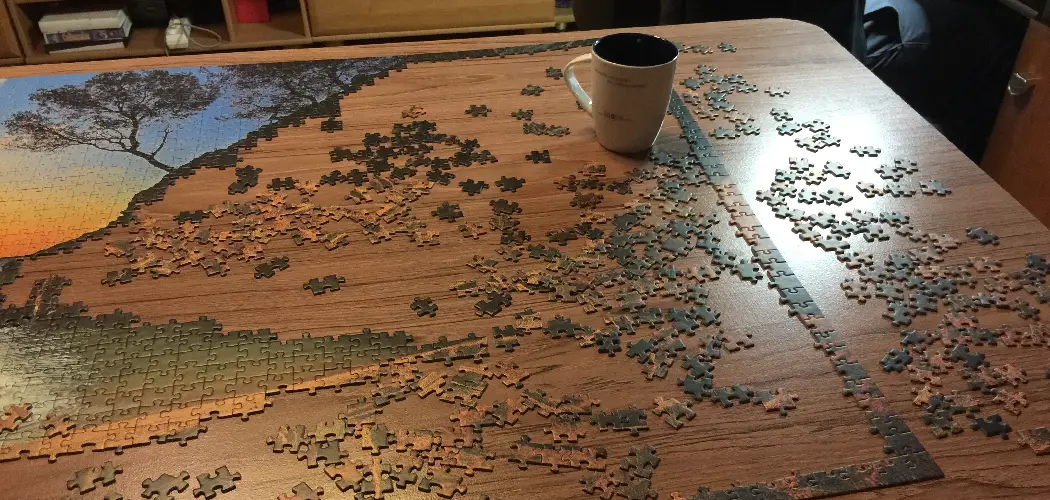
Do you love puzzles? Are you looking for ways to make your puzzle-solving experience more memorable and fun? If so, framing a wooden jigsaw puzzle is an excellent way to go about it. Framing not only allows you to display the finished masterpiece proudly but also helps protect the pieces from dust, dirt, spills, and any other damage.

Additionally, with the correct frame size selectors and mounting hardware choices quite readily available online today, frames allow for flexibility in size options, too!
So if you’re ready to get that wooded puzzle framed up and hung on your wall like a beautiful artwork (or give it away as a thoughtful gift), read on – we’ll show you exactly how to frame a wooden puzzle!
What Will You Need?
Before we jump into the steps, let’s go over what you will need to frame your wooden puzzle successfully:
- Wooden Puzzle
- Frame (with backing and glass)
- Pencil
- Scissors or utility knife
- Foam board or mounting board
- Double-sided adhesive tape or spray adhesive (depending on the type of backer board)
These materials are easily available at any craft store or online retailer.
10 Easy Steps on How to Frame a Wooden Puzzle
Step 1: Prepare Your Puzzle
Before framing, make sure your puzzle is complete and in good condition. If you have used glue to keep the pieces together, ensure that it has thoroughly dried before proceeding.

If any pieces are missing, try to find replacements or consider a different puzzle to frame. Ensure the surface of the puzzle is clean and free from any dust or debris.
Step 2: Measure Your Puzzle
With a ruler or measuring tape, accurately measure the length and width of your puzzle. These measurements are essential for purchasing the correct size frame and backing board.
Additionally, take note of the thickness of your puzzle. This information is required to ensure the frame’s depth is sufficient to accommodate the puzzle without squeezing or damaging it. Remember to write down these measurements for future reference.
Step 3: Choose the Right Frame
Based on the measurements you have taken, you can now go ahead and choose the right frame for your puzzle. Consider the style, color, and material that will best complement your puzzle and the room where you plan to display it.
Additionally, ensure the frame has enough depth to house your puzzle comfortably. Remember, the frame should have a glass front to protect your puzzle from dust and damage. With your measurements in hand, you can purchase a ready-made frame or have one custom-made to your specifications.
Step 4: Purchase and Prepare the Backing Board
After choosing your frame, you will need to purchase a backing board. The backing board provides support for your puzzle and keeps it flat within the frame. Choose a backing board that matches the exact dimensions of your puzzle. You can use a foam board or a mounting board for this purpose.

If these dimensions aren’t readily available in stores or online, don’t worry! You can easily cut a larger board down to size using a utility knife or scissors. Use a straight edge as a guide to ensure your cuts are neat and straight.
Step 5: Adhere the Puzzle to the Backing Board
Now that you have your backing board prepared, it’s time to adhere your puzzle to it. Position the puzzle on the board, making sure it is centered and straight. Once you’re happy with the placement, use double-sided adhesive tape or spray adhesive to stick the puzzle onto the board.
If you’re using tape, apply it to the edges and across the middle of the puzzle. If you’re using a spray adhesive, follow the instructions on the can. Be sure to apply in a well-ventilated area and allow adequate time for the adhesive to dry.
Step 6: Insert the Puzzle into the Frame
Once the adhesive has completely dried, it’s time to insert your puzzle into the frame. Carefully lift the puzzle by the edges of the backing board and lower it into the frame. Ensure that it fits snugly and is positioned correctly. If your frame comes with a glass front, make sure it is clean before placing it on top of the puzzle. This will ensure your puzzle is displayed in the best possible way.
Step 7: Secure the Backing
Once your puzzle is positioned correctly within the frame, the next step is to secure the backing. Most frames come with small clips or fasteners that can be used to hold the backing board in place.

If your frame doesn’t have these, you can use small nails or duct tape to secure the backing board. Remember, it’s essential that the backing board is attached firmly to ensure your puzzle stays in place and doesn’t move within the frame.
Step 8: Check the Final Look
After securing the backing, turn the frame over and look at your framed puzzle. Make sure everything is aligned correctly and that the puzzle is displayed to your liking. If anything seems off, don’t hesitate to open the frame back up and make adjustments. This is your art, and you want it to look its best!
Step 9: Clean the Frame
Before hanging up your beautiful piece, it’s recommended to clean the frame. Use a clean, soft cloth to wipe down the frame and glass. Be gentle to avoid scratching the glass. If needed, a small amount of glass cleaner can remove fingerprints or smudges on the glass front.
Step 10: Hang Your Framed Puzzle
Now it’s time for the final step – hanging your framed puzzle! Choose a location in your home where you can proudly display your work. Use appropriate hardware for hanging, considering the frame’s weight. Use a level to ensure your frame is hung straight. And there you have it – your wooden puzzle is now stunning wall art!
By following these easy steps, you can successfully frame a wooden puzzle and showcase your hard work and creativity. Remember always to handle your puzzle with care and hang it in a safe location away from direct sunlight or moisture to preserve its beauty for years to come.
5 Additional Tips and Tricks
- Choose the Right Frame: The first step to framing your wooden puzzle is to choose the right frame. Consider factors like the size of your puzzle, its color, and its design. The frame should complement the puzzle without overpowering it.
- Use Puzzle Conserver: To keep your puzzle intact, consider using a puzzle conserver. This adhesive can be applied to the front of your puzzle to ensure that the pieces stay together when you move it to the frame.
- Backing Board is Essential: A backing board can support your puzzle. Ensure it fits the frame properly. You can cut it down to size if necessary.
- Careful with the Glass: If you’re using a frame with glass, be careful not to press the glass directly onto the puzzle as it may damage the puzzle’s surface. You can create a buffer with a mat or spacers.
- Hanging Your Puzzle: When turning your framed puzzle, ensure it’s done securely. Use the appropriate hanging hardware, and if it’s heavy, consider using a stud in the wall for additional support.

With these tips and tricks, framing your wooden puzzle should be a breeze! Remember to take your time and carefully follow the steps for a beautiful and long-lasting result.
5 Things You Should Avoid
- Avoid Using Duct Tape or Masking Tape: These types of tape can damage your puzzle over time. Instead, opt for acid-free archival tape that will not harm your puzzle.
- Don’t Rush the Process: Framing a wooden puzzle requires patience and precision. Rushing through the process may result in misalignment or damage to your puzzle.
- Avoid Using a Frame That’s Too Small or Large: The frame size should be appropriate for your puzzle. A too-small frame can cramp or warp your puzzle pieces, while a too-large frame won’t provide adequate support.
- Remember the Quality of the Frame: Investing in a high-quality frame is crucial for preserving your puzzle. A poor-quality frame may not support your puzzle needs and could degrade over time.
- Avoid Hanging in Direct Sunlight: Prolonged exposure to sunlight can fade your puzzle’s colors. Choose a location for your framed puzzle that doesn’t receive direct sunlight.
By steering clear of these common pitfalls, you’ll be well on your way to framing your wooden puzzle successfully.
Conclusion
All in all, how to frame a wooden puzzle is a relatively easy task if you have the suitable materials. With these brief instructions, you now have the knowledge you need on how to create the perfect frame for your DIY masterpiece. You can experiment with different colors, matting, and frames to give your wooden puzzle its unique look.
With enough patience and practice, one day, you can frame any art like a professional artist! Now is your chance to feel the joy that comes from crafting something special–a souvenir that will hold sentimental value for years to come.
So take out those puzzles and bring them to life! Let’s get started.