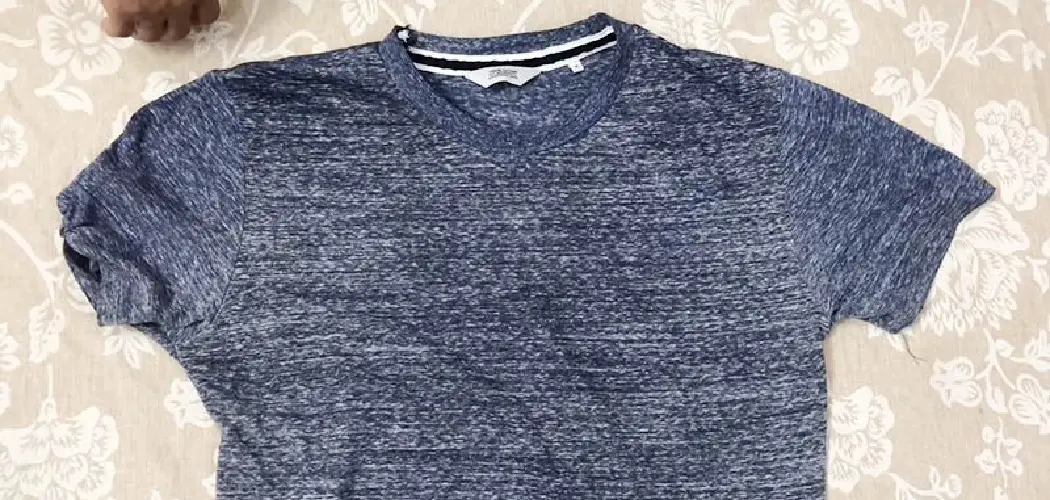
Do you have a shirt or blouse that fits everywhere else, except the sleeves are just way too big? If so, you’re not alone! It can be immensely frustrating trying to find clothes when your sleeve size isn’t “standard.” The good news is, that it doesn’t take an experienced tailor to make necessary adjustments.
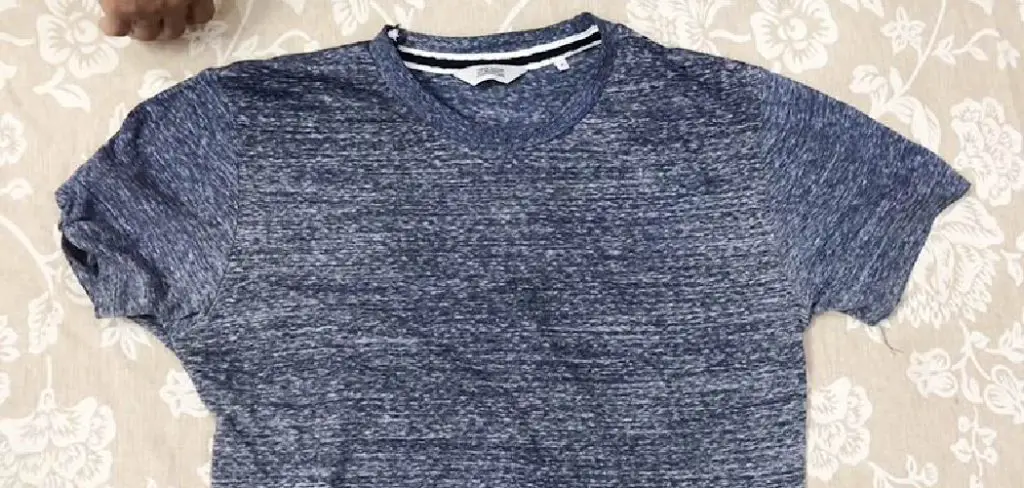
We’ll show you how to fix those overly loose and billowy sleeves without even picking up a needle and thread! All it takes is some time and a few simple tips from our experts. Keep reading for an easy-to-follow guide on how to fix sleeves that are too big without sewing required.
Needed Materials
- Scissors
- Sewing Pins
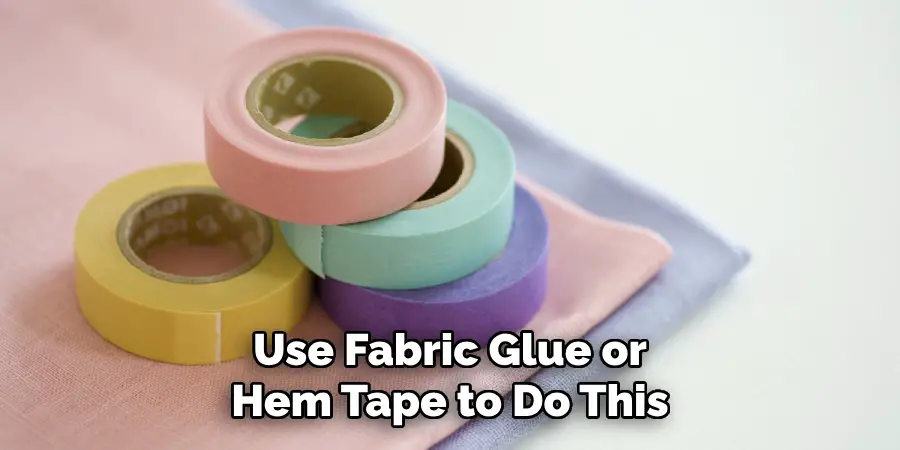
- Fabric Glue or Hem Tape
- Iron
- Fabric Marker or Chalk
- Measuring Tape or Ruler
11 Step-by-step Guides on How to Fix Sleeves That Are Too Big Without Sewing
Step 1: Determine the Amount of Fabric to be Removed
Before you jump into making any adjustments, it’s important to determine how much fabric needs to be removed. Try on the shirt or blouse and fold the sleeves back to where they should be.
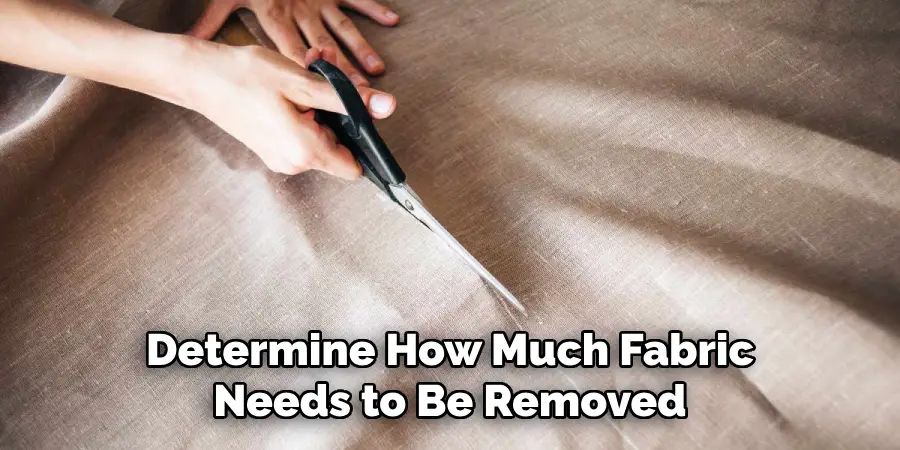
Pinch the excess fabric at the top of your arm and measure how much needs to come off. This will help guide you through each step. It’s also important to make sure that both sleeves have the same amount of excess fabric.
Step 2: Remove the Sleeves
Carefully remove the sleeves from the shirt by cutting along the seam that attaches them to the body of the shirt. Be sure to cut only on one side of the sleeve, leaving a small portion uncut so you can easily reattach it later. You can also use a seam ripper to detach the sleeves. But, using scissors is a quicker method. This will help you work on the sleeves separately.
Step 3: Fold in the Excess Fabric
Take each sleeve and fold it in half with the excess fabric on the inside. This will give you a better idea of how much fabric needs to be removed and also help ensure that both sleeves are adjusted evenly. It also prevents any uneven or jagged edges after the excess fabric is removed. You can use a fabric marker or chalk to mark the fold lines for easier reference.
Step 4: Cut along the Fold Lines
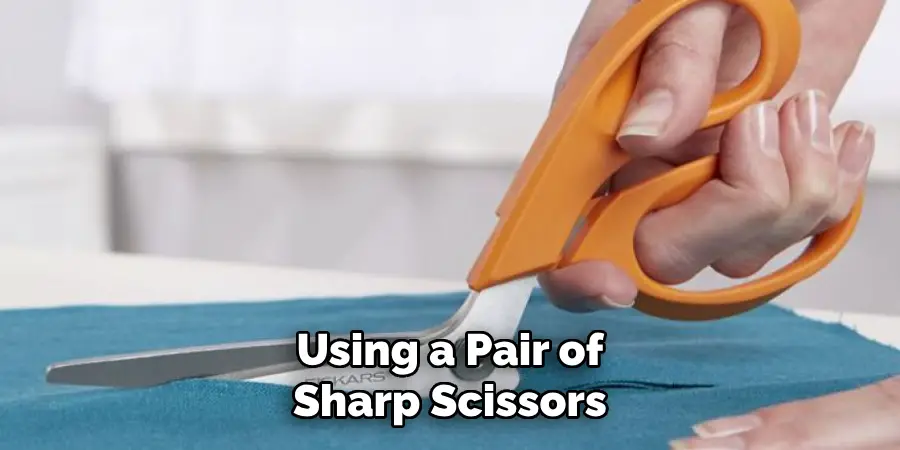
Using a pair of sharp scissors, carefully cut along the marked fold lines. Be sure to cut through both layers of fabric. This will remove the excess fabric and create a clean edge on your sleeve. It’s important to make precise cuts to prevent any uneven or jagged edges. This will ensure a professional look once the sleeves are reattached. You can also use pinking shears for a more decorative edge.
Step 5: Reattach the Sleeves
Now, it’s time to reattach the sleeves. Simply place one of the cut edges of the sleeve on top of the other and make sure they line up evenly. Use sewing pins to secure them together in place. If you’re not confident in your sewing skills, you can use fabric glue or hem tape to secure the edges together. This will give you a seamless look without any visible stitches.
Step 6: Iron the Edges
Before permanently attaching the sleeves, it’s important to iron the edges in place. This will help create a crisp and clean edge for a more professional look. Use a high heat setting and iron the edges for a few minutes until they are secure. But, be sure to not iron over any parts that have been glued together. It can weaken the bond and cause the sleeve to come apart.
Step 7: Try on the Shirt or Blouse
Once the edges are secured in place, try on the shirt or blouse to see if the sleeves fit better. If they’re still too big, you can repeat steps 3-6 until you achieve your desired fit.
It’s always best to take it slow and make minor adjustments at a time, rather than going overboard and ending up with sleeves that are too small. You can always take off more fabric, but you can’t add it back on.
Step 8: Trim Excess Fabric
If you’re satisfied with the fit of your sleeves, you can trim off any excess fabric from the ends. This will give your adjusted sleeves a clean and polished look. You can also use pinking shears for a decorative edge. It’s important to make sure that both sleeves are trimmed evenly for a symmetrical look. If needed, you can also use fabric glue or hem tape to secure the trimmed edges.
Step 9: Glue or Hem the Edges
Now that your sleeves are adjusted to the right size, it’s time to secure the edges permanently. You can either use fabric glue or hem tape to do this. Follow the manufacturer’s instructions for the best results. Be sure to glue or tape all the way around the edges to prevent any fraying of the fabric. However, if you feel confident in your sewing skills, you can also hem the edges for a more professional finish.
Step 10: Let Dry
Once you’ve glued or hemmed the edges, it’s important to let them dry completely before wearing. This will ensure that your sleeves don’t come undone and your adjustments stay in place. You can also use a hair dryer on low heat to speed up the drying process. If you choose to hem the edges, be sure to iron them again once they’re dry. It’s important to keep the edges crisp and clean.
Step 11: Wear and Enjoy!
Congratulations! You’ve successfully adjusted your sleeves without any sewing required. Try on your shirt or blouse and show off your new custom fit. You can use this method on other loose-fitting clothes as well, such as dresses or jackets.
Now you can confidently shop for clothes knowing that you can easily fix any sleeves that are too big without the need for a tailor. So go ahead and enjoy your new, perfectly fitting clothes!
Remember, with a little patience and creativity, anything is possible. Don’t let oversized sleeves hold you back from wearing your favorite clothing items. With these simple steps on how to fix sleeves that are too big without sewing, you’ll be able to customize your wardrobe and feel confident in your style. Happy adjusting!
Frequently Asked Questions
Q1: Can I Use This Method on Any Type of Fabric?
A1: Yes, you can use this method on most types of fabrics. However, it’s always best to do a patch test first to ensure that the fabric won’t be damaged by the glue or ironing process. It’s also important to use sharp scissors for clean cuts, especially on thicker fabrics.
Q2: Will the Adjustment Be Permanent?
A2: Yes, as long as you follow the instructions and properly secure the edges with glue or tape, the adjustment will be permanent. However, it’s always best to check after a few wears to make sure that the sleeves are still fitting comfortably.
Q3: What If I Don’t Have Fabric Glue or Hem Tape?
A3: If you don’t have these materials, you can also use a needle and thread to hem the edges. Simply fold over the excess fabric and sew it in place using small and discreet stitches.
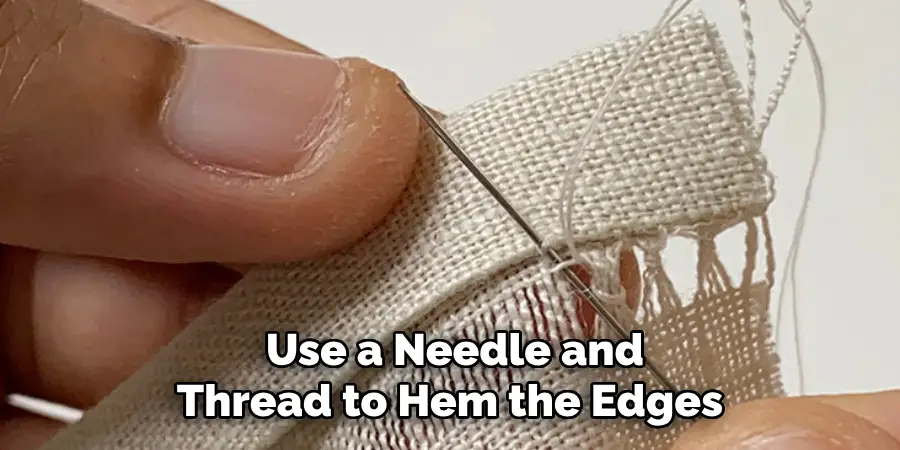
You can also use a hot glue gun as an alternative to fabric glue. However, be careful not to burn yourself or the fabric. So go ahead and give this method a try for sleeves that are too big without sewing, and customize your wardrobe with confidence!
Q4: How Can I Prevent the Fabric from Fraying?
A4: To prevent the fabric from fraying, you can use a fabric sealant or fray check on the raw edges before gluing or hemming. This will help keep the edges clean and prevent any unraveling. It’s also important to not pull or tug on the adjusted sleeves too much to avoid causing any damage to the fabric. So remember to handle your clothes with care and they will last even longer!
Conclusion
Taking a few moments of your day to tailor or fix clothes that are too big can save you so much money and trouble in the long run. After trying out these few simple techniques, you’ll be able to breathe new life back into your favorite wardrobe pieces with minimal effort.
So get up, take your time, and fix those sleeves! Don’t let loose clothing stand in the way of looking and feeling confident. With just a few adjustments, it’s possible for your clothes to fit better than ever before.
Plus, after giving them a closer look, you may even be able to make more detailed repairs down the line – how cool is that? So start now: roll up those sleeves, gather your supplies, and get ready to flaunt a revamped wardrobe! Whatever you do, don’t give up; I’m sure you have what it takes to craft an amazing look all your own. Thanks for reading this article on how to fix sleeves that are too big without sewing.

