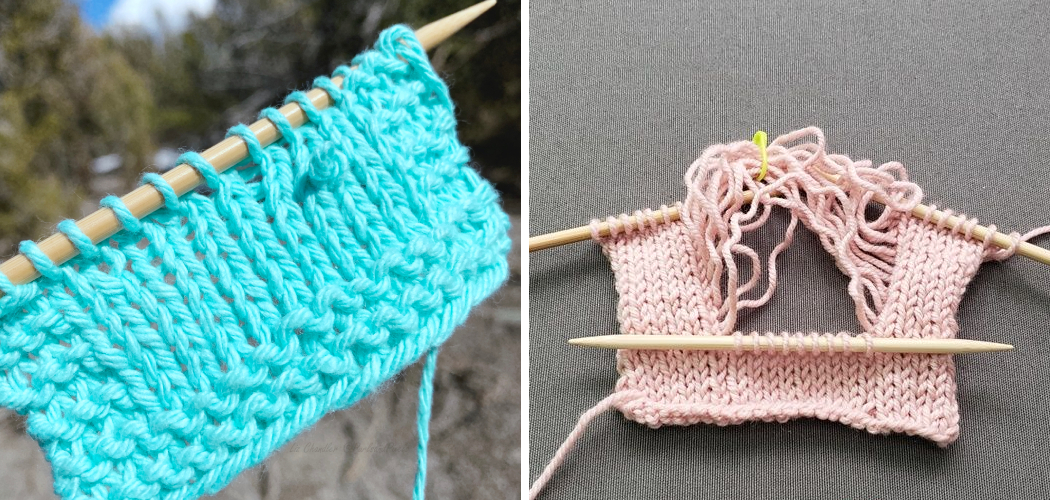
Are you a beginner knitter struggling to identify, let alone fix, potential mistakes in your knitting projects? Are you an avid knitter who’s made quite a few mistakes during your craft projects? We’ve all been there!
Mistakes happen, and that’s part of the learning curve. Whether it’s gauging the size of your piece incorrectly or missing a decrease when working decreases, fixing these errors can be daunting for new knitters.
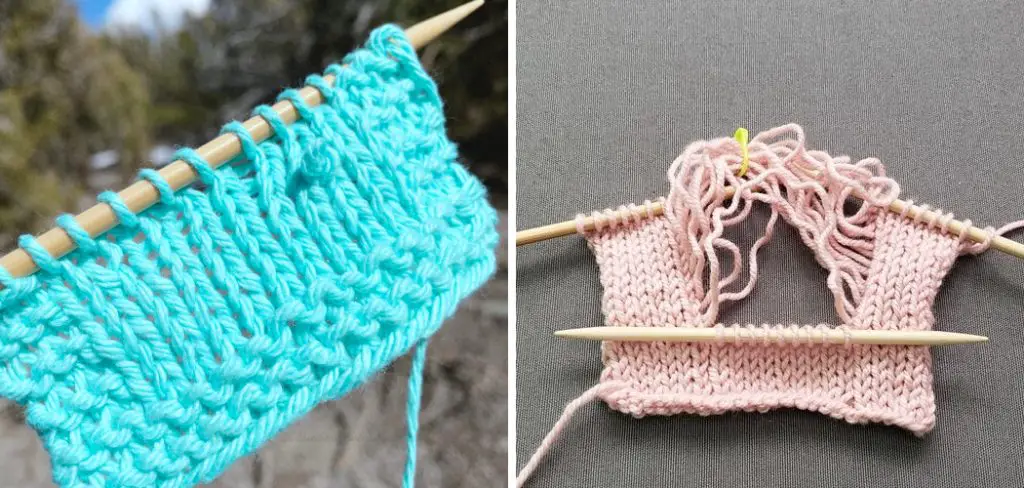
Don’t worry – with this guide on how to fix knitting mistakes we’ll walk you through some practical tips on how to diagnose and repair common knitting blunders quickly and easily so you can get back to enjoying your craft. So grab your needles and yarn – let’s get started!
In this blog post, we’ll provide some helpful tips and tricks for fixing knitting errors so that you can learn from past goof-ups and get back to crafting without any stress!
What to Keep in Mind When Fixing Knitting Mistakes?
- When dealing with knitting mistakes, it’s important to have the right attitude. Mistakes happen – no matter how experienced you are! It’s all part of the learning process, so don’t get discouraged if your project isn’t turning out perfectly. Don’t be afraid of making mistakes: make them, learn from them, and move on.
- Read your pattern carefully. Before you attempt to fix any knitting mistakes, make sure you understand the instructions in your pattern. This will help ensure that you’re able to quickly identify where the mistake was made and how to fix it.
- Take a deep breath and take your time when fixing errors. Rushing through repairs is rarely a good idea! If you don’t feel comfortable fixing a mistake, seek help from an experienced knitter.
Required Items for Fixing Knitting Mistakes
- A tapestry needle (to help you unravel your work)
- Scissors
- A crochet hook
- Point protectors (to avoid stitches slipping off of the needles)
- Extra yarn to replace any stitches that may have been dropped or added mistakenly.
How to Fix Knitting Mistakes in 10 Steps
Step 1: Relax
Take a deep breath, and don’t panic. Panic never helps! Keep in mind that mistakes are part of learning, and you can learn from them. Also, remember there’s no shame in seeking help from an experienced knitter if you don’t feel comfortable tackling the mistake yourself.
Step 2: Identify The Mistake
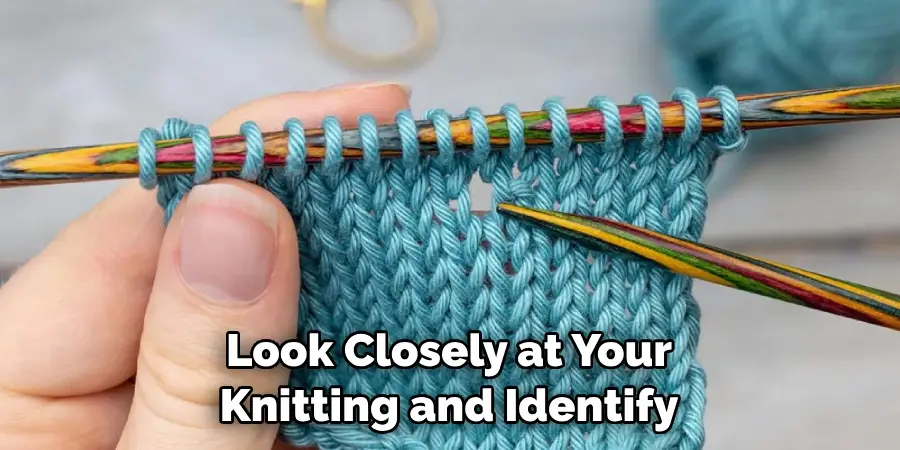
Look closely at your knitting and identify what kind of mistake you have made. Is it a dropped stitch or an extra stitch? Have you skipped a decrease or added a decrease by mistake? Knowing the type of mistake you’ve made will help you figure out how to best fix it.
Step 3: Unravel Carefully
If your mistake is more than one row or round back, then you’ll need to unravel your work until you reach the point where the error occurred. To do this, use a tapestry needle to carefully pull the yarn out of the stitches and then place the stitches back onto your needles. Make sure that you take your time, as this will help ensure that your knitting doesn’t become tangled.
Step 4: Check for Extra or Dropped Stitches
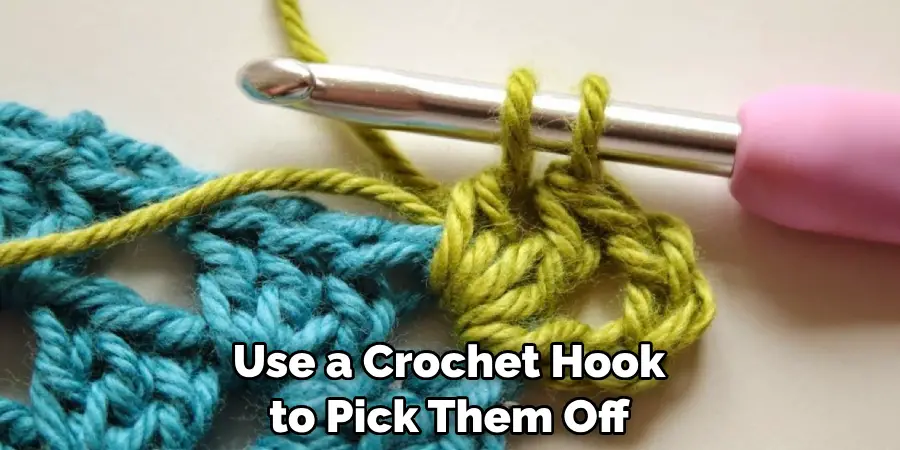
Once your knitting is unraveled, check for any extra or dropped stitches. If there are any extra stitches, use a crochet hook to pick them off your work. For dropped stitches, simply re-knit the stitch using the same stitch pattern as before.
Step 5: Check for Missing or Added Decreases
If you have missed a decrease in your knitting, then you’ll need to add it back in. To do this, simply place your right-hand needle into the stitch you’re about to knit as usual and then insert your left-hand needle into the stitch below that one (the decrease). Then knit them together as normal.
If you have mistakenly added a decrease, then use scissors to cut the extra yarn and remove it from your knitting.
Step 6: Replace Dropped Stitches
If you have dropped a stitch, then you’ll need to replace it back on your knitting needle. Place the point of your right-hand needle into the dropped stitch and then wrap the yarn around it as if you were knitting normally. Pull the stitch up onto your needle, and voila!
Step 7: Re-knit The Row/Round
Once you have addressed your mistakes, you’ll need to re-knit the row or round that contained them. To do this, simply follow the pattern instructions as normal.
Step 8: Check for Any Extra Stitches
Now it’s time to check that you haven’t accidentally added any extra stitches as you re-knit your work. If there are any extra stitches, use a crochet hook to pick them off.
Step 9: Secure The Stitches
Once you’ve finished knitting the row or round, use point protectors to secure the stitches and prevent them from slipping off of your needles. Securing the stitches will also help prevent any additional mistakes from occurring.
Step 10: Continue Knitting
Once you’ve secured your stitches, it’s time to move on and continue knitting! Continuing to knit will help ensure that your mistakes don’t become a major issue.
We hope this blog post has helped you understand how to fix knitting mistakes! Stay positive and keep practicing – soon enough, you’ll be tackling any blunder with ease.
8 Tips to Be Careful to Avoid Mistakes in Your Knitting
Knitting can be a difficult craft, and even experienced knitters make mistakes. To avoid these knitting mishaps, here are some tips that you should follow:
- Before beginning your project, read through the pattern carefully to familiarize yourself with any special stitches and techniques that will be used.
- Make sure you have the right supplies and materials for your project. Making sure to check for the correct needle size and yarn weight.
- Pay attention to details like increases, decreases, and direction changes in your knitting pattern. Make a note of them in an organized way so you can easily track your progress in the project.
- Make sure to count your stitches often, as a mistake in one row can easily snowball into a bigger problem if not caught and corrected promptly. Making a stitch marker can also be helpful for keeping your count accurate.
- Measure your work often to ensure that the size is correct and that you are following the pattern correctly. Measuring in between rows will help you notice any errors quickly.
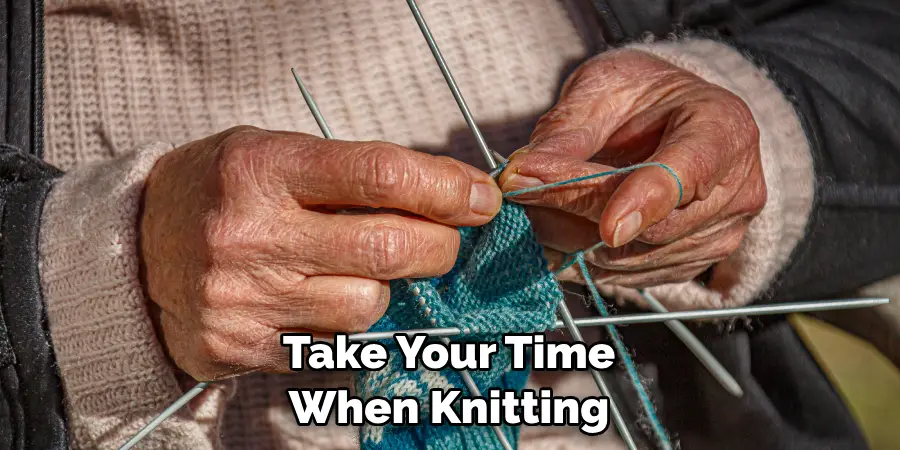
- Take your time when knitting, especially if you are a beginner. Rushing through can cause you to make mistakes, and it’s important to be patient with yourself and enjoy the process of learning.
- Consider investing in a stitch counter or other tools that can help you keep track of where you are in the pattern.
- If you have made a mistake, don’t be discouraged. Mistakes happen to everyone, and its important to stay positive and remember that mistakes can help you learn and become better at knitting.
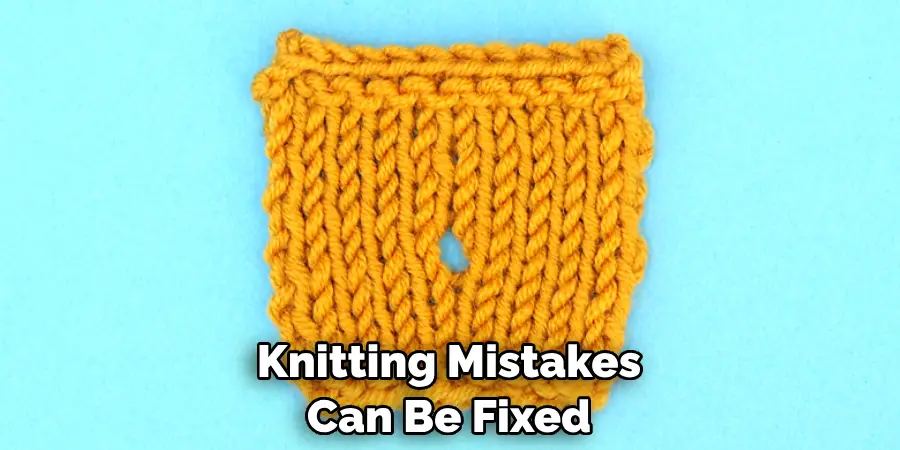
Knitting mistakes can be fixed if caught early enough. Taking the time to go back and fix your mistakes will help you create a perfect end product that will be sure to impress! With these tips in mind, you should be on your way to mastering the art of knitting and creating beautiful pieces with ease.
Frequently Asked Questions
How Long Will It Take?
It depends on the mistake. Some mistakes can be corrected quickly, while others may require more time and effort to fix properly. What’s important is that you take your time – rushing through a repair job will only make it harder in the long run. Be sure to read up on common knitting mistakes before attempting any repairs so you know exactly what needs to be done for each one.
What Techniques Are Used to Fix Knitting Mistakes?
The techniques used to fix knitting mistakes vary depending on the type of mistake and the materials being used. Generally, decreases, increases, yarnovers, and ripping back (also known as “tinking”) are all common methods for fixing errors in most types of knitted garments. Other repair techniques, such as darning and grafting, may also be used to fix certain types of mistakes.
How Can I Avoid Making Knitting Mistakes?
The best way to avoid making knitting mistakes is to take your time when knitting, read up on the patterns and instructions before starting a project, check your work often for errors, and don’t be afraid to ask for help if you get stuck.
Conclusion
Knitting mistakes can certainly be a challenge to fix, however, these tips on how to fix knitting mistakes have given you the power to confidently make corrections without having to start from scratch.
From identifying common errors to unraveling mis-knits and even avoiding knit errors altogether, you now possess lots of tricks up your sleeve. Although mistakes are inevitable this doesn’t mean that your progress is hindered!
In fact, you have learned an invaluable lesson during your knitting journey. To develop proficiency within this craft, it’s important to look at every mistake as a learning opportunity.
Don’t be discouraged if you can’t fix every issue right away; give yourself some time to think and use problem-solving skills before making hasty decisions. With patience and practice, you will soon be able to knit with confidence and skill!

