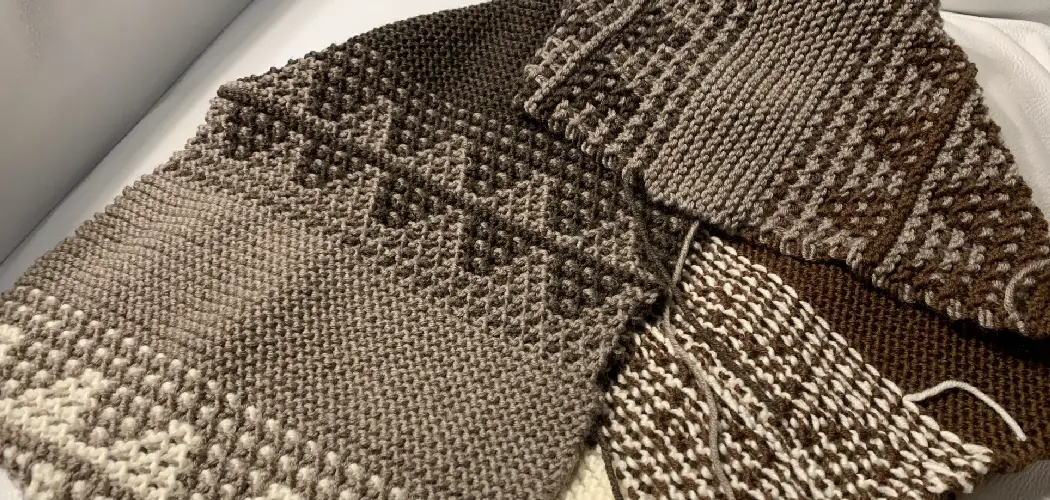
It is important to fix a slipped stitch in knitting for two reasons. First, it can help ensure that your project looks and feels the way you intended. If you let a slipped stitch stay slipped, it will create an uneven pattern and texture in your knitted fabric.
The other reason to fix a slipped stitch is that the tension of the fabric will be thrown off. If the tension is uneven in your project, it can cause your knitting to look uneven or bulge in certain places. Fixing a slipped stitch can help ensure that your knitting looks as uniform as possible and maintains its original shape and size.
Fixing a slipped stitch in knitting has many advantages. It allows you to maintain the integrity of your stitch pattern and prevent it from unraveling. Additionally, it can help you save time and yarn by not having to re-knit an entire row or section of work.
Finally, fixing a slipped stitch helps give your projects an even, neat appearance. In this blog post, You will learn in detail how to fix a slipped stitch in knitting.
Step by Step Processes for How to Fix a Slipped Stitch in Knitting
Step 1: Inspect the Stitch
Take a look at the stitches closest to your mistake and determine whether it is a slipped stitch or if there is another issue. It is important to distinguish between the two to fix the mistake corrected. Take hold of the working yarn that is connected to your work and make sure it’s secure. This will help keep your stitches in place while you fix the mistake.
Step 2: Rip Out the Mistake
Carefully rip out the mistake and any stitches that were worked after it. Do this until you’ve reached the stitch that was dropped or slipped. For a more detailed guide on how to undo knitting, please refer to our How to Undo Knitting tutorial.
Step 3: Repair the Stitch
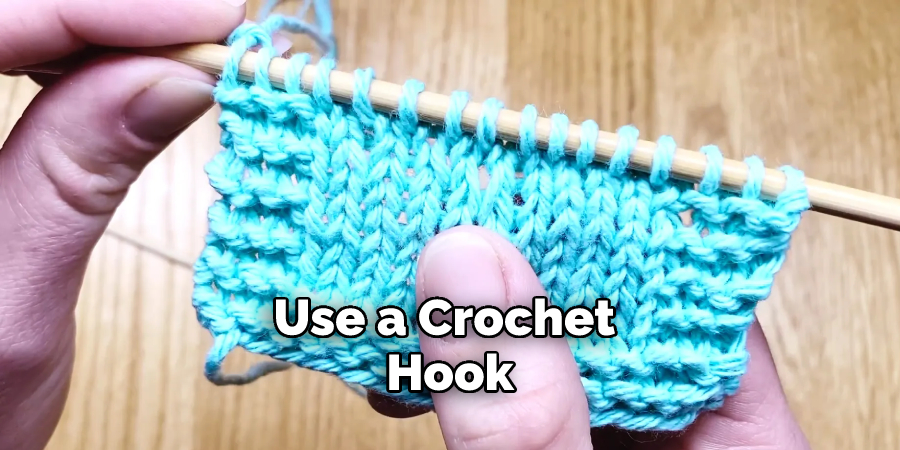
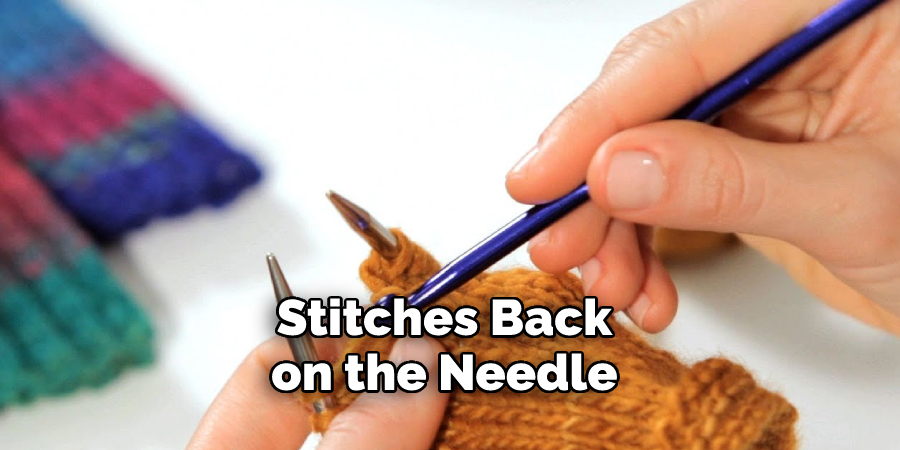
Once you’ve reached the stitch that was dropped or slipped, use a crochet hook to pick up the dropped stitch. Between each leg of the stitch, insert your crochet hook and grab onto the loop that’s available on the needle from the previous row. Then with your knitting needle, carefully pull the stitch back onto the needle.
Step 4: Continue Knitting
Once you’ve secured the stitch, you can continue knitting as usual. t is important to make sure there are no other mistakes or issues with your work before you move on. If any other errors need to be addressed, take a few moments to fix them before you continue knitting.
Following these steps can easily fix a slipped stitch in knitting. It’s important to use care and caution when fixing mistakes, as it can be easy to make more errors or damage your project if done incorrectly.
Safety Tips for How to Fix a Slipped Stitch in Knitting
- Take your time with the process. Rushing can make it more difficult than necessary, so be sure to go slowly and double-check your work as you go.
- Have a pair of sharp scissors or a seam ripper handy in case you need them.
- Pay attention to the surrounding stitches when working on the slipped stitch so that they stay in their proper order and don’t slip out or get snagged.
- Check the tension of your knitting regularly by holding it up to a light source and looking for any places where the knit looks too loose or tight.
- When making a stitch, pay attention to the direction of the looping yarn so that it forms the right kind of stitch.
- Push your stitches back on the needle after each one is made to stay in their proper order.
- If you notice any dropped stitches or loops while knitting, stop and fix them before continuing.
- Before weaving in your ends, be sure to check your work for any slipped stitches or other errors. This way, you can fix them before they become permanent.
By following these tips, you can avoid common mistakes and make sure that your knitting projects turn out perfect every time.
How Can You Avoid Slipping Stitches in the Future?
- Make sure you use the correct size of needles for the yarn weight and pattern. Generally, as the yarn gets thicker, the needle size should increase to accommodate it.
- Check your tension often as you knit, and make sure that you’re not tugging too tightly on each stitch or pulling too hard on the yarn as you knit. This will help keep your stitches even and prevent the slipping of stitches.
- Keep your eyes on what you’re doing and pay attention to every stitch so that a slipped stitch does not go unnoticed for too long, which could cause it to become more difficult to fix.
- Use stitch markers to help keep your place in the pattern. This makes it much easier to notice when a stitch has slipped and avoid it from happening.
- Take some time away from knitting if you get too frustrated with a project or find that mistakes are becoming more frequent. Taking a break can help ensure you can complete your project without any additional mistakes.
Following these steps should help you avoid slipping stitches in the future and ensure that your knitting projects turn out perfectly every time.
How Can You Safely Undo a Slipped Stitch From the Wrong Side of Your Work?
- Turn your work so that the wrong side is facing up. You’ll be working on the reverse side of the stitches, producing a different look than the front side.
- Carefully locate where the slipped stitch was made and insert your needle through the stitch directly above it on the right-hand needle, from front to back.
- Insert the left-hand needle into the slipped stitch, catching it from behind and lifting it onto the left-hand needle.
- Slip both stitches off of their respective needles with your right hand, inserting the left-hand needle into the first stitch from front to back and then passing both stitches together over the right-hand needle.
- Insert your left-hand needle into the two stitches just slipped off the right-hand needle, catching them from behind and lifting them onto the left-hand needle.
- Slip both stitches back onto the right-hand needle together, with your right hand pulling the left-hand needle away.
- Repeat steps 2-6 until all of the slipped stitches have been corrected.
- Turn your work so that the right side is facing again and continue with your pattern as normal, making sure to count your stitches after each row to ensure that you did not create any extra or drop any.
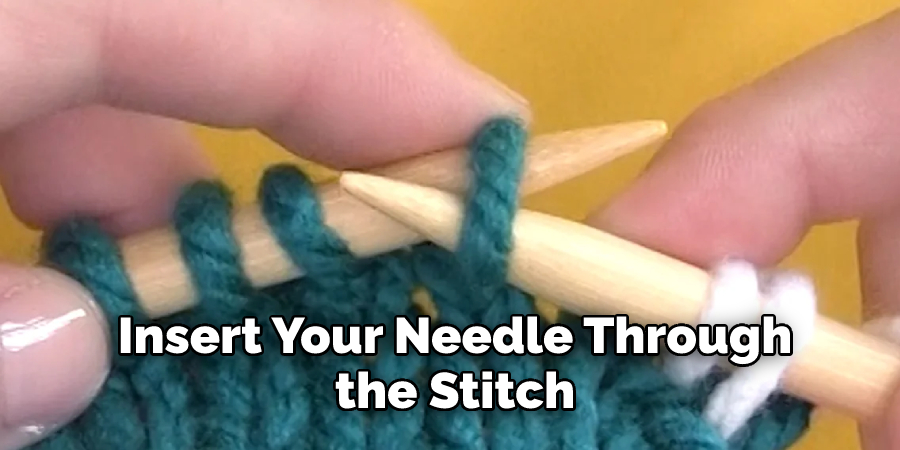
These steps should help you safely undo a slipped stitch from the wrong side of your work. However, it is important to remember that mistakes are part of the learning process and can help you become more proficient in knitting.
How Do You Avoid Making Mistakes While Fixing Your Slipped Stitches?
- Check your pattern and make sure you understand the instructions before getting started. Pay close attention to which type of stitch is being used in that particular row.
- Use a highlighter or other marking tool to keep track of your progress on each row as you knit them. This will help ensure that you’re not skipping stitches or slipping a stitch.
- Use the right amount of yarn when knitting so that it’s not too loose or tight on the needles. This will help prevent mistakes, including slipped stitches.
- Always work with your knitting facing you, as this allows for better visibility and control over your stitches as you knit.
- If you make a mistake, take the time to unknit that row until you reach the mistake and fix it before continuing on with your project.
- After fixing a slipped stitch, check your work to ensure you haven’t missed any other stitches or rows. This will help ensure that your knitting is accurate and looks as intended.
- If you’re still having difficulty fixing your knitted mistakes, consider seeking help from a more experienced knitter or taking a class to learn more about how to fix slipped stitches in knitting.
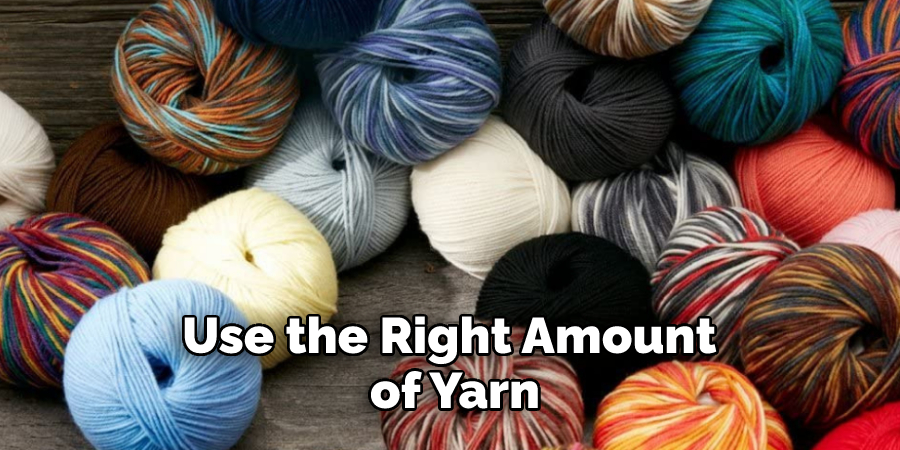
Following these steps will make fixing your slipped stitches easier and ensure that you’re knitting correctly and avoiding mistakes.
Conclusion
In conclusion, fixing a slipped stitch in knitting is not as complicated as it may seem. With the help of a crochet hook, patience, and practice, you’ll be able to easily and efficiently fix any mistake. As long as you pay attention to your stitches and note each one you make, fixing them will become easier and faster with practice.
So remember, don’t be discouraged when you come across a slipped stitch; with the right tools and techniques, you can get your knitting back on track in no time. I hope reading this post has helped you learn how to fix a slipped stitch in knitting. Make sure the safety precautions are carried out in the order listed.
You Can Check It Out to How to Knit a Leaf

