Have you ever admired the texture and warmth of felted crochet projects but were intimidated by the process? Felt crochet is both an art and a craft, combining the skill of crochet with the magical transformation that occurs when felting the yarn. While it may seem complex, felting crochet is achievable for any skill level with suitable materials and techniques.

Crocheting has been a popular hobby for centuries, and felting is not a new technique either. However, combining the two has gained popularity in recent years due to the unique texture and structure it creates.
In this guide, we will break down the simple steps on how to felt crochet. By learning how to correctly choose yarns, construct a crochet piece, and guide it through the felting process, you’ll create cozy, one-of-a-kind gifts and accessories in no time. Let’s get started on your felted crochet journey!
What Will You Need?
To get started with felting crochet, you will need some specific materials to help you achieve the desired end result. Here are the essentials that you’ll need for your project:
- A crochet hook
- Wool yarn (preferably pure or a high percentage of natural wool)
- Scissors
- Felting needles
- Foam block or sponge
- Water and soap
Once you have gathered all the materials, it’s time to start creating your masterpiece!
8 Easy Steps on How to Felt Crochet
Step 1. Felting Process
The felting process involves agitating the wool fibers in hot water, causing them to shrink and become more tightly interlocked. To begin, create your desired crochet item using a larger hook than you would typically use for the chosen yarn weight. This will generate looser stitches that are easier to felt.
Once your item is complete, place it in a mesh laundry bag and add it to a hot water wash cycle with soap. Check on the item periodically until it has reached your desired level of felting – this can take anywhere from 10-30 minutes, depending on your item’s size and the agitation level of your washing machine. Once finished, reshape and let dry completely before using or wearing your newly felted creation!
Step 2. Shaping Your Project
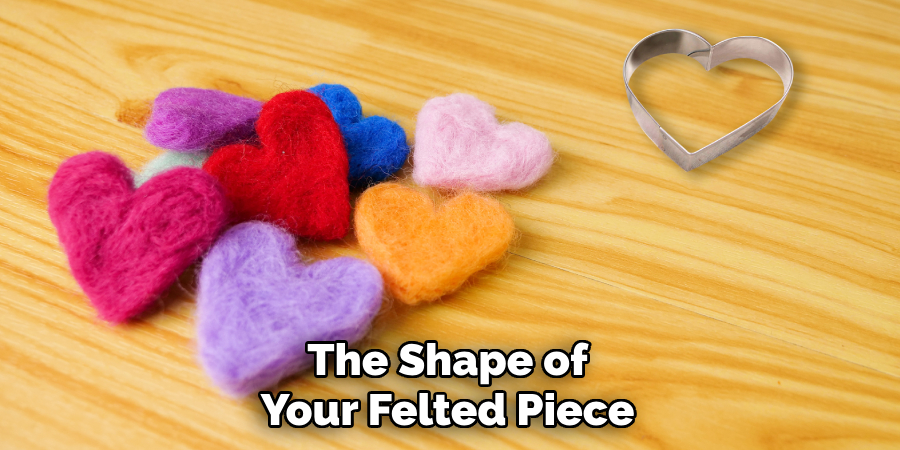
Before you begin the felting process, it’s crucial to ensure that your crochet piece is slightly larger than you want the finished product to be. Felting will cause the material to shrink, sometimes up to 30-50%. After the initial felting in the wash, remove your piece while still damp and shape it manually.
Use your hands to stretch, pat, and smooth out the project into your desired shape and size. For more precise shaping, you can use your foam block or sponge as a form to pin the project in place. Allow your creation to dry while maintaining its form, which may take several hours to a few days. Patience is critical in this step, as proper drying will help set the shape of your felted piece.

Step 3. Maintenance and Care
After your crochet project has been fully felted and shaped, it will need proper care to maintain its form and texture. Felted items should be hand-washed gently in cool water with a mild soap. Avoid wringing or twisting, as this can distort the felted fabric. Rinse thoroughly with cool water, then press out the excess water using towels.
Reshape the item if necessary, and lay it flat to air dry, away from direct heat or sunlight, which can cause the item to shrink further or become misshapen. Proper maintenance ensures your felted crochet projects remain soft, durable, and vibrant for years to come.
Step 4. Experimenting with Textures and Colors
Felting offers the opportunity to play with textures and colors in your crochet work. When selecting wool yarns, consider how different fiber types and colors will interact when felted together. Wool blends can bring unique textural characteristics, while pure wool produces more uniform felting.
Mixing colors within your crochet piece can result in intriguing patterns once felted, as the felting process can slightly blur colors together, creating a soft, painterly effect. To explore textured effects, incorporate crochet stitches and techniques, like bobbles or cables, before felting. Remember that delicate details may become subdued during felting, so opt for bold, chunky patterns for more pronounced results.
Step 5. Enhancing Details Post-Felting
Once you’ve completed the basic felting process, you can enhance your creation with additional details. While the felting process smooths details to create a uniform texture, you can add embroidery, needle felting, or appliqué on top of the felted piece to reintroduce intricacy and personal flair.
You can attach smaller felted shapes or even create intricate patterns and pictures directly onto the surface using felting needles. For a pop of color or a hint of contrast, use embroidery thread to stitch details that stand out against the felted background. Just be sure to handle your creation gently to preserve the integrity of the felt.
Step 6. Caring for Your Crochet Tools
Proper care for your crochet tools is essential to maintain the quality of your work and extend the lifespan of your tools. After completing your felting project, take some time to clean and store your crochet hook and needles properly. Ensure your crochet hook is free of yarn fibers and oils from your hands by wiping it with a clean, dry cloth.
For your felting needles, be cautious of their sharp points; store them in a protective case or a piece of dense foam. If you’re using a foam block or sponge for shaping, rinse it thoroughly with water to remove any soap residue and let it air dry completely to prevent mold and mildew growth. Investing in routine care for your tools ensures they remain in top-notch condition for your next felting crochet project.
Step 7. Advanced Felting Techniques
After mastering the essential items, you can experiment with more advanced techniques to add depth and complexity to your projects. One such method is incorporating resist materials like plastic or foam cutouts within layers of crochet before felting, which leaves a hollow space post-felting, creating a three-dimensional form.
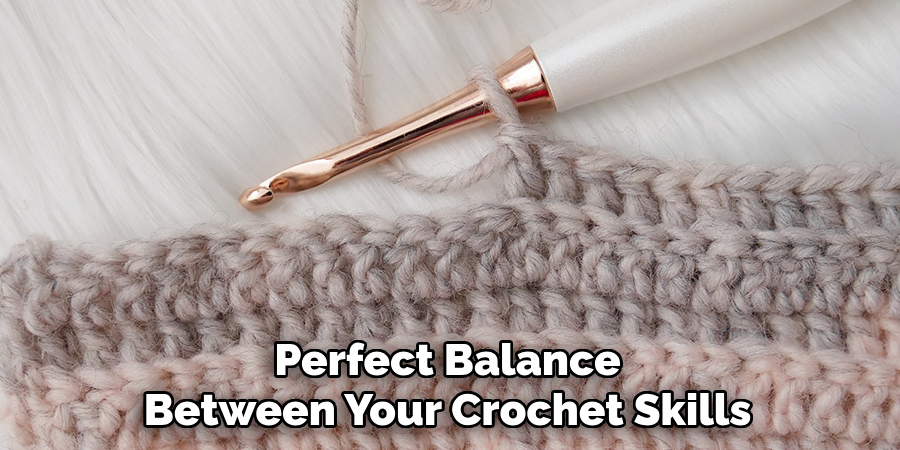
Another method is layering different colors and types of wool in a single crochet piece; this can result in a marbled or gradient effect after felting. For those looking to achieve even more detail, try partial felting by only agitating specific areas of your piece to highlight textures or to maintain stitch definition. Remember, the key to these techniques is controlled experimentation to find the perfect balance between your crochet skills and the felting process.

Step 8. Troubleshooting Common Felting Issues
As you venture into the world of felt crochet, you may encounter several challenges that can affect the outcome of your projects. If your piece isn’t felting uniformly, consider the fabric’s density and experiment with increasing the agitation level during the wash cycle.
Uneven shrinkage can occur if the item is not turned or manipulated adequately while wet. To resolve this, wet the project and work it with your hands to encourage even felting.
Another common issue is over-felting, which can result in a project that needs to be more relaxed or shrink beyond the intended size. Unfortunately, over-felted items cannot be reversed, but they can be a learning experience for future projects. To prevent this, monitor the felting process closely and stop when you’ve achieved the desired effect.
Following these steps and tips, you can effectively learn felt crochet and open the door to endless possibilities in your crafting journey.
5 Things You Should Avoid
- Neglecting Fiber Selection: When learning to feel crochet, choosing the right fiber is crucial. Avoid using non-felting fibers like cotton or acrylic; instead, focus on wool or other animal fibers that are conducive to felting.
- Overlooking Water Temperature: Hot water is essential in the felting process, as it causes the fibers to contract and mat together. Using lukewarm or cold water will not produce the desired effect.
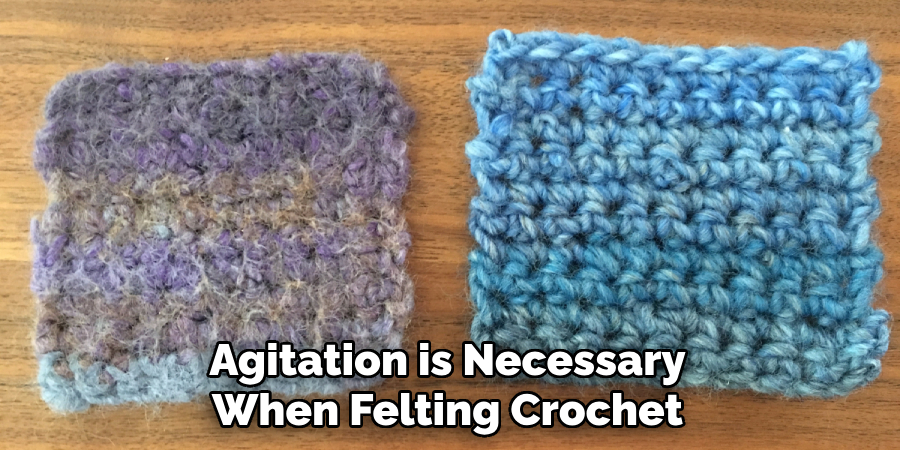
- Ignoring the Agitation: Proper agitation is necessary when felting crochet. Don’t just soak your crochet project; rub, knead, or use a washing machine to agitate the fibers enough to feel them.
- Skipping the Test Swatch: Only start a crochet felting project after first making a test swatch. This helps you understand how your particular fiber will react to felting and avoid any size or shape mishaps with the final product.
- Disregarding Shaping and Drying: After felting, shaping your project while it’s still wet is critical to achieving the desired final dimensions and appearance. Also, avoid hastening the drying process with high heat, which can warp or overly shrink your project.

By avoiding these common mistakes, you can achieve beautiful and well-felted crochet projects that are durable and long-lasting.
Conclusion
In conclusion, how to felt crochet is a fun and versatile technique that can elevate your crafting game. With the simple tips mentioned above, you can quickly transform any acrylic or woolen yarn into a durable and sturdy felted fabric. Remember to start with suitable materials, follow the felting process carefully, and experiment with different stitches to create unique and beautiful projects.
Whether you want to make bags, hats, coasters, or rugs, felting crochet opens up a world of possibilities for your creations. Moreover, this method is not limited to crocheters; knitters can also use it to add an extra dimension to their projects
Feel free to mix and match colors and textures to achieve stunning results. And most importantly, have fun with it! Felting crochet allows you to express your creativity in ways you never imagined before.
So grab your hooks and yarns, and let’s get felting! Share your felted creations with us on social media using #FeltedCrochetCreations. Happy crafting!

