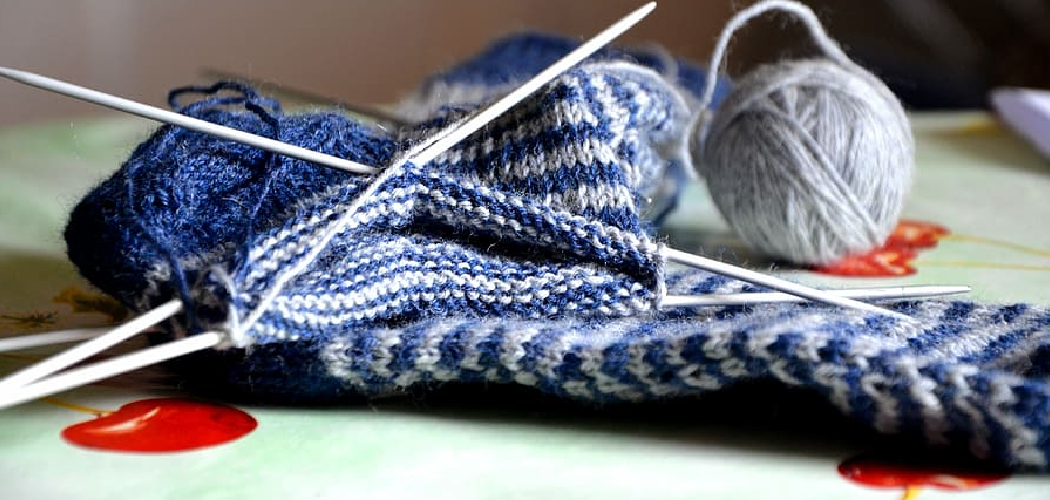
Are you a knitter who has been wanting to take your craft up another notch and embrace the beautiful art of embroidery? Embroidering designs on knitting add texture, color, and depth that really bring any project up a level. Embroidered pieces have an eye-catching edge that just can’t be beaten! With a few tips and tricks along the way, learning how to embroider knitting is easy for any skill level.
In this blog post, we’ll walk you through all the basic supplies needed, explain different stitches commonly used for design work, and provide some helpful advice as you get started with your first project—all while having fun along the way! Let’s get embroidering!
Tools and Materials You Will Need to Embroider Knitting
Before you get started, it’s important to ensure you have all the materials and tools necessary for success. Here is a checklist of what you will need:
- Embroidery floss or yarn in colors of your choice
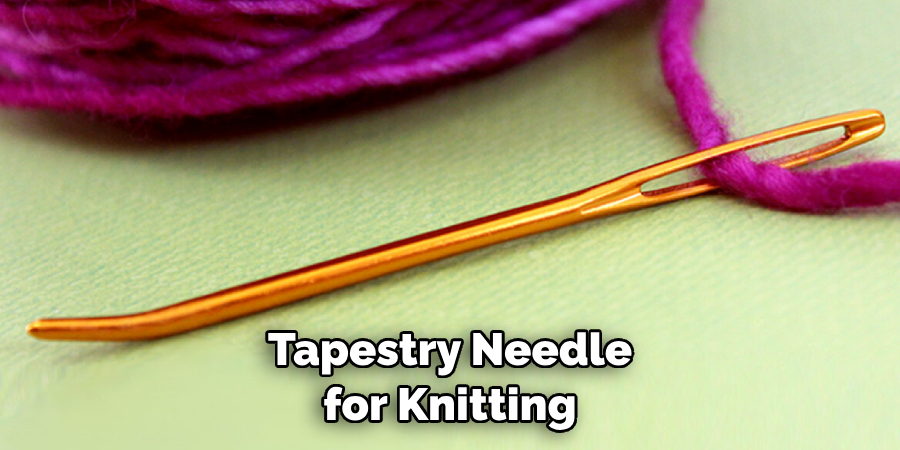
- Tapestry needle (preferably with a larger eye)
- Scissors
- Regular sewing needle
- Embroidery hoop (optional)
- Knitting project or fabric piece to decorate
Step-by-Step Guidelines on How to Embroider Knitting
Step 1: Secure Your Yarn
The first step in any embroidery project is to make sure you have a secure thread that won’t slip out of your stitches. To achieve this, you’ll want to get creative with how you tie off the end of your yarn or floss: use a knot, a looped overhand stitch, or even pass the end of the floss through itself.
Step 2: Select Your Stitches
Once you have your yarn secured, it’s time to decide which stitch or stitches you want to use for your project. Some classic knit embroidery stitches include the running stitch (a simple back-and-forth line), the herringbone stitch (a series of diagonal stitches), and the stem stitch (a looped line). You can also combine these stitches to create unique patterns and designs.
Step 3: Trace Your Design
Once you have your stitch or stitches chosen, it’s time to mark out where the design will go. Using a water-soluble fabric pen, lightly draw out your desired image onto the fabric. Then use a regular sewing needle to prick holes in the project about every millimeter along the traced line. This will give you a guide as you start stitching.
Step 4: Begin Embroidering
Now it’s time to start stitching! With the help of your tapestry needle, begin embroidering using your chosen stitch. When you reach a corner in your design, use a French knot to keep things looking neat and secure. For straight lines, you can also use the satin stitch for a bolder look.
Step 5: Finishing Touches
Once you have finished your design, it’s time to go over the stitches for any final tweaks. Make sure all the loops are as even as possible and that everything is secure. Then simply tie off the thread at the back and snip away any excess yarn. You’ve just created your very own piece of embroidered art!
Following these steps and using these helpful tools, you can create beautiful embroidery designs on your knitting for a unique look. Have fun experimenting with different stitches and colors to make your project truly stand out!
Additional Tips and Tricks to Embroider Knitting
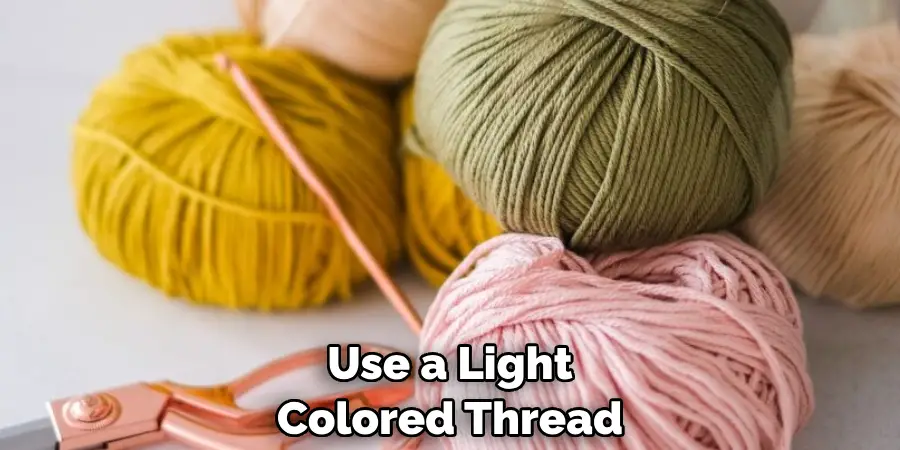
1. Use a light-colored thread to make it easier to distinguish the stitching and patterns. Darker threads can be used, but they may make it harder for you to visualize your design.
2. Use basting stitches as an outline before committing to embroidering a pattern on your knitting project. This will help you map out the design and make sure that everything is placed the way you want it before committing to a more permanent stitch.
3. Select thread or fabric that matches the weight of your knitting project for smoother embroidery results.
4. Practice on scrap pieces of fabric or yarn first, so you can get a better idea of how your pattern will look and the types of stitches that may work best for your project.
5. Work slowly and carefully for best results, using a hoop to keep the fabric taut while you are working.
6. Use an embroidery needle with an appropriate eye size for the thread you are using – this will help make sure that your stitches come out even and neat.
7. Take care to knot off all of your threads securely to prevent them from coming loose over time.
8. Be sure to use a sharp pair of scissors when snipping off excess thread, as this will help minimize the chances of the fabric fraying or unraveling.
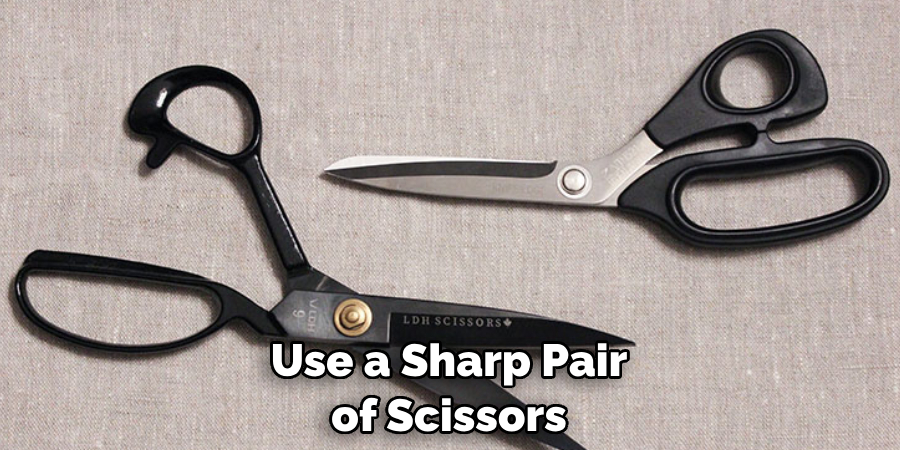
9. Finally, have fun with your embroidery! Don’t be afraid to get creative and experiment with different stitches and patterns to make your knitting projects truly unique.
Embroidery is a great way to add texture, color, and interest to your knitting projects. With a bit of practice and the right tools, you can quickly master this craft and create gorgeous pieces that will be cherished for years to come. Happy embroidering!
Things You Should Consider for Embroider Knitting
1. Pay attention to the design of the embroidery pattern – make sure it matches the shape and size of your chosen knitting piece. If not, you may need to change the pattern or adjust its size accordingly.
2. Use a water-soluble embroidery marker to trace out your pattern on the knitting material first. This will help you better visualize how the finished product will look and guide you in positioning your stitches accurately.
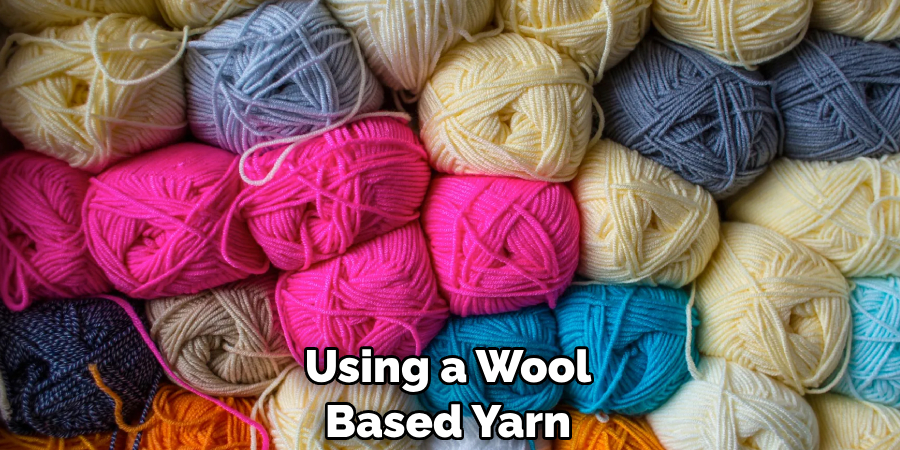
3. Choose the right type of thread for the project – wool or acrylic are both suitable materials but you should consider the color and weight of the thread as well to ensure that it is appropriate for knitting projects.
4. Select the correct needle size for the job – if you are using a kit, make sure to follow the instructions provided on it. If not, select needles that have an eye size suitable for the thread you are using.
5. Take regular breaks to avoid fatigue and errors – one of the most important tips is to take regular breaks when working on knitting projects so as to give your hands a break. This will help to ensure that you are able to keep your work consistent and accurate.
6. Practice makes perfect – many experienced knitters recommend taking up simple embroidery projects first before tackling more complex ones in order to build up your skillset. Don’t be afraid to make mistakes as they can teach you valuable lessons along the way.
7. Use a blocking board to help you adjust the shape of your knitting piece – this is particularly helpful when it comes to creating even stitches and curves as it helps to maintain the proper tension throughout the project.
8. Use a tapestry needle for more intricate details – if your project involves adding finer details or more complex patterns, a tapestry needle is much more suitable than a standard sewing needle.
Following these considerations and tips can help you create beautiful embroidered knitting pieces with ease! With just a bit of practice and patience, anyone can learn how to successfully embroider their own knitwear.
Frequently Asked Questions
How Do I Choose the Right Embroidery Thread for My Project?
The best type of embroidery thread to use for knitting projects will depend on the weight and texture of your yarn. Generally, it is most suitable to choose a lightweight thread with a similar fiber composition as your yarn.
For example, if you are using a wool-based yarn, a wool embroidery thread would be the ideal choice for creating decorative details on the fabric. Additionally, it is important to consider how much tension will be used when stitching the design and select an appropriate thread thickness accordingly.
What Is the Best Way to Secure Embroidery Threads?
Securely tying off embroidery threads is important to prevent them from becoming tangled and unraveling. A few common methods of tying off thread include the overhand knot, figure-eight knot, and backstitch.
Each of these techniques should be used at the beginning and end of each stitch to ensure that it remains secure. Additionally, it is important to keep the knot as close as possible to your fabric while still leaving enough slack in the thread for stitching.
What Are Some Tips for Embroidering on Knitted Fabrics?
When embroidering knitted fabrics, it is important to use a needle that is appropriate for the weight of your yarn and take extra care to ensure that the stitches are even and the tension is consistent throughout.
Additionally, it is beneficial to use an embroidery hoop or frame to keep your fabric taut while stitching your design. This will help prevent the loops of your knitting from becoming distorted as you stitch. Lastly, be sure to block your completed project for a neat finish!
Conclusion
Now you know how to embroider knitting and select the right thread for your project. With these tips, you’ll be able to create beautiful, intricately detailed knitted fabrics! Have fun with your stitching and don’t forget to practice proper technique to ensure that your finished piece looks its best. Happy embroidering!

