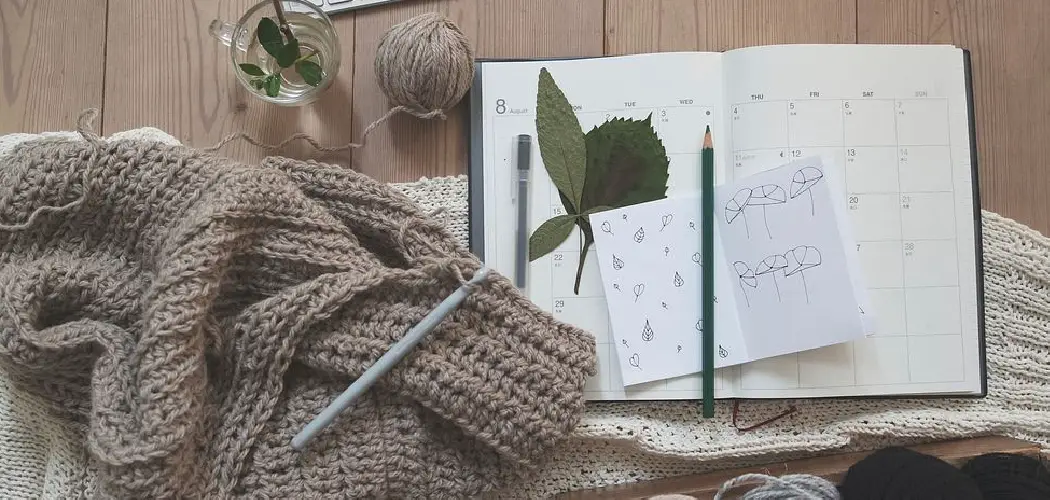
While crochet may seem simple at first glance, those looping stitches can create beautiful textures to make or break a project. Knowing how to draw and depict different crochet textures is invaluable for any crochet designer looking to illustrate their patterns.
In this blog post, I will break down three of the most commonly used crochet stitches – single crochet, half-double crochet, and double crochet – and provide step-by-step guides on how to draw each one realistically. Whether you’re a seasoned crochet designer or just starting,
learning to draw crochet textures accurately will allow your illustrations to pop off the page and truly capture the incredible textural details that make handmade crochet unique. Learning how to draw crochet texture is an essential skill for any crocheter, but it can also unlock a whole new level of creativity and versatility in your projects.
Necessary Items
Before we get started, here are the supplies you will need:
- A sketchbook or drawing pad
- Pencils in various hardness levels (HB, 2B, 4B)
- An eraser
- Optional: colored pencils for adding color to your illustrations
Now that our supplies are ready let’s learn how to draw crochet textures!
10 Steps on How to Draw Crochet Texture
Step 1: Understand the Basic Crochet Stitches
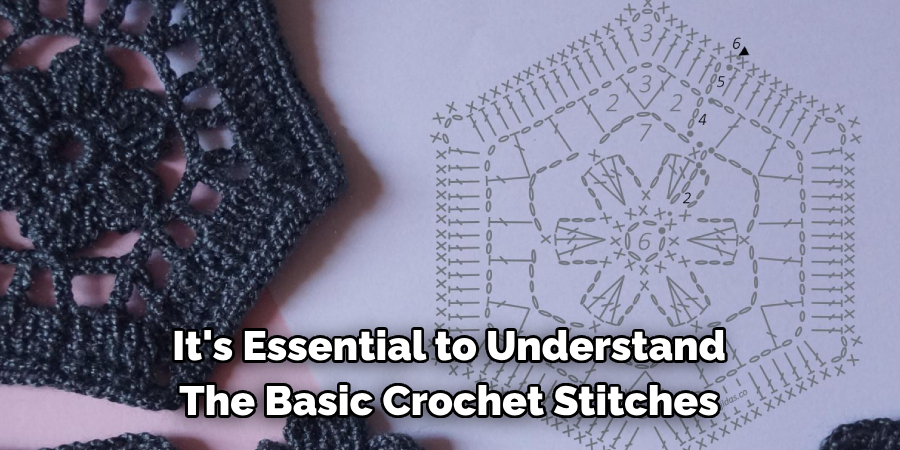
To accurately depict crochet textures, it’s essential to understand the basic crochet stitches – single crochet, half-double crochet, and double crochet. If you’re new to crochet or need a refresher, plenty of online tutorials and resources are available.
Step 2: Start with the Foundation Chain
When drawing crochet, it’s essential to start with the foundation chain. This will serve as the base for your stitches and help you accurately represent their size and shape.
Step 3: Sketch Out the First Row of Stitches
Using your understanding of the basic crochet stitches, sketch out the first row of stitches over your foundation chain. Pay attention to the loop sizes and placement of the stitches.
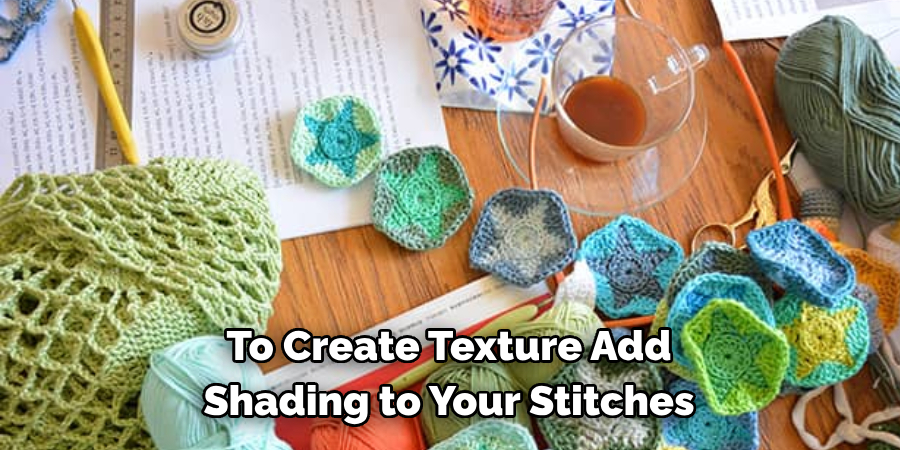
Step 4: Add Texture to the Stitches
To create texture, add shading to your stitches. This can be done by lightly sketching horizontal lines on each stitch or using a cross-hatching technique for more depth.
Step 5: Continue with Additional Rows
Repeat the previous steps to add additional rows of stitches. Pay attention to the direction of the stitches and how they overlap.
Step 6: Experiment with Different Tension
You must vary your tension in different rows to depict a more realistic crochet texture. This will create a more natural and organic look to your illustration.
Step 7: Add Details to the Stitches
To add even more texture and depth to your stitches, you can use a pencil or fine-tipped pen to add small details like knots, bumps, and loops.
Step 8: Practice with Different Yarn Types
Different types of yarn will create different textures in crochet. Experiment with drawing the same stitch using different threads to see how it changes the surface.
Step 9: Use Color to Enhance Texture
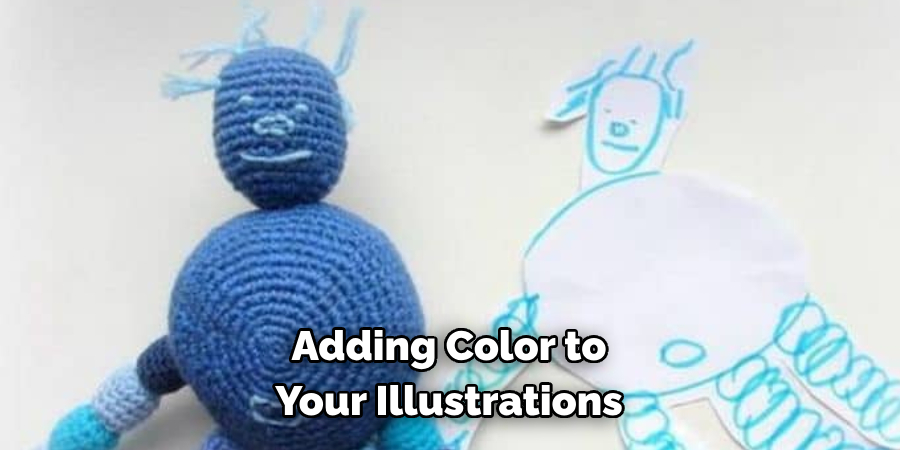
Adding color to your illustrations can further enhance the texture of crochet—experiment with using colored pencils or watercolor to add depth and dimension to your drawings.
Step 10: Keep Practicing!
Like any skill, drawing crochet textures takes practice. Don’t be afraid to experiment and try new techniques to perfect your craft.
Learning to draw crochet textures is a valuable skill for any crochet designer or enthusiast. With these ten steps, you can accurately depict the beautiful textures and details of your crochet projects in your illustrations. So keep practicing and have fun creating! And remember, don’t be afraid to add your personal touch to make your images unique.
8 Things to Avoid
While drawing crochet textures can be a fun and rewarding activity, beginners may make some common mistakes. Here are eight things to avoid when drawing crochet textures:
1) Inaccurate Stitch Placement
Pay attention to where each stitch is placed in the previous row. This will help create a more realistic and cohesive texture.
2) Incorrect Loop Sizes
Each stitch in crochet has a specific size and shape. Make sure to depict these sizes and conditions in your illustrations accurately.
3) Lack of Variation in Tension
As mentioned, varying your tension is essential for creating a natural and realistic texture. Make sure not to use the same pressure throughout your entire illustration.
4) Skipping Steps
Following all the steps when drawing crochet textures is essential, especially when adding shading and details. Skipping steps can result in an unfinished or inaccurate illustration.
5) Not Using a Variety of Pencil Hardness
Using only one pencil hardness can make your illustrations look flat and need more depth. Experiment with different hardness levels to add dimension to your drawings.
6) Neglecting Color
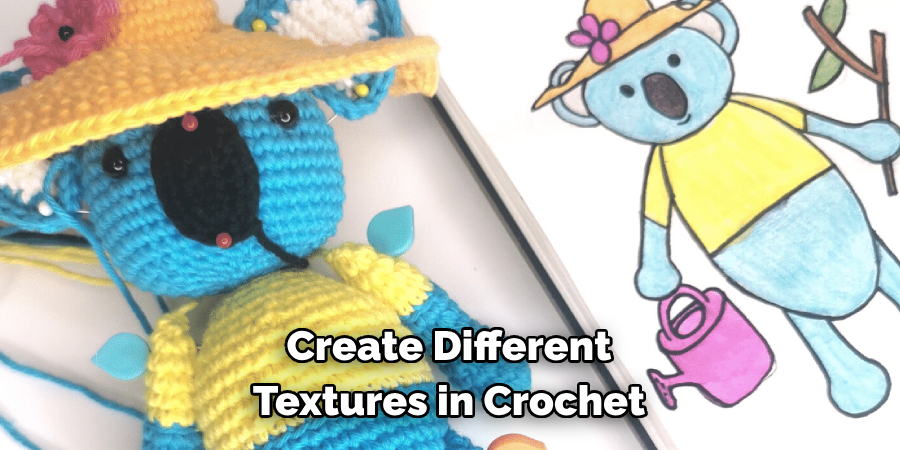
Color can significantly enhance the texture of crochet in illustrations. Don’t be afraid to add some color to your drawings.
7) Not Practicing Enough
Drawing crochet textures takes practice, so don’t get discouraged if your first few attempts don’t turn out as expected. Keep practicing and trying new techniques.
8) Comparison to Real-Life Texture
While it’s important to depict crochet textures in illustrations accurately, it’s also important to remember that they are still illustrations and may look different from real-life textures. Take your time trying to make it look perfect, and have fun with your drawings! Overall, just remember to have fun and enjoy the process of learning how to draw crochet textures. With practice and experimentation, you can create beautiful and accurate illustrations that genuinely capture the essence of crochet textures.
8 Additional Tips
To further improve your crochet texture drawing skills, here are eight additional tips to keep in mind:
1) Use Reference Photos
Having a visual reference can be helpful when trying to depict crochet textures accurately. Use photos of crochet projects or swatches as a guide.
2) Start with Simple Projects
If you’re new to drawing crochet textures, start with simple projects and stitches before moving on to more complicated ones. This will help build your skills and confidence.
3) Experiment with Different Drawing Tools
Aside from pencils, try using other drawing tools like pens, markers, or even digital drawing programs to create different effects and textures in your illustrations.
4) Observe Real-Life Crochet Textures
Take a close look at real-life crochet textures and observe how the stitches are formed and how they interact with each other. This can help inform your illustrations.
5) Practice Drawing Other Textures
Drawing other textures, such as knit or embroidery, can improve your overall texture drawing skills and inspire new techniques.
6) Study Tutorials
There are many tutorials and resources available online for drawing crochet textures. Take advantage of these to learn new techniques and tips.
7) Don’t Be Afraid to Make Mistakes
Mistakes are a natural part of the learning process. Embrace them and use them as an opportunity to improve your skills.
8) Add Your Style
While it’s important to depict crochet textures accurately, feel free to add your style to your illustrations. This can make them unique and stand out from others. So go ahead and get creative! With these tips, you’ll be well on your way to creating beautiful and accurate illustrations of crochet textures. Keep practicing and experimenting; before you know it, you’ll be a pro at drawing crochet textures!
Frequently Asked Questions
Do I Need to Be an Expert at Crochet to Draw Crochet Textures?
You don’t need to be a crochet expert to draw textures. However, a basic understanding of the stitches will significantly help accurately depict them in your illustrations.
Can I Use Any Type of Paper for Drawing Crochet Textures?
Yes, you can use any type of paper for drawing crochet textures. However, thicker and heavier paper may be better suited for techniques like watercolor or heavy shading.
How Do I Choose the Right Pencil Hardness?
Choosing the right pencil hardness depends on personal preference and what type of texture you’re trying to achieve. Generally, softer pencils (B range) are used for shading and creating darker tones, while harder pencils (H range) are better for fine details and lighter tones. Experiment with different hardness levels to find what works best for you.
Can I Add Color to My Illustrations?
Yes, adding color can greatly enhance the texture of your illustrations. Experiment with colored pencils, watercolor, or digital coloring to see what works best.
What If My Illustrations Don’t Look Perfect?
Keep going even if your illustrations look perfect at first. Drawing crochet textures takes practice, and everyone’s style is unique. Keep practicing and trying new techniques to improve your skills. So keep practicing and have fun creating! And remember, don’t be afraid to add your touch to make your illustrations unique. With these tips and tricks, you’ll be well on your way to creating beautiful and accurate crochet illustrations in no time.
Conclusion
By understanding the basics of creating texture through different crochet stitches and techniques, you can add depth and dimension to your designs, making them truly unique and eye-catching. Practice and experimentation will be vital in mastering this skill, but with determination and patience, you’ll see yourself improving with every project.
Remember always to keep an open mind and be willing to try new things – who knows, you may discover a new favorite technique along the way! And don’t forget to share your creations with the world – inspire others to learn how to draw crochet texture, too! So, let your imagination run wild as you create beautifully textured pieces that will leave everyone in awe.

