

Are you looking to take your crochet skills to the next level? Then learning how to make a seed stitch could be just what you need. This classic crocheting pattern is the perfect way to add texture and unique design elements to any of your projects, whether it’s a hat, scarf, or something else entirely! But first, let’s explore exactly what a seed stitch is–how it looks and feels–so that we can get started on creating our own vibrant masterpieces.
This classic crochet stitch is easy to learn, requiring only basic stitches and skills, yet adds texture and style to any piece. From scarves and blankets to hats and sweaters – this versatile stitch works with everything! Keep reading to discover how to crochet a seed stitch in your next project!
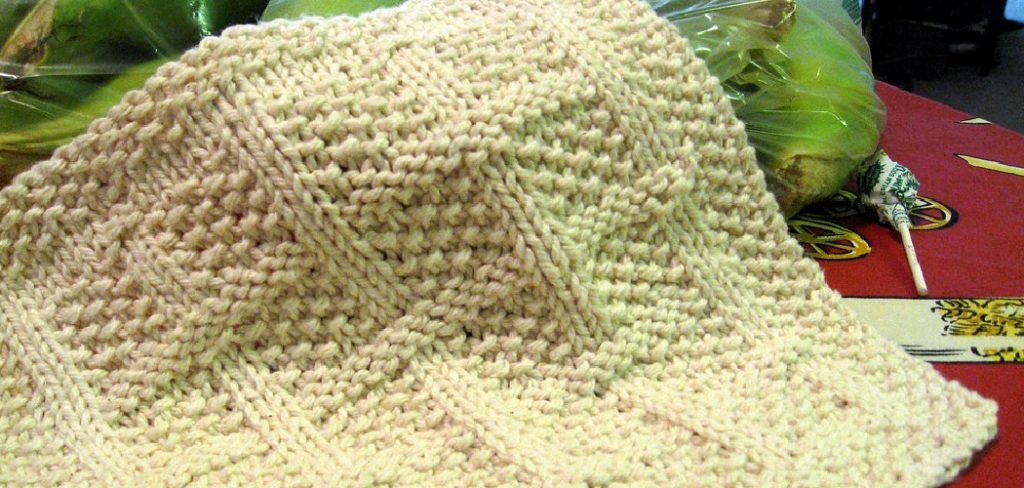
What is a Seed Stitch?
A seed stitch is a classic crochet pattern that requires only basic stitches and skills. It is made up of alternating single-crochet stitches (SC) and double-crochet stitches (DC). The finished fabric looks like small clusters of seeds, hence the name! The seed stitch adds texture to any piece, making it great for hats, scarves, and even blankets. You can also use a seed stitch to create unique patterns and designs.
Needed Tools
Before we get started on this project, let’s take a look at the various tools and materials you will need. You will need
- A crochet hook
- Yarn in your desired color
- Scissors
- A tapestry needle.
10 Steps on How to Crochet a Seed Stitch
Step 1: Start Chaining
Start by chaining an even number of stitches. Even the number of stitches is important for the seed stitch, as it helps keep its unique texture. It will also make it easier to count the stitches.
Step 2: Make a Single Crochet Stitch
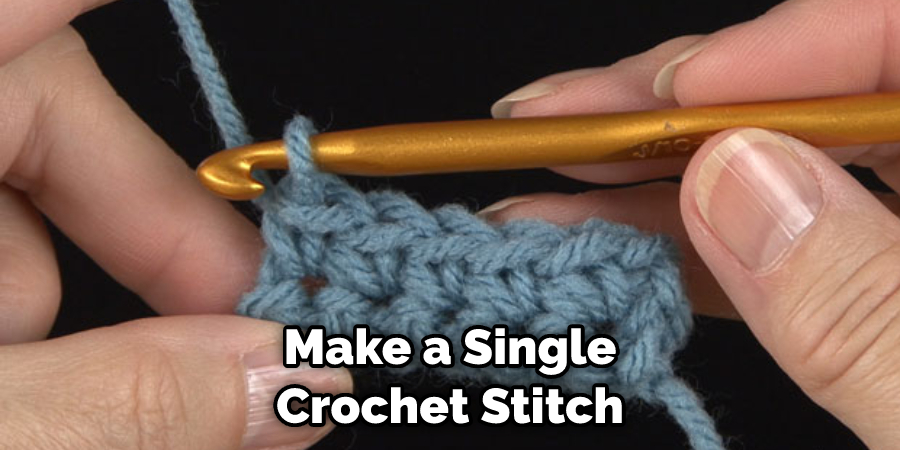
Make a single crochet stitch (SC) into the second chain from the hook. The next row will start in this same stitch. Single crochet stitches will make up the base of this stitch pattern.
Step 3: Make a Double Crochet Stitch
Create a double crochet (DC) stitch into the next chain. The DC stitches are what give the seed stitch its texture and help create small clusters. Double crochet stitches are essential for this stitch pattern.
Step 4: Alternate Single and Double Crochet Stitches
Continue alternating SC and DC stitches across the row, ending with a single crochet stitch in the last chain. Make sure to keep track of how many stitches you have created so far. Alternating the single and double crochet stitches will ensure that your finished piece has the right texture.
Step 5: Turn Your Work
Turn in your work so that you can start working on the next row. Work a single crochet stitch into the first double crochet stitch that you made in the row before.
Step 6: Create Stitches Across Your Row
Continue working SC and DC stitches across your row, ending with a single crochet stitch in the last stitch. Make sure to keep track of how many stitches you have created so far. The row should have the same number of stitches as the row before.
Step 7: Repeat Stitches and Rows
Continue repeating steps 5 and 6 until you reach your desired length. You will want to make sure that the last row is a single crochet stitch row. It will look like a series of small, alternating clusters.
Step 8: Fasten Off
When you reach your desired length, fasten off the yarn and weave in any loose ends. If you don’t fasten off properly, your work could unravel.
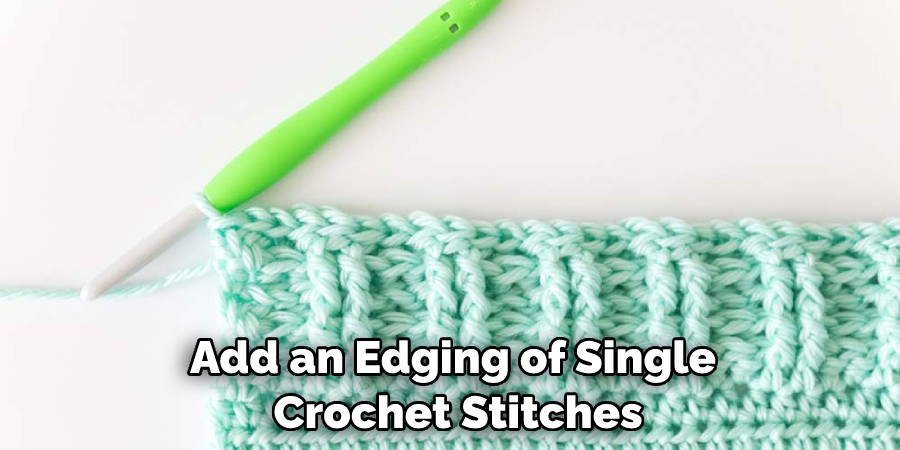
Step 9: Add Finishing Touches
If desired, you can add an edging of single crochet stitches to the ends of your piece. This will give your project a more finished look and help secure the edges.
Step 10: Enjoy Your Work!
You have now successfully crocheted a seed stitch! Enjoy your beautiful and unique creation, and be sure to share it with the world. How you use this stitch is only limited by your imagination, so have fun creating new patterns and designs!
With these steps, you now know how to crochet a seed stitch in your next project! This classic crochet pattern adds texture to any piece and can be used to create unique patterns. You now have the tools and knowledge to create your own seed stitch masterpiece.
8 Common Mistakes to Avoid in Seed Stitch
1. Not Counting Stitches
Counting your stitches is an important part of the crochet process, and it’s especially important when working on seed stitches. It can be tempting to skip this step but make sure you count your stitches at least once per row. This will ensure that you don’t accidentally lose or add stitches and ruin the pattern.
2. Not Paying Attention to the Pattern
When crocheting seed stitch, it’s important to pay close attention to the pattern. This is because you will be alternating single and double crochet stitches throughout each row, and this must remain consistent in order to achieve the correct result.
3. Crocheting too Tightly
When working in the seed stitch, it’s important that your stitches stay loose and even. If you crochet too tightly, your fabric will be stiff and uncomfortable. Make sure to loosen up your tension as you go along, and keep an eye on how tightly your stitches are coming out.
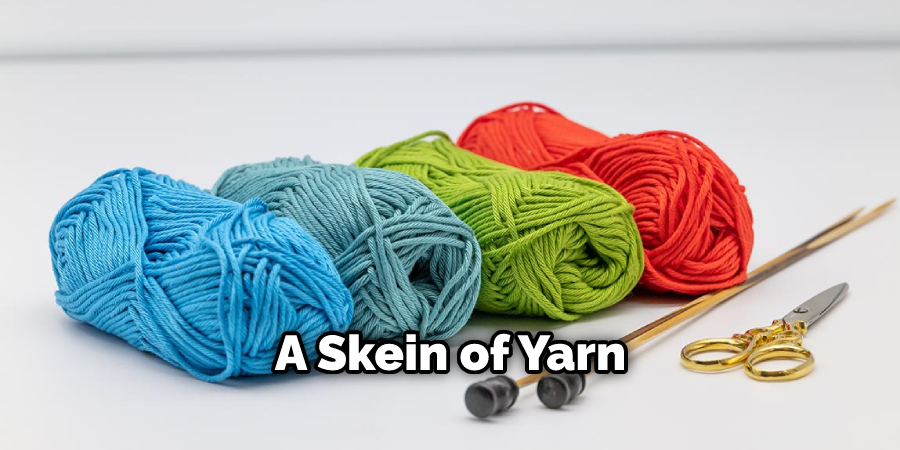
4. Not Checking the Tension of the Yarn
When you purchase a skein of yarn, it should have a label that gives information about its weight and measurements. This can help you determine the tension for crocheting with that particular yarn. It’s important to check this before you start crocheting so that you can adjust your tension as needed.
5. Not Crocheting Evenly
As you crochet, it’s important to keep an eye on your work and make sure that your stitches are all the same size. If some of your stitches are tighter than others, it will throw off the pattern and can cause your piece to look uneven.
6. Not Following the Pattern Exactly
When crocheting, it can be tempting to make tiny changes or adjustments to the pattern. However, this can have a big impact on how your finished project turns out. Try to follow the pattern as closely as possible and save any modifications for after you’ve completed the pattern.
7. Not Using the Right Hook Size
Your hook size will have a big impact on how your finished project looks, so it’s important to make sure you’re using the right hook for your yarn weight and tension. If you don’t know what size hook to use, check the label on your yarn or look online for recommendations.
8. Not Taking Breaks
When crocheting, it can be easy to get lost in the process and forget to take breaks. However, taking regular breaks while you work is important for avoiding fatigue and promoting better concentration. Make sure to give yourself a break every hour or so to rest and recharge.
By following these tips, you can avoid common mistakes when crocheting seed stitches and create beautiful pieces with ease. With practice, you’ll be able to master this stitch in no time.
Frequently Asked Questions
How Long Will It Take to Complete the Task?
It depends on the complexity of the pattern, but a simple seed stitch pattern may only take an hour or two to complete. That said, it’s important to take your time and make sure you understand each step as you go along to ensure that your project looks its best. It might take longer if you’re a beginner or if you need to take regular breaks.
What Are the Benefits of Crocheting Seed Stitch?
Crocheting seed stitch is an easy and versatile stitch that can be used in a variety of projects. It creates a textured, almost lattice-like pattern that adds a unique look to your project. It’s also great for creating warm, thick fabric that can be used for sweaters, blankets, and other garments. Finally, working seed stitch is a great way to practice alternating single and double crochet stitches.
How Many Stitches Do I Need to Know?
You only need to know two stitches to work seed stitch: single crochet and double crochet. However, it’s important to understand how the stitches interact with each other and how the pattern works so that your project looks its best. If you’re a beginner, take some time to practice before you start your project.
Conclusion
Crochet is a wonderful craft, and the seed stitch adds another interesting layer to any project. With practice, patience, and focus, anyone can learn how to sweat this beautiful stitch. While it may take time to learn the basics of crochet or master the subtle intricacies of the seed stitch, you can be sure that once mastered you will be able to create items with a truly unique look.
Furthermore, mastering this stitch allows you to explore countless creative possibilities; get creative – feel free to improvise and combine different stitches with your own design ideas! Whatever route you choose to go down, just remember that the more time you put in, the better your work will look. The sky really is the limit when using crocheting tools such as the seed stitch at your disposal. Make sure to share your work with loved ones and maybe even put some items up for sale – if nothing else, now you know how to crochet a seed stitch!