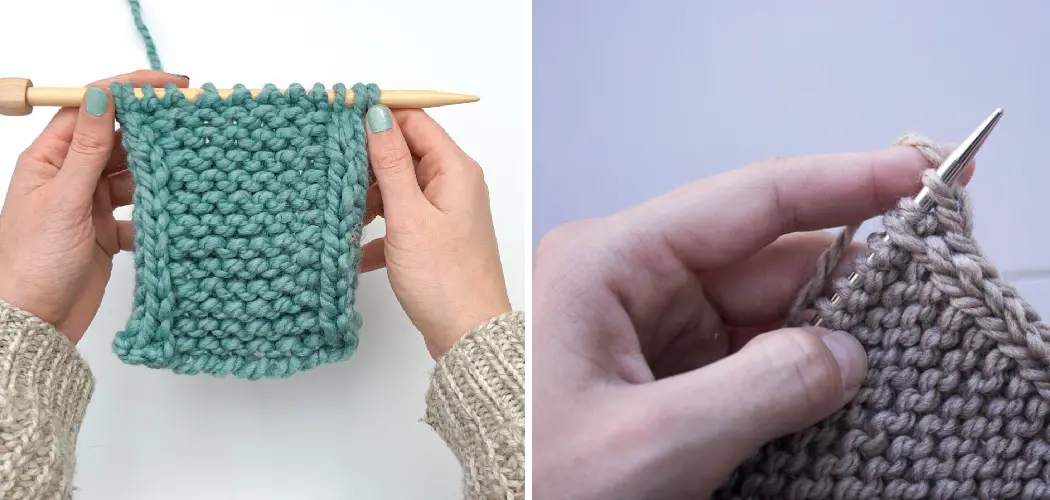
An I cord edge is a decorative way to finish a knitted or crocheted piece. It adds a professional touch to any project and can be used on garments, accessories, or home decor items. The I cord edge is a simple but elegant way to finish off knitted and crocheted projects. It creates a clean, rounded edge that adds a professional touch to your work. In this tutorial on how to do an i cord edge, we’ll show you how to create an I cord edge using basic knitting or crochet techniques.
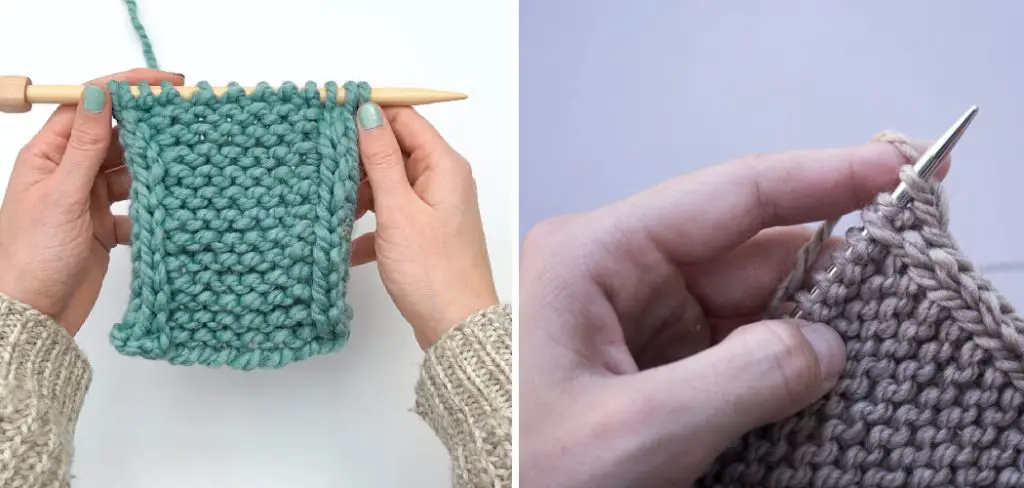
Materials Needed
To create an I cord edge, you will need:
- Yarn in the color of your choice
- Knitting needles or a crochet hook (depending on your preference)
- A pair of scissors
- A yarn needle for sewing in ends
8 Things to Know Before You Start
Before you begin creating an I cord edge, here are some essential things to keep in mind:
1) Size
The size of your knitting needles or crochet hook will determine the thickness of your I cord edge. For a thicker border, use larger needles/hooks, and for a thinner edge, use smaller ones. Keep in mind that the thickness of your yarn will also affect the final size.
2) Tension
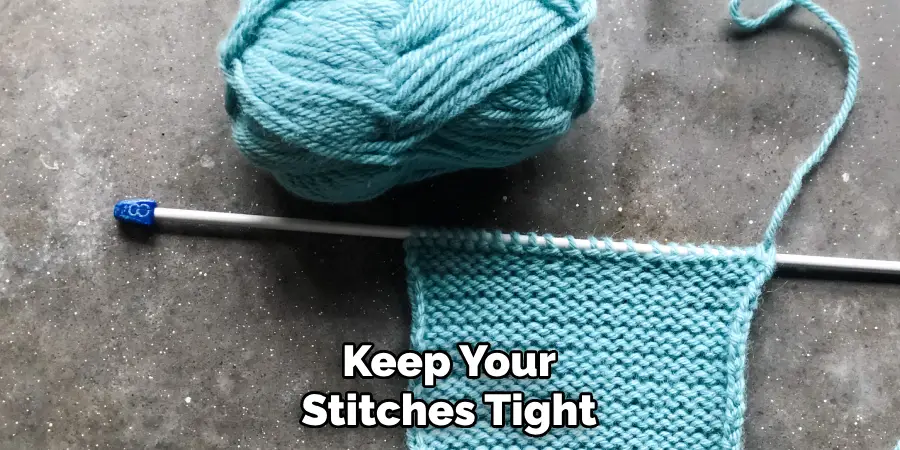
Maintaining consistent tension throughout your work is crucial for a neat and uniform I cord edge. Make sure to keep your stitches tight, but not too tight that they become difficult to work with. But also not too loose that the edge becomes floppy.
3) Yarn Choice
A smooth and pliable yarn works best for creating an I cord edge. Avoid using textured or bulky yarns, as they can make it challenging to achieve a neat and even edge. Other factors to consider when choosing yarn include the color, texture, and weight of your project.
4) Stitch Count
When creating an I cord edge, you will need an odd number of stitches. If you are working on a project that already has an even number of stitches, simply add or subtract one stitch as needed before beginning the I cord edge.
5) Gauge
It’s essential to maintain a consistent gauge when working on an I cord edge. This will ensure that the border looks uniform and stays tight enough in any area. And remember, the gauge can vary depending on the type of yarn and needles/hooks used.
6) Length
When creating an I cord edge, you will need the same amount of yarn as the length of your project. So, make sure to have enough thread before starting. If you run out of yarn in the middle of the edge, it can be challenging to join a new strand and maintain the same tension.
7) Direction
An I cord edge can be worked in either a horizontal or vertical direction. The direction you choose will depend on your project’s shape and design. For example, if you are working on a rectangular piece like a scarf, you would work the I cord edge horizontally along the short sides of the scarf. For a square or circular piece, you would work the I cord edge vertically along the edges.
8) Practice Makes Perfect
Like any new technique, practice makes perfect. Don’t worry if your first attempt at an I cord edge could be better. Keep practicing, and you will soon master this elegant finishing technique. While these tips are helpful, remember always to follow the instructions of your pattern when creating an I cord edge.
10 Steps on How to Do an I Cord Edge
Step 1: Cast On Stitches
To begin, cast a small number of stitches onto your knitting needles or crochet hook. The exact number of stitches needed will vary depending on the thickness of your yarn and the desired width of your I cord edge. As a general guideline, you can start with 3-5 stitches.
Step 2: Knit or Crochet the I Cord
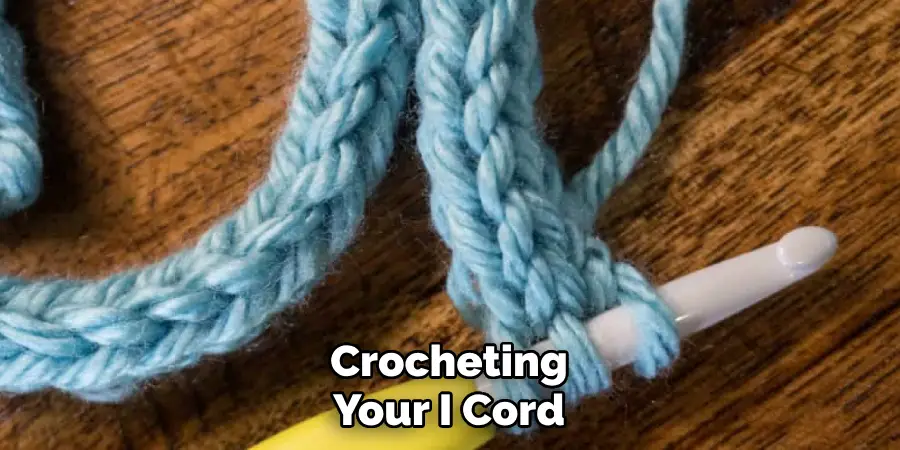
Next, you will need to create an I cord. For knitters, this means knitting all of the stitches on your needle without turning your work. Instead, slide the stitches back to the other end of your hand and knit them again. For crocheters, you will need to crochet all stitches in the back loop only.
Step 3: Repeat Until Desired Length
Continue knitting or crocheting your I cord until it reaches the desired length. Remember to keep an odd number of stitches on your needle/hook. If you run out of yarn, simply join a new strand at the end of a row and continue.
Step 4: Cast Off
Once your I cord has reached the desired length, it’s time to cast off. Knitters can do this by knitting two stitches together and then passing the first stitch over the second. Crocheters can create a slip stitch in the first and last stitch of the I cord to secure it.
Step 5: Prepare Your Project
Before attaching the I cord edge, make sure your project is blocked and well-shaped. This will ensure that the I cord lays flat and looks neat when attached. Other tips for preparing your project include weaving in any loose ends and blocking out the edges if needed.
Step 6: Lay Out Your Project
Spread out your project on a flat surface, making sure it is facing the right side up. If you are working on a rectangular piece, lay it lengthwise. For square or circular pieces, make sure to position them in a way that allows you to work on one edge at a time.
Step 7: Thread Your Needle
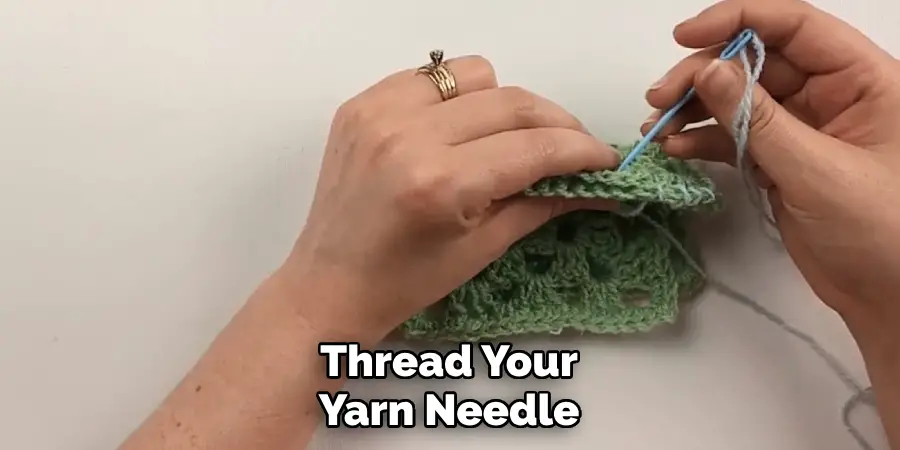
Thread your yarn needle with the end of the I cord, making sure to leave a tail long enough for sewing in later. Never use a blunt needle as it can damage your project.
Step 8: Sew the I Cord onto Your Project
Starting from one corner, sew the I cord onto your project by stitching through both layers of fabric. Work in small sections at a time, maintaining even tension and keeping the I cord straight.
Step 9: Joining Ends
To join the ends of the I cord, simply overlap them and sew them together in the same manner as before. Make sure to weave in any loose ends. While the join may be slightly visible, it will blend in with the rest of the I cord once attached.
Step 10: Sew in Ends
Finally, use your yarn needle to sew in any remaining ends on both the front and back of your project. Make sure to weave them in securely so that they do not unravel over time.
Congratulations, you have now completed an I cord edge! With practice, you will be able to add this beautiful finishing touch to any of your knitting or crochet projects. In addition to these steps, there are also various tutorials and videos available online that can further guide you through the process of creating an I cord edge. Feel free to try different techniques and find what works best for you and your projects. And remember, practice makes perfect!
8 Things to Avoid When Doing an I Cord Edge
1) Using Thick or Bulky Yarns
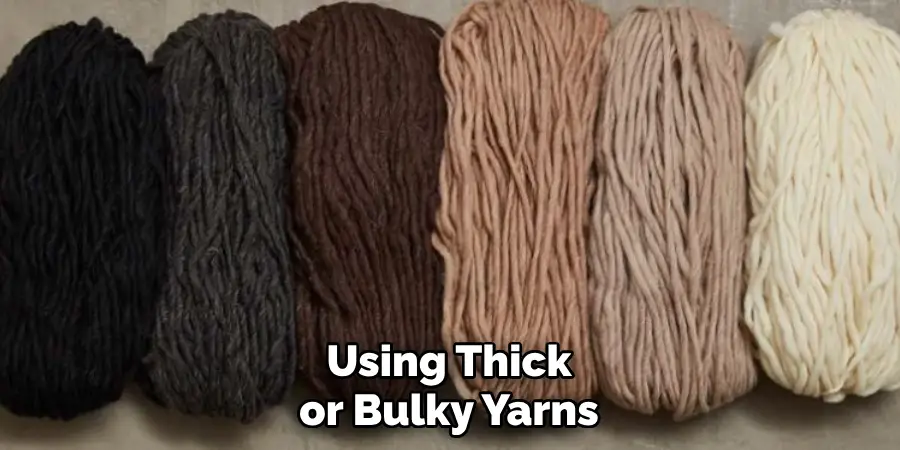
As mentioned earlier, using thick or bulky yarns can make it challenging to achieve a neat and even edge. Stick to thinner strings for this technique. If you want a thicker I cord, simply add more stitches. But keep in mind that using too many stitches can also create a bulky edge.
2) Skipping Blocking
Blocking is an essential step in preparing your project for the I cord edge. Skipping this step can result in an uneven or bumpy edge that does not lay flat. Make sure to block your project before attaching the I cord.
3) Not Maintaining Consistent Tension
Consistency is critical when creating an I cord edge. Make sure to maintain even tension throughout the process, whether it’s in knitting or crocheting the I cord or attaching it to your project. Uneven pressure can result in an unprofessional-looking edge.
4) Rushing Through the Process
Creating an I cord edge takes time and patience. Rushing through the steps can result in mistakes and a less-than-perfect edge. Take your time, and don’t be afraid to undo and redo if needed. Soothing background music or a podcast can help make the process more enjoyable.
5) Using a Blunt Needle
Using a blunt needle when attaching the I cord to your project can damage the fabric and create an uneven edge. Always use a sharp needle designed explicitly for sewing yarn onto knit or crochet projects.
6) Not Checking Your Pattern
While these steps provide a general guideline, it’s important to always refer to your pattern for specific instructions on creating an I cord edge. This will ensure that the edge matches the style and design of your project.
7) Not Practicing Before Starting on Your Project
If you are new to knitting or crocheting or have never tried an I cord edge before, it’s essential to practice first before attempting it on your project. This will give you a chance to get comfortable with the technique and adjust your tension if needed.
8) Giving Up
Creating an I cord edge may seem daunting at first, but don’t give up! With practice, you will become more confident and skilled in this technique. Remember to take breaks when needed and enjoy the process. So don’t be afraid to give it a try and add this beautiful finishing touch to your projects. With these tips on how to do an i cord edge in mind, you’ll be able to create an even and professional-looking I cord edge every time.
8 Additional Tips for a Perfect I Cord Edge
1) Use Matching Yarn
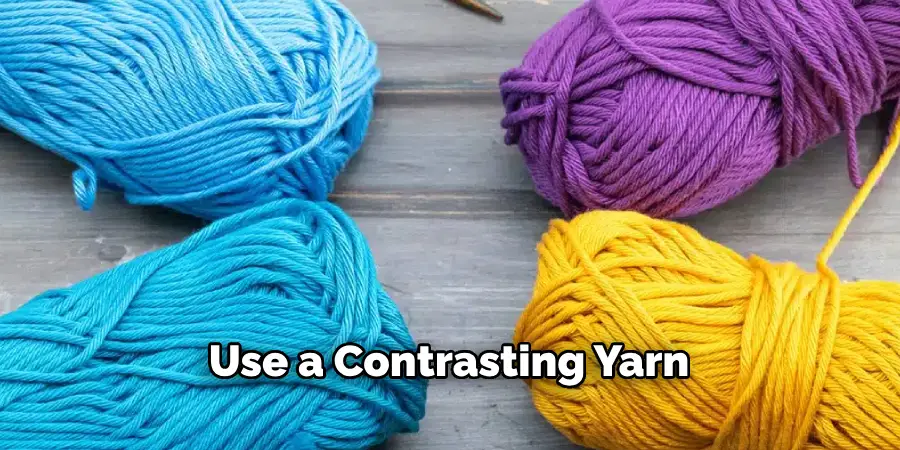
To ensure that the I cord edge blends in seamlessly with your project, use the same yarn that you used to create the main piece. This will give a cohesive and polished look. But if you want to add a pop of color, you can also use a contrasting yarn for an eye-catching finish.
2) Practice Knitting or Crocheting the I Cord
Before starting on your project, take some time to practice knitting or crocheting the I cord. This will help you get comfortable with the technique and perfect your tension before moving on to attaching it to your project.
3) Use a Smooth Surface
When attaching the I cord to your project, make sure to work on a smooth surface. This will ensure that the edge lays flat and does not become distorted or bumpy. If needed, you can use a blocking board or mat.
4) Keep Your Yarn Under Tension
To maintain even tension while knitting or crocheting the I cord, make sure to keep your yarn under pressure. This means pulling gently on the working yarn as you stitch to ensure that it is not too loose or too tight.
5) Use Stitch Markers
To help keep your I cord straight while attaching it to your project, use stitch markers at regular intervals. This will also make it easier to maintain even tension and prevent the edge from becoming skewed.
6) Experiment with Different Stitch Patterns
While the basic I cord edge is created using a simple knit or crochet stitch, you can also experiment with different stitch patterns to add texture and interest. Some popular options include seed stitch, rib stitch, or even lace stitches.
7) Add Beads or Embellishments
For a unique and personalized touch, consider adding beads or other embellishments to your I cord edge. You can thread them onto the working yarn before starting or attach them afterward using a needle and thread.
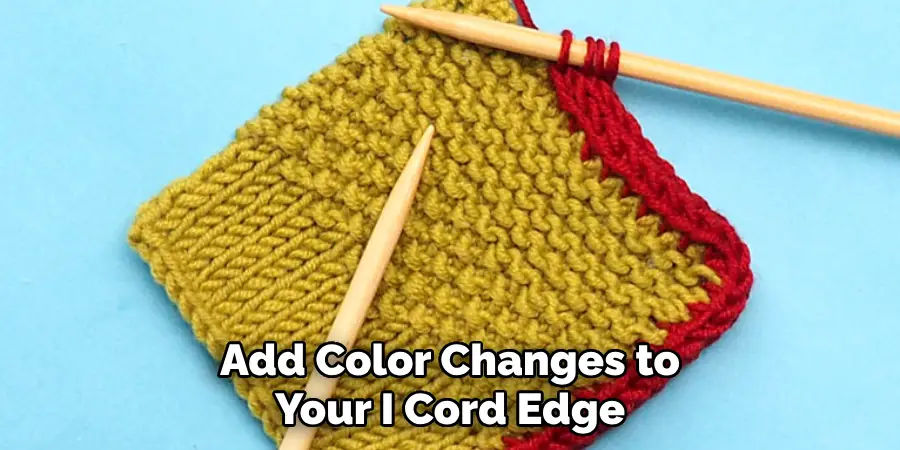
8) Get Creative with Color Changes
If you want to add color changes to your I cord edge, you can do so by switching yarns at the beginning of each row. Alternatively, you can carry the unused color up the side of your project and incorporate it into your stitches as desired. This technique is perfect for creating stripes or other patterns on your edge.
Frequently Asked Questions About I Cord Edges
Can I Use an I Cord Edge on Any Project?
Yes, the I cord edge can be used on any knit or crochet project that has a straight or curved edge. It is beneficial for finishing off blankets, shawls, and sweaters. However, it may not work as well on projects that have a very tight or bumpy edge.
How Much Yarn Do I Need for an I Cord Edge?
The amount of yarn needed for an I cord edge will vary depending on the size and length of your project. It’s best to overestimate and have an extra adventure on hand, just in case. As a general rule, you will need approximately half a yard of fleece for every inch of I cord.
Can I Make an I Cord Edge Thicker or Thinner?
Yes, the width of your I cord edge can be adjusted by changing the number of stitches used to create the cord. For a thicker edge, simply increase the number of stitches in each row. For a thinner edge, decrease the number of stitches.
Can I Use a Different Needle or Hook Size?
Yes, you can use a different needle or hook size to create your I cord edge. However, keep in mind that this will affect the width and tension of your cord. Experiment with different sizes until you find the one that works best for your project.
What if My I Cord Edge Ends Up Too Long?
If your I cord edge ends up being longer than the edge of your project, you can simply trim off the excess. However, it’s always best to measure and adjust your tension as needed to avoid this issue.
How Do I Weave in the Loose Ends of My I Cord Edge?
To weave in the loose ends of your I cord edge, simply thread them onto a tapestry needle and weave them into the back of your stitches. Make sure to do this neatly and securely to prevent any unraveling.
Can I Add an I Cord Edge to a Project After It’s Been Completed?
Yes, you can add an I cord edge to a project after it has been completed. However, it may be more challenging to attach it evenly and maintain tension. It’s best to plan for an I cord edge before starting your project.
How Do I Wash a Project with an I Cord Edge?
To wash a project with an I cord edge, gently hand wash in cool water with a mild detergent. Avoid twisting or wringing the item, as this can distort the edge. Lay flat to dry and gently reshape the I cord edge if needed. Avoid using a washing machine or dryer, as this can damage the delicate fringe. Overall, with some patience and practice, you’ll be able to master the art of creating a beautiful and professional-looking I cord edge for all your knitted and crocheted projects.
Conclusion
An I cord edge is a beautiful and versatile finishing technique that can add a professional touch to your knit or crochet projects. With some practice and the proper techniques on how to do an i cord edge, you can always create an even and polished edge. Remember to use matching yarn, keep your tension under control, and get creative with color changes and stitch patterns.
Don’t be afraid to experiment and have fun with your I cord edges! So, have fun creating beautiful and professional-looking projects with the perfect I cord edge. Remember to share your creations on social media and tag us so we can see how you’ve used the I cord edge in your projects.

