Designing amigurumi, the adorable crocheted creatures, is a delightful and creative endeavor that allows you to bring your imagination to life. Whether you’re a seasoned crocheter or a beginner looking to explore new avenues of creativity, designing your own amigurumi opens up a world of possibilities.
From choosing the perfect theme or character to incorporating unique details and features, this art form allows you to showcase your personal style and craftsmanship. In this article, we will guide you through the process of how to design amigurumi, providing valuable tips and step-by-step instructions.
Whether you’re dreaming up a cuddly animal, a whimsical creature, or a beloved character, this tutorial will equip you with the knowledge and techniques to create your very own amigurumi designs. Get ready to unleash your creativity and embark on an enchanting journey into the world of designing amigurumi.
The Art of Amigurumi and Its Endless Possibilities
Since its invention, the art of amigurumi has become increasingly popular and accessible. With just some basic knowledge of crochet or knitting, you can create these fun, cuddly characters. It’s a great way to practice your skills in yarn crafting while creating something unique and memorable that will last for years to come!
The creative possibilities with amigurumi are truly endless. Amigurumi designs can be based off of all kinds of things – animals, plants, mythical creatures, robots, food items…you name it!
You can also customize your creations in any way you can imagine – add eyes and other features to make them look like their real-world counterparts or give them a totally unique look with fun and funky colors, patterns, and other decorations. It’s the little details that make amigurumi so special!
A great way to get started in making your own amigurumi is to find inspiration from existing designs or tutorials. The internet is full of amazing resources for crocheting and knitting tutorials, including many specifically geared toward amigurumi.
Look up different techniques, stitches, and tools you can use to create a perfect handmade character! With just a few materials and some basic knowledge, you’ll be able to create something truly unique.
Materials and Tools Needed for Designing Amigurumi
Designing Amigurumi requires a few basic materials and tools to get started. Before beginning any project, it is important to make sure you have all the necessary supplies on hand. Here’s a list of what you’ll need:
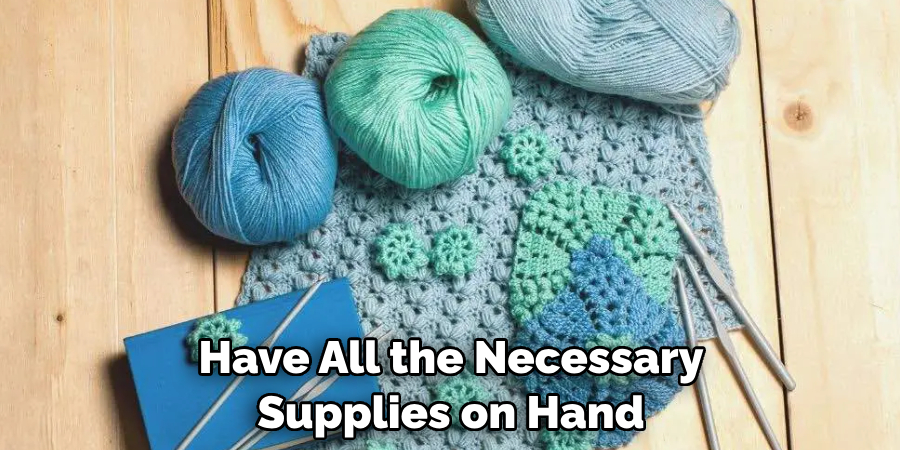
Yarn –
You will need yarn in various colors for assembling your design. The type of yarn will depend on how large your creation should be; use thinner threads or thicker ones depending on the size.
Hooks –
Crochet hooks are essential for creating the stitches that form your Amigurumi. Make sure you choose one that fits with the size of yarn you plan to use.
Safety Eyes –
Safety eyes give your Amigurumi its personality. Choose round eyes of various sizes to customize the look and feel of your design.
Stuffing –
You’ll need stuffing or fiberfill for adding shape to your Amigurumi design. Stuffing also helps to weigh down your creation, so it won’t be top-heavy.
Needles –
You will also need a thin needle with an eye large enough for yarn to thread through; this is important for attaching parts, such as ears or arms, to the body of your Amigurumi.
These are the basic materials and tools you will need when designing Amigurumi – have fun creating!
Exploring Amigurumi Styles and Themes
Once you have learned the basics of amigurumi design, it is time to start exploring different styles and themes. Amigurumi can be designed in a variety of shapes and sizes, depending on your preferences and needs. You can create small animals like cats, dogs, rabbits or even larger figures such as dragons or dinosaurs!
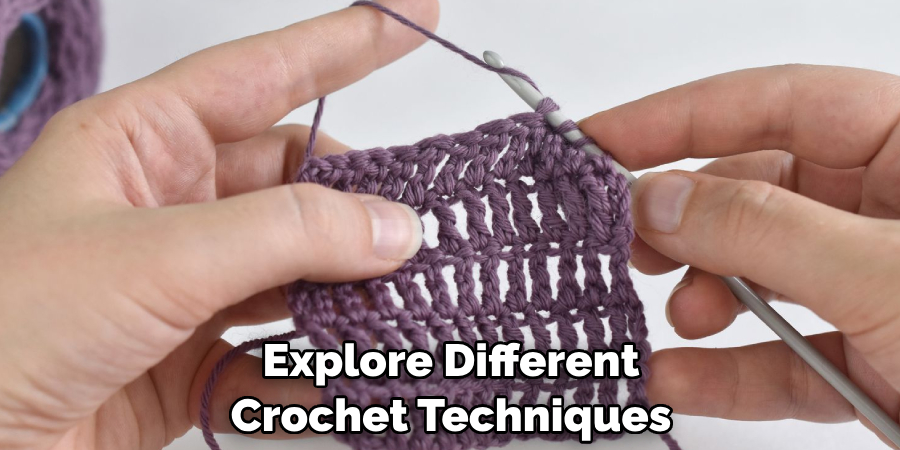
You can also play around with colors and texture to give each project a unique feel. For those looking for something a little more creative, explore different crochet techniques such as tapestry crochet or broomstick lace to add texture and color to your projects.
When creating an amigurumi project, there are so many possibilities that it can be hard to decide what kind of creation you want to make. To help you narrow down the choices, explore a particular style or theme that appeals to your interests.
For example, if you are a fan of Japanese culture, create an anime-inspired amigurumi figure. If you love books, make characters from one of your favorite tales. You can also draw inspiration from nature and create realistic animals like koalas, foxes or owls! Amigurumi is perfect for those who want to express their creativity through textile art.
10 Steps How to Design Amigurumi
Step 1: Gather Inspiration and Research
Before designing your amigurumi, gather inspiration from various sources such as books, the internet, or even nature. Research different styles, shapes, and themes to help you brainstorm ideas and spark your creativity. However, don’t get too caught up in the research phase, as it can be tempting to copy or replicate existing designs.
Step 2: Choose a Theme or Character
Decide on a theme or character for your amigurumi. It could be an animal, a fantasy creature, a food item, or anything else that captures your imagination. Consider the size, shape, and unique features that will make your amigurumi stand out.
Step 3: Sketch Your Design
Start by sketching your amigurumi design on paper. This will help you visualize the overall shape, proportions, and details. Experiment with different poses and expressions to bring your creation to life.
When you’re happy with the design, transfer it to graph paper and start marking in your stitches. Graph paper is ideal for this because it’s divided into small squares that make it easier to measure and draw each stitch accurately.
Step 4: Determine the Size and Materials
Decide on the size of your amigurumi. Consider the intended purpose and the level of detail you want to achieve. Based on the size, choose the appropriate yarn weight and a corresponding crochet hook.
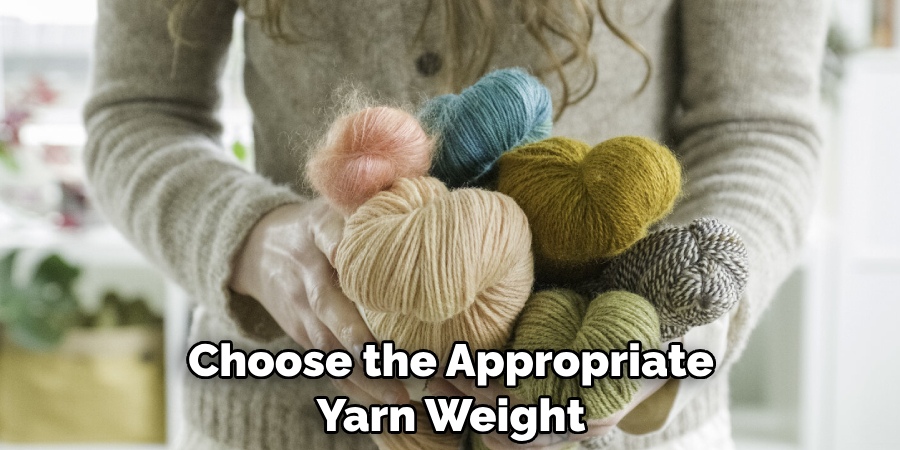
Select colors that complement your design. Although delicate details may be lost on small amigurumi, consider selecting multiple colors to create subtle shading and definition. You’ll also need stuffing to give your amigurumi structure and shape.
Step 5: Plan the Construction
Break down your amigurumi design into separate components, such as the head, body, limbs, and accessories. Determine how these parts will be crocheted and assembled. Think about the order of construction to ensure a seamless assembly process.
You can plan out the construction in a number of ways. For example, you could sketch out your design on paper or create a diagram on your computer. You may also want to note the number of stitches needed for each component or any other pertinent information that will help you along the way.
Step 6: Crochet a Gauge Swatch
To ensure consistency in size and tension, crochet a gauge swatch using the chosen yarn and hook. Measure the number of stitches and rows within a given measurement to verify that it matches your desired dimensions. Adjust the hook size if needed.
Step 7: Start Crocheting the Components
Using your chosen yarn and hook, start crocheting the different components of your amigurumi based on your design. Follow the basic crochet techniques such as single crochet, increase, and decrease stitches to shape the parts as desired. Keep referring to your sketches for guidance.
Make sure to stuff each piece with fiberfill stuffing as you go along. This will help keep the shape and provide a better look for your amigurumi.
Step 8: Add Details and Features
Once the basic components are crocheted, it’s time to add details and features to give your amigurumi personality. This includes embroidering or attaching safety eyes, stitching on a nose or mouth, or adding embellishments such as bows, buttons, or felt pieces.
Step 9: Assemble the Amigurumi
With all the individual components completed, it’s time to assemble your amigurumi. Use a yarn needle to sew the parts together, ensuring a secure and neat finish. Pay attention to proper placement and alignment for the desired shape and expression.
Step 10: Evaluate and Refine
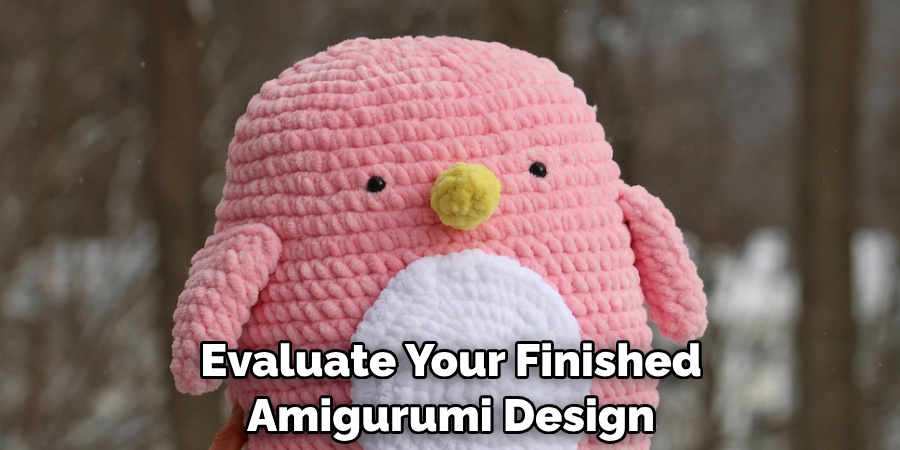
Take a step back and evaluate your finished amigurumi design. Assess the overall appearance, proportions, and structural integrity. Make any necessary adjustments or refinements to improve the design. This could involve tweaking the shaping, adding or removing details, or adjusting the colors.
Conclusion
In conclusion, amigurumi can be a delightful hobby for all skill levels. With the right tools and techniques, you can create eye-catching designs with just a few hours of practice. As a beginner, consider starting simply and gradually building up your skills.
Try out different shapes and proportions as well as colors and yarn types to perfect your own custom style. For those of you who already have experience in amigurumi, experiment with complicated designs or bigger projects like animals or dolls. Above all else, practice makes perfect – so don’t be afraid to make mistakes!
To review today’s tips on how to design amigurumi; start small, research different methods of construction, practice frequently, and don’t forget to have fun along the way. Now that you know the basics of amigurumi design, go ahead and give it a try – your creativity awaits!

