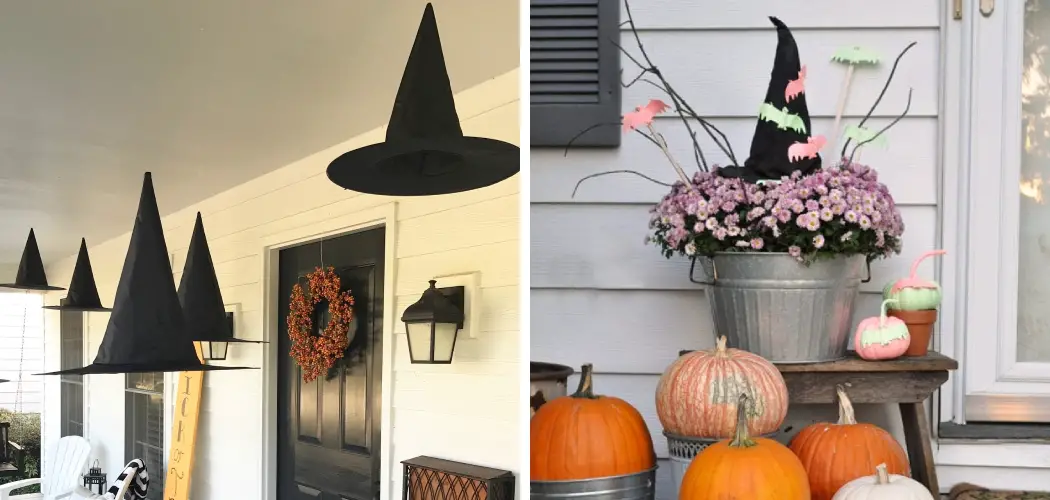
Decorating a witch hat is a creative and fun way to express your personal style, especially during festive seasons like Halloween or themed events. Whether you’re aiming for a spooky look, a whimsical charm, or an elegant touch, the possibilities are endless.
In this guide on how to decorate witch hat, we’ll delve into the various materials, techniques, and tips to transform a simple witch hat into a unique masterpiece that complements your costume and stands out in the crowd. Get ready to unleash your creativity and learn how to personalize your witch hat with flair and finesse.
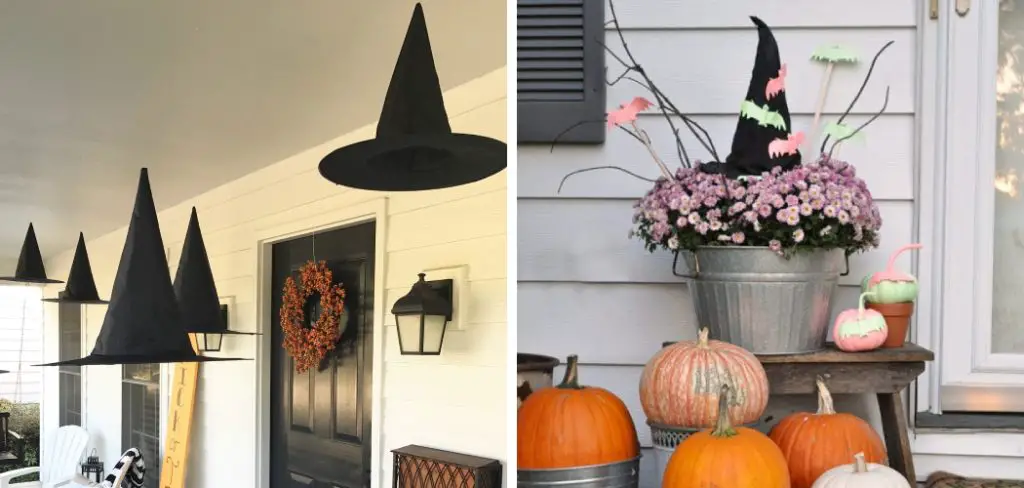
What is a Witch Hat?
A witch hat is a type of headgear typically worn by witches in popular culture, often associated with magic and sorcery. It is characterized by its conical shape, wide brim, and pointy top. While traditionally made from black felt or velvet with a wide brim, modern witch hats come in various colors, materials and styles, making them a versatile accessory for any costume or fashion statement.
You can find them in stores, or even make one yourself using basic materials and simple sewing techniques. The possibilities for customization are endless, making it a popular choice for DIY projects.
Why Decorate a Witch Hat?
Decorating a witch hat is not only an enjoyable and creative activity, but it also adds a personal touch to your costume or outfit. Whether you’re attending a Halloween party, cosplaying as your favorite character, or simply want to add some flair to your everyday look, decorating a witch hat can elevate your style and make you stand out in the crowd.
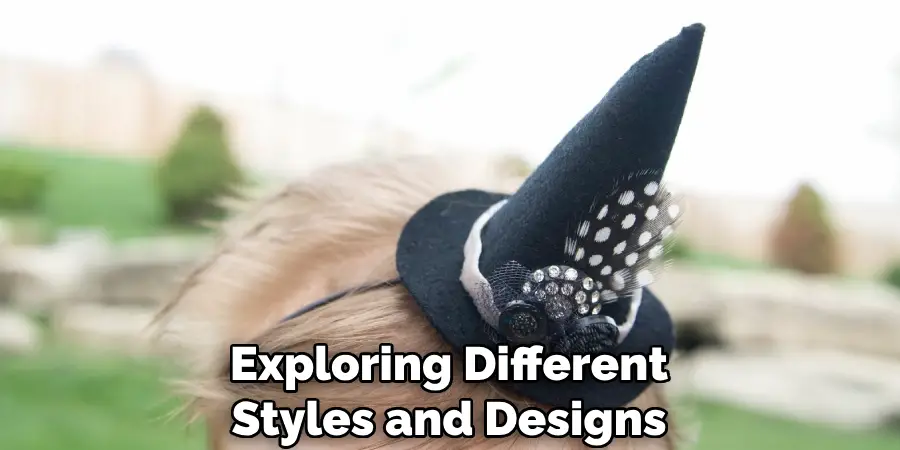
Moreover, a decorated witch hat allows you to express your personality and showcase your unique style. You can go for a spooky, classic look with cobwebs and spiders, or add colorful flowers and ribbons for a more whimsical touch. The possibilities are endless, and the end result is a one-of-a-kind piece that reflects your creativity and individuality.
Materials You’ll Need
Before you begin decorating, make sure you have all the necessary materials on hand. Here’s a list to get you started:
Witch Hat:
The base of your decoration, can be a plain black hat or one with embellishments like ribbons or feathers.
Decorative Items:
These include ribbons, flowers, charms, stickers, glitter, and other decorative elements that will add texture and interest to your hat.
Glue Gun:
The preferred adhesive for most decorations, as it dries quickly and provides a strong hold.
Scissors:
To cut ribbons or trim excess materials.
Paints and Brushes:
For creating designs, patterns, and other details on your hat.
Optional Items:
You can also use additional items such as feathers, beads, lace, or any other materials that suit your desired style. The key is to let your creativity guide you in choosing the right materials and textures that will bring your vision to life.
12 Step-by-step Guidelines on How to Decorate Witch Hat
Step 1: Choosing the Right Witch Hat
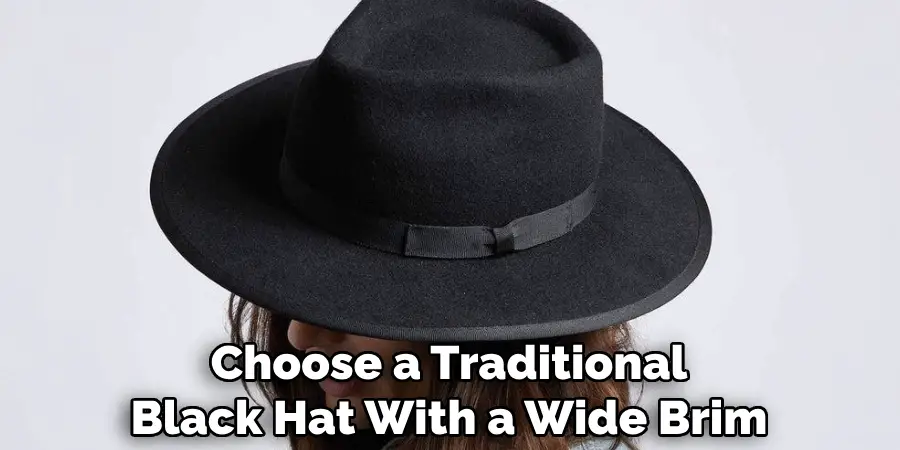
Consider the theme and style you want to achieve before picking out a witch hat. You can choose a traditional black hat with a wide brim, or opt for a custom-designed hat with unique embellishments. Make sure the size fits your head comfortably and doesn’t obstruct your view. But most importantly, choose a hat that speaks to your personal style and makes you feel confident. The better the base, the more successful your decoration will be.
Step 2: Prepare Your Work Space
Find a flat surface where you can comfortably work with all your materials within reach. Lay a cloth or newspaper to avoid any mess. It’s also helpful to have a reference image or sketch of your desired design nearby for guidance. But don’t be afraid to deviate from the original plan and let your imagination run wild. The beauty of decorating a witch hat is that there are no rules. The goal is to have fun and create something unique.
Step 3: Plan Your Design
Before diving into the decoration process, it’s essential to plan out your design. Consider the colors, materials, and placement of decorations that will bring your vision to life. You can draw your design directly on the hat using a pencil or use a piece of paper to trace the shape and cut it out as a template for easier placement. You can also experiment with different layouts until you find the perfect one. It’s always better to have a clear plan before starting to avoid any mistakes.
Step 4: Create the Base
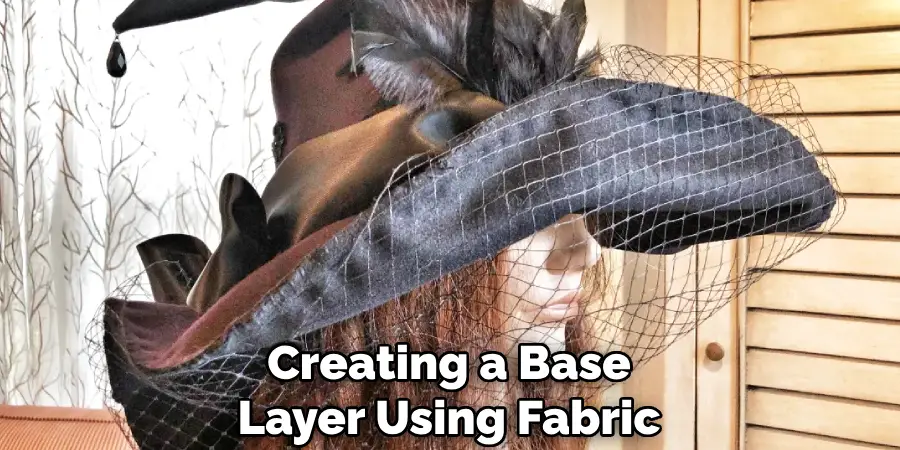
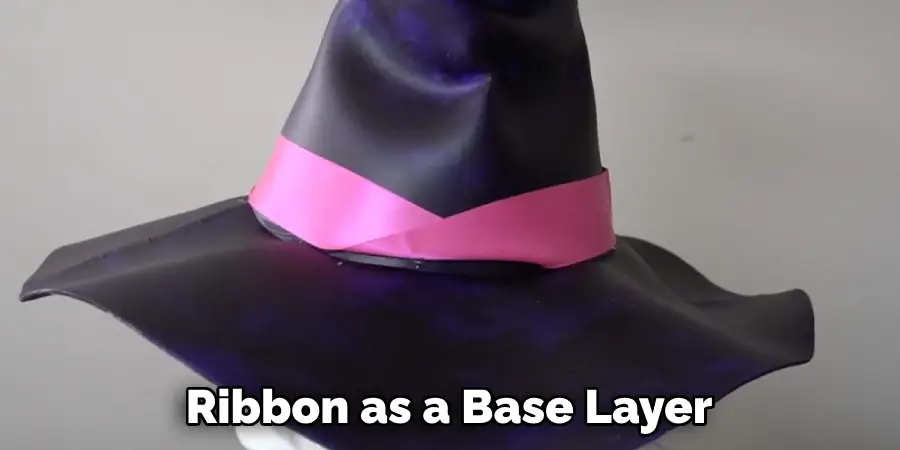
Start by creating a base layer using fabric, ribbon or paint. This will provide a solid foundation for your decoration and cover any imperfections on the hat. You can choose to wrap the fabric around the brim, create an intricate design using ribbon, or paint a solid color as the base. It’s entirely up to you and your desired design. The key is to make sure the base layer complements and enhances your final decoration.
Step 5: Add Embellishments
Now it’s time to add decorative elements like ribbons, flowers, charms, or stickers. Use the glue gun to attach them securely onto the hat. You can layer different materials for a more dynamic look, or stick to one type of embellishment for a cleaner finish. Remember to refer to your design plan and make sure the placement is balanced throughout the hat. But don’t be afraid to experiment and try out different combinations. The more unique, the better!
Step 6: Incorporate Texture
Adding texture can bring depth and visual interest to your hat. You can use materials like feathers, beads, lace, or even twisted paper strips to create texture. The key is to place them strategically and make sure they’re securely attached. You can also use a combination of materials for a more intricate look. The possibilities are endless, so let your creativity guide you. It’s also helpful to take a step back and look at your hat from different angles to ensure the texture is evenly distributed.
Step 7: Paint Details
If you want to add more personality to your hat, consider using paints and brushes to create designs or patterns. You can use stencils for a cleaner finish or go freehand for a more organic and unique look. Use different paint colors to add dimension, and don’t be afraid to mix and match techniques. Just make sure the paint is completely dry before proceeding to the next step. You can also add a layer of sealant to protect your design and make it last longer. But if you prefer a more natural look, you can skip this step.
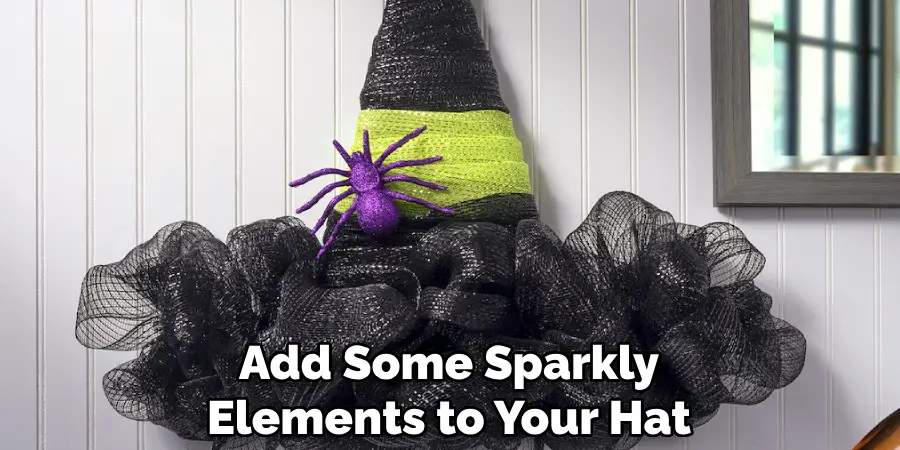
Step 8: Add Sparkle
For a touch of magic, add some glitter or sparkly elements to your hat. You can use glitter glue, loose glitter or even sew on rhinestones or sequins for a glamorous effect. Be mindful of the placement and make sure it complements your design. You can also add some shine to specific areas, such as the brim or top of the hat, for a focal point. But remember, a little sparkle goes a long way. But feel free to add as much or as little glitter as you want. It’s your hat, after all!
Step 9: Personalize It
To make your witch hat truly one-of-a-kind, consider adding personal touches. You can attach small items that hold significance to you, such as charms or trinkets. You can also write words or phrases with fabric paint or use iron-on transfers for a more polished look. The goal is to make your decoration unique and reflective of your personal style. It’s a great way to infuse your personality into the design. The more personal, the better!
Step 10: Final Touches
Take a step back and assess your hat. Are there any areas that need more embellishments or adjustments? Now is the time to add those final touches and make sure everything is securely attached. You can also trim any excess materials or clean up any messy edges. Remember, perfection is not the goal here. The imperfections are what make your hat unique and special. You can also add a personal touch, such as a hat band or bow, to finish off the look. It’s entirely up to you! The most important thing is to have fun and enjoy the process of creating your perfect witch hat.
Step 11: Let It Dry
Once you’re satisfied with your decoration, let it dry completely before wearing or displaying it. This will ensure that everything stays in place and gives time for any wet elements like glue or paint to fully dry. You can also use this time to clean up your work area and put away any leftover materials. It’s essential to take care of your tools and supplies so that you can use them for future projects. The last thing you want is to run out of glue during your next crafting session. It’s always better to be prepared!
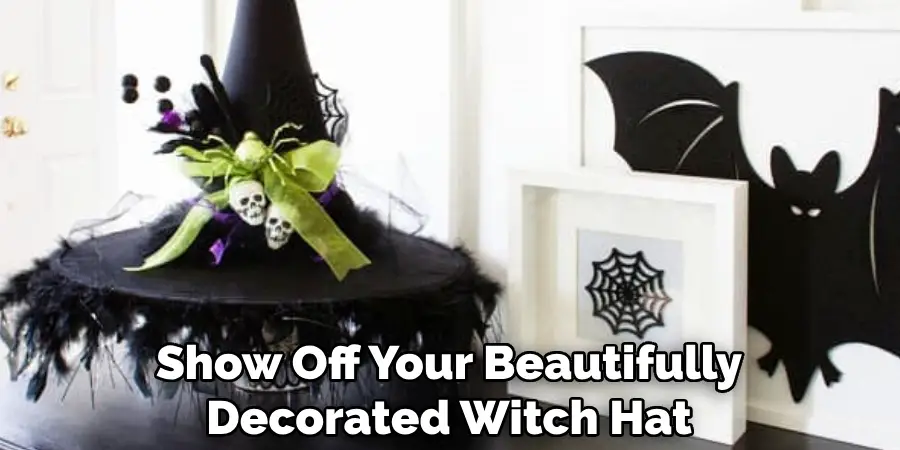
Step 12: Show Off Your Creation
Now it’s time to show off your beautifully decorated witch hat! Wear it as part of your Halloween costume, display it on a mannequin, or use it as a unique decoration for your home. You can also take photos of your hat and share them on social media to inspire others and show off your crafting skills. Most importantly, have fun with the process and enjoy the end result. Your witch hat is now one-of-a-kind and reflects your personal style perfectly.
Following these steps on how to decorate witch hat, you can create a unique and personalized witch hat that will make a statement at any Halloween party or event. Remember to let your imagination run wild and have fun with the design process. Happy crafting!
How Much Could It Cost?
The cost of decorating a witch hat will vary depending on the materials and decorations you choose to use. If you already have some crafting supplies at home, it could be a relatively inexpensive project. However, purchasing new materials such as fabric, ribbons, and embellishments can add up quickly. It’s essential to plan out your design and budget accordingly before starting the project.
You can also save money by repurposing materials or shopping at discount stores for affordable decorations. In the end, the cost of decorating a witch hat is up to you and how much you’re willing to spend on creating a unique and personalized piece. So get creative and have fun while keeping an eye on your budget! So go ahead and let your inner witch come out with a beautifully decorated witch hat. Happy crafting!
Troubleshooting and Common Issues
- If the Decorations Are Not Staying in Place, Make Sure to Use Enough Glue and Hold the Decorations in Place Until They Are Fully Secured.
- If Using Fabric or Ribbon as a Base Layer, Make Sure to Cut It to Fit the Shape of the Hat and Avoid Any Wrinkles or Creases.
 1
1 - In Case of Mistakes, Don’t Be Afraid to Remove and Reattach Elements or Cover Them With Other Materials.
- If Using Paint, Make Sure to Allow Enough Drying Time Before Handling the Hat Again.
- Always Be Careful When Using Hot Glue and Sharp Tools to Avoid Any Injuries.
- If the Hat is Too Heavy, Consider Using Lightweight Materials or Attaching Decorations Near the Base of the Hat for Better Balance.
Remember that there is no right or wrong way to decorate a witch hat. It’s all about letting your creativity shine and making something that you love. So go ahead and have fun while creating your one-of-a-kind witch hat!
Examples and Inspiration
To help get your creative juices flowing, here are some examples and ideas for decorating witch hats:
- Use a Black Lace Fabric as the Base Layer and Add Orange Ribbon and Plastic Spiders for a Spooky Look.
- Create a Floral Crown on Top of the Hat Using Fake Flowers, Leaves, and Twine for a Whimsical Touch.
- Use Metallic Paint and Stencils to Create a Constellation Design on the Hat for a Celestial-inspired Look.
- Add Small Potion Bottles, Brooches, and Other Witchy Accessories to Your Hat for an Extra Level of Detail.
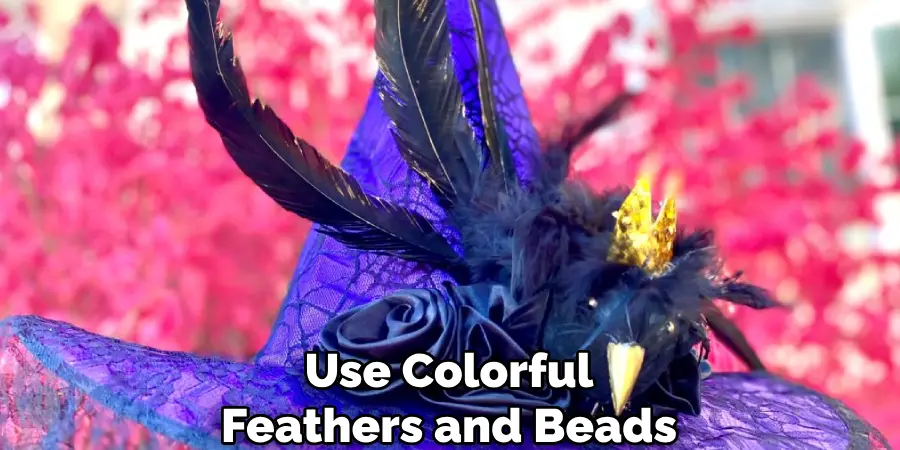
- Use Colorful Feathers and Beads to Create a Vibrant and Eye-catching Design.
The possibilities are endless, so don’t be afraid to think outside the box and make your witch hat truly unique. Happy decorating!
Frequently Asked Questions
Q: Can I Use Any Type of Hat for This Project?
A: Yes, you can use any type of witch hat or even a regular hat that you want to transform into a witch hat. Just make sure the material is suitable for decorating and will hold the decorations securely. You can also choose to use a hat that is already in the desired color or paint it beforehand.
Q: Do I Have to Follow These Steps Exactly?
A: No, these steps are just a general guide. You can mix and match the steps or add your own techniques to make your witch hat unique. The key is to have fun with the process and let your creativity shine.
Q: How Long Will the Decorations Last?
A: The longevity of the decorations will depend on the materials used and how well they are attached. If you want to preserve your hat for future use, store it in a cool and dry place away from direct sunlight or humidity. The decorations may need to be reattached or refreshed over time, but with proper care, your witch hat can last for years.
Q: Can I Decorate Other Types of Hats Using These Steps?
A: Yes, these steps can be applied to any type of hat that you want to decorate. Just make sure the materials and techniques are suitable for the specific hat’s material and shape. Have fun exploring different styles and designs! Final thoughts: With these steps, you can easily transform a plain witch hat into a unique and personalized accessory that will elevate your Halloween look. Don’t be afraid to experiment and add your own twist to the design process. Happy crafting and have a spooktacular Halloween!
Conclusion
Now that you have all the materials needed, it’s time to start decorating your witch hat! Remember to let your imagination run wild and have fun with your design. You can also get inspiration from different sources such as magazines, online tutorials, or even by looking at other decorated witch hats.
Don’t be afraid to experiment and try out new techniques or combinations of materials. The most important thing is to create a hat that reflects your personal style and makes you feel confident and fabulous.
So go ahead and put on your witch hat, grab your materials, and let the magic begin! With these tips on how to decorate witch hat and tricks, you’ll have a one-of-a-kind decorated witch hat in no time. Happy decorating!

