Are you looking for a way to create beautiful woodworking projects with precision and ease? Basswood is an ideal medium for crafting, providing a malleable surface that can be cut into intricate shapes and designs. With the right tools and techniques, you’ll be able to produce breathtaking results in your next project.
In this blog post on how to cut basswood, we’re breaking down the process of cutting basswood so that even beginner carpenters can learn how to use it confidently. Grab your saws and let’s get started!
What is Basswood?
Basswood, also known as American Linden or Tilia Americana, is a soft and lightweight hardwood that is widely used in various woodworking applications. Its pale color and fine grain make it popular for carving, making it an excellent choice for creating intricate designs. It’s also an affordable wood type, making it a go-to for both amateur and professional woodworkers.
Needed Materials
Given below are the basic materials that you’ll need before drafting your basswood.
- Basswood
- Saw (coping saw, jigsaw, scroll saw)
- Sandpaper
- Masking Tape
- Pencil
- Ruler
10 Step-by-step Instructions on How to Cut Basswood
Step 1: Prepare Your Workspace
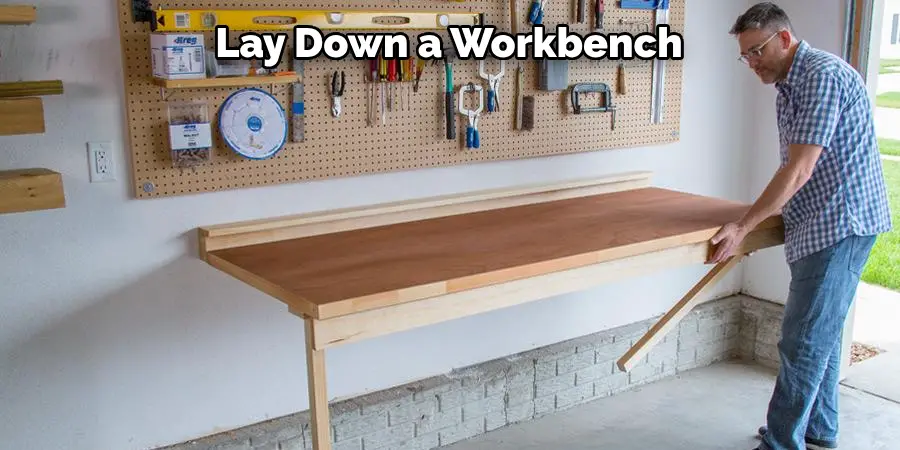
Before starting to cut your basswood, make sure to prepare your workspace for the task. Lay down a workbench or a flat surface and cover it with a protective sheet or newspaper to protect it from scratches and spills. It’s also a good idea to wear protective gear such as safety glasses and gloves. It’s essential to have good lighting so that you can see clearly while working.
Step 2: Choose Your Saw
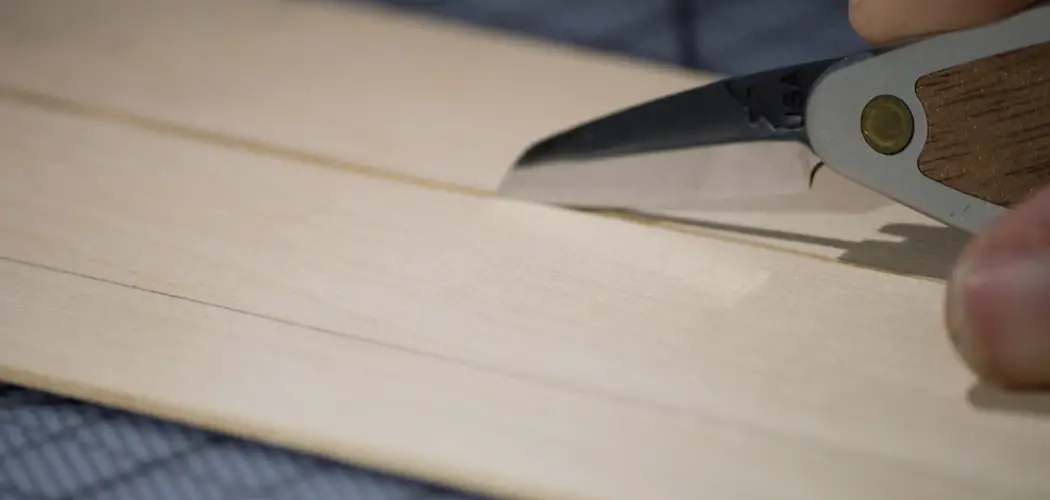
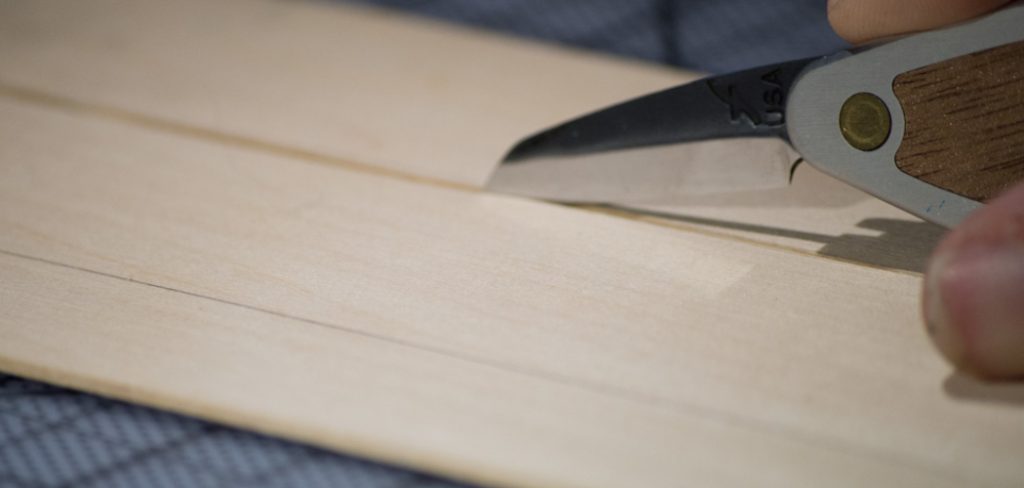
There are several types of saws that you can use for cutting basswood, such as a coping saw, jigsaw and scroll saw. Each has its own benefits and uses, so choose the one that best suits your project and comfort level. You can also use a utility knife or craft knife for more precise cuts, but it requires more skill.
Step 3: Mark the Cuts
Using a ruler and a pencil, mark the desired length and width of your basswood on its surface. It’s essential to be as accurate as possible since any mistake will result in uneven edges. But if you’re working on a freehand design, skip this step. If you’re working on a larger piece, you can use masking tape to create guidelines for your cuts.
Step 4: Secure the Basswood

Place your basswood on a flat surface and secure it with clamps or masking tape. This will prevent the wood from moving around while cutting and ensure that you get accurate results. It’s essential to clamp it tightly so that it doesn’t move while cutting. This step is essential for your safety as well. You don’t want your fingers to get caught between the saw and the wood.
Step 5: Cut Along the Markings
Using your chosen saw, carefully cut along the markings you made on the basswood. If you’re using a hand saw, make sure to use long strokes and move at a steady pace. For electric saws, let them do most of the work and guide them along the markings. For more intricate cuts, you may need to use a smaller saw blade. However, if you’re using a utility knife or craft knife, make sure to apply even pressure while cutting.
Step 6: Use Sandpaper
Once your cuts are made, use sandpaper to smooth out any rough edges or imperfections. This will give your basswood a professional finish and make it safe to handle. It’s also a good idea to sand the surface if you plan to paint or stain your wood. But be careful not to over-sand, as it may change the size and shape of your basswood.
Step 7: Change Directions
If you have continuous cuts in different directions, make sure to change the direction of your saw or move the wood accordingly. This will help in achieving straighter and cleaner cuts without any jagged edges or splinters. You can also rotate the wood if it’s easier for you. Remember to take your time and be patient. But if you’re using a coping saw, you can move the wood freely in all directions.
Step 8: Be Mindful of the Grain
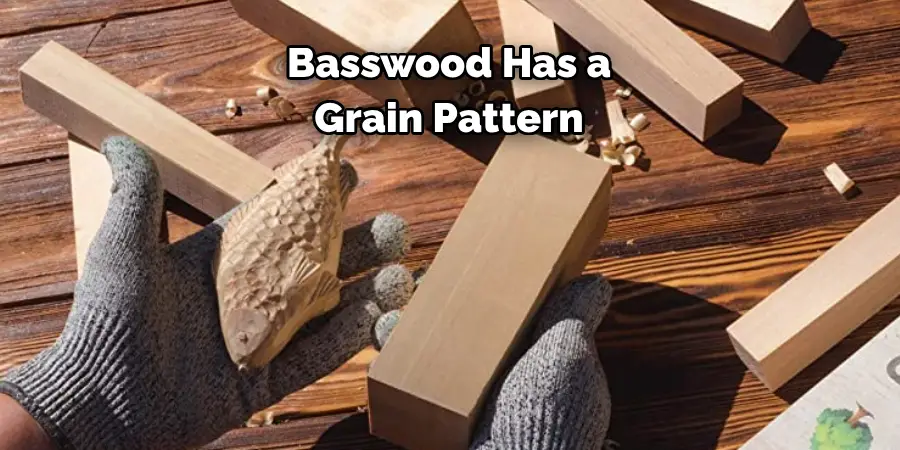
Basswood has a grain pattern that may affect your cuts, especially when using hand saws. Make sure to cut against the direction of the grain to produce smoother results. This applies mainly if you’re cutting curves or intricate designs. For straight cuts, it’s not as crucial. It’s essential to pay attention to the wood grain when sanding as well.
Step 9: Practice Makes Perfect
Cutting basswood requires practice and patience, especially if you’re new to woodworking. If you’re not satisfied with your first few cuts, don’t get discouraged. Keep practicing and experimenting with different saws until you find what works best for you. It’s also a good idea to start with simpler designs before moving on to more complex ones.
Step 10: Clean Up
After you’re done cutting your basswood, make sure to clean up your workspace. Dispose of any wood shavings or scraps and put away your tools properly. It’s also essential to wipe down the surface of your finished basswood with a cloth to remove any sawdust or debris. Now you can admire your precise and beautiful cuts on your basswood!
Following these ten steps on how to cut basswood, you’ll be able to cut basswood with confidence and produce stunning results in your woodworking projects. Remember to always prioritize safety and accuracy, and don’t be afraid to experiment and learn new techniques.
Do You Need to Use Professionals?
With the right tools and techniques, anyone can learn how to cut basswood effectively. However, if you’re working on a large piece or have more complex designs that require precise cuts, it’s always a good idea to consult with a professional. They have the experience and expertise to handle challenging projects and ensure that you get the best results.
So don’t hesitate to seek professional help if needed. The more you practice, the better you will become at cutting basswood on your own. Have fun and enjoy creating with this versatile wood species! So go ahead and give it a try, and see what beautiful creations you can make by learning how to cut basswood like a pro!
Frequently Asked Questions:
1. Can I Use a Utility Knife to Cut Basswood?
A1) Yes, you can use a utility or craft knife for more precise cuts, but it requires more skill and may take longer than using a saw. It’s best to use a saw if you want to make straight or curved cuts quickly. It’s also important to use a sharp utility knife and change the blade frequently for better results.
2. How Do I Know Which Saw to Use?
A2) The type of saw you should use depends on your project and comfort level. Coping saws are best for making curved cuts, jigsaws for thicker pieces, and scroll saws for intricate designs. Electric saws are also faster and easier to use, but it’s essential to choose the right blade for your specific project.
3. How Thick Can Basswood Be Cut?
A3) Basswood can be cut into various thicknesses depending on the type of saw you’re using. For hand saws, it’s recommended not to exceed 1 inch in thickness, and for electric saws, it can handle thicker pieces up to 2 inches. Always check the capacity of your saw before attempting to cut thicker basswood.
4. What Happens if I Cut Against The Grain?
A4) Cutting against the grain may result in jagged edges, splinters, or a rough finish. It’s best to pay attention to the direction of the grain and cut against it for smoother results. However, for straight cuts, it’s not as critical, but it’s still a good practice to follow. Always take your time and be patient when cutting basswood to avoid any accidents or mistakes. Happy woodworking! So get those tools out, clamp that wood down, and start cutting like a pro!
Conclusion
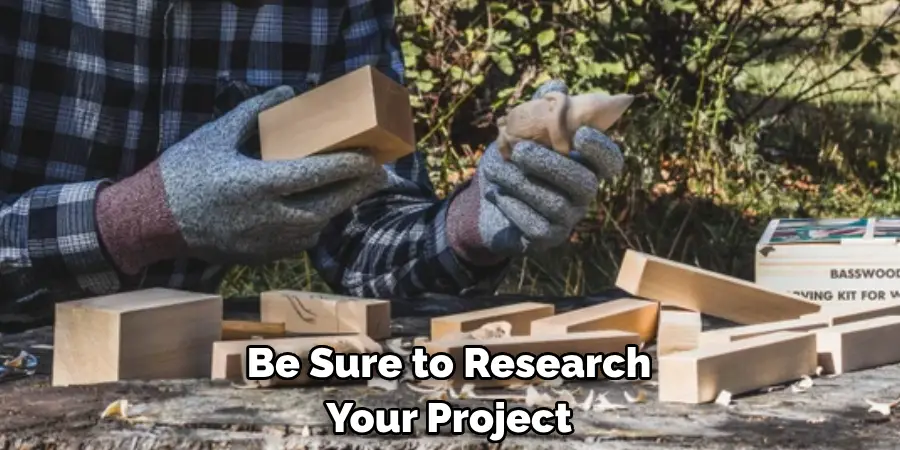
Overall, basswood is an easily manipulated and versatile material to work with in any woodworking project. With the proper tools and safety precautions in place, woodworking can be an enjoyable and rewarding experience. To prevent mistakes or frustration, be sure to research your project ahead of time and take measurements conservatively.
When it comes to cutting basswood, the most important factor is patience — measure twice and cut once. Not only will this ensure precision cuts, but also that you get the most out of your pieces of basswood. If you find yourself needing assistance at any point in your project, never hesitate to seek out more information or ask for help from someone who knows their way around the workbench. Thanks for reading this article on how to cut basswood.

