Are you ever looking for that special something to dress up an outfit or project? Crocheting lace trim is the perfect way to add texture, color and pizzazz! With a few simple stitches, you will be able to transform even the simplest of projects into something extraordinary.
Starting your own crocheted lace journey may seem daunting within itself, but once you understand the basics it can become one of your favorite hobbies—maybe even quickly enough for gifting this holiday season! Continue reading below and let us show you exactly how to crochet lace trim with confidence and craftsmanship.
Crocheting lace can help add delicate details to garments or other projects that can take them from plain to breathtaking! With patience and practice, anyone can learn how to transform yarn into intricate works of art. So get ready: here’s everything you need to know about how to crochet lace trim so that soon enough everyone will be asking where they too could get such amazing handmade items!
Why May You Want to Crochet Lace Trim?
1 . To Add a Special Touch
Crocheted lace trim is a great way to add a special touch to any garment or accessory. The delicate beauty of the intricate stitch patterns adds an extra level of sophistication, making it perfect for formal occasions. And since you can customize it with different colors and yarn textures, you can make sure your projects stand out from the crowd!
2 . To Match Any Style
Whether you’re looking for something simple and elegant or something bold and eye-catching, crocheted lace trim is the perfect choice! With a variety of stitch patterns available, you can easily find the right look to match your individual style. Plus, because it’s so lightweight and flexible, it can be used on almost any fabric – from delicate silk to sturdy denim.
3 . To Bring Out Your Creativity
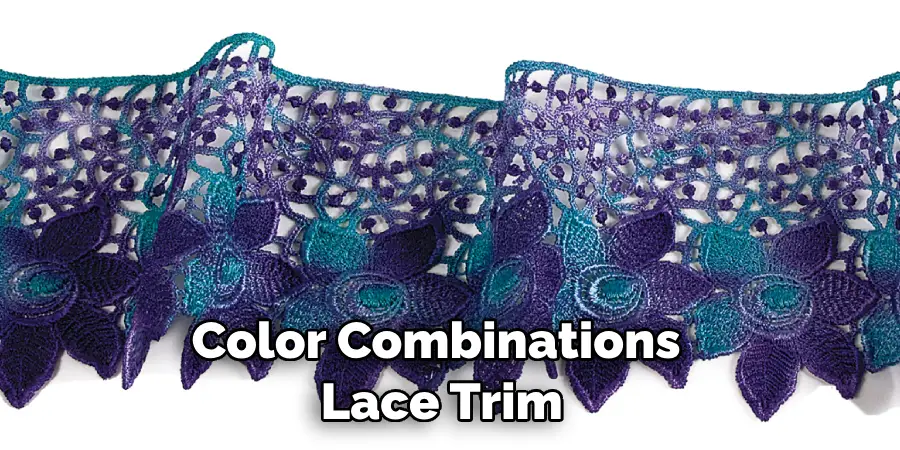
Crocheting lace trim is a great way to express your artistic side and get creative with stitches and color combinations! You can use different stitch patterns for interesting effects, or combine multiple colors to create unique designs. With crocheted lace trim, the possibilities are truly endless!
4 . To Add a Vintage Touch
Crocheted lace trim is a great way to add an antique charm to any garment. Its timeless beauty and intricate stitches make it the perfect choice for adding an old-fashioned touch to vintage-inspired pieces. Whether you’re going for a classic look or something more modern, crocheted lace trim can help give your pieces that special touch.
5 . To Make Your Projects Last Longer
Unlike other types of trim, crocheted lace is strong enough to stand up to wear and tear. Its delicate stitch patterns are made with durable yarns, which means you can be sure that your projects will last for years to come! Plus, because it’s so lightweight, it won’t add any extra bulk or weight to your garments.
6 . To Have Fun!
Above all else, crocheting lace trim is a great way to have some fun and get creative with stitches and textures! It’s a surprisingly relaxing pastime, and the intricate patterns are sure to keep you hooked for hours on end.
How to Crochet Lace Trim in 6 Easy Steps
Step 1: Gather All the Tools
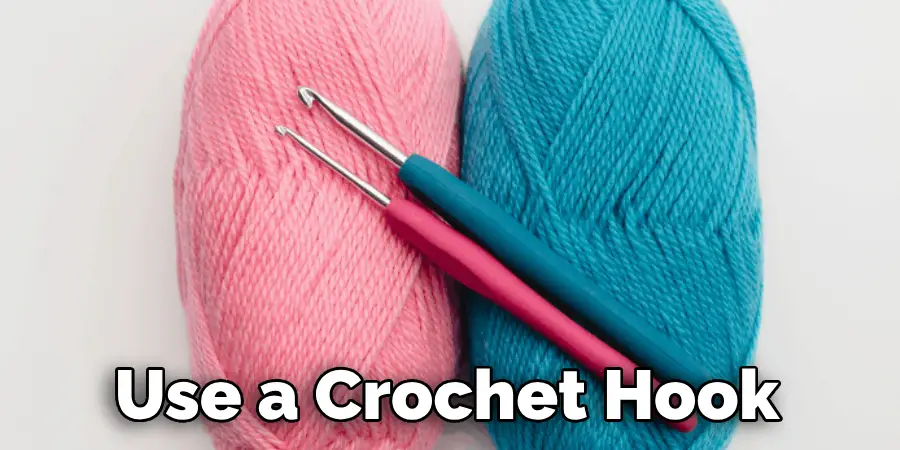
The very first step is to make sure you have all the necessary tools and materials. For crocheting lace trim, you will need a crochet hook of the appropriate size for your desired pattern, plus yarn or thread that are suitable for the project. Depending on your skills level and preferences, you may also want to have a tapestry needle, stitch markers or other small tools.
Step 2: Select a Pattern
Choose which pattern you would like to use for your lace trim. Lace is often crocheted with a single crochet stitch, but some patterns may require other stitches as well. Make sure the pattern you choose will fit with your desired end product.
Step 3: Prepare the Yarn or Thread
Secure the end of your yarn or thread and prepare it for crocheting. Depending on the type of material you are using, this can be done in a variety of ways, including wrapping it around a tapestry needle, creating a slip knot or looping it around your hook several times.
Step 4: Begin Your Pattern
Once you have prepared your yarn or thread, begin crocheting following the instructions of your pattern. You may need to start with a few chains, or single or double crochet stitches depending on the pattern being used.
Step 5: Follow Your Pattern
Continue to crochet according to the instructions in your pattern. Make sure to pay close attention so that you are following the pattern correctly.
Step 6: Finishing Touches
Once you have finished crocheting your lace trim, you may need to add any finishing touches. This can include cutting and tying off the end of the yarn or thread, weaving in any loose ends, blocking or stiffening the lace with starch or fabric glue, and more.
Extra Tips to Crochet Lace Trim
1 . Do Not Pull Your Yarn Too Tight
It is important to remember that when working with lace trim, it is essential to keep the tension of the yarn at a comfortable level. If you pull your yarn too tight, the stitches will be distorted and difficult to create. Instead, focus on maintaining consistent tension throughout your project.
2 . Choose High-Quality Yarn
When working with lace trim, it is important to choose high-quality yarn. Low-quality yarn may be too thin or light, resulting in a fragile and brittle lace trim that can easily fray or break. Look for sturdy fibers such as cotton, acrylics, bamboo, etc. for best results.
3 . Keep the Chain Loose
When beginning a project with crochet lace trim, be sure to keep the initial chain loop loose. This will make it easier to create even stitches throughout the length of the lace trim. Additionally, keeping your chain loop loose will prevent any puckering or ruffling that could occur due to tight stitches.
4 . Use Blocking Techniques
Blocking your projects is an important part of creating crochet lace trim. Blocking will help to even out any uneven stitches, as well as provide the lace trim with a more professional finish. You can also use blocking techniques to add texture and shape to your crochet pieces.
5 . Try Different Finishing Techniques
Once you have finished crocheting your lace trim, there are several different ways to complete the project. You can use a single crochet stitch along the edges of the trim for a neat finish or add decorative tassels for an ornate look. Experiment with different techniques to find one that best suits your project!
Frequently Asked Questions
What Precautions Should I Take When Crocheting Lace Trim?
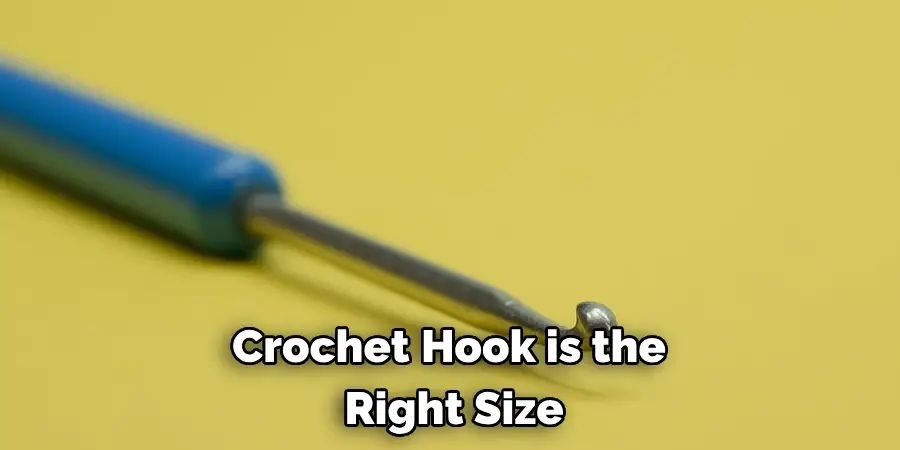
When crocheting lace trim, it’s important to take a few precautions. Be sure that your crochet hook is the right size for the yarn you’re using and that your tension is even throughout; otherwise, the edges of your work won’t look neat. Additionally, make sure to use fabrics that are easy to work with – ones that won’t fray and which will be able to hold their shape.
It’s also essential that you use pins or clips to keep the lace in place during the stitching process so as not to pull it out of shape. Finally, it’s important to plan ahead for each row as you crochet, making sure that each stitch is evenly spaced and lined up with the previous row. Doing so will help ensure a neat finish.
What Types of Yarns Are Best Suited for Crocheting Lace Trim?
When it comes to crocheting lace trim, natural yarns such as cotton and linen are ideal because they tend to hold their shape well and have a nice drape. However, if you’re looking for a more voluminous look, wool or synthetic yarns work well too.
When choosing the right yarn for your project, it’s important to consider how soft it is and the way it drapes. Also, make sure that the yarn has enough elasticity so that all of your stitches remain even.
What Is The Easiest Way To Make Crochet Lace Trim?
The easiest way to make crochet lace trim is to start with a chain stitch and then work in rows of single crochet, half double crochet, or double crochet. You can also use slip stitches along the edges for neat finishes.
Once you have finished crocheting your trim, it’s important to block it so that it holds its shape. This can be done with a blocking board and some pins or clips. Finally, weave in any loose ends to secure the trim. With these steps, you’ll have beautiful crochet lace trim that will add a special touch to your projects!
Conclusion
Crafting with thread is a unique and satisfying experience, and learning how to crochet lace trim is a great way to add an interesting detail to your projects. Not only is this technique perfect for the new crafter who wants to practice working with thread, but it can also be used to create beautiful works of art.
With some practice, you will become an expert at crocheting your own lace trim for project like scarves, tops, and even home décor pieces. Attempting to crochet your own lace trim can be a challenging yet rewarding endeavor; whether you’re trying out something completely new or refining something you’ve already worked on in the past, you’ll soon be able to use this special skill as part of your crafting repertoire and stand out among other seamstresses!

