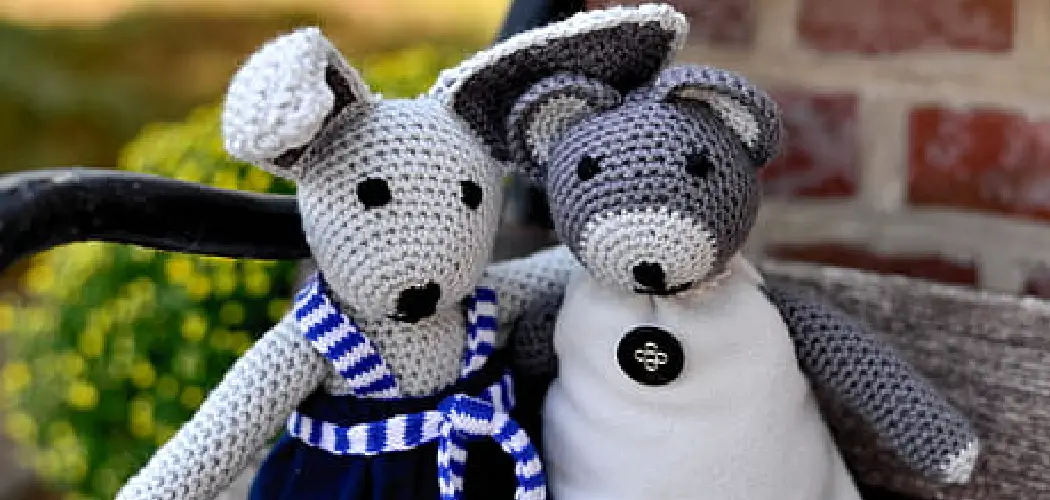
Crocheting, a timeless craft that weaves yarn into delightful creations, opens the door to crafting an array of charming items. Among these treasures is the enchanting world of crocheting mini bunnies, where strands of yarn transform into adorable, palm-sized companions. The art of crafting these miniature wonders encapsulates both the joy of creating and the satisfaction of holding a handmade masterpiece.
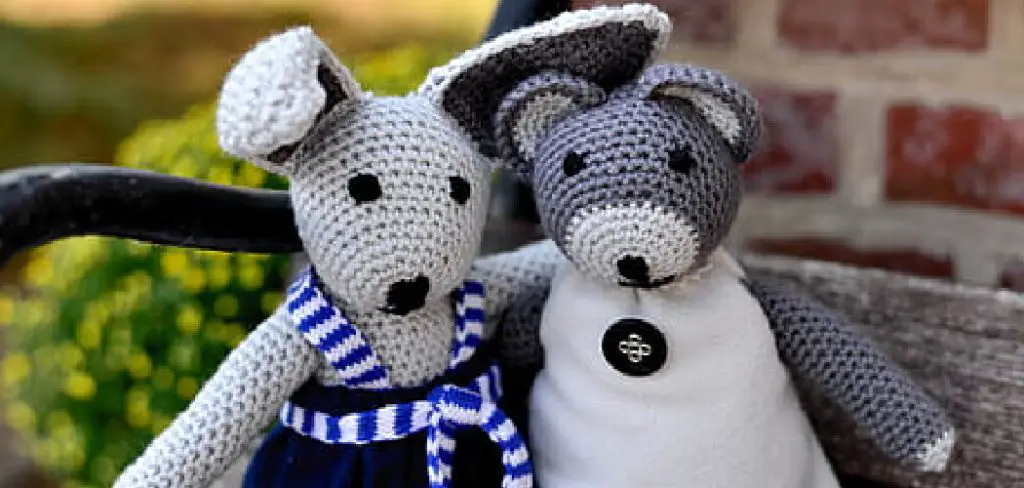
With every stitch, you embark on a journey to craft a whimsical bunny that is not only a testament to your skill but also a tangible embodiment of warmth and creativity. In this article, we will delve into how to crochet a mini bunny, guiding you through each step of the process.
From selecting the perfect yarn and hook to mastering the intricacies of forming stitches, you’ll find yourself captivated by the magical transformation of yarn into a lovable crocheted critter.
The Topic of Crocheting a Mini Bunny as a Charming and Creative Project
We all want to make something special with our hands – a creative project that will be able to capture the hearts of others. Crochet is one of the best possible crafts you can choose for such a task, and crocheting a mini bunny is an absolutely charming and memorable way to show off your creativity! In this tutorial, we’ll go over how to crochet a mini bunny and turn it into an adorably cute little friend.
First, you’ll need to gather your supplies: yarn in the color of your choosing, as well as a crochet hook that is suited for the yarn’s thickness. You’ll also need some stuffing material such as cotton or polyester fill, plus a pair of scissors and a yarn needle for finishing.
Next, you’ll begin the process of crocheting your mini bunny. Start by making a slip knot and then create 8 single crochet stitches in a circle. Make sure that these are tightened enough so that there won’t be any gaps when you add stuffing later on. Then, do 2 rounds of single crochet stitches – 1 round with 9 stitches and 1 round with 10 stitches – to create the body of your mini bunny. After that, it’s time to start forming the parts of your bunny!
To make the ears, crochet 4 single crochet stitches on each side of your bunny, creating 8 total ear stitches. To finish them off, do 2 rows of single crochet stitches for each ear before cutting the yarn and pulling it through the last stitch.
For the arms, crochet 2 single crochet stitches in one stitch on each side of your bunny. From there, do 4 rounds of single crochet stitches before cutting the yarn and pulling it through the last stitch.
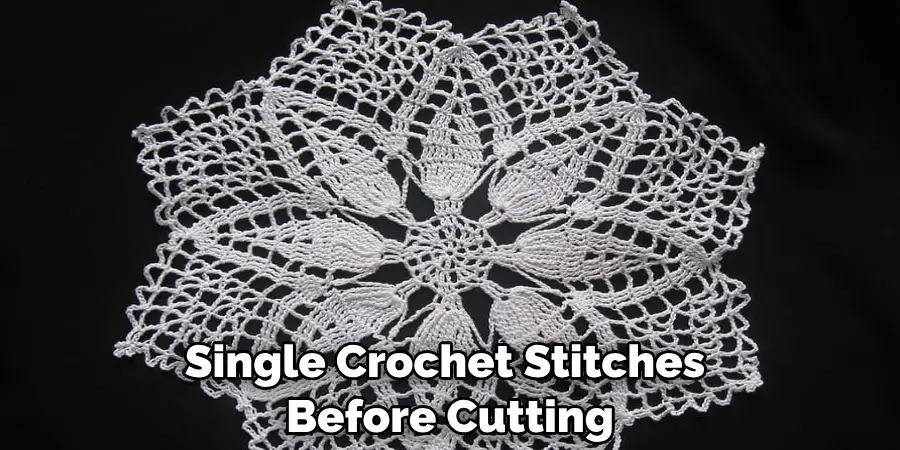
The Satisfaction of Crafting Handmade Creations
Crocheting a mini-bunny can be an incredibly satisfying experience, especially for those who are just beginning to learn this craft. Not only is it fun and easy to create these adorable little creatures, but the end result will bring a smile to anyone’s face! Here is an overview of how you can get started on your own mini-bunny crochet project.
First of all, you’ll need to get the necessary supplies. You will need a pair of scissors, a crochet hook, some yarn in your preferred color (small amounts are fine), and safety eyes for your mini-bunny. Optional materials include stuffing material and felt for decoration.
Once you have everything ready, it’s time to start crocheting your mini-bunny! Use a basic chain stitch to create four rows of 10 single crochet stitches. This will form the base for your mini-bunny. Then, continue to crochet in the same pattern until you reach the desired length (the end should be slightly tapered).
To give your bunny its shape, begin decreasing the amount of stitches in each row until you reach the desired size. After that, slip stitch to end the last row and tie off your yarn.
Now it’s time to add some personality to your mini-bunny! Using felt, you can cut out small shapes for ears or a nose and attach them using a few basic stitches.
11 Steps How to Crochet a Patchwork Cardigan
Step 1: Gathering Materials and Inspiration
Embarking on a mini bunny crochet project begins with gathering the necessary materials and seeking inspiration. Assemble the following items:
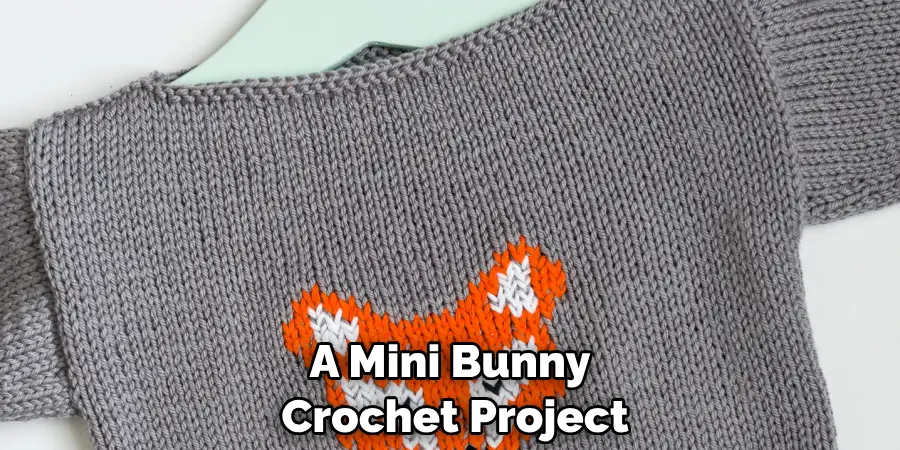
Crochet hooks: Choose an appropriate hook size based on the yarn you’re using; smaller hooks create tighter stitches for a neat finish.
Yarn: Opt for soft, lightweight yarn in the colors of your choice. Pastel shades work well for bunnies, but feel free to personalize.
Fiberfill stuffing: This will give your bunny its shape and a plush feel.
Yarn needle and scissors: Essential tools for weaving in ends and sewing parts together.
Safety eyes or embroidery thread: Use safety eyes for a polished look, or embroidery thread to stitch eyes if you prefer a more handmade appearance.
Stitch markers: Useful for marking the beginning of each round.
As you gather materials, explore various crochet bunny patterns online or in books. Let these ideas guide your color choices and overall design.
Step 2: Choosing a Pattern
Select a crochet pattern that suits your skill level and desired bunny size. Patterns range from simple to intricate, so pick one that matches your proficiency. Read through the pattern instructions thoroughly before you start.
Step 3: Starting with the Body
Begin by crocheting the bunny’s body. Typically, you’ll start with a magic ring and work single crochet stitches in a spiral to create a seamless body. Follow the pattern’s stitch count and rounds carefully, using stitch markers to keep track.
Step 4: Adding Limbs
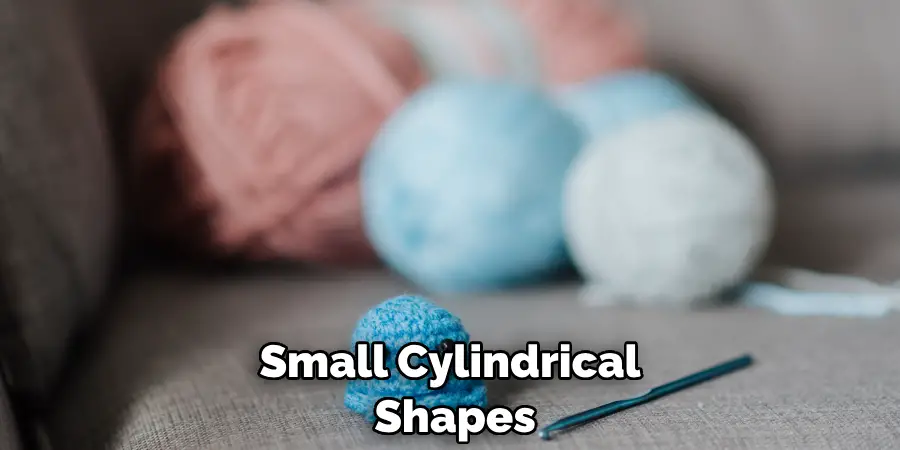
The next step involves crocheting the bunny’s limbs: four legs and two arms. These are usually small cylindrical shapes. Depending on the pattern, you might work them in rounds or rows. Remember to stuff each limb with fiberfill before closing it up.
Step 5: Crafting the Head
Crocheting the head involves forming a sphere. Work in continuous rounds, adding stitches evenly to achieve a round shape. As you reach the desired size, insert safety eyes or embroider eyes using contrasting yarn. Attach the head to the body, making sure it’s securely fastened.
Now it’s time to make the bunny’s ears. Using a color of yarn that matches your bunny, chain three stitches. Single crochet two times into the same stitch and then single crochet two more times into the next stitch.
Step 6: Shaping the Ears
The bunny’s ears can be simple or elaborate, depending on the pattern. Generally, you’ll create two ear shapes using increases and decreases to achieve the desired form. Attach the ears to the head, positioning them according to the pattern’s instructions.
Step 7: Stitching the Features
Using embroidery thread or yarn, add the bunny’s nose, mouth, and any other facial features. This is your chance to infuse personality into your mini bunny. Take your time to ensure the features are symmetric and well-placed. You can use a needle or hook to stitch them into place.
Once all the facial features are attached, your mini bunny is complete! Show it off to friends and family for some extra love and attention.
Step 8: Finishing Touches
With the main components assembled, it’s time to add any additional elements. You might attach a tiny crochet bow, a ribbon collar, or a miniature accessory that complements your bunny’s character. These touches enhance the uniqueness of your creation.
Step 9: Assembling the Bunny
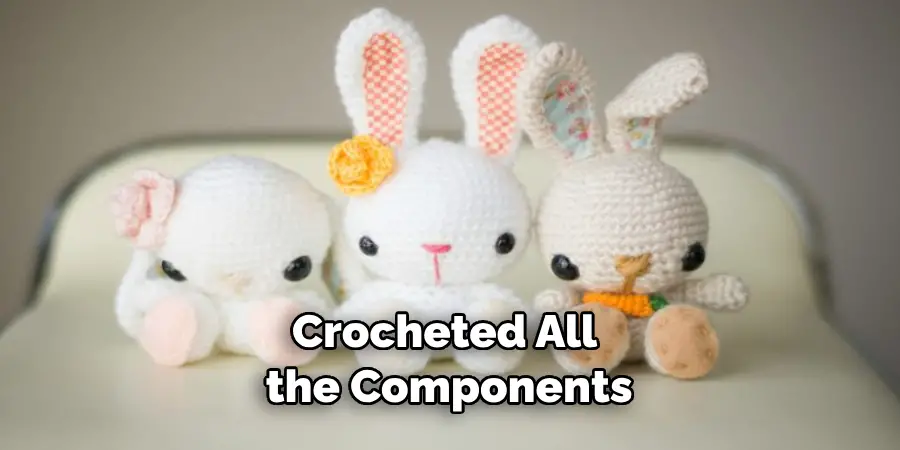
Now that you’ve crocheted all the components, it’s time to assemble your mini bunny. Start by attaching the limbs to the body using a yarn needle. Position them evenly and sew them securely to ensure stability.
Step 10: Adding Final Details
The last step involves giving your mini bunny a polished appearance. Check for any loose yarn ends and weave them in using a yarn needle. Make any necessary adjustments to the limbs, ears, or features. Give your bunny a gentle fluff and reshape if needed.
Step 11: Optional: Creating a Mini Bunny Environment
If you’re feeling adventurous, consider creating a small environment for your mini bunny. Crochet a tiny basket, blanket, or cushion to place your bunny on. This adds an extra layer of charm to your creation and can make for an adorable display.
Conclusion
Creating a mini bunny is an enjoyable experience that allows you to unleash your creativity. Each bunny is unique and special. You can use the same pattern but customize the colors or structure of your bunny depending on what the end result should be. Start with gathering all the materials that you need, following the directions in this article step-by-step, and finishing up by stuffing and gluing them together.
Don’t forget to treat yourself as well and have some chocolate or other sweet treats while crocheting! With patience and practice, anyone can learn how to crochet a mini bunny. Try it out today for an uplifting craft project or give one to someone you care about – they will definitely appreciate it more than anything else!

