
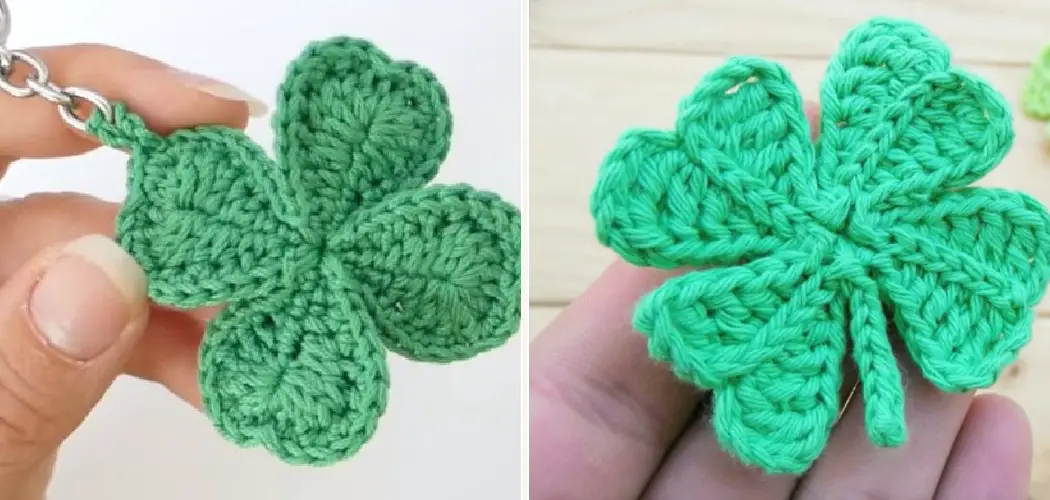
Do you have a knack for knitting and an eye for intricate patterns? If so, you’ll absolutely love learning how to crochet a four leaf clover! It looks complicated, but this fun craft project is actually quite easy to master with the right tools and some careful guidance.
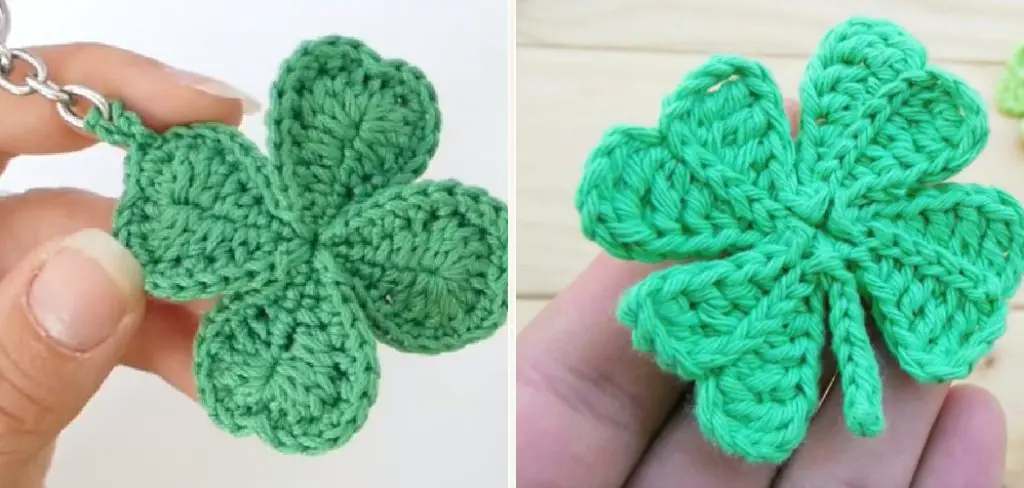
All it takes is patience and practice – once you get started, you’ll be able to turn out beautiful crocheted four-leaf clovers in no time at all.
In this blog post, we’ll discuss everything from the essential materials that are required to successfully complete your project to actual step-by-step techniques on how to crochet each individual petal shape of the clover. With enough diligence, soon enough, you will have an entire garden made up of these exquisite creations!
10 Methods How to Crochet a Four Leaf Clover
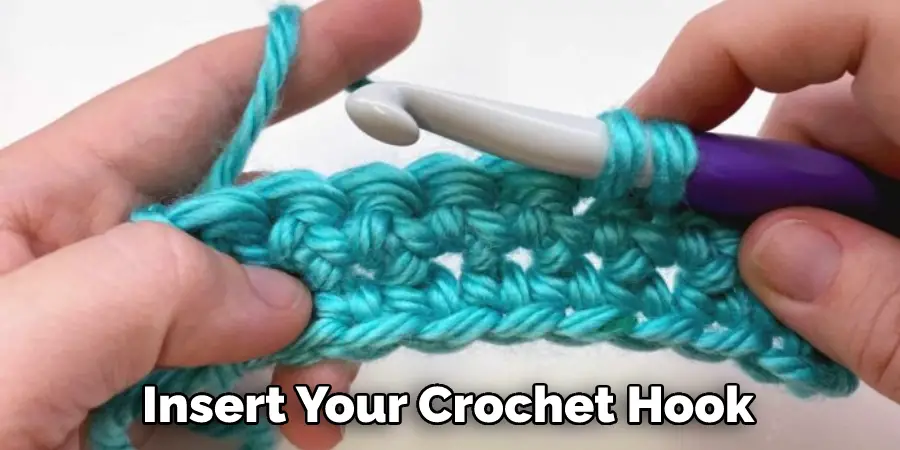
1. Using a Crochet Hook
The first step in crocheting a four-leaf clover is to gather the supplies you will need. For this project, you will need a crochet hook, yarn, and scissors. Once you have all of your supplies, you can begin crocheting your four-leaf clover.
Start by making a slip knot with the yarn and placing it on your crochet hook. If you’re a beginner, you may want to practice making a few slip knots before starting your clover.
2. Making a Slip Knot
To start crocheting your four-leaf clover, you will need to make a slip knot. To do this, take your yarn and make a loop. Then, insert your crochet hook into the loop and pull the yarn through. You should now have one loop on your crochet hook.
If you need more assistance, watch a few tutorials online for assistance. Although a slip knot is not strictly necessary to start crocheting, it helps the process go more smoothly.
3. Crocheting the First Leaf
To crochet the first leaf of your four-leaf clover, you will need to make a chain of three stitches. To do this, wrap the yarn around your hook once, then pull it through the loop that is currently on your hook. This will give you one chain stitch. Repeat this process two more times until you have a chain of three stitches.

Next, wrap the yarn around your hook again and pull it through the first two loops on the hook to make a single crochet stitch. Make three more single crochets into the same chain stitch, putting all four stitches into the same chain.
Then, slip the stitch into the third chain from your hook and make four single crochet stitches into that chain. Slip stitch again into the same chain to make the first half of your first leaf.
4. Crocheting the Second Leaf
To crochet the second leaf of your four-leaf clover, you will need to make a chain of two stitches. Insert your hook into the fourth stitch from the beginning of the chain, yarn over it, and pull up a loop. Yarn over and draw through all three loops on your hook. This is the first single crochet of the second leaf.
Next, make two more single crochets in that same stitch. Then, make a decrease stitch by inserting your hook into the next stitch, yarn over, and draw up a loop. Yarn over again, insert the hook into the stitch after that, and draw up another loop. Yarn over again and draw through all four loops on your hook.
5. Crocheting the Third Leaf
To crochet the third leaf of your four-leaf clover, you will need to make a chain of one stitch. This will be the stem of your clover once you have made this chain; single crochet two stitches in each chain stitch across. At the end of the row, you should have three stitches.
Turn your work and single-crochet three stitches in the last chain stitch from the previous row, making sure to leave one loop on the hook before completing the last stitch. Turn your work and single-crochet two stitches in each of the three stitches from the previous row. At the end of this row, you should have five stitches.
6. Joining the Leaves Together
Once you have completed all three leaves, it is time to join them together at the stem. To do this, take the first two leaves and hold them together with the wrong sides facing each other. Then, insert your crochet hook into both loops of each stitch and yarn over.
Pull the yarn through both loops and then through the loop on your hook to complete the stitch. Repeat this step until all three leaves are joined together at the stem. If needed, use stitch markers to help keep the leaves in place. After all of the leaves are joined together, tie off your yarn and cut off any excess threads.
7. Crocheting the Fourth Leaf
Once all three leaves are joined together at the stem, it is now time to crochet the fourth leaf. To do this, you will need to make a chain of two stitches. Next, insert the hook into the loop before the stem, and join to the chain by making a slip stitch. Make two single crochet stitches in the same loop and then one double crochet stitch in each of the next three chains.
After that, make two single crochet stitches in each of the next two loops and then one double crochet stitch in each of the next three chains. To finish off this leaf, make two single crochet stitches in the last loop before the stem and join with a slip stitch.
8. Joining the Fourth Leaf to the Stem
Once you have completed your fourth leaf, it is time to join it to the stem of your four-leaf clover. To do this, take all four leaves and hold them together with the wrong sides facing each other.
Then, insert your crochet hook into both loops of each stitch and yarn over. Pull the yarn through both loops and then through the loop on your hook to complete the stitch. Repeat this step until all four leaves are joined together at the stem.
9. Fastening off Your Four Leaf Clover
Once you have finished joining all four leaves of your four-leaf clover together at the stem, it is now time to fasten off your project. To do this, insert your hook through the last loop on your hook and yarn over. Pull the yarn through the loop and then cut off the remaining yarn.
Make sure to leave a tail that is at least 4 inches in length. Use this tail to sew the four-leaf clover onto other projects or securely weave it into the project itself. Congratulations! You have completed your first four-leaf clover crochet pattern.
10. Adding a Finishing Touch
For an extra special finishing touch, you can add a ribbon to your four-leaf clover by inserting it into the stem of your project and tying a knot at the base. This will help keep your clover in place and also make it look even more beautiful!
Now that you know how to crochet a perfect four-leaf clover, why not get started on making these lovely creations? With enough patience and practice, soon enough, you’ll be able to create an entire garden of these unique crocheted clovers!
Things to Consider When Crocheting a Fout Leaf Clover
1. Pattern
It is important to select the right pattern for your four-leaf clover. There are several patterns available online and in craft stores. Choose one that is easy to follow and suits your skill level.
2. Yarn
The type of yarn you use will determine the size, texture, and look of your four leaf clover. Bulky yarns are best suited for larger projects, while thinner yarns are ideal for more intricate designs. Consider the color of your yarn as well—most people associate a green clover with luck, so use green yarn for your project.
3. Hook size
Crochet hooks come in different sizes, each one designed to work best with certain yarns and patterns. Select the right hook for your four leaf clover—too large or too small of a hook can create projects that don’t look as good or are more difficult to crochet.
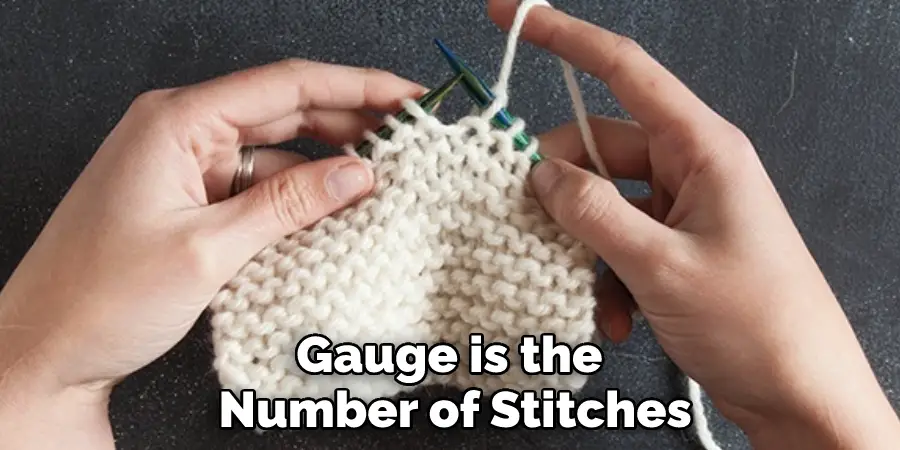
4. Gauge
Gauge is the number of stitches and rows you will use in a 4-inch (10 cm) square. This ensures that all parts of your four-leaf clover are uniform and the same size. If you don’t get a gauge, your clover may turn out too big or too small.
Conclusion
Now that you know how to crochet a four leaf clover, you can add this lucky charm to any of your projects! Whether you make a few to embellish a hat or blanket or craft a whole shamrock garland, these little clovers are sure to bring some extra luck your way.
Clover motifs are also popular in Ireland, so these would make great gifts for anyone who loves Irish culture. If you’re feeling extra crafty, you could even crochet a whole field of clovers – the sky’s the limit!
You Can Check It Out to Make Mistletoe Out of Paper