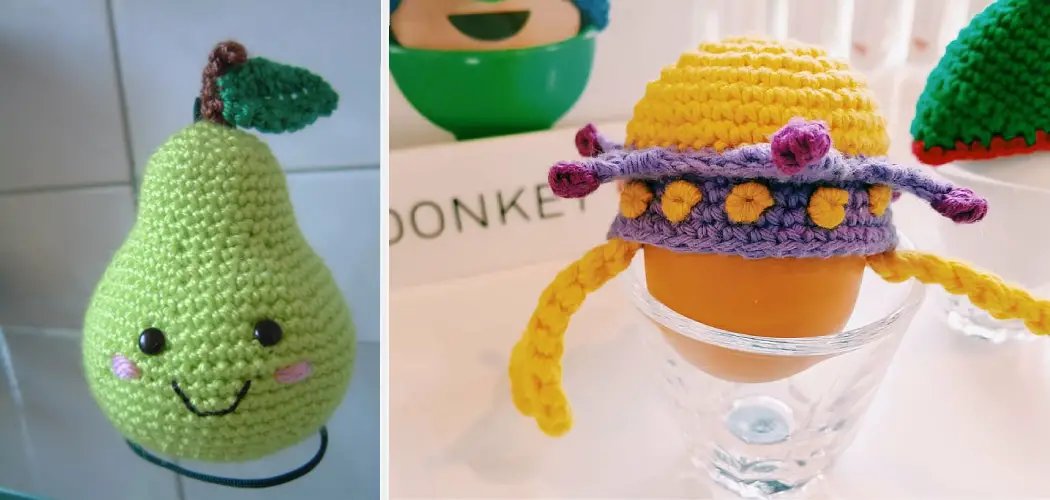
If you’re a fan of both crafting and deliciously cute creations, then crocheting an avocado might just be the perfect project for you! The art of crocheting has taken the world by storm, allowing crafters to transform yarn into a wide array of imaginative designs. Among these, the crochet avocado stands out as a charming and quirky choice.
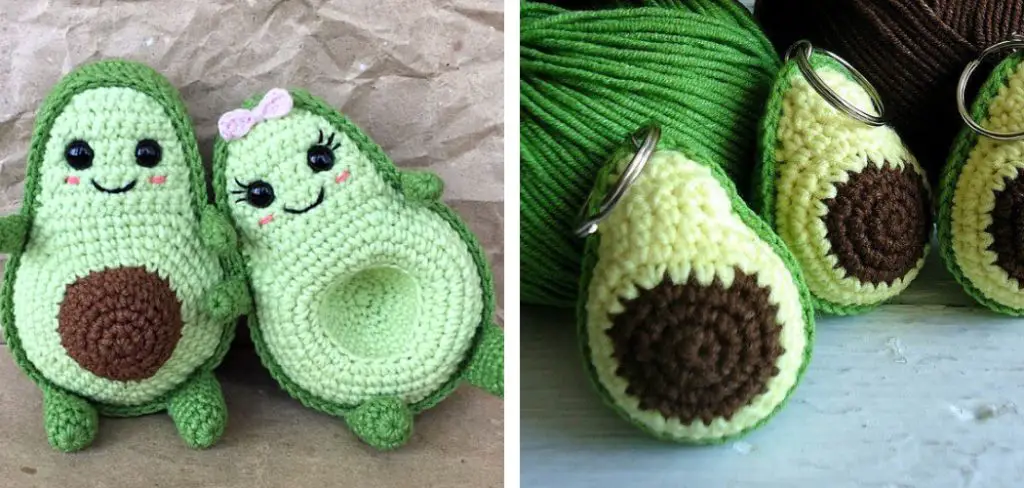
With its vibrant green hue, soft texture, and whimsical appeal, crocheted avocados have become a popular trend for both beginners and experienced crocheters alike.
Whether you’re looking to spruce up your home decor, add a touch of whimsy to your keychain collection, or create a unique gift, mastering the art of crocheting avocados offers a delightful and rewarding experience.
In this article, we’ll delve into the essential steps and techniques required how to crochet avocado, exploring everything from selecting the right yarn to crafting the intricate details that bring this beloved fruit to life. So, grab your crochet hook and let’s embark on a journey to create an adorable crocheted avocado masterpiece!
Introduction to the Avocado Crochet Project
Welcome to the world of Avocado Crochet! This project is perfect for those who want to create something special and unique. Whether you’re a beginner or an experienced crocheter, we have all the materials and instructions you need to create beautiful avocados with ease.
We’ll start by exploring our choice of yarns and hooks, then move on to the basics of crochet stitches and techniques. Finally, we’ll create an adorable avocado amigurumi that you can display in your home or give as a gift!
Importance of Selecting Appropriate Materials
When learning how to crochet an avocado, one of the most important steps is selecting the appropriate materials. You’ll need a suitable crochet hook and yarn for your project.
Generally speaking, thin yarn (sport weight or baby weight) with a small hook (2 mm-3 mm in size) is ideal for creating miniature avocados. Make sure you choose colors that match the avocado as closely as possible. If you’re feeling creative, consider selecting different shades of green to add texture and dimension to your work! Once you’ve chosen your materials, it’s time to start crocheting!
The key to making a realistic-looking crochet avocado is attention to detail. Your finished product should look as much like an actual avocado as possible. Pay attention to the details–from the shape of the pit to the texture of the skin–to ensure you make a realistic-looking creation. You can also add little touches such as crocheting tendrils or leaves along its sides to give it some extra personality.
Yarn Selection and Color Options
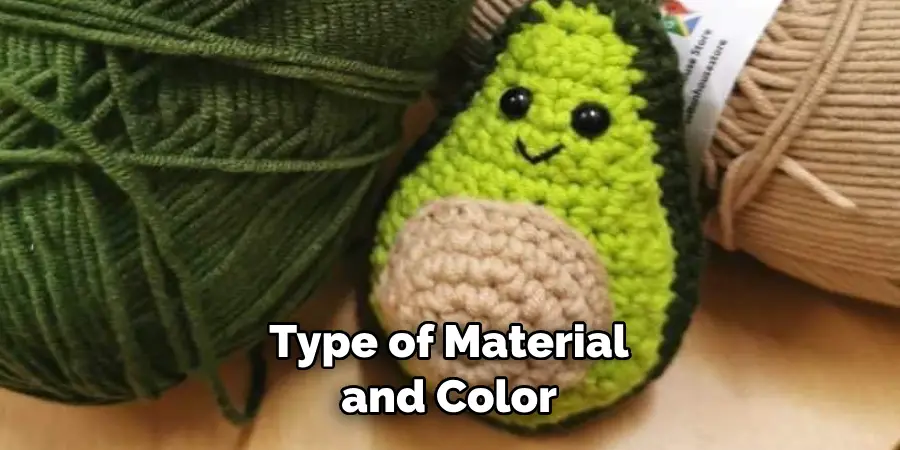
When selecting yarn for your crochet project, it’s important to consider the type of material and color you want for your finished piece. For a fun avocado design, look for a worsted-weight yarn in green and brown shades.
Worsted-weight yarn is ideal because it provides good stitch definition that will be visible when crocheting the shapes and designs of the avocado. Additionally, look for a yarn that has some texture to it; this will add extra depth and character to your piece.
10 Steps How to Crochet Avocado
Step 1: Gather Your Materials and Tools
Before you dive into the world of crocheting avocados, take a moment to ensure you have all the necessary materials and tools at hand. Each element plays a crucial role in the final product’s outcome, so being well-prepared is key. To begin, you’ll need the following items:
Worsted Weight Yarn: Select two shades of green – a dark and a light one – to create the avocado’s body, a brown shade for the pit, and a small amount of white for the highlight.
Crochet Hooks: Make sure you have crochet hooks in sizes that correspond to the yarn you’ve chosen. The hook’s size will influence the tightness of your stitches and the overall look of your avocado.
Fiberfill Stuffing: This stuffing will give your avocado a plump and huggable feel. Make sure it’s soft and fluffy to achieve the desired texture.
Yarn Needle: A yarn needle is essential for weaving in ends, attaching parts, and sewing various components together.
Scissors: A reliable pair of scissors will be needed to cut yarn and trim excess material neatly.
Step 2: Begin with the Avocado Body
The journey to crafting your crocheted avocado begins with creating the body. Using the dark green yarn, start with a magic circle, a common technique to initiate crochet projects that results in a closed loop.
This will be the base from which you’ll build your avocado. Gradually work single crochet stitches into the magic circle, increasing the number of stitches in each round. This will give rise to a flat circle that forms the foundation of your avocado.
Step 3: Shape the Avocado Body
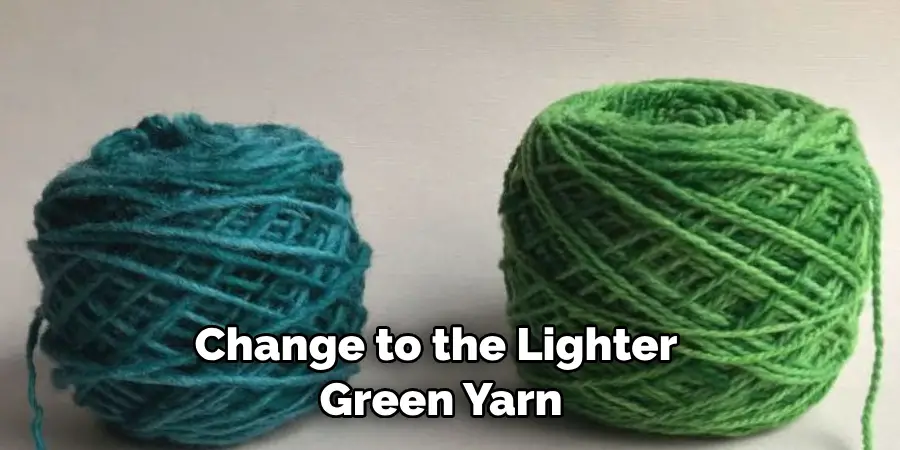
Once you have a sufficient diameter for your avocado’s body, it’s time to transition from increasing to shaping. Change to the lighter green yarn, simulating the outer layer of the avocado.
Continue crocheting in continuous rounds without any additional increases. This will allow you to build the length of the avocado. As you work, remember to gently stuff the body with fiberfill to give it the plump and realistic appearance of an avocado.
Step 4: Crochet the Pit
Now that the avocado body is taking shape, let’s turn our attention to the pit. Switch to the brown yarn and start by creating a magic circle. Just as you did before, crochet single crochet stitches into the circle, increasing them gradually to form a small oval shape.
Once the pit has reached your desired size, add a touch of stuffing to give it a bit of dimension. Then, continue crocheting to close the opening, leaving a tail that will be used for sewing the pit to the body later.
Step 5: Add the Highlight
To enhance the realism of your crocheted avocado, introduce a highlight using the white yarn. Crochet a curved shape near the top of the avocado body. Utilize a few rows of single crochet stitches to build this highlight. This simple step adds depth and dimension to your creation, capturing the essence of an actual avocado.
Step 6: Shape the Avocado Skin
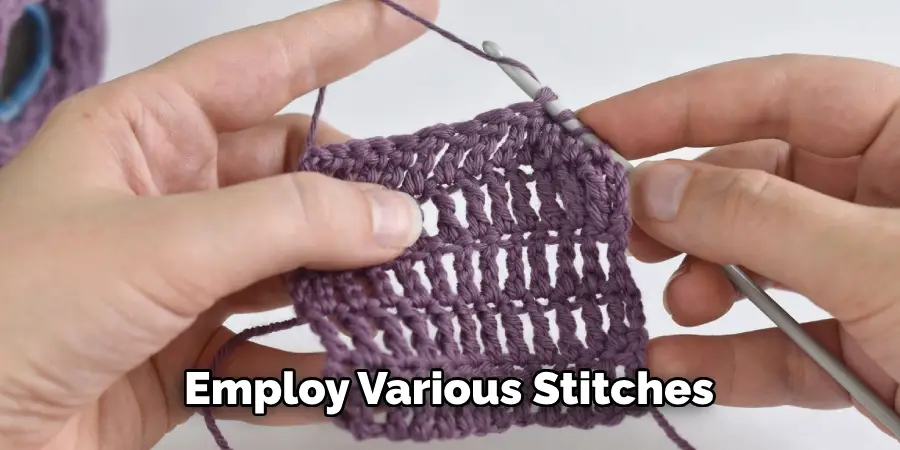
Returning to the darker green yarn, it’s time to work on the textured surface that mimics the avocado’s skin. Transition from crocheting in the round to crocheting in rows.
Employ various stitches, such as single crochet, half double crochet, and slip stitches, to replicate the bumpy and irregular texture of an avocado’s skin. This meticulous detailing transforms your avocado into a more lifelike representation.
Step 7: Attach the Pit to the Body
With the components for the avocado’s body and pit complete, it’s time to bring them together. Using the tail of the brown yarn that you left earlier, sew the pit onto the avocado body. Position it at the center, slightly toward the narrower end of the avocado. Be sure to secure it firmly with your stitches, ensuring that it’s well-anchored and won’t come loose.
Step 8: Sew the Avocado Halves Together
To truly encapsulate the avocado’s characteristic shape, fold the avocado body in half, with the pit nestled inside. Employ the darker green yarn and a yarn needle to sew the two halves together. This step requires careful attention to detail, as you’ll want the stitches to be tight, neat, and well-aligned. Leave the top part of the avocado open – this is where you’ll add the stuffing.
Step 9: Final Assembly and Details
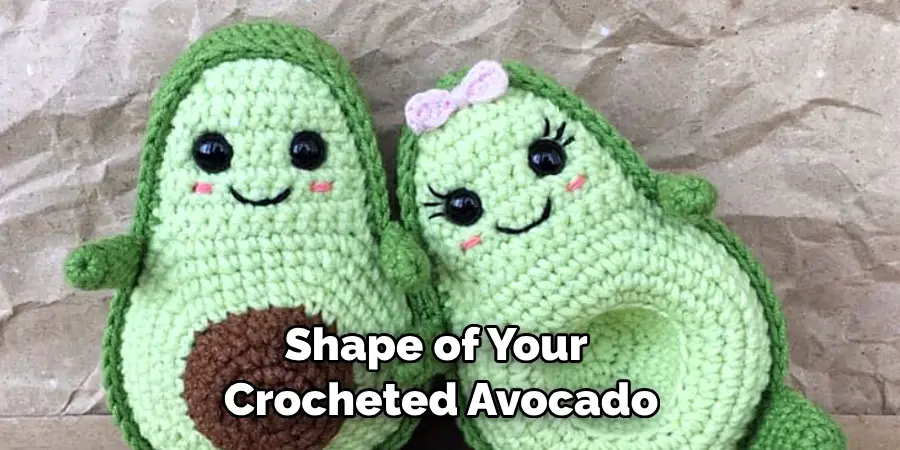
Before moving on to the next step, take a moment to admire the shape of your crocheted avocado. If satisfied, fill the hollow space with fiberfill stuffing until you achieve the desired plumpness. Be sure not to overstuff it, as you want the avocado to retain its softness and huggable quality.
Once you’re content with the fullness, sew the opening closed using neat and discreet stitches. Give your avocado a gentle squeeze to ensure that it’s well-shaped and has a lifelike feel.
Step 10: Finishing Touches
As you approach the completion of your crocheted avocado, take a moment to conduct a final inspection. Examine your creation for any loose ends or uneven stitches that might detract from its overall appearance.
Use the yarn needle to carefully weave in any loose ends, ensuring that they’re secure and concealed. Now, give your avocado a gentle squeeze and admire your handiwork. The textures, colors, and details have come together to create a charming and whimsical crocheted masterpiece.
Conclusion
In conclusion, crocheting an avocado is not only possible but also easy if you have the right materials and tools. You first need to get your yarn color of choice and decide how large you want the crochet avocado to be.
Next, use single or double crochet stitches to knit your popcorn stitch circles as the core of the avocado. Then start filling them in with several layers of half-double crochet stitches until you get a real life-like shape.
Lastly, add two stem and one leaf for a cool finishing touch. We hope these tips showed you just how easy it is to make your own soft and squishy crochet avocados! If you loved learning about this unique crafting technique, be sure to explore some other fun ways on How to Crochet Avocado that can further enhance your crocheting skillset.

